|
For our gender reveal "Beauty or Beast?" we did cupcakes for our quests. Yellow cupcakes with yellow frosting and little sugar roses on top. And chocolate cupcakes with brown 'fur' frosting and little fondant horns sticking out. Now, while I wasn't able to make sugar roses (don't have that skill) I was able to make the horns. It was SUPER easy and figured it would be a fun DIY for anyone looking for ideas. YOU WILL NEED:
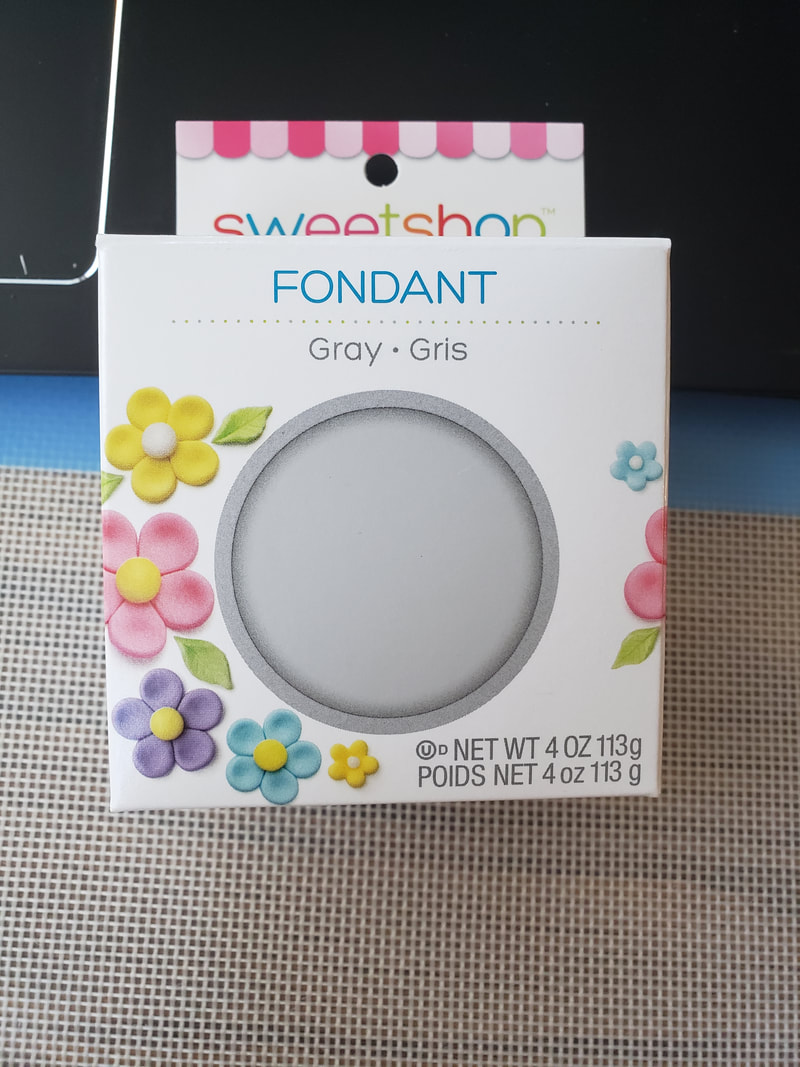 I needed the horns to be a grey color but there weren't a lot of option color wise. Normally I would go with Wilton fondant but it was financially smarter to buy this smaller precolored pack than a large white pack from Wilton. However it didn't end up being dark enough, so I took a little bit of my Wilton Food Dye and mixed it in for a darker grey. As you can see in the picture below it is quite a color difference! 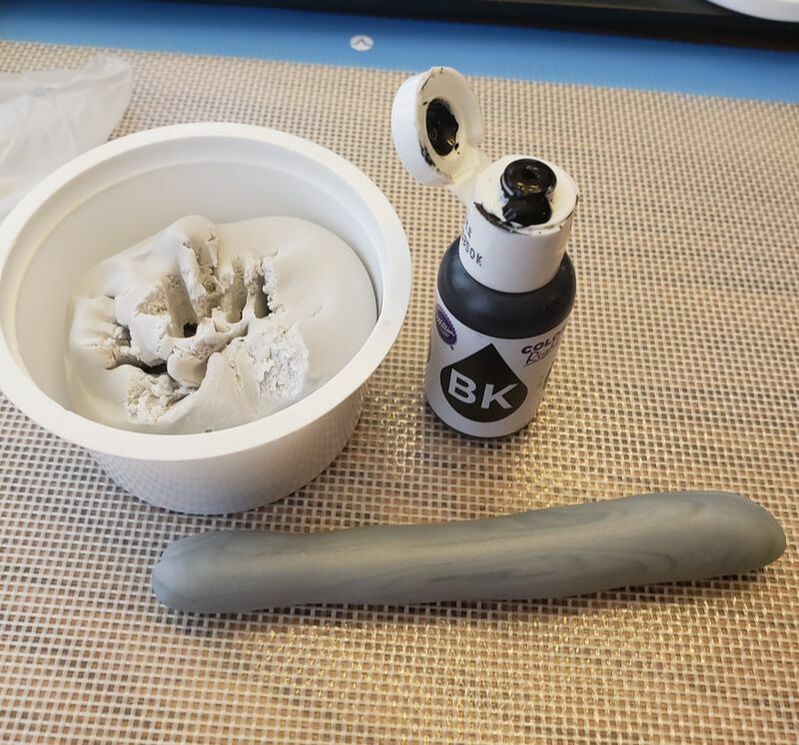 Now, once you have your color you're going to start breaking off pieces of fondant and rolling them out. Since I'm making little horns I started bending mine into those shapes. 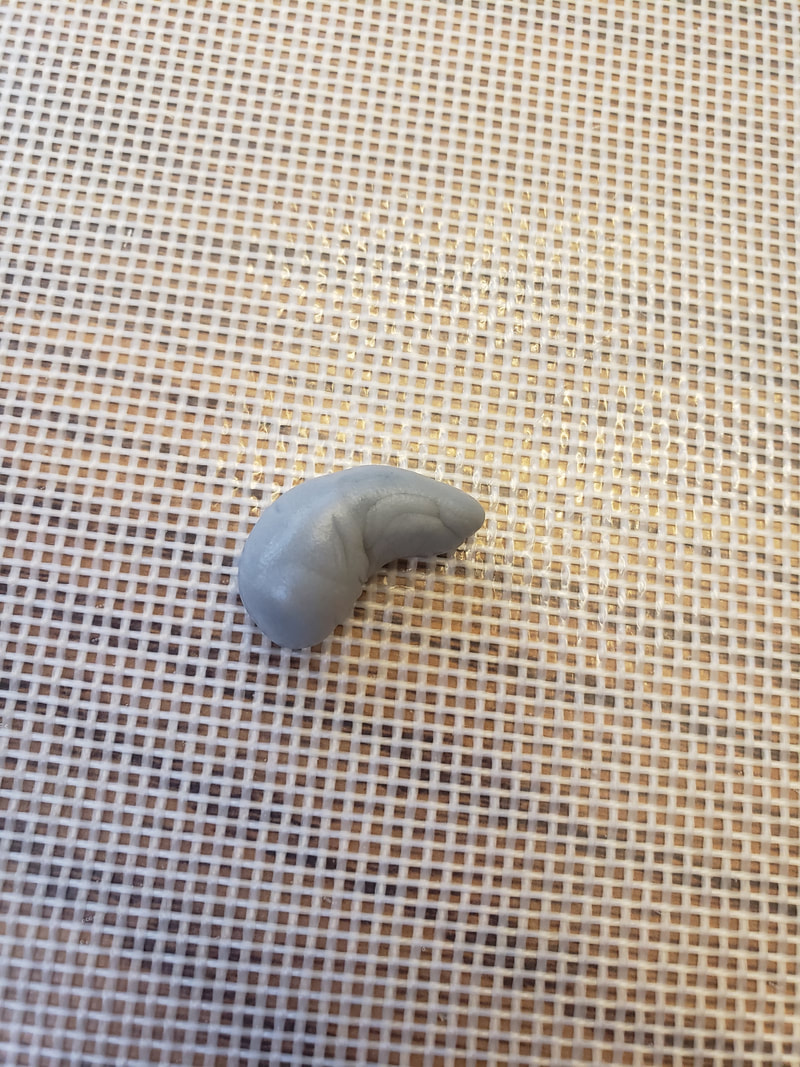 When you're finished with your shape stick your toothpick in the bottom of it. And then stick those toothpicks into your Styrofoam so they can dry. 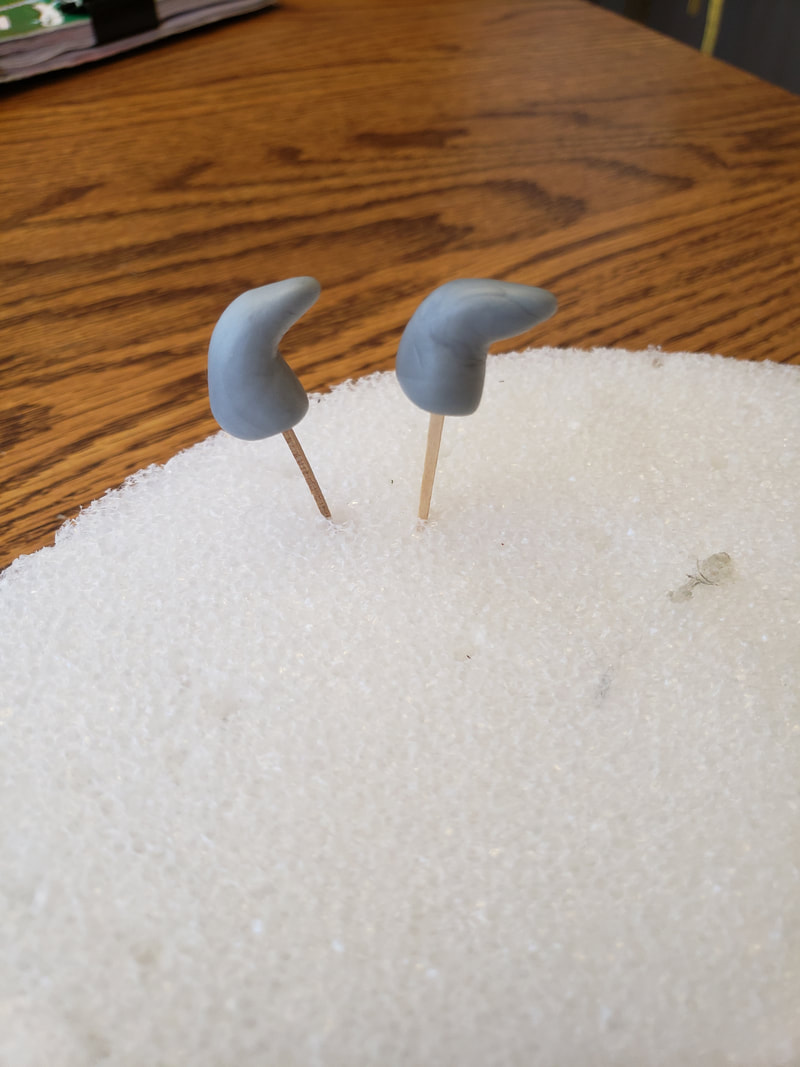 I needed two horns per cupcake so that ended up being 96 total! That was a lot of horns, but once you get into the motion, it will fly by! I figured this would be a great tutorial just to go over some fondant work. Sometimes you need to adjust the colors and it's very simple to do that. And if you're making them in advance there's the whole drying process. You can make something this simple a month in advance without having to worry about them going bad. SOME people have told me they make figures a year in advance... that's not for me personally but you do you boo! If you are going to dry them, have them sit out undisturbed for about four days and then store them in a cardboard container. If it's an airtight container your fondant will reverse and get mushy or sticky. Anyways loves I hope that helped give you some ideas for simple cupcake toppers. And here are the finished products! I'd also like to clarify that this is not an original idea. I've seen several examples of this kind of work online specifically where pinterest is concerned. But as I am NOT claiming the idea and I'm not making any money from sharing this DIY, I don't see the harm in putting it out there! 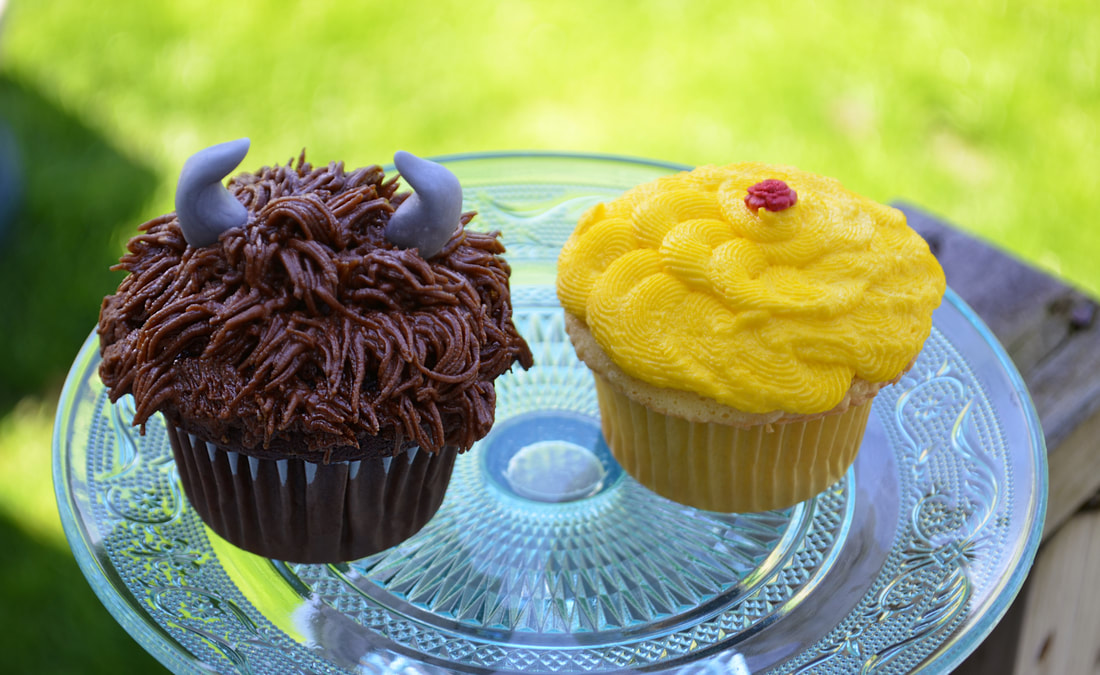
0 Comments
In my endless list of things to do with Jenna, I thought edible science projects would be a fun way to end the last two weeks of summer school. I found this beautiful tutorial for making edible geodes. It uses the logic of making rock candy (something we did last summer) so I was fairly confident in it. HOWEVER, it didn't work. Our candy didn't grow the way it was supposed to. Instead of just throwing it all away I used my baking experience and created a crystal candy that can pass for a geode. YOU WILL NEED:
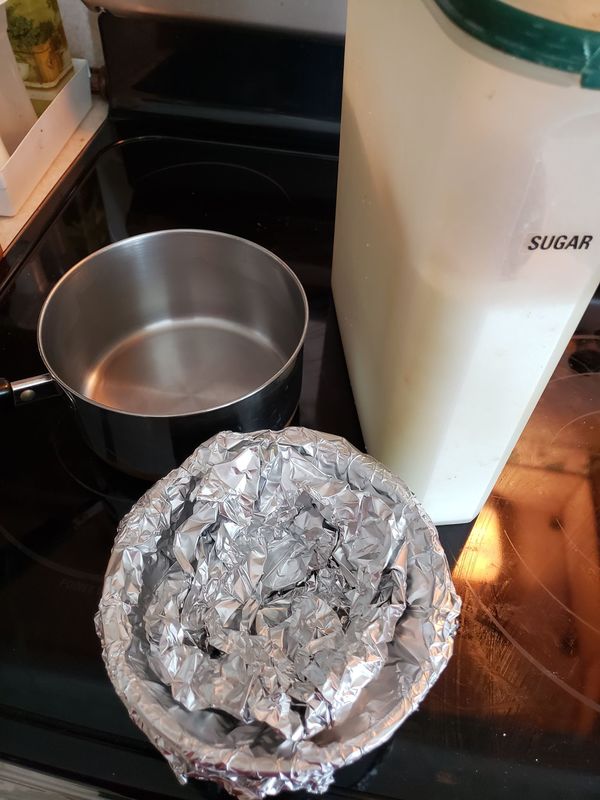 I will include a link to the tutorial I was attempting to follow in a button below. And I am not including it in a negative way, mind you. I loved her tutorial, she clearly knows what she's doing but something went wrong when we attempted it. So for anyone interested or looking for a good recipe I think I would be great to give her credit. But basically her tutorial starts off the same way you would make rock candy, which is essential for pulling off these crystal candies we made. Start by taking 3 cups of sugar and one cup of water, warm it on the stove top until it is dissolved. If it's not clear it's not ready. 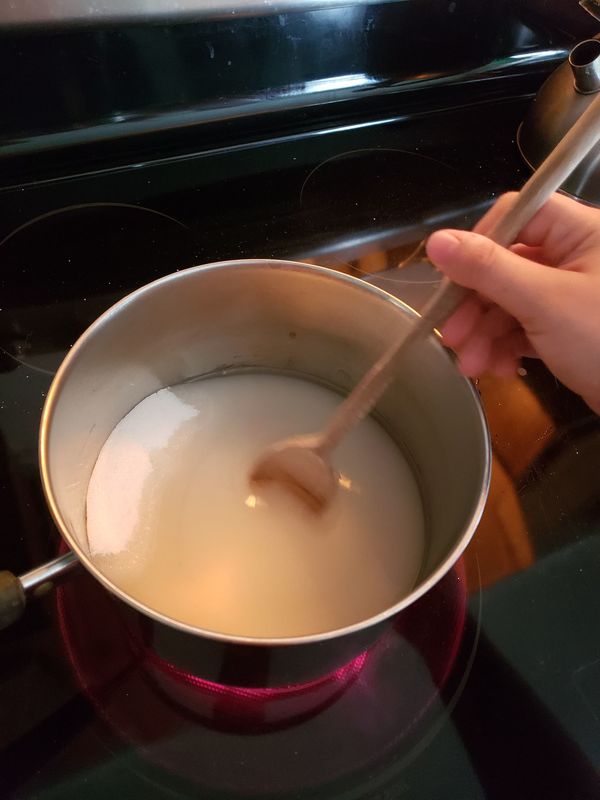 Once it's clear you can add your coloring and optionally any candy flavoring you want. I just added coloring this time. 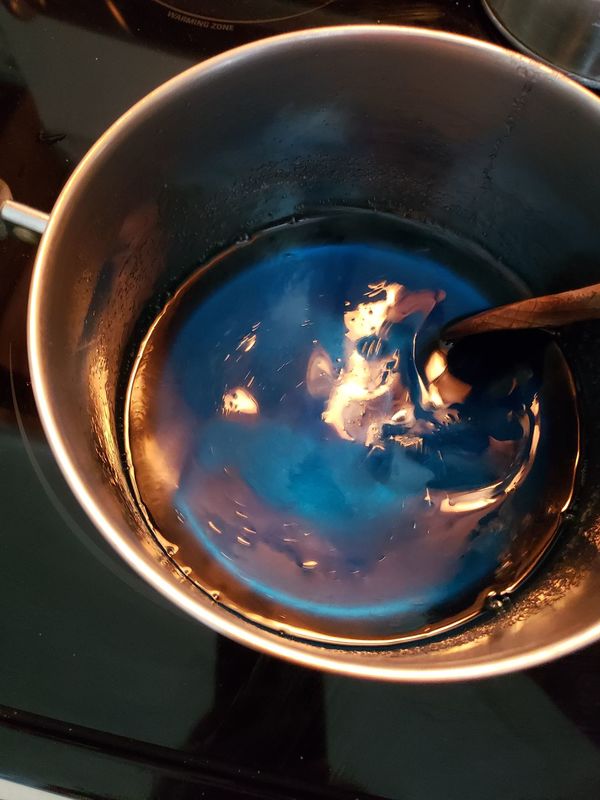 Now, in her tutorial she made her rock geodes in two different ways. One was growing inside of fondant and the other inside of aluminum foil. So we tried the foil tutorial. And because we had SO much leftover sugar we actually poured a bunch into a cup and added a chopstick to make traditional rock candy as well. 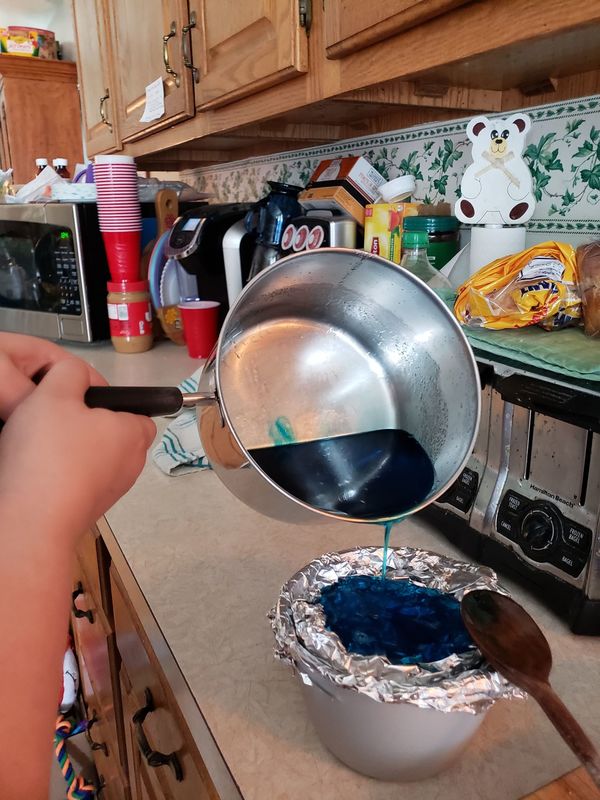 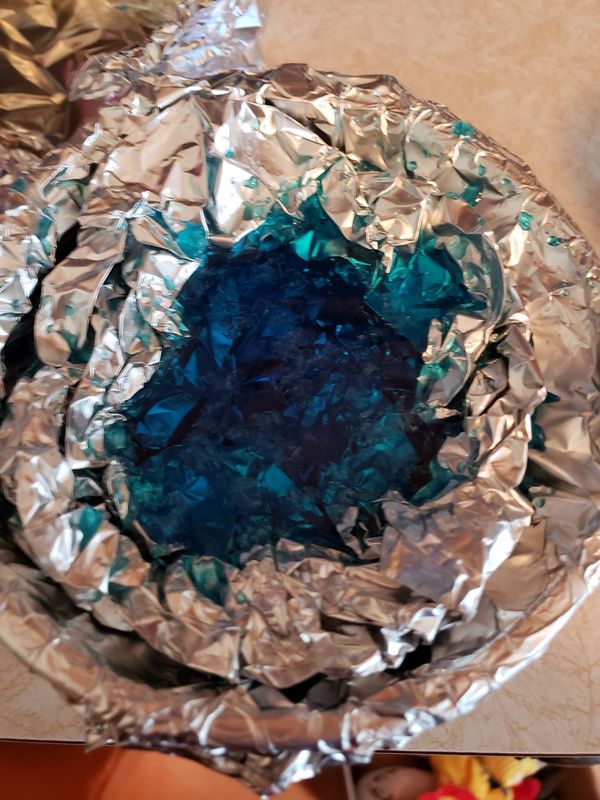 AND this is where all my failure comes into play. You're supposed to let the rock geodes form for 48 hours. So two days later we opened up our foil to find that a geode had not formed. There were some crystal chunks here and there, but overall the foil was filled with liquid and nothing else. AND I was in such a rush that when I put the chopstick in the cup I forgot that the stick is supposed to float, or else the candy grows everywhere. 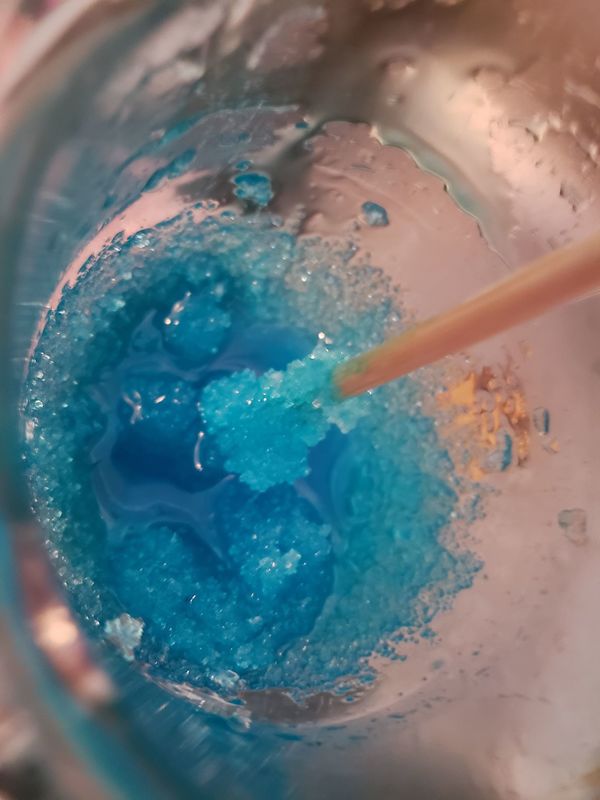 AND HERE is where I decided to take these failures and turn them around. Sure our rock candy now has candy everywhere... BUT IT HAS CANDY EVERYWHERE! So I took all the crystals I could gather from the various attempted rock candy and set them aside. Then I started to melt down some wax melts. Brown for an outer rock color.  Then I grabbed a bunch of kinder egg cases I've been setting aside. And honestly, I don't know why, just something kept telling me to hold onto them. (We've been buying them trying to collect all the dinosaur toy ones.) And I laid them out on a tray with a silicone mat underneath them. Taking a little bit of chocolate I added a dot to the back of the eggs and set them each on the silicone mat. Then I popped them in the freezer while I worked on melting more of the brown wax melts. This is an old trick that makes it so they have a flat surface, thus making it easier to fill them and transport them without them rolling around on the tray. Now, I don't expect you to just have a bunch of kinder egg shells laying around so whatever container you can easily remove chocolate from would work well for this project. 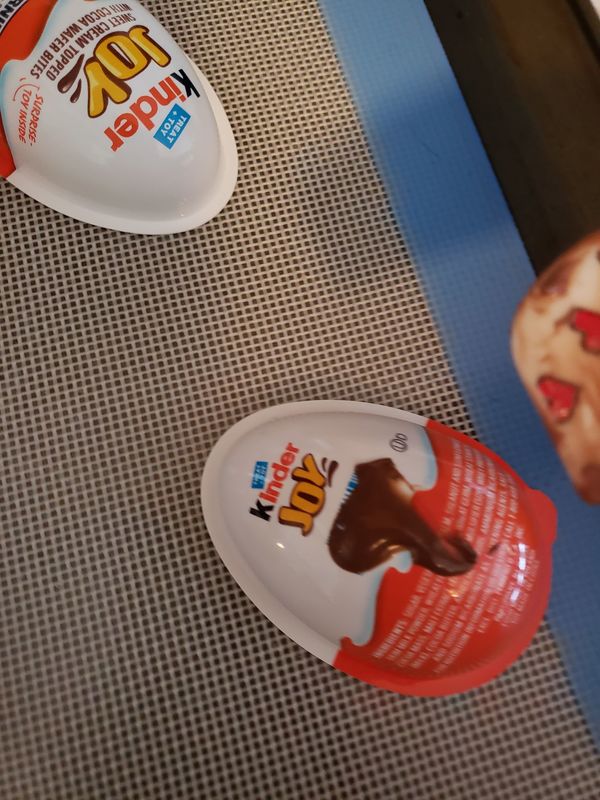 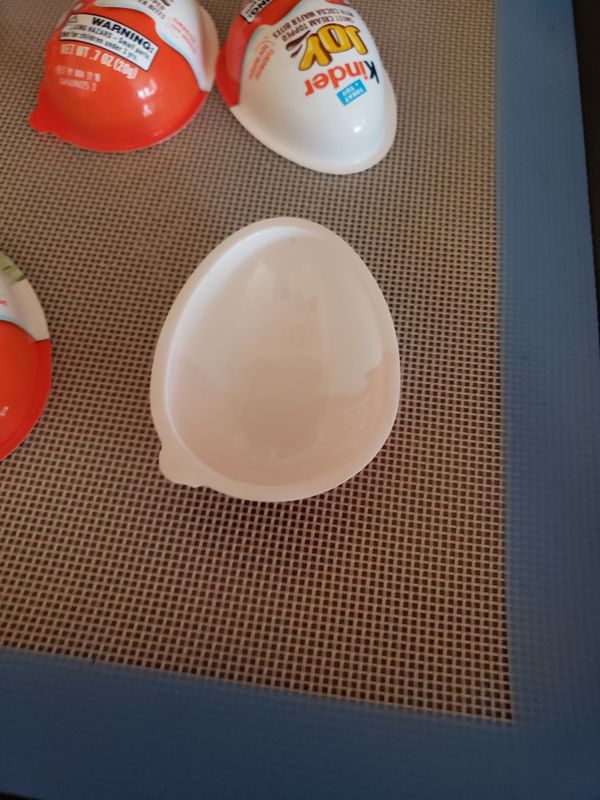 When you've melted a bunch of the brown go ahead and generously coat the inside of the mold. You don't want any white showing through. If it's not wanting to stay on the sides very well, be sure to lather it on and pop it back in the freezer. Once it's set it's not going anywhere. 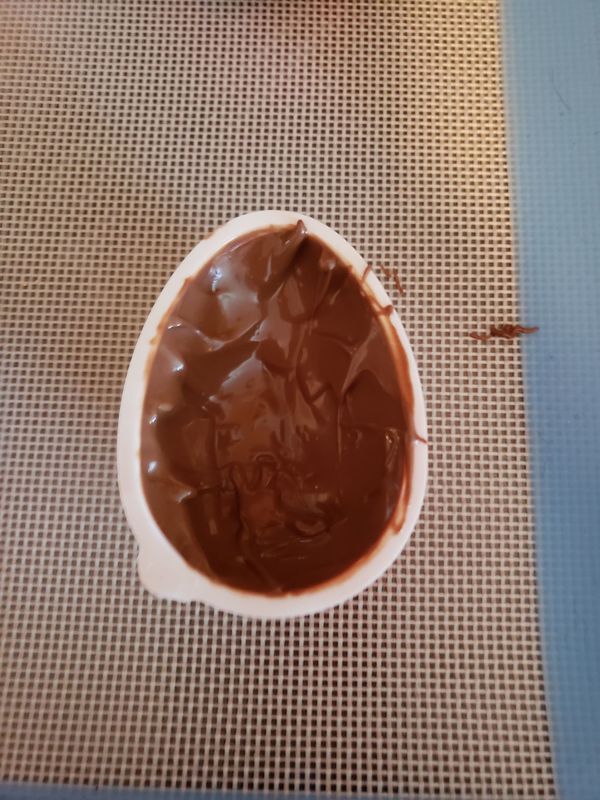 Next move onto an inner "crystal color" for your geode. I used blue chocolate melts since we chose to make blue rock candy, but it's your geode so have fun with it!  Repeat the steps with the brown layer of chocolate until all your shells have the next layer of color. 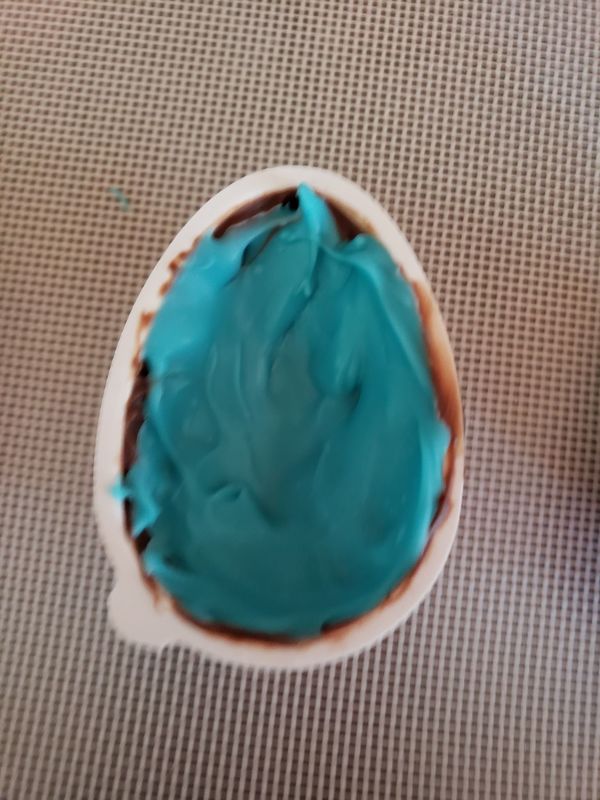 I chose to do two shades of blue and also melted a darker blue to add to the inner circle. Once again repeating the earlier steps. 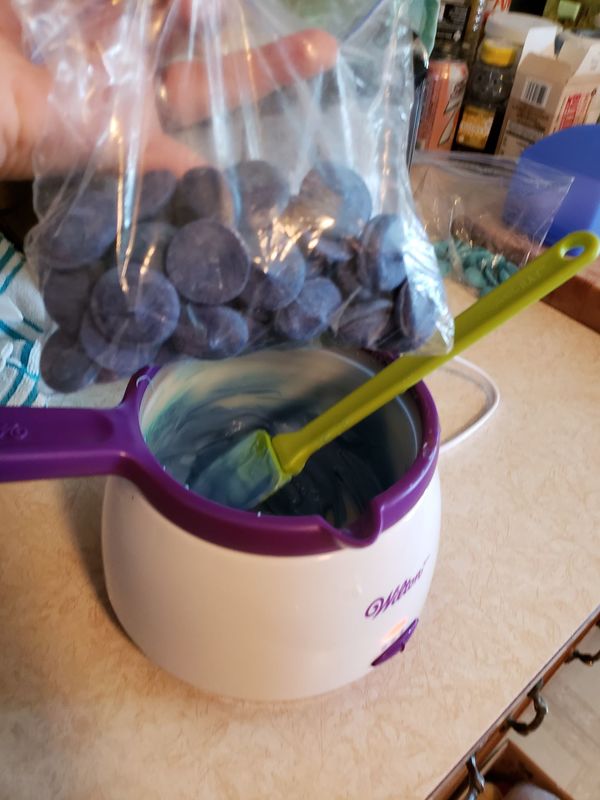 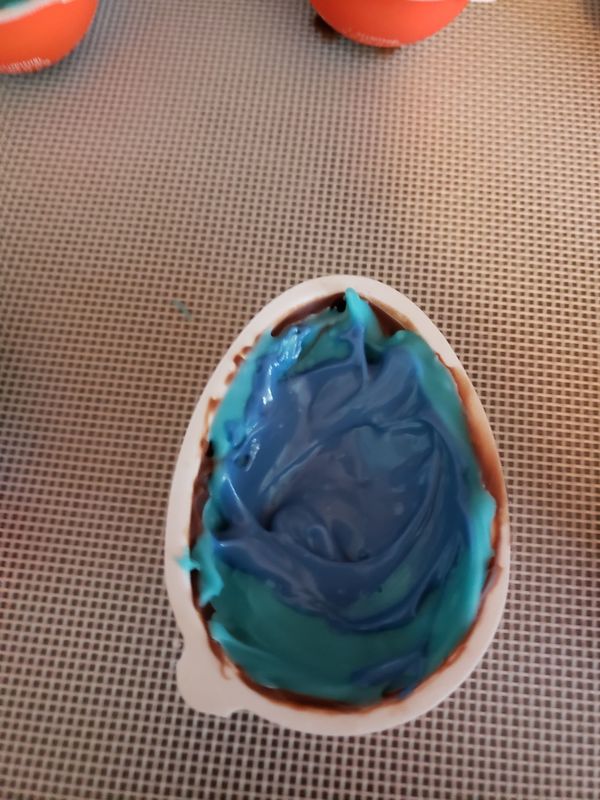 Now, letting the chocolate cool just a bit, I started adding chunks of the rock candy to the last layer of chocolate. I built up on each 'geode' until we had no more candy pieces left. They're not perfect but they're definitely some crystallized shiny candy! 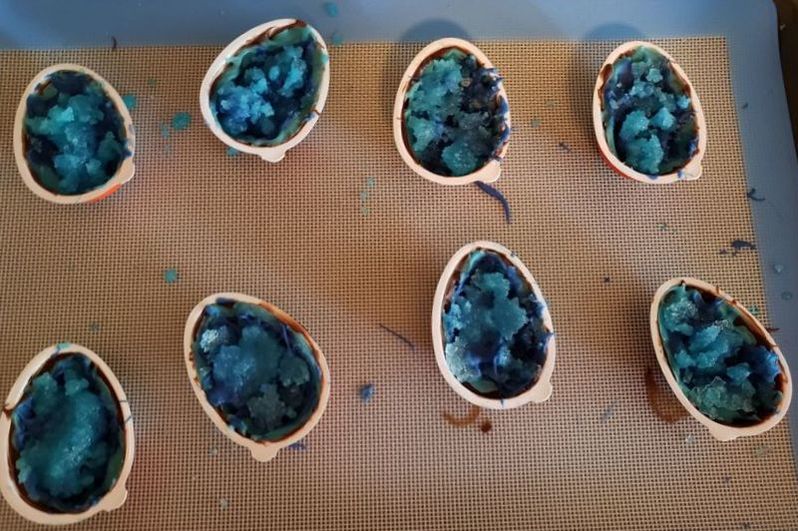 And what was great about the kinder egg cases is that the chocolate just slipped right out! I will definitely be keeping these for future projects, maybe candy molds at Easter time? 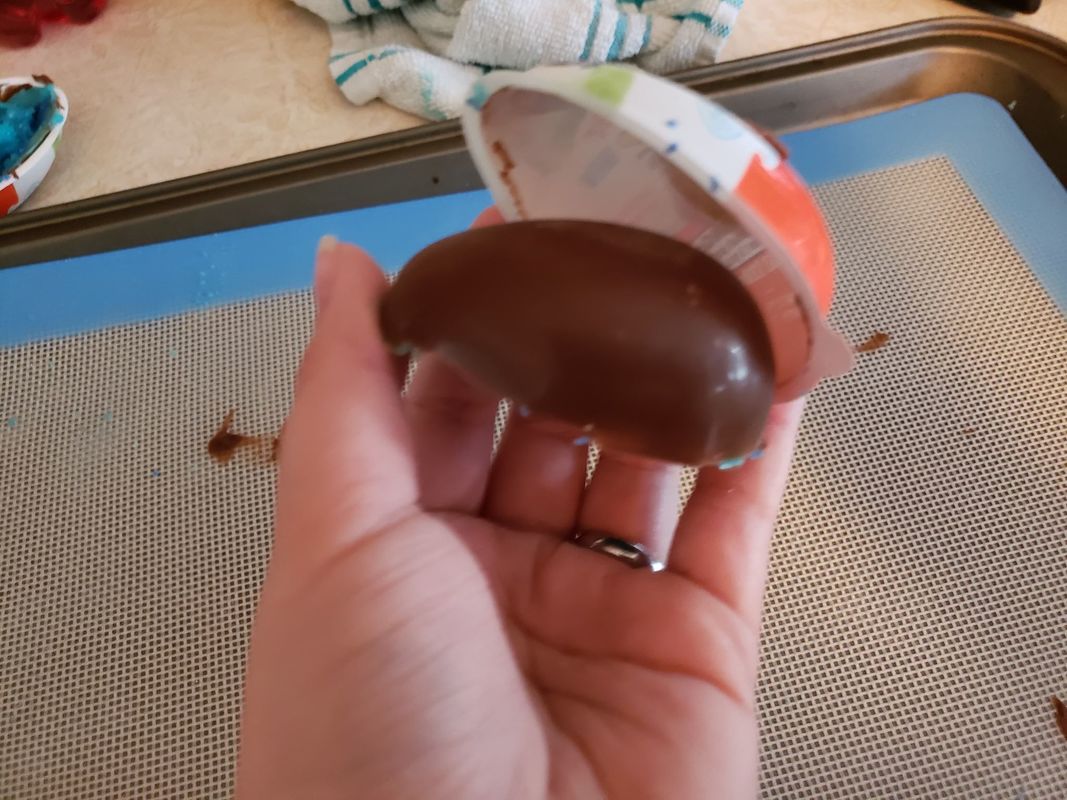 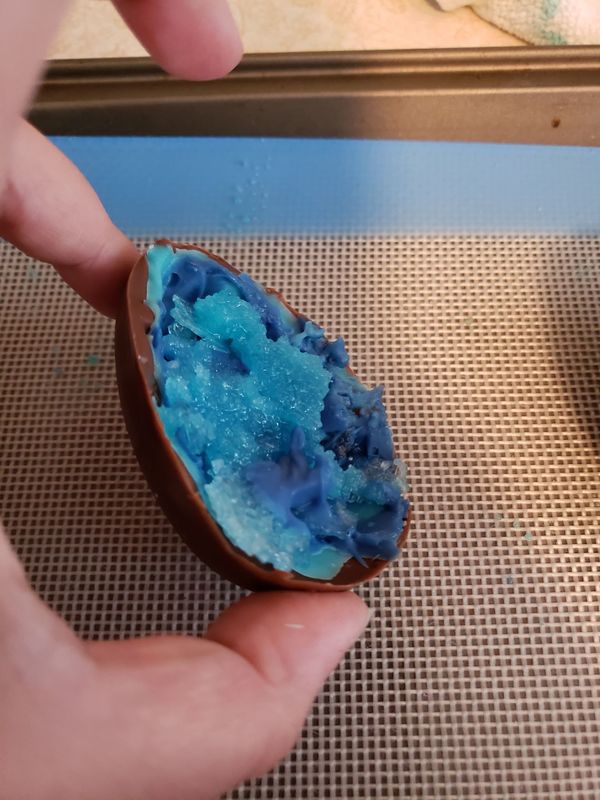 Honestly, as adorable as these are, the lesson here was about not letting set backs stop you. I didn't want Jenna to be discouraged over a bump in the road. We set out to make an edible crystal delight and we certainly accomplished just that. 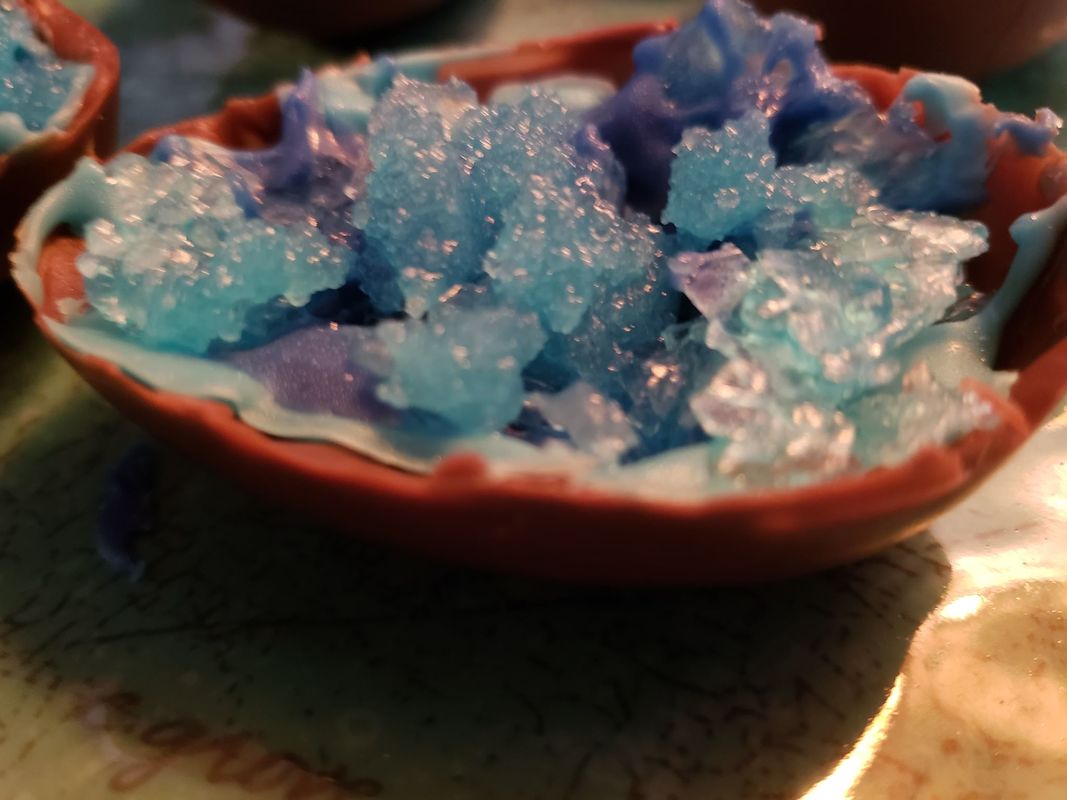 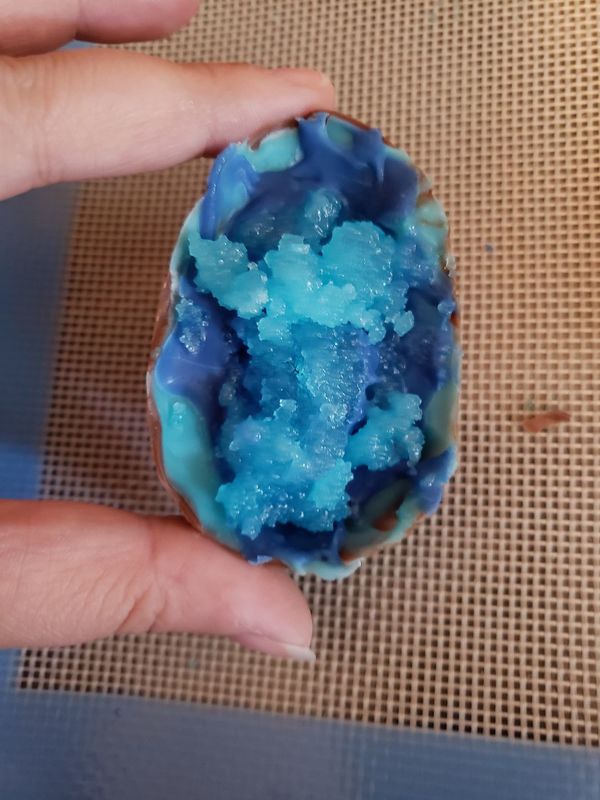 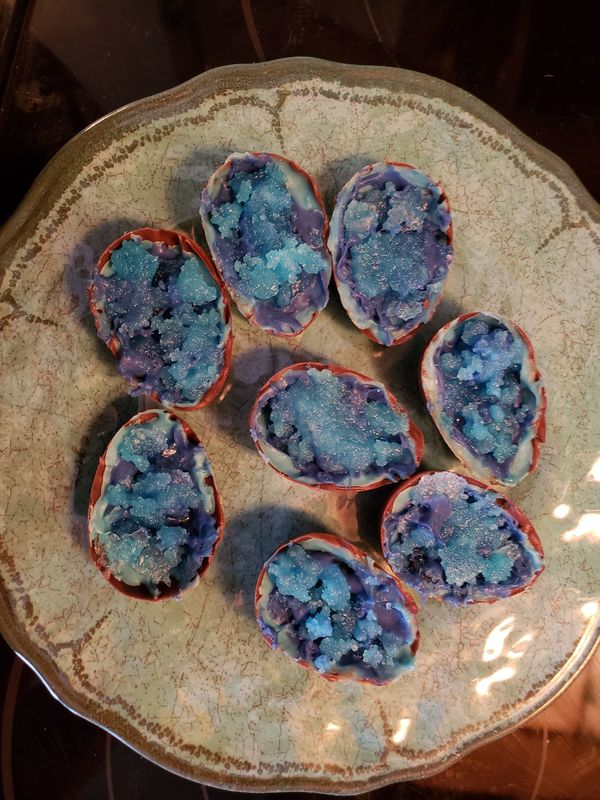 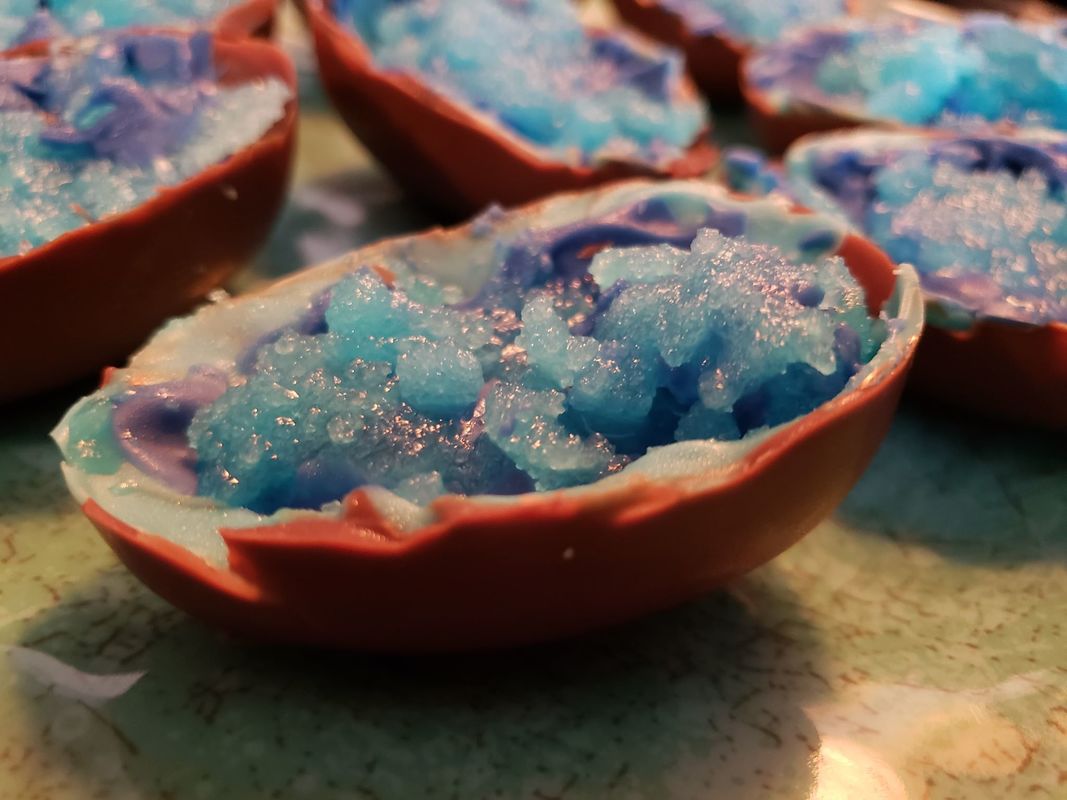 I'm totally guilty of being one of those 'pinterest-aholics'. I cannot tell you how long I have had "Colored Pasta" pinned to my list of things to do with Jenna. But life keeps you busy and then you forget all about it. So this Easter when we used rice to dye our Easter Eggs and all the light-bulbs went off over my head. YES! We can try to make colored rice! (I should also state that I never did read any of those colored pasta tutorials so I don't know if this is similar.) You Will Need:
If you saw my Easter Egg tutorial then you know we made tons of dyed rice. All you do is add food dye to your rice, shake it up and make sure it's good and coated, and then the rice does the rest. It will soak in the color and be good to go. Put your pots on the stove and bring the water to a boil. Once it was good and bubbling we added our colored rice. Now, I was too nervous to do more than one color per pan but if anyone tries it let me know how it turned out!  The reason I was so worried to attempt it is because as soon as your rice is in the pan, your water will change color. I fear that if you add another color it will just muddle the vibrant colors of the rice. 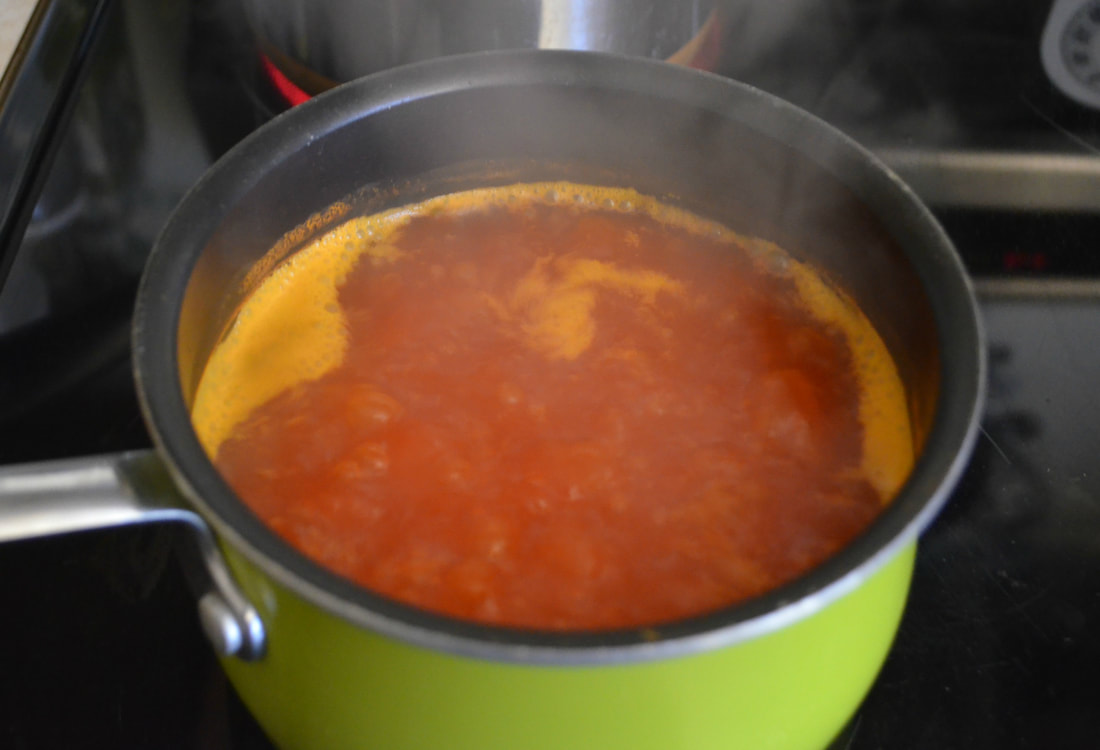 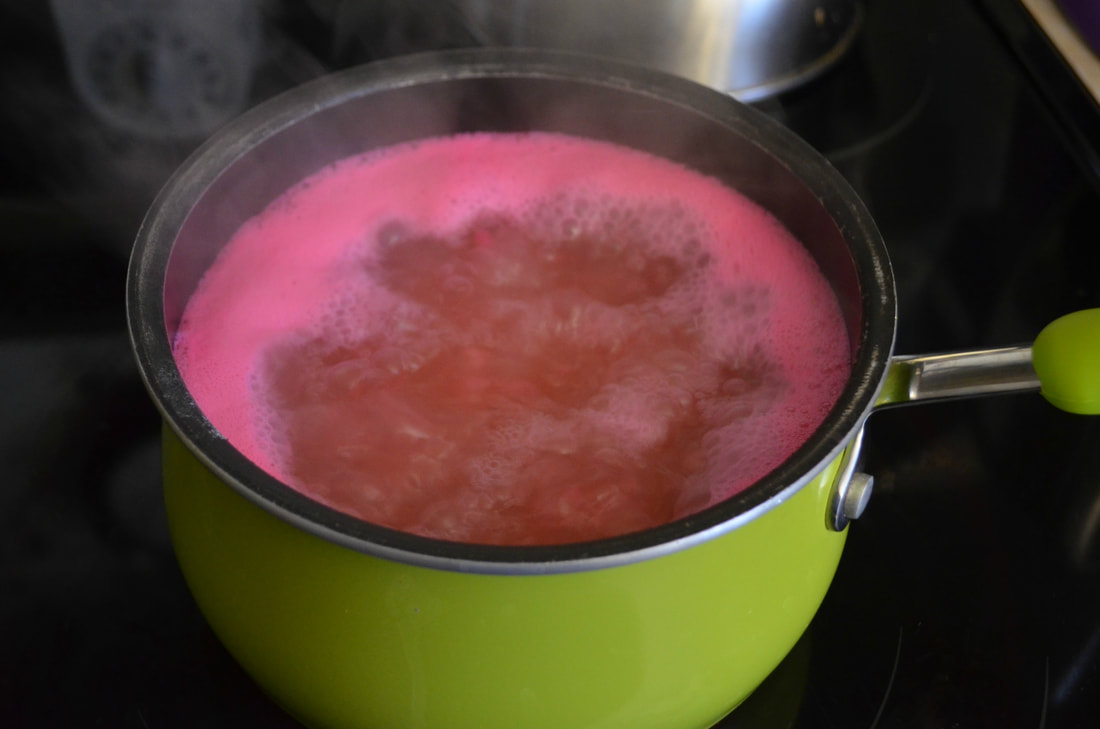 After a few minutes your rice will be good to go and you can drain it. We made several colors but to give you an idea of how beautiful they are, here is a colorful plate of rainbow rice! 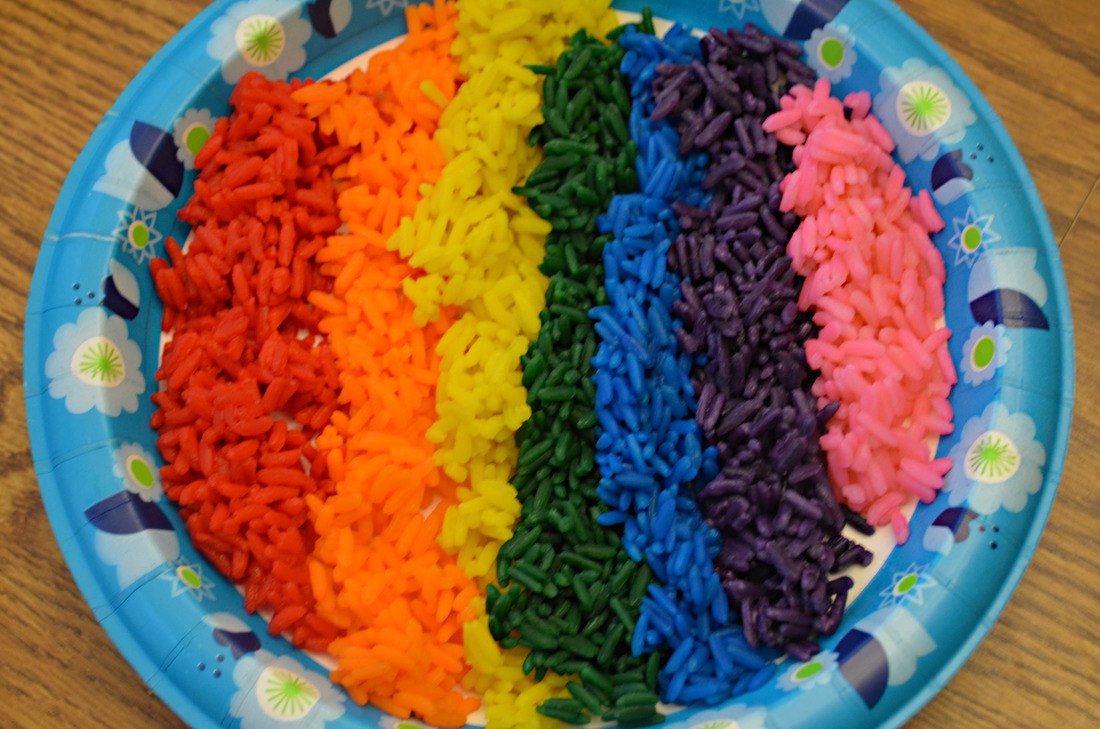 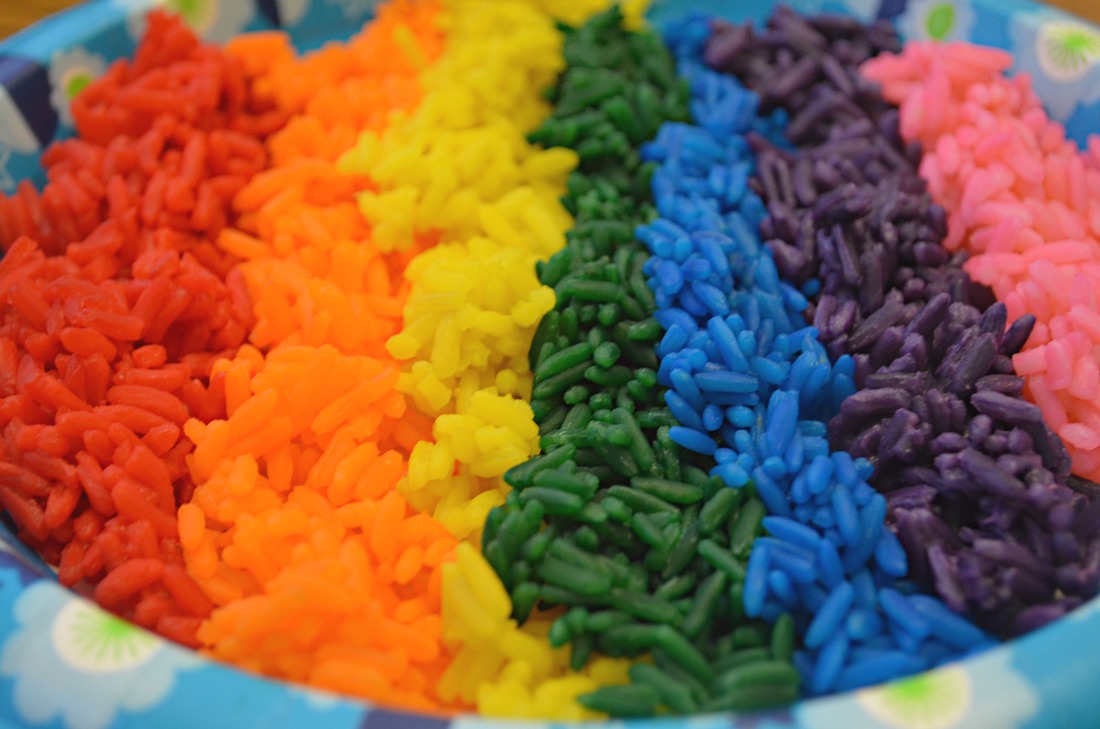 Jenna loves helping me with this project and it was super easy to do. Plus it's been adorable to see colored rice with our dinners. We had stir-fry on Tuesday and my husband took stir-fry with purple rice to work for lunch. One of those staple "grandma" gifts in my family were the 'chocolate' lollipops. We've all seen those chocolate molds in craft stores and baking aisles. But how many people have actually attempted to make them themselves? I was baking cakes since age eight, but it wasn't until I was in college that my parents trusted me with the secret of chocolate melting. WHAT IS THE BIG SECRET?! Melting chocolate is easy, fun and ANYONE can do it! Who knows what I could have made all those years if my family hadn't been so afraid of melting chocolate... Though, in their defense, I did burn my fingers trying to melt chocolate in the microwave as a child... but that's neither here nor there! I want to share the simple chocolate melting technique and let you explore the world of chocolate melts yourself. You Will Need:
If you're going with a decorative design, you'll definitely want candy melts. They are those little colored discs that everyone seems to call chocolate melts. Which, fun fact, contain no chocolate. You can find them in almost any baking aisle. Generally, I only use the candy melts to color in the designs and then fill in with regular milk chocolate, to make them TRUE chocolate melts. I'll point this out when we get to that step. As I said you'll need something to melt chocolate in. There are lots of different ways to melt chocolate. There are various machines, microwave techniques, electric skillet tricks, and special containers that supposedly help. When I started melting chocolate I took the electric skillet, filled it about half way with water, and then placed small cups in the water and filled those with chocolate melts. The warm water helps the candy discs to melt and is highly useful when you need a lot of colors. This really does work great EXCEPT it comes with the dangerous potential for water to get in the chocolate. That will RUIN it! Fair warning to all chocolate melters- water is the enemy. My mother had a chocolate melting machine that was overly complicated and yet never seemed to work well. NOW, I use this GORGEOUS Wilton chocolate melter that my husband got me. It's so easy to clean and even easier to use. You just load it with your melts, turn it on, and make sure to stir the chocolate as it starts to melt. ***This is not sponsored but these melting pots are amazing and I wanted to give you new details. The purple handle sticking out, is a silicon pot that lifts out of the warmer. The warmer has two settings- one for melting and one for keeping it warm should you want to use it for dipping. Both the base and the pot handle stay cool to the touch. And the silicone cleans SOOOO beautifully that it's now my favorite dish to wash. 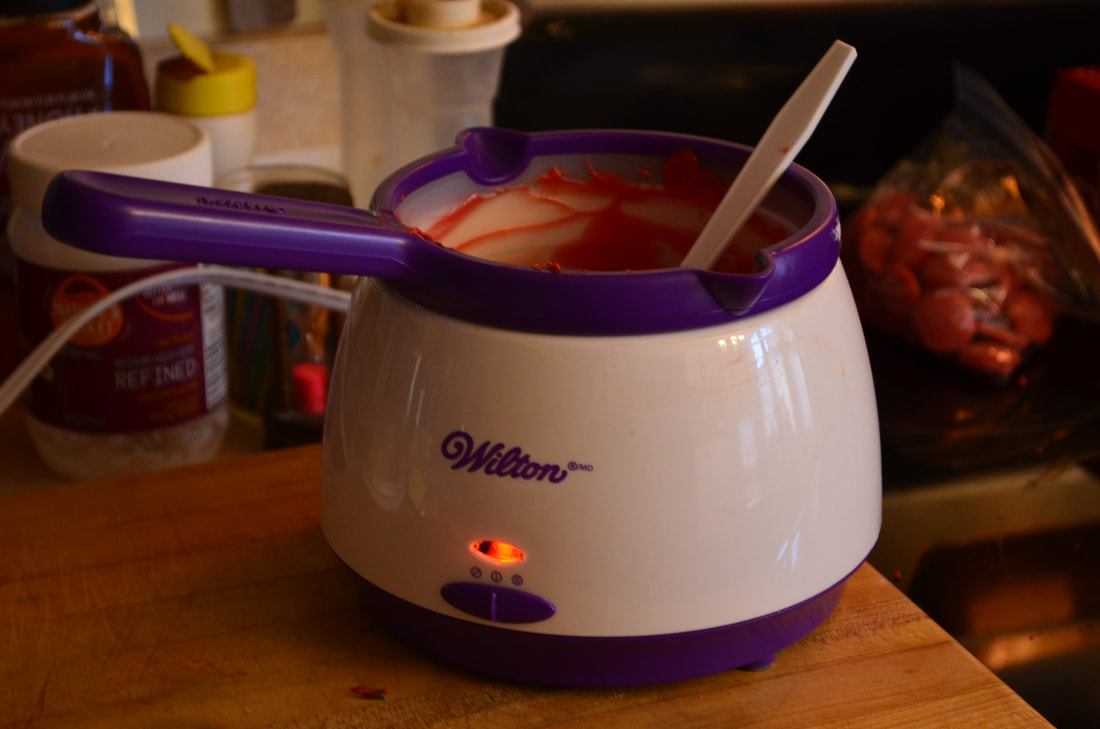 You'll need to continue stirring your chocolate util it's nice and smooth. You may need to add more discs as you go. Once they melt you may find there's less chocolate than you were originally expecting. Now, they make candy paint brushes. You'll use them to apply candy melts to the details of the candy mold. For instance, the photos I'm using for step-by-step examples are rose lollipop molds. So we took green candy melts and filled in the leaves with the candy brush. 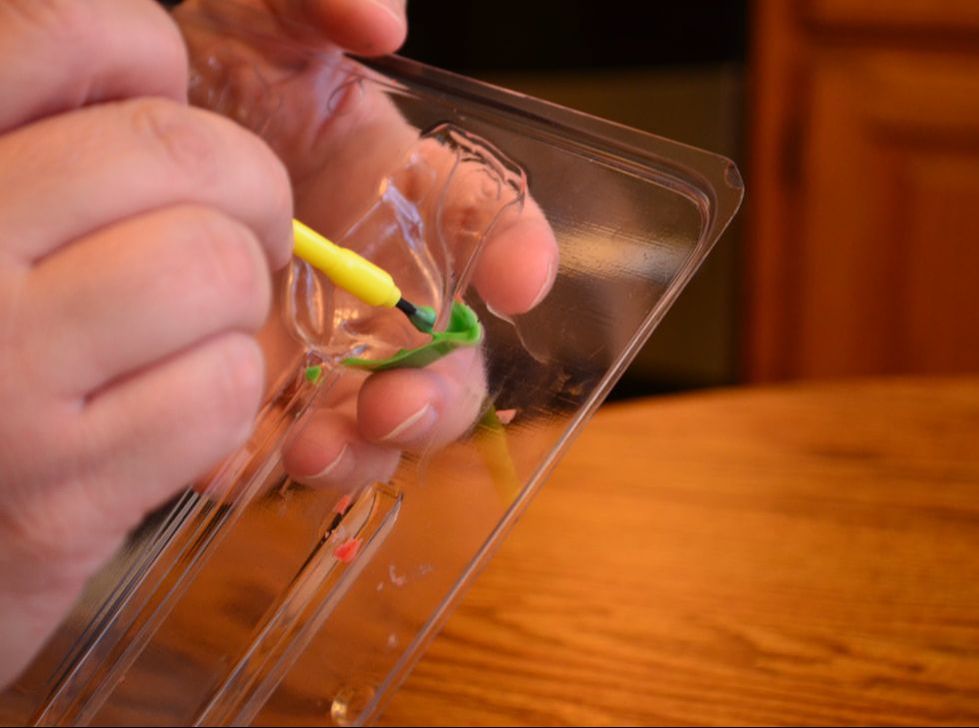 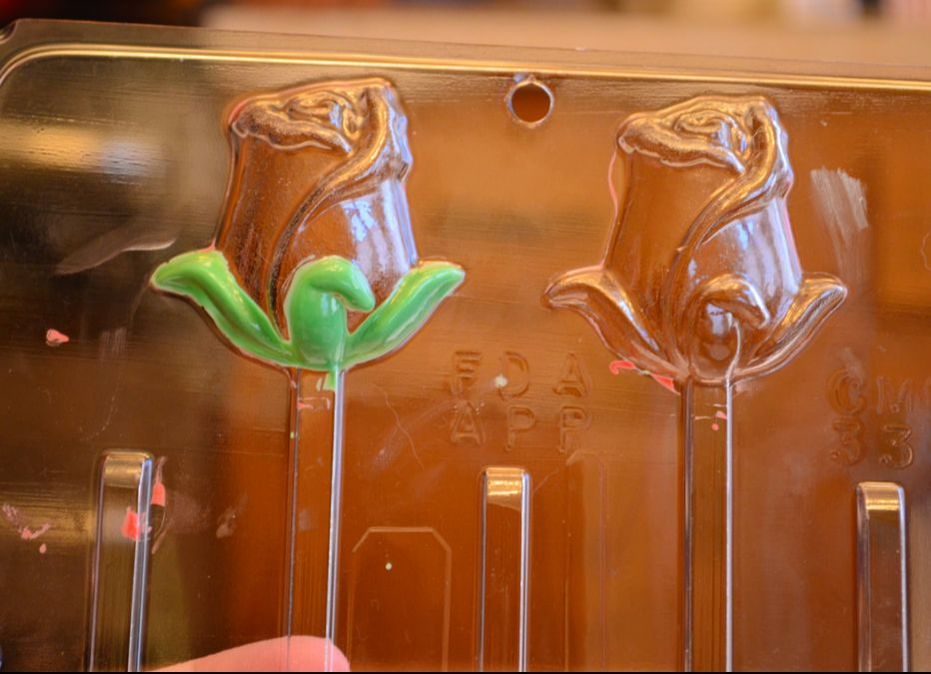 Once you fill in the first detail you'll need to place the candy mold in the freezer for a few minutes. Just long enough that the first layer solidifies. This way when you add the next layer it doesn't melt, bleed through, or mix colors. Now, for these, we are just using ONLY candy melts. So once the green leaves were set we filled in the rest of it with the red melts. If I was going these the way I normally make them, I would do a layer of red to make the rose color. Freeze it, and then fill it in with regular melted chocolate. Let's be honest, Hershey's chocolate tastes way better then these candy melts do! So who wouldn't rather eat a milk chocolate lollipop? The back of the candy doesn't need to be pretty, what matters is the main design looking nice, right? But since we're not doing it that way, you're only going to see green and red in the step-by-step examples. You're going to fill the mold MOST of the way with the remaining color of choice. Once again you're going to freeze that. IMPORTANT INFORMATION I ALMOST LEFT OUT. When you've filled the trays, take them and tap them a few times gently on the counter or firm surface. This will help the chocolate to settle into the grooves and get rid of any air bubbles. This is very important if you want your molds to come out. 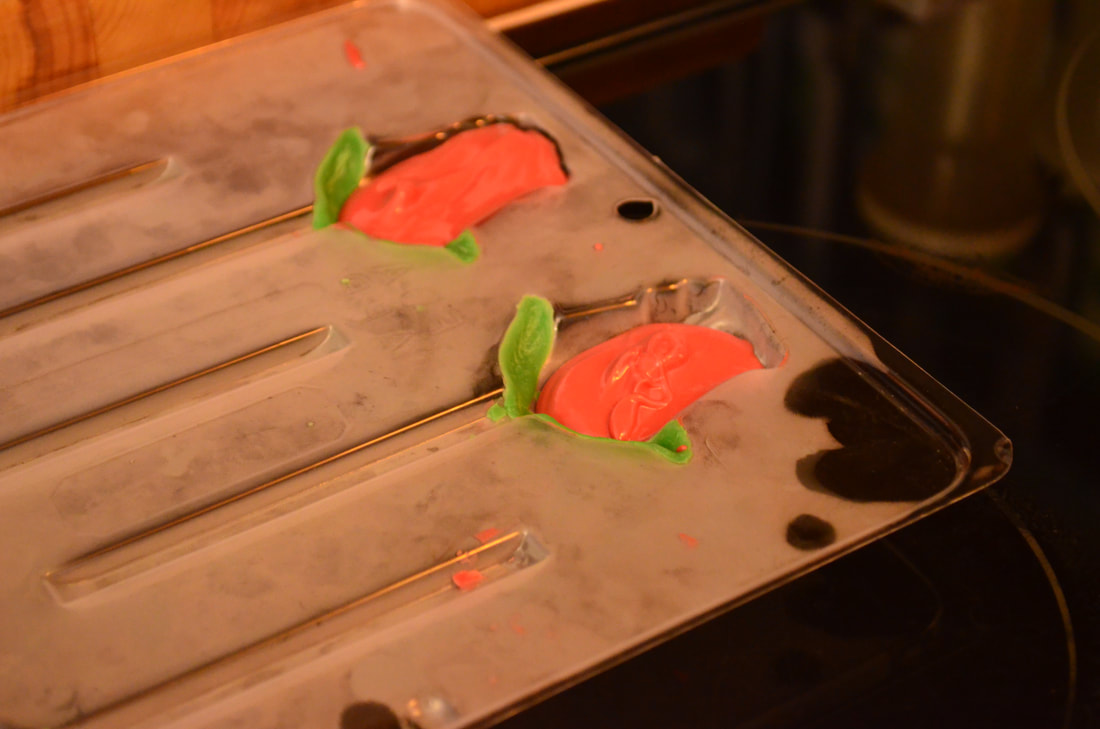 The reason you need to fill it most of the way is to create a firm base. A base? For what? Well, in this example we're making lollipops but if you were to fill it all the way with chocolate and them wedge the stick in there, the stick is going to do one of two things. One: sink into the chocolate and this create a crooked stick. OR two: come out all together or surface so that the chocolate breaks off the stick. Go ahead and place your tray back in the freezer for a few minutes. When you're satisfied with your base, you're going to add more candy melts and wiggle the lollipop sticks into the chocolate. If you still need to add more candy melts on top that's fine too. 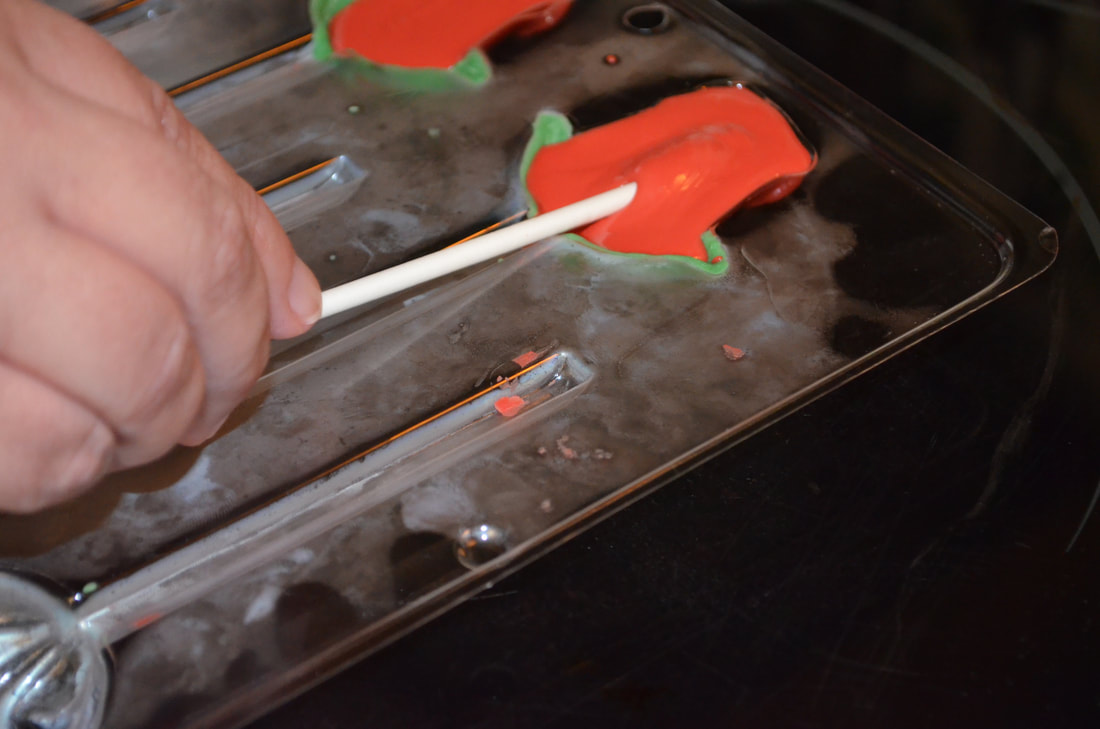  So as you're filling your molds, you can see how the leaves need to be filled with chocolate still. Right now they're hollow and would surely break off either when you remove them from the mold or afterwards. Once again your candy paint brush will come in handy here. You can use it to fill in the leaves or any small details your candy molds need. 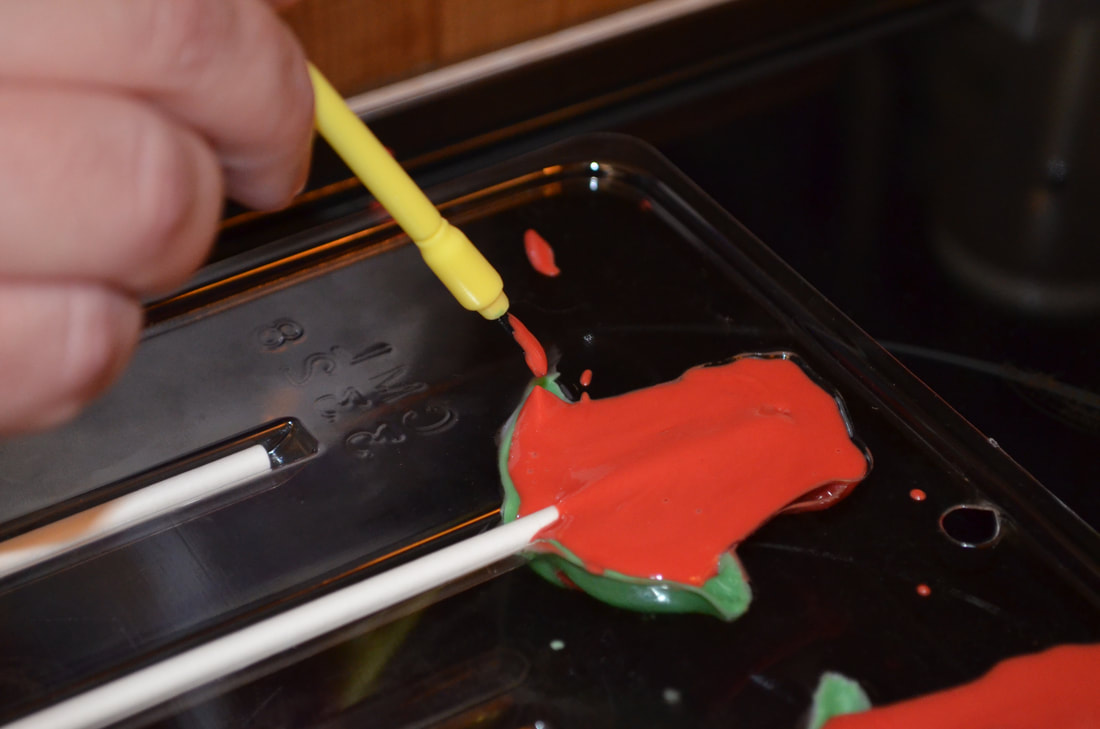 Another nice thing about candy molds is how easily they pop out when they're finished. If these are frozen and settled they will just pop right out of their trays and that will be that. If they're sticking to the mold, there's a good chance they are not finished and need to freeze a little longer. If you can tell that they're finished and they're still sticking, you can gently tap the mold and they should fall out. When I'm just making candy molds for parties or a just because with the family, I don't bother with the sticks or the detailing. We're just in it for the fun shaped chocolate. But these were being used a wedding favors for kids and I wanted them to really wow and look professional. If you're the same way, then you'll want to take a small knife, probably a paring knife, and use it to touch up the edges of your chocolate. 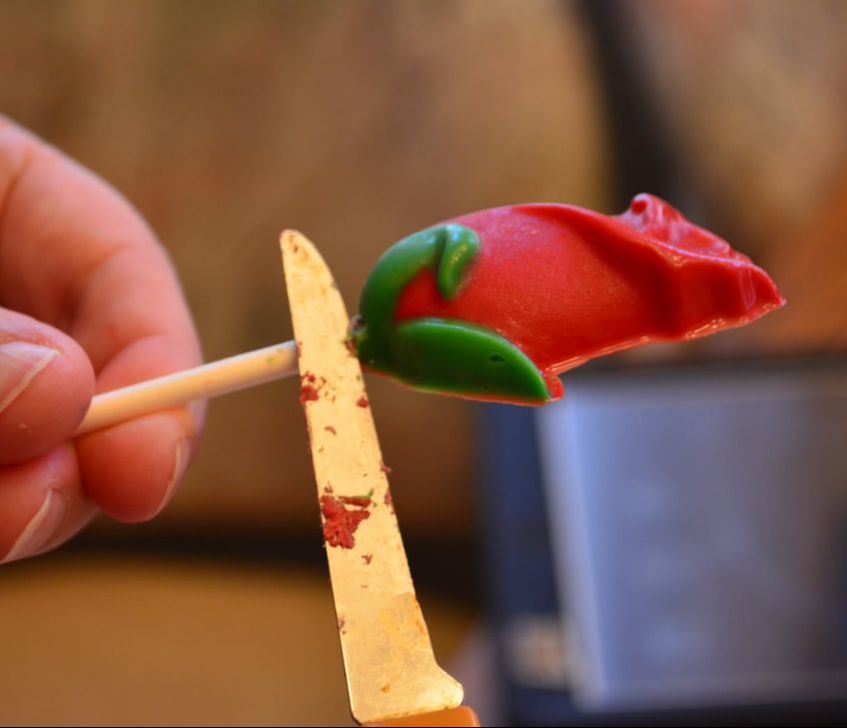 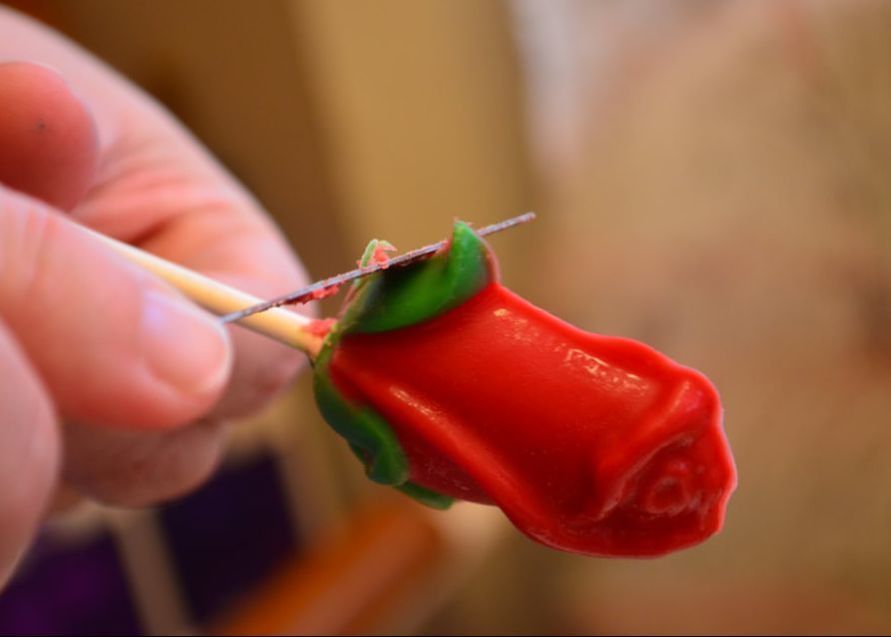 Since we're doing lollipops our final step is to wrap them up. You can buy Wilton lollipop bags, treat bags, and sometimes lollipop wrapping kits in baking aisles. Simply wrap them up and gift them, use them as wedding favors, etc. 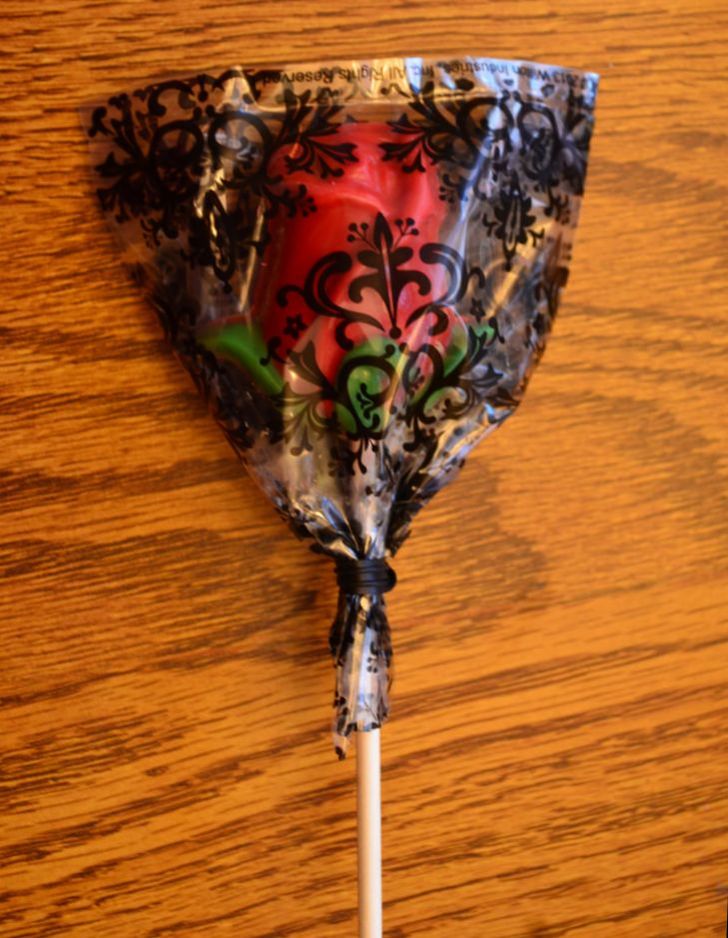 I hope you enjoyed the first baking blog post on this site. This is something I've been wanting to do for awhile now. I'll include a slideshow down below with all the photos from this process and maybe some bonus ones from other chocolate projects I'm particularly proud of. |
Kitchen is LifeI've got a mean sweet tooth and the skill to boot. ArchivesCategories |
 RSS Feed
