|
So any of my regular followers may have noticed that my 'small' hiatus has been a rather large one. WELLLLL our big year has turned into an even bigger one! My husband and I found out we are expecting our first baby! We're over the moon with this news and so are our families. But the pregnancy has drained the heck out of me and I'm just now starting to get back on track. And to add to the excitement we're in the process of buying our first house. So things are very busy around here and thus my hiatus has kind of been extended. BUT my mother has offered to do a special guest post and teach y'all how to make Pom Poms! So I'm just going to hand this over. YOU WILL NEED:
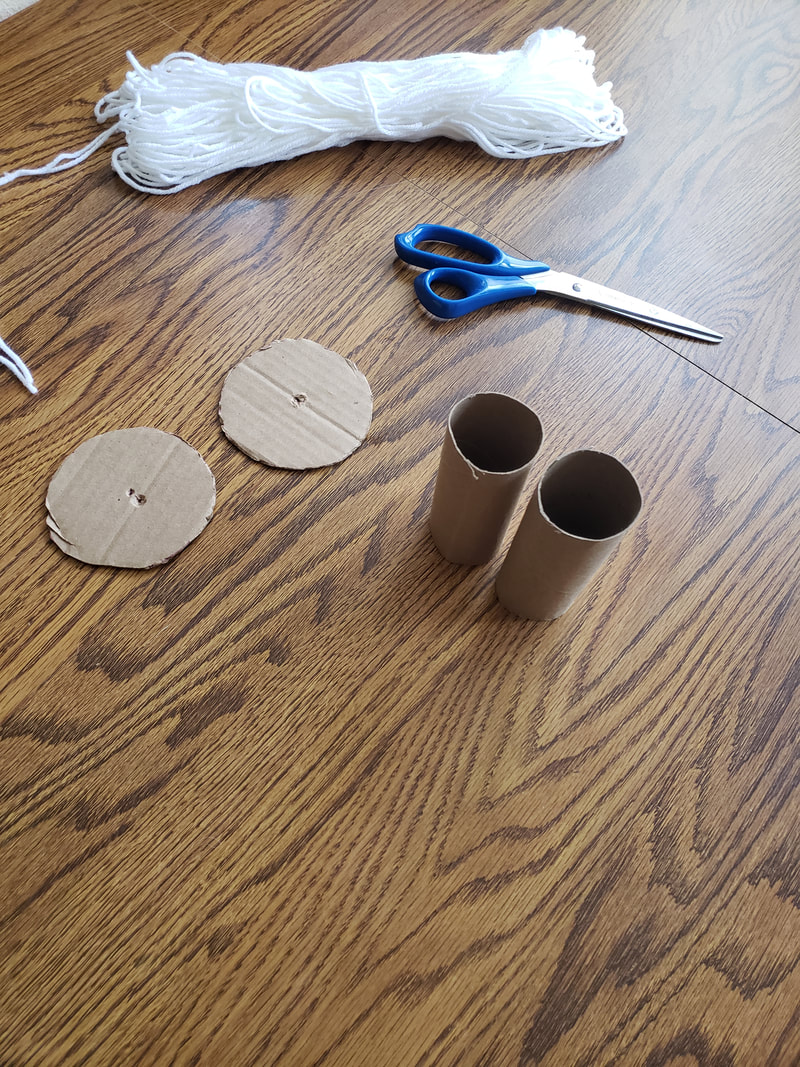 You're going to start by doubling up your yarn. You can do it with single string thickness but the pompoms are much 'poofier' if you double your string. 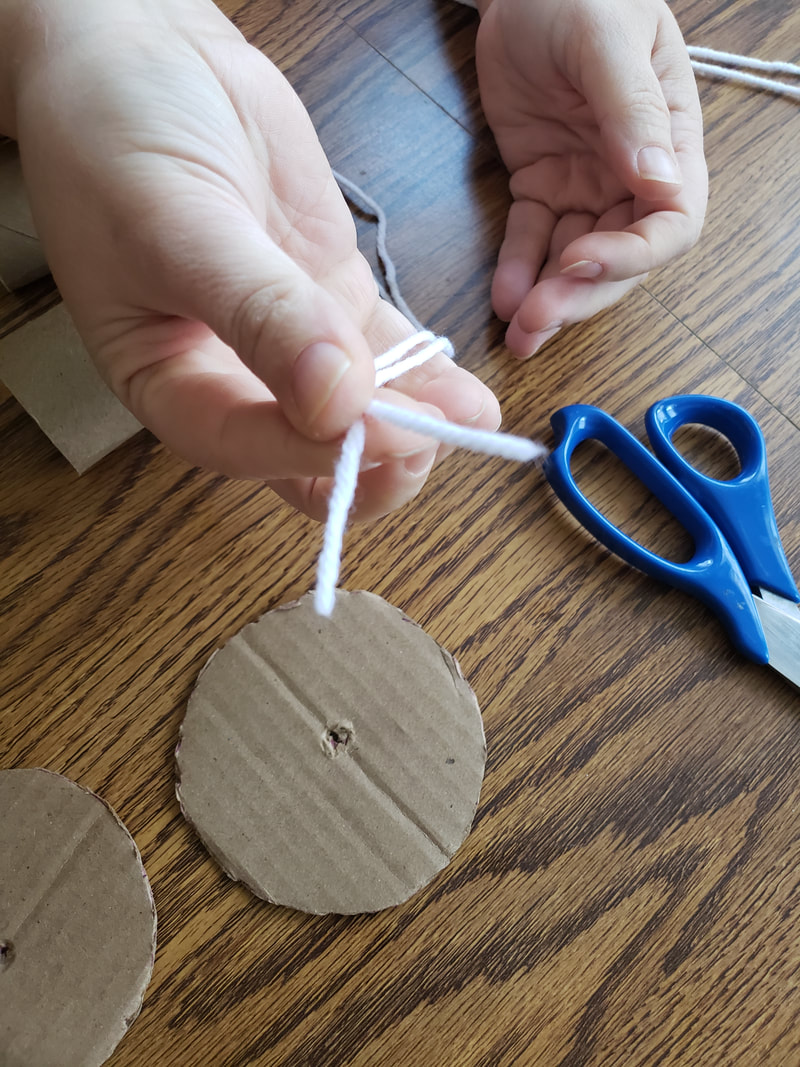 Then take your string and wrap it around your toilet paper rolls. Stick it between your rolls to get started and then wrap around both rolls. 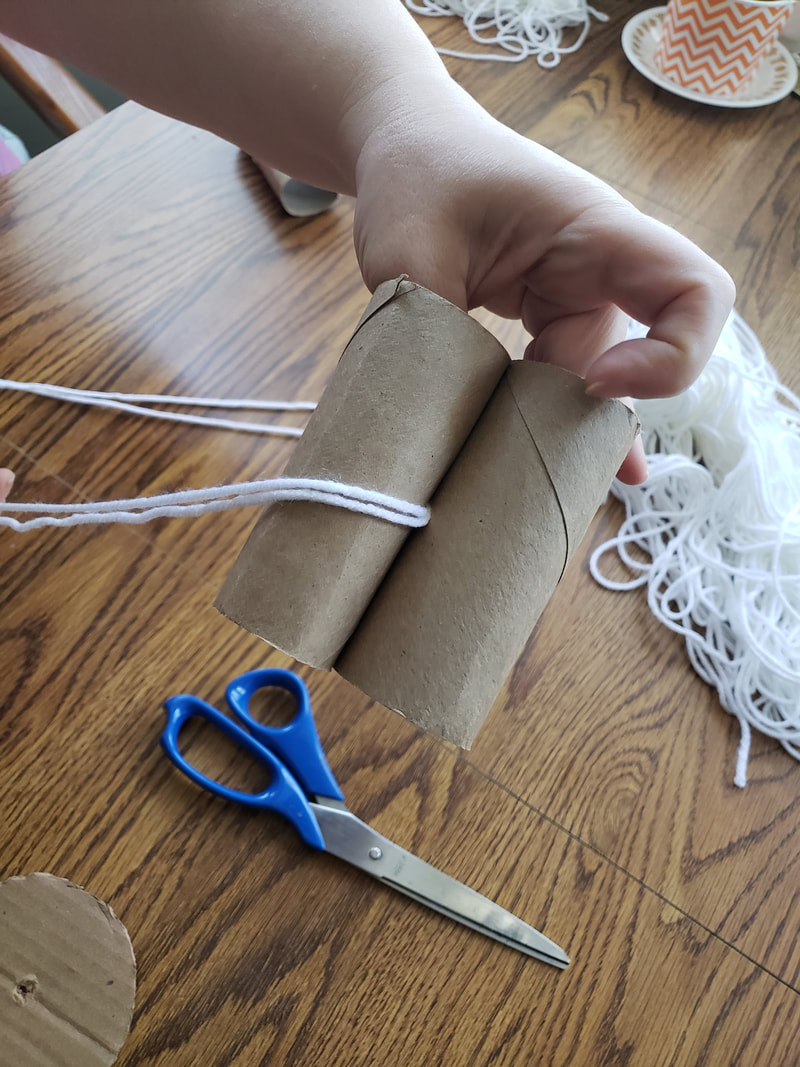 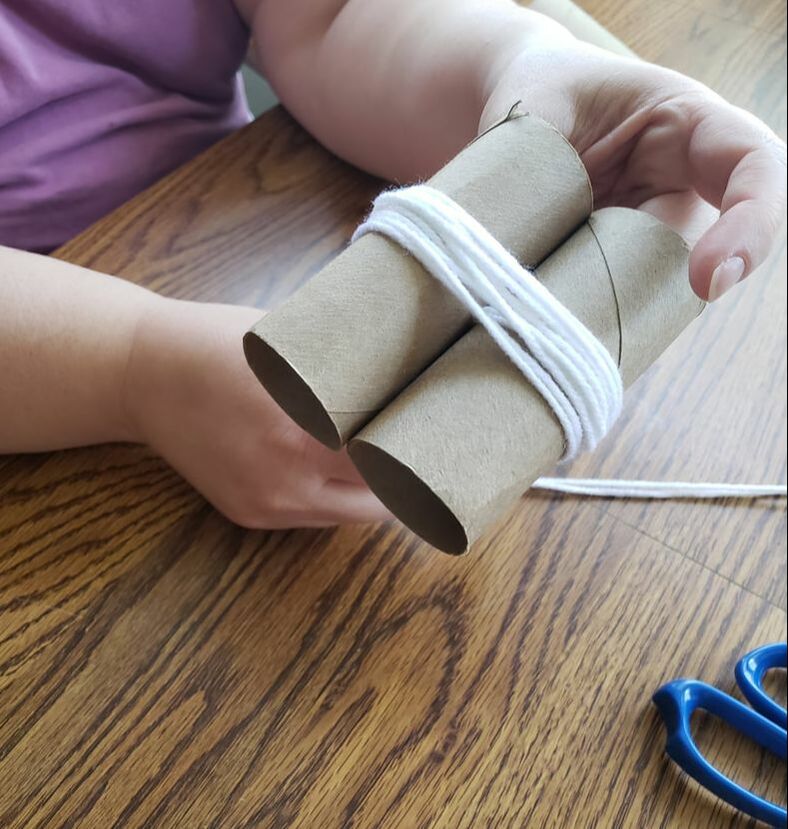 You're going to wrap the yarn 80x. At least to make it as big as she's going for. You can probably do less for smaller pompoms. 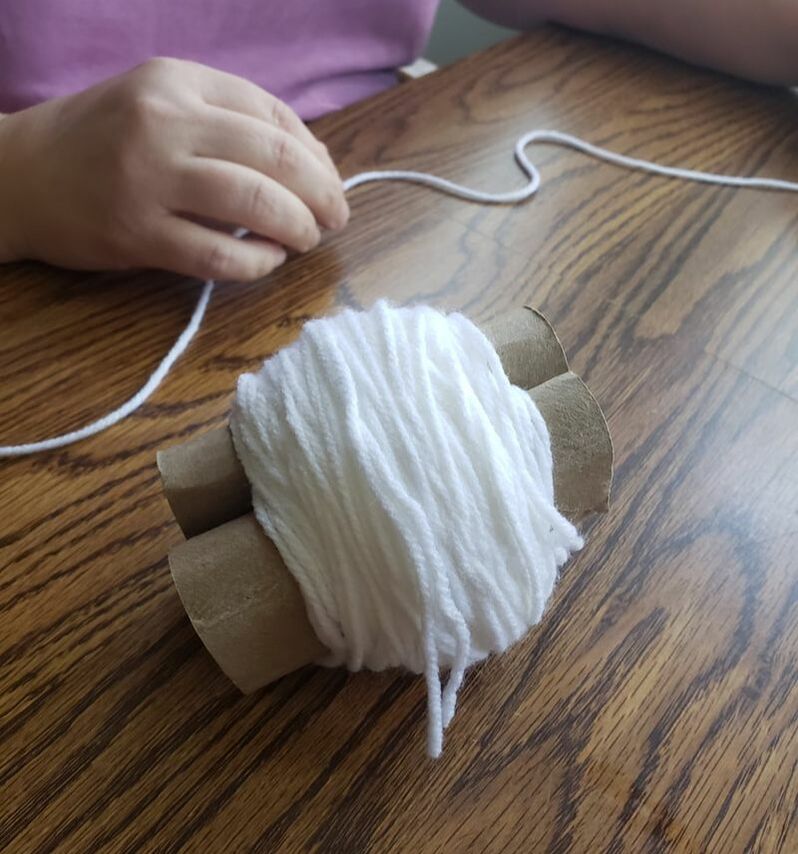 Then take a single string of yarn and place it down the center of the rolled yarn and toilet paper rolls. Flip it over and tie the string, sliding your rolled yarn off the tp rolls. 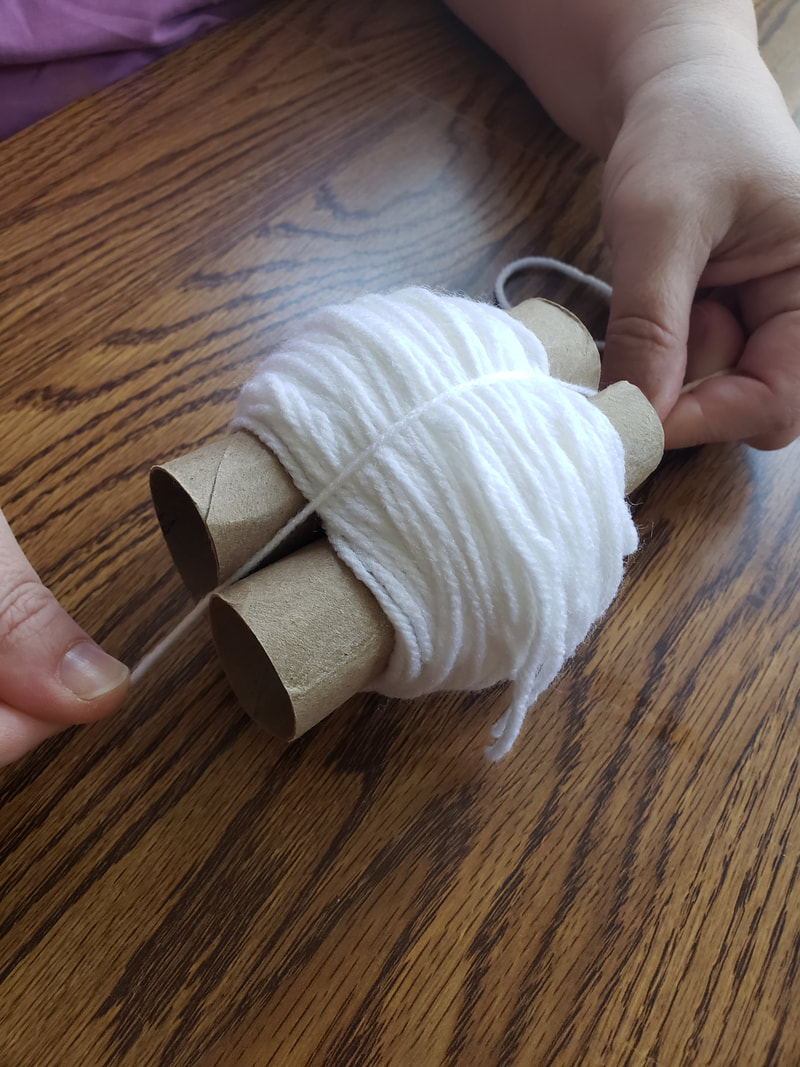  Take your tied up ball and start cutting the strings. 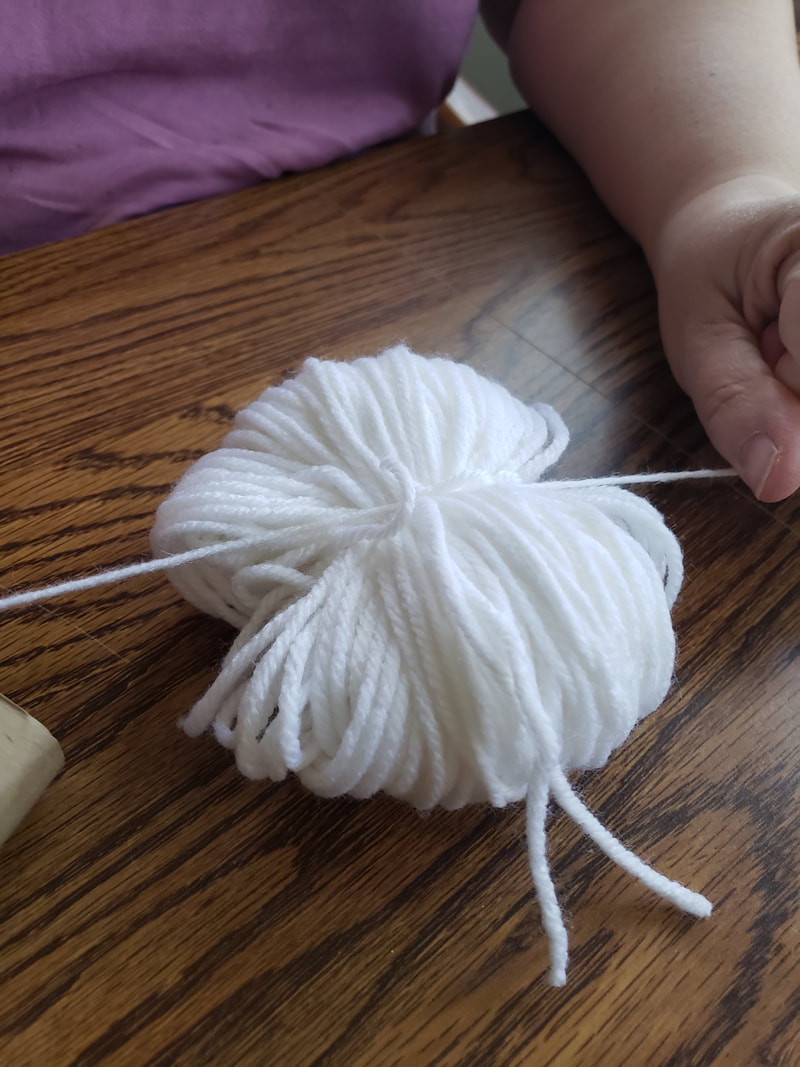 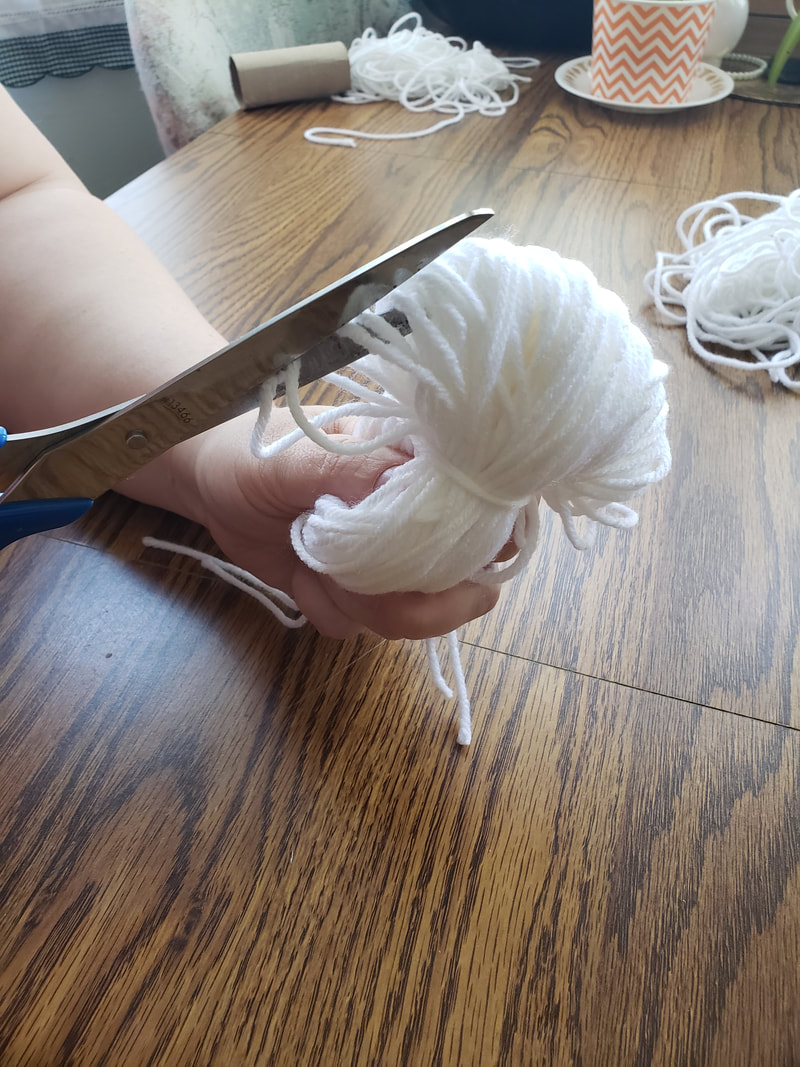 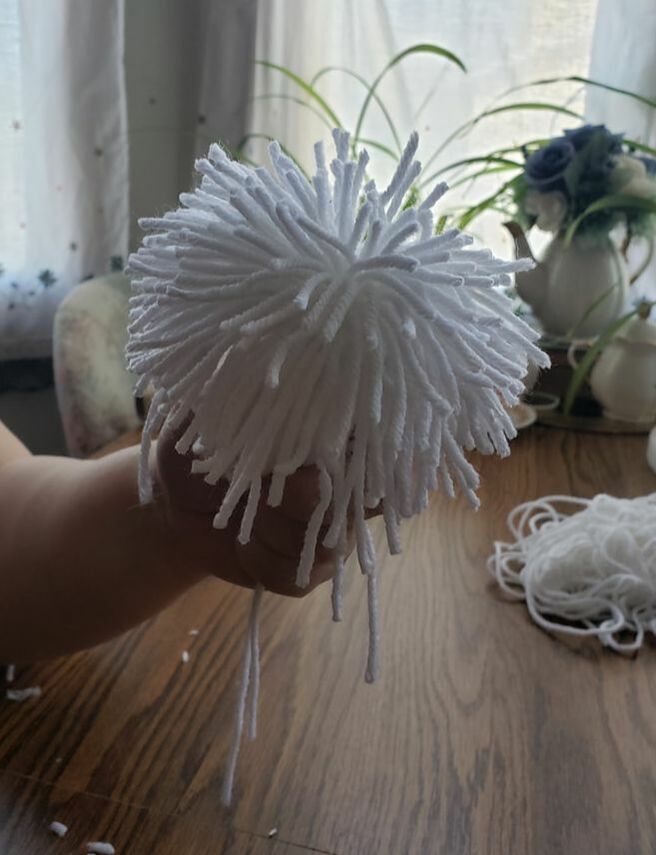 The pompom is a big awkward acorn looking thing, but we're going to fix that. So you're going to cut out two circles from cardboard and use them to squish the yarn acorn. 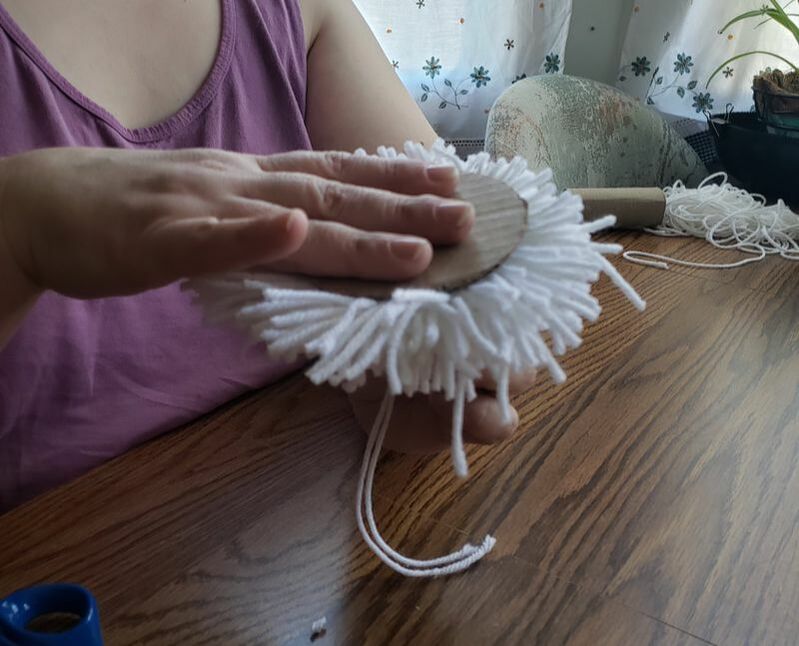 Then take your scissors and cut the string off that's sticking out from inbetween the cardboard. 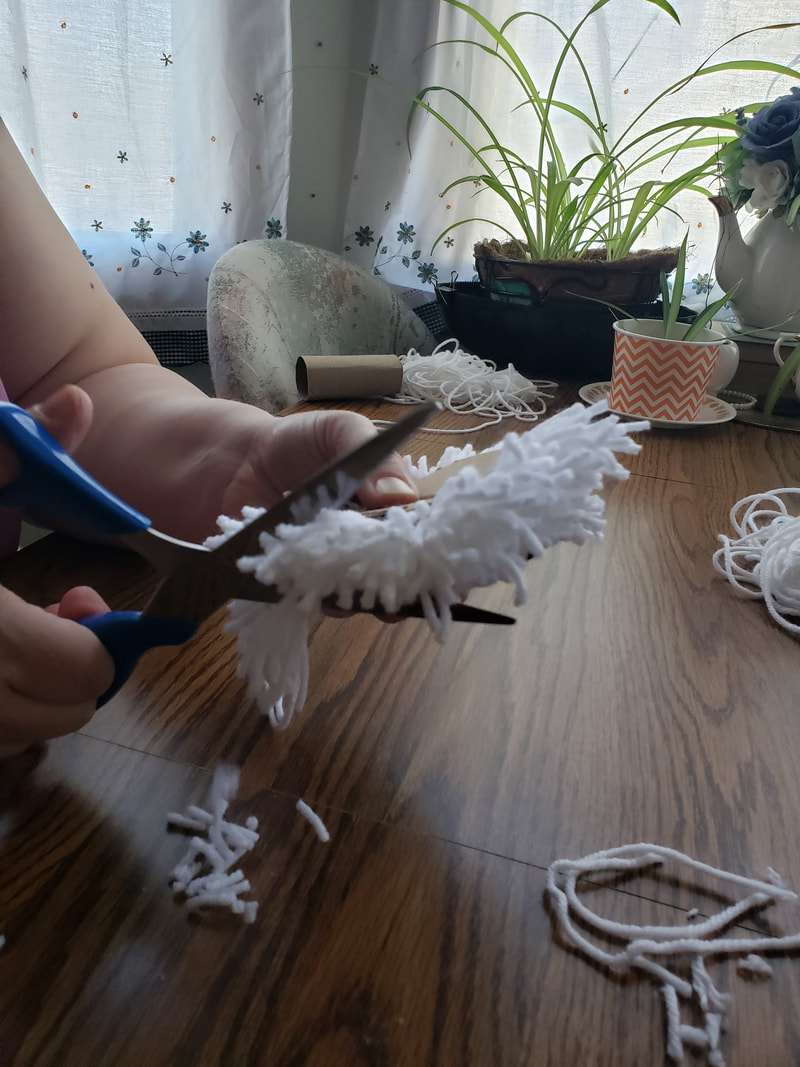 Take it out, shake it off, and then you're going to flip it and cut in the opposite direction. 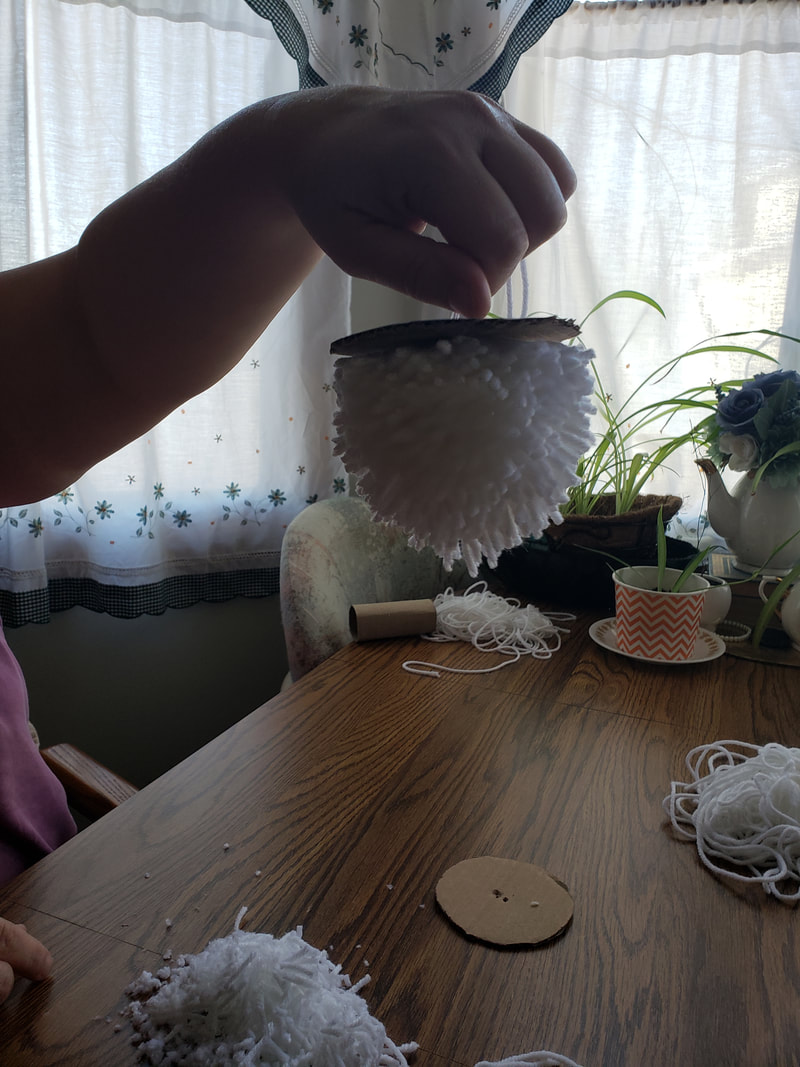 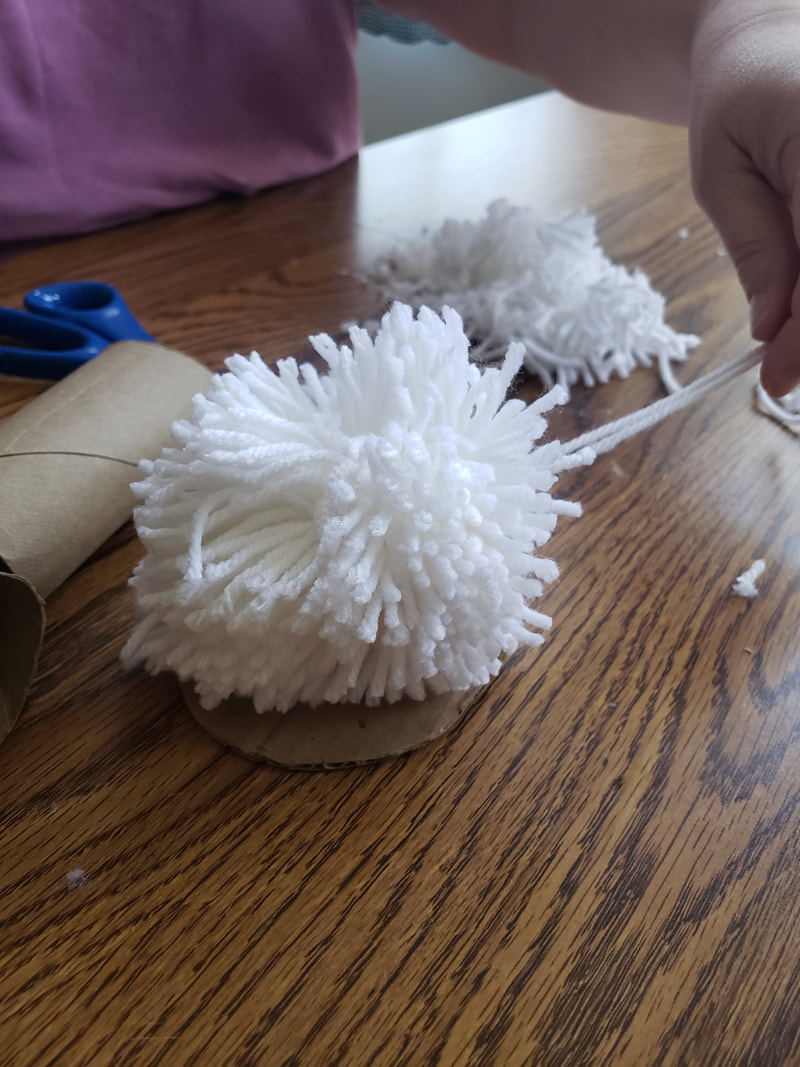 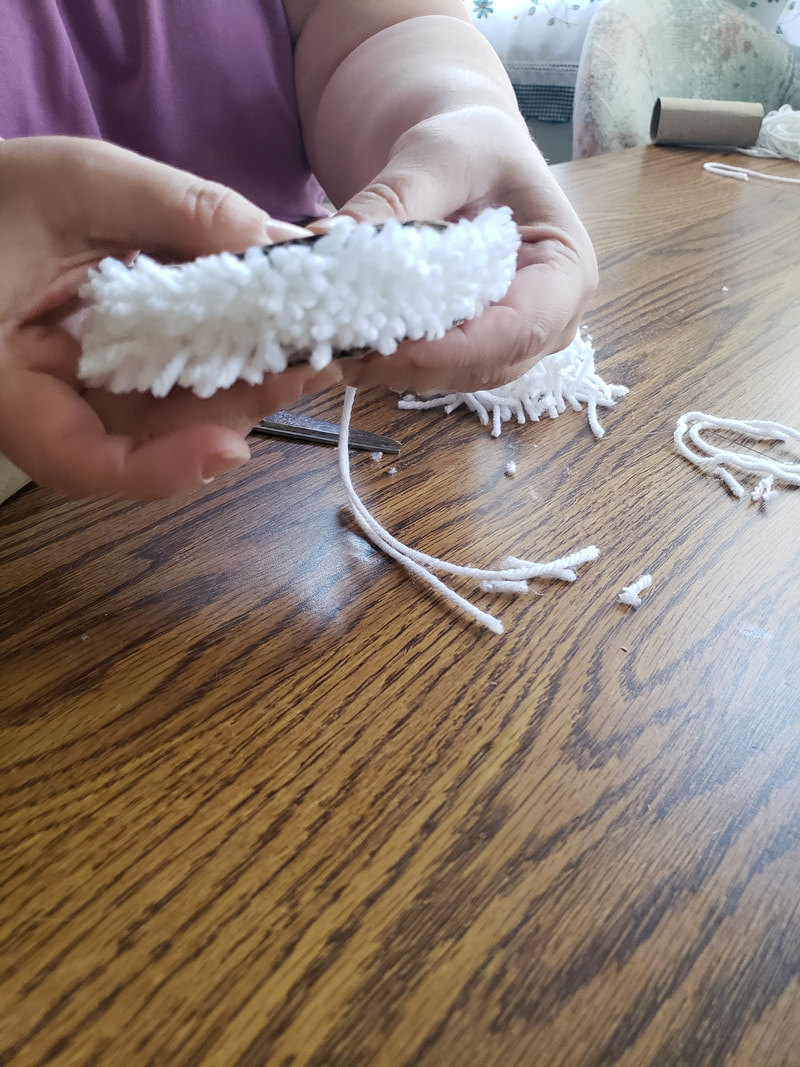 And then fluff it up again and you've got your finished pompom. If there are any uneven strings just snip them down to make the rest. 
0 Comments
I enjoyed this craft so much! I have so many ideas for other ways to do it and how to pull them off. I made these as cute little gifts for my cousin and brother-in-law to ask them if they'd be our baby's godparents. BUT you could also make these for a Pirate birthday party and the possibilities are endless! YOU WILL NEED:
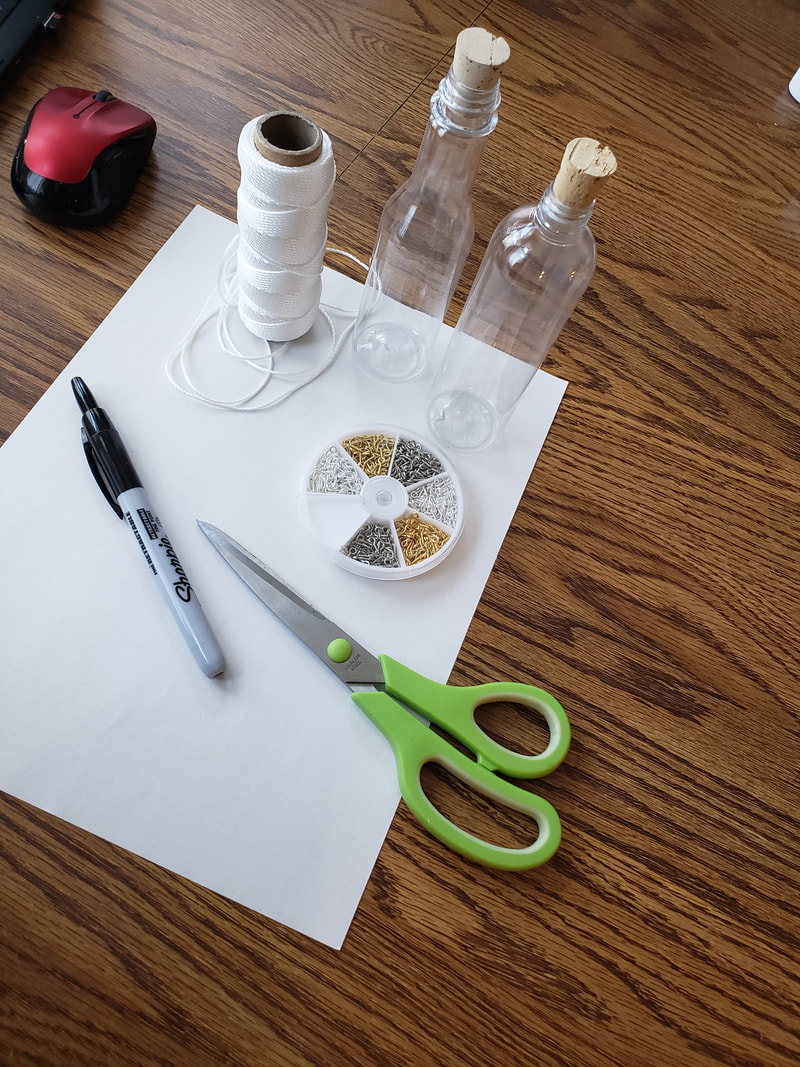 I decided to use plastic sand art bottles you can get at craft stores like Pat Catans. You could totally use glass bottles but I was afraid those would just get smashed and that's a safety concern for me. The most important part of these bottles though is that they have a cork. That's because your eye-screws serve no purpose without that cork. 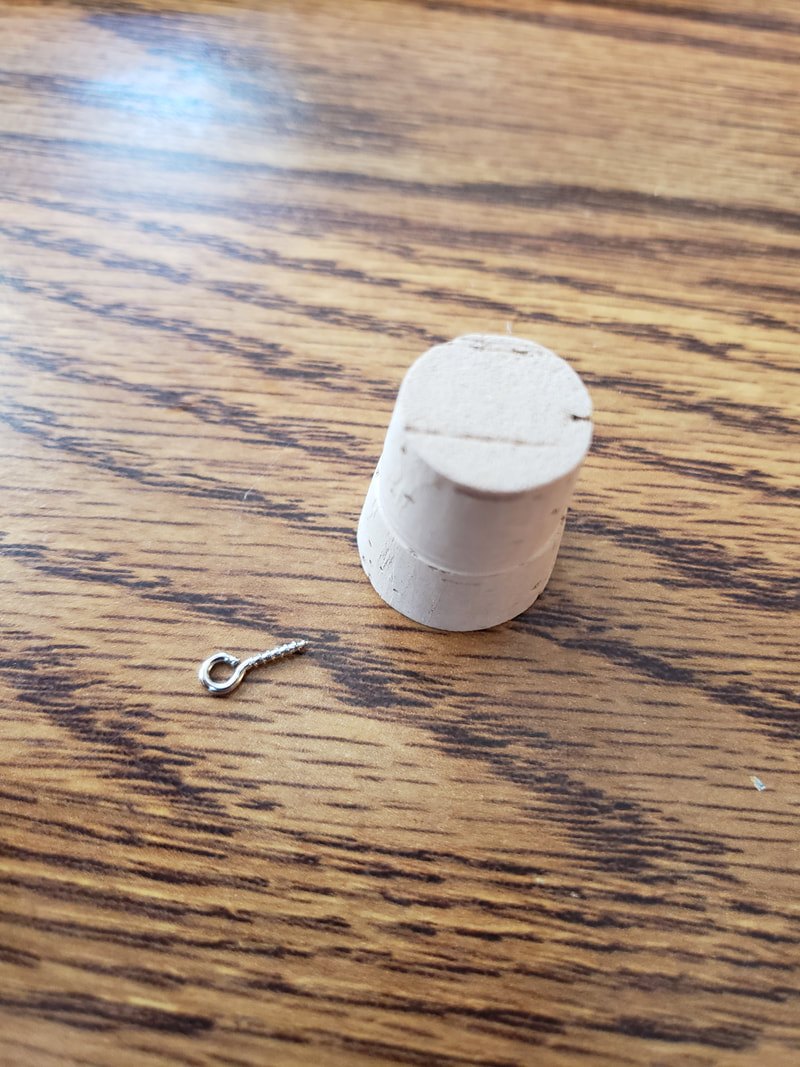 Go ahead and screw that into the center of your cork. 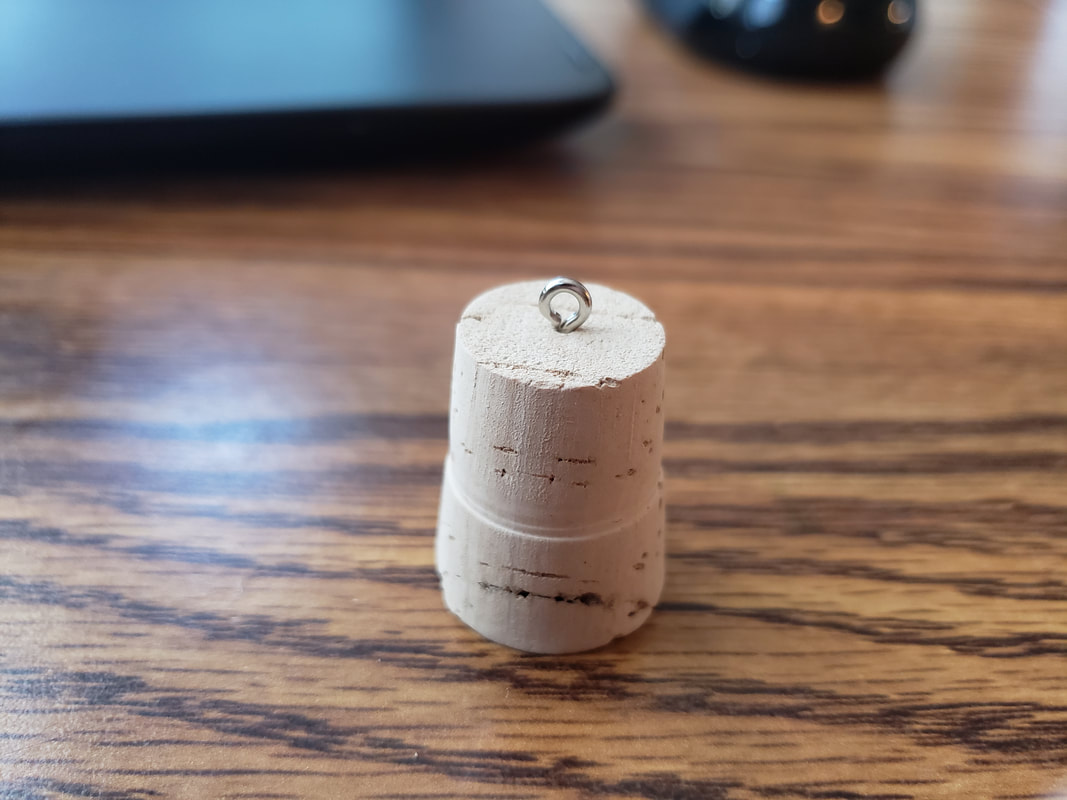 Next prepare your note. I chose to take a piece of paper and cut out a smaller sheet which I hand wrote my note on. You could probably print yours and cut it out if you want something more intricate. Or you need to make a bunch of them for a birthday party! (I really got a pirate theme on my brain, lol.)  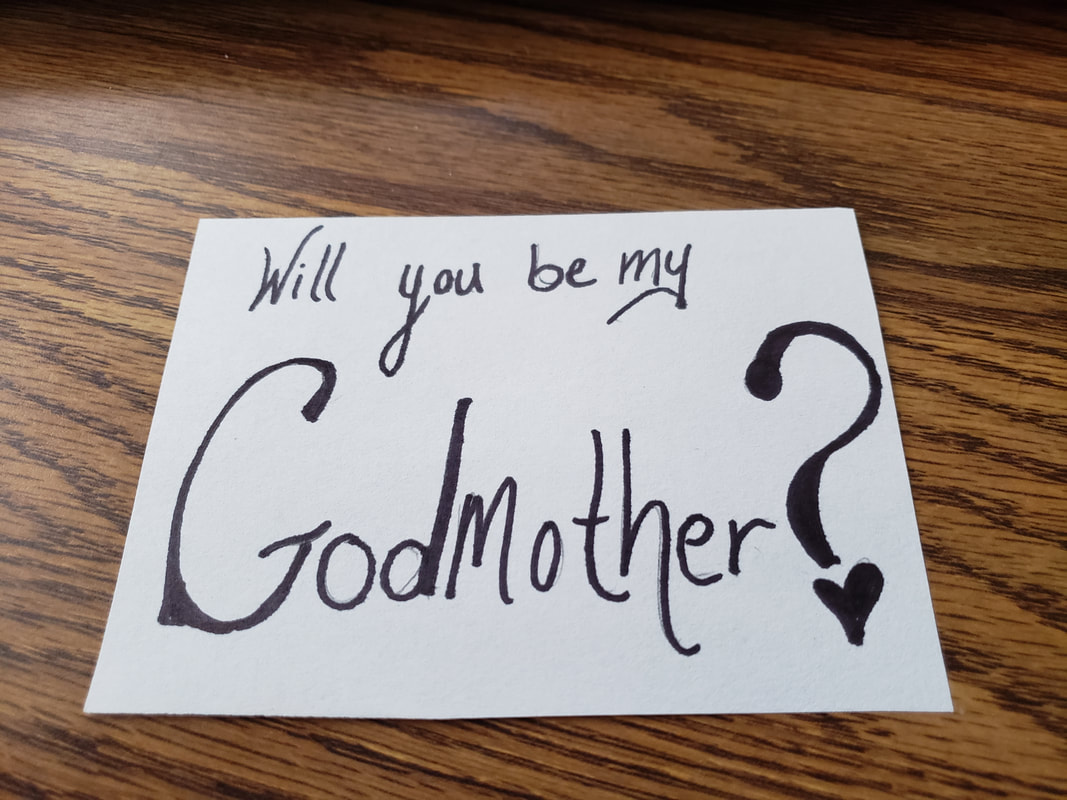 Once your note is prepared start rolling it up. It needs to be small enough that it can easily slide through the opening of the bottle. 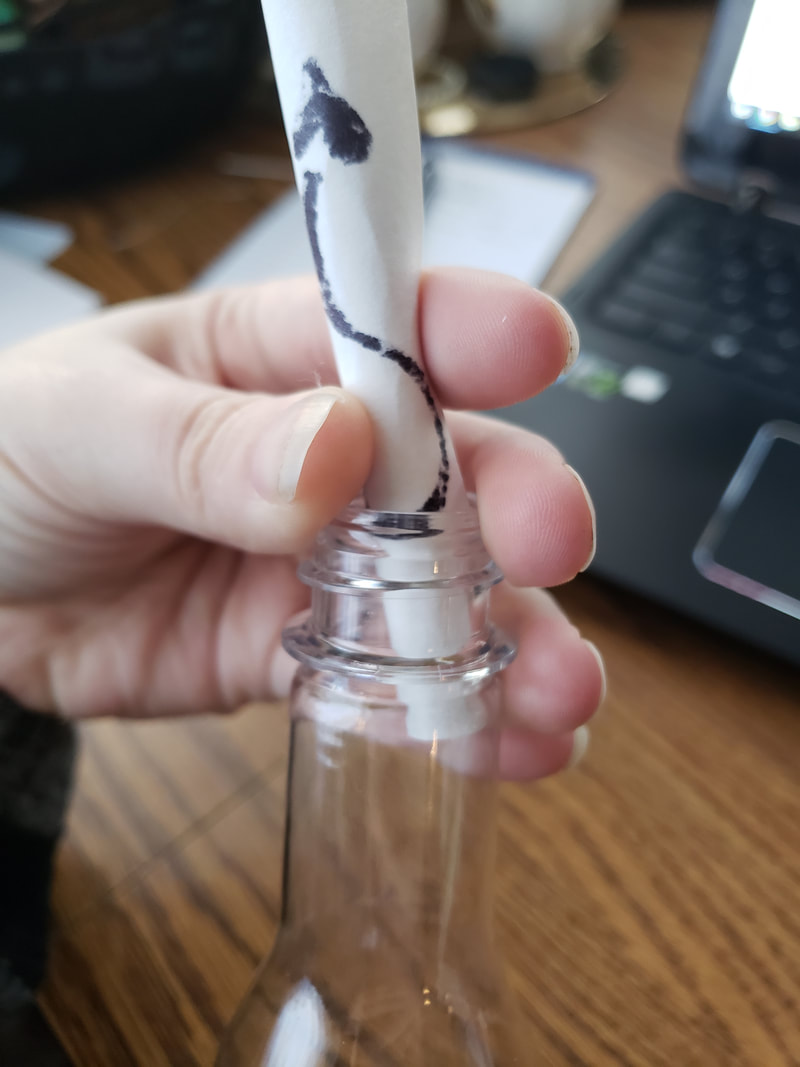 Now, take your string and tie it to the eye-screw in your cork. I recommend using a different type of string than I had on hand. Mine was slippery and unraveled easily. I ended up needing a small dab of hot glue to make sure the knot stayed in place. Now you're going to measure out how far into the bottle you want your note hanging. Remember you'll need extra string for the actual tying. So whatever length you decide on add some extra. 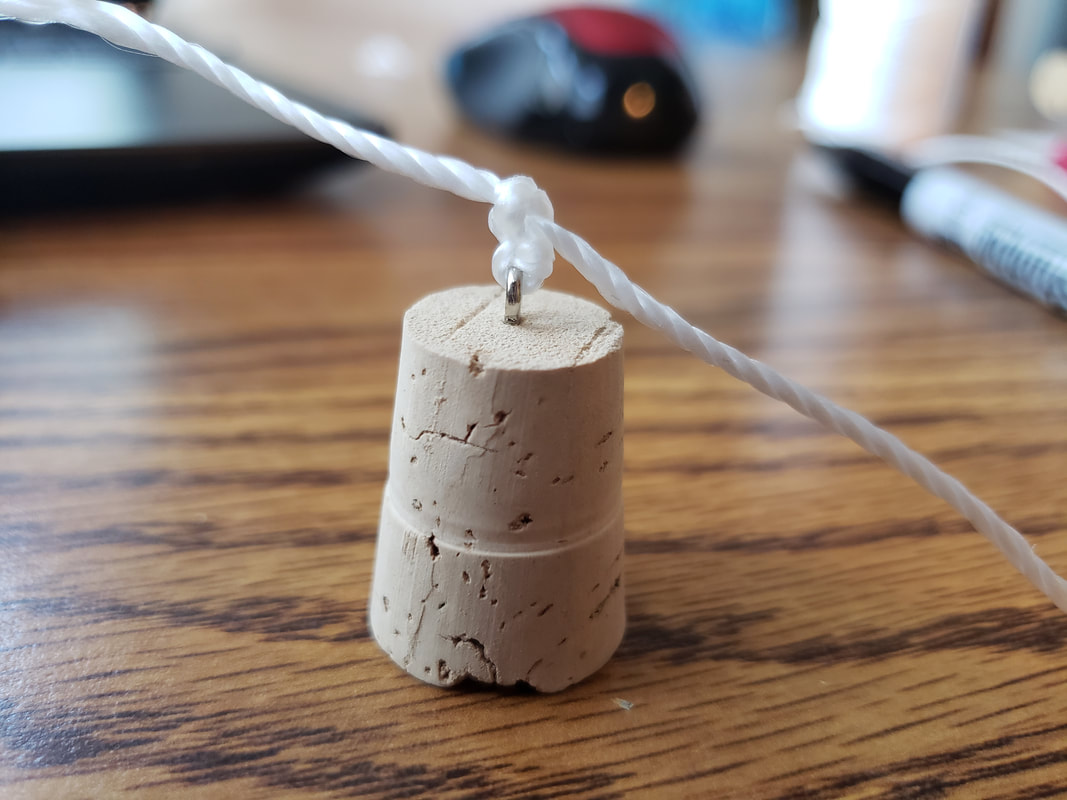  Cut your string to the length (plus a little extra) and start tying it to your rolled up note. Remember you need to keep the small girth you previously determined. This way it can come in and out of the bottle no problem. 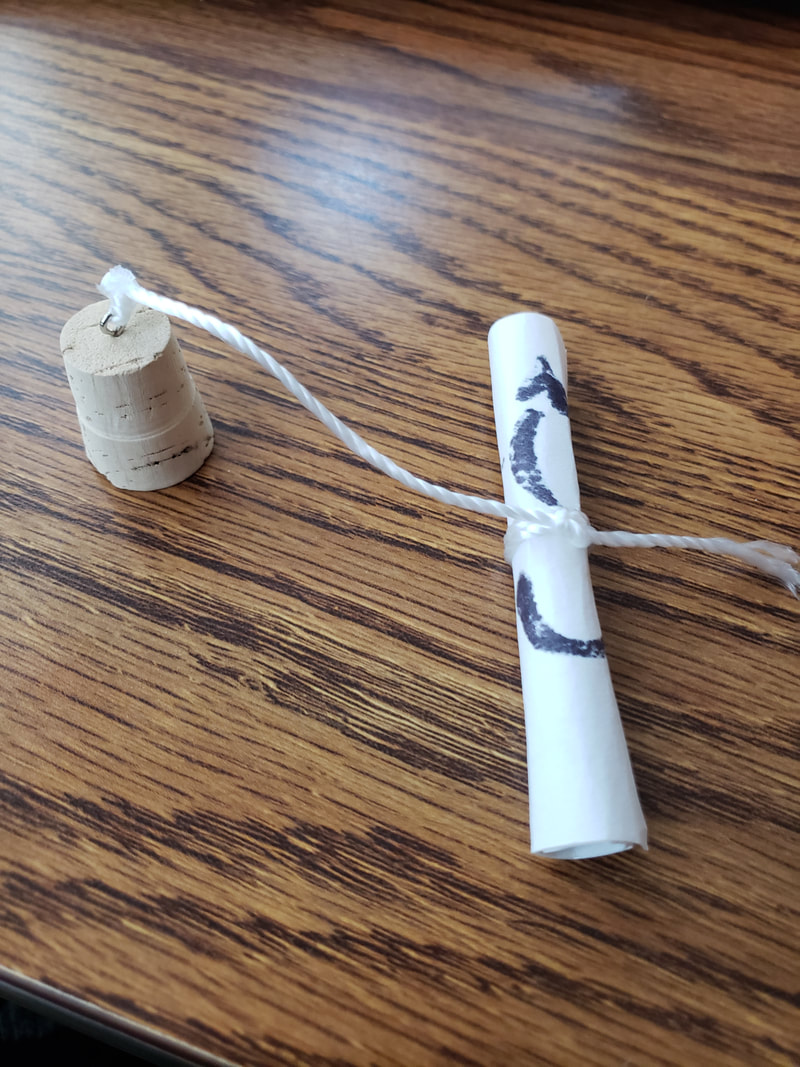 The idea is that once they pull the cork from the bottle they will retrieve their special note no fuss or muss! 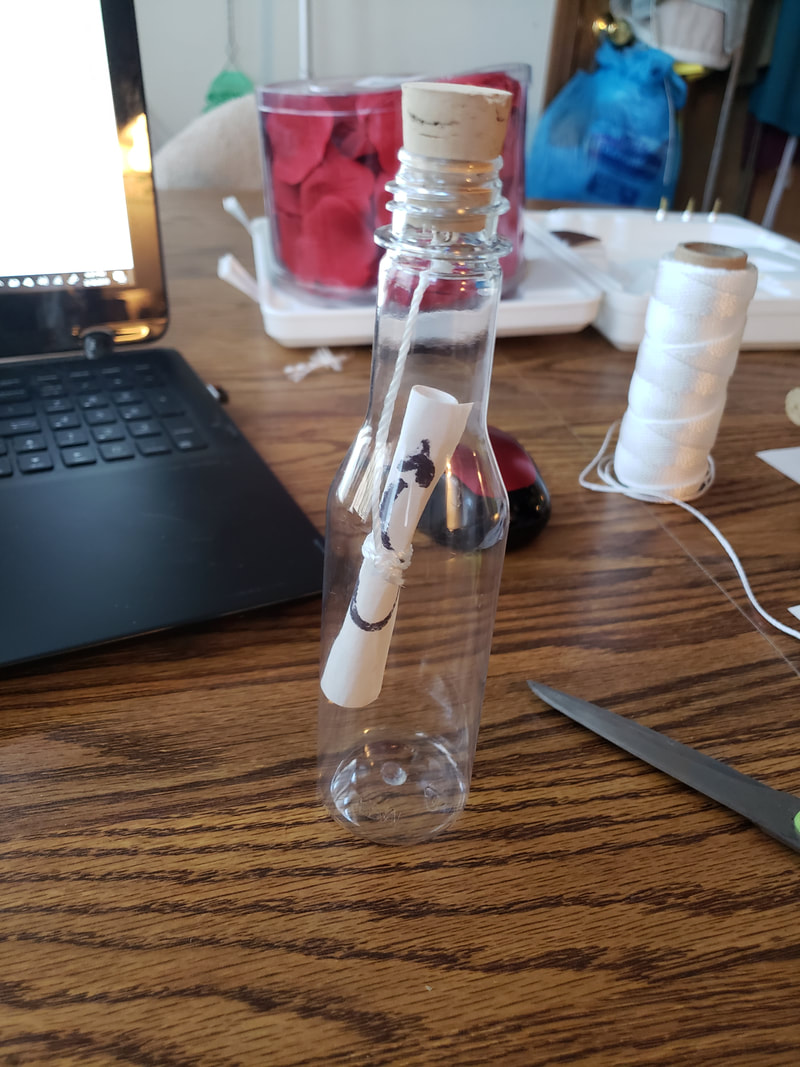 Now, you can add any extra designs or special details you want. I felt these bottles were a little too bland so I took string, hot glue, and little roses to spruce them up. And wallah! 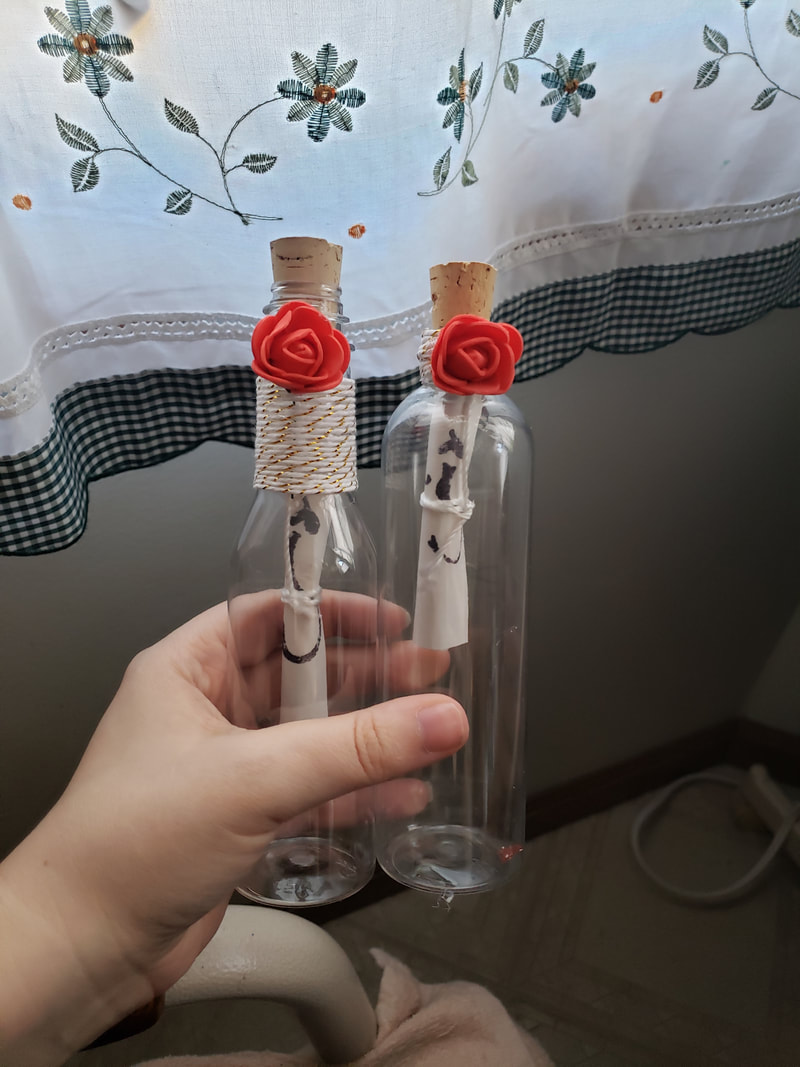 During this year's Spirit Week at Jenna's school they did a superhero day. Of course we don't just have superhero costumes laying around (at least not in her size) so this left me with the task of finding something for her to rock. This is what I came up with. You Will Need:
We went to Pat Catans (about to kiss those goodbye) but you can stop at any craft store and they'll have a cheap t-shirt section for crafts. We got a youth sized t-shirt there. 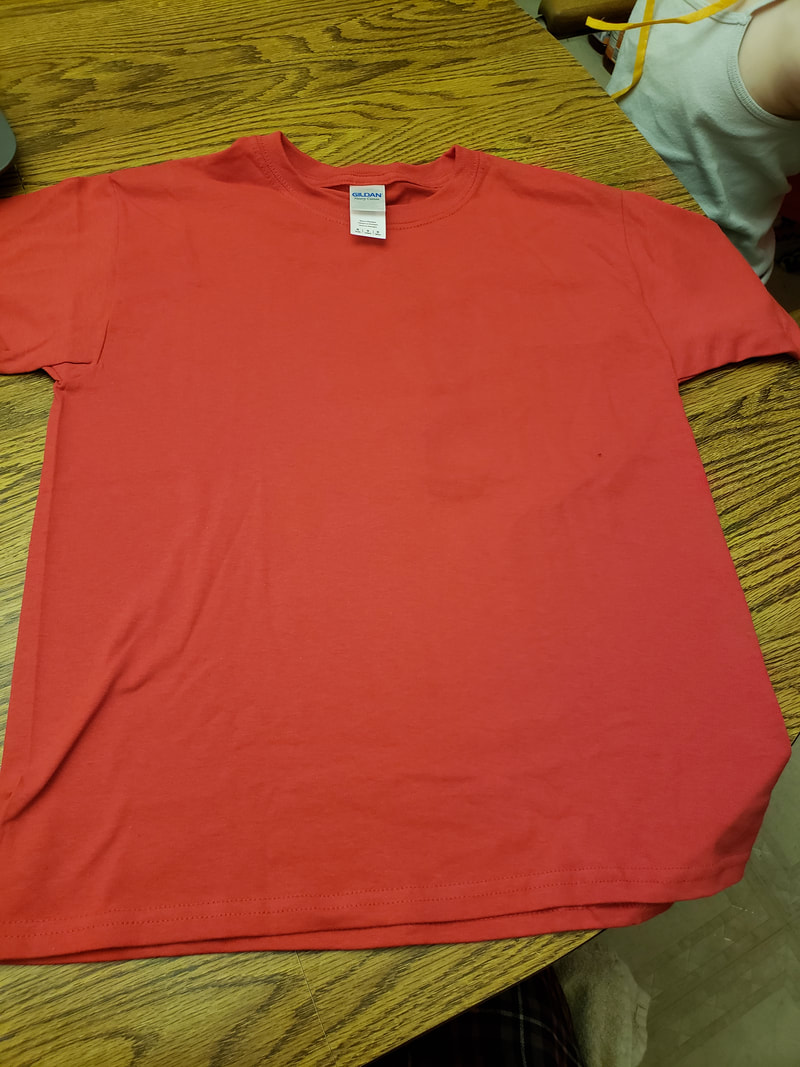 Taking a sheet of felt I sketched out a Wonder Woman-ish W to place on the shirt. And when I was satisfied I cut it out and hot glued it to the front of the shirt. 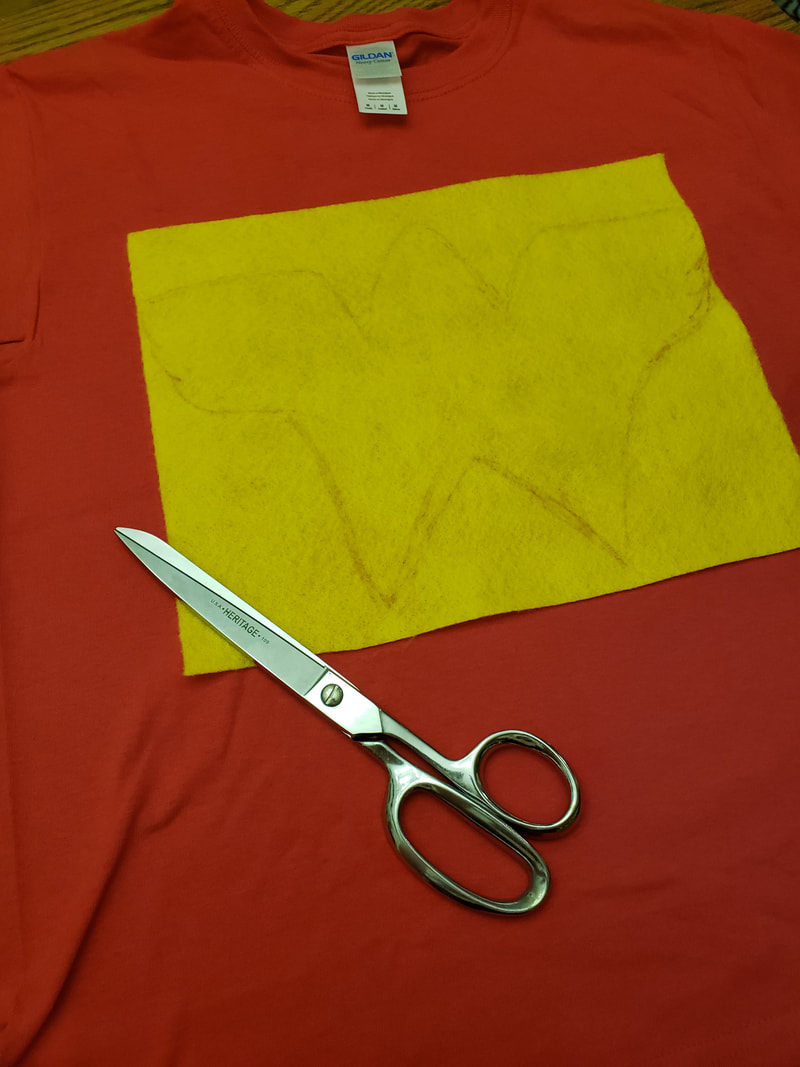 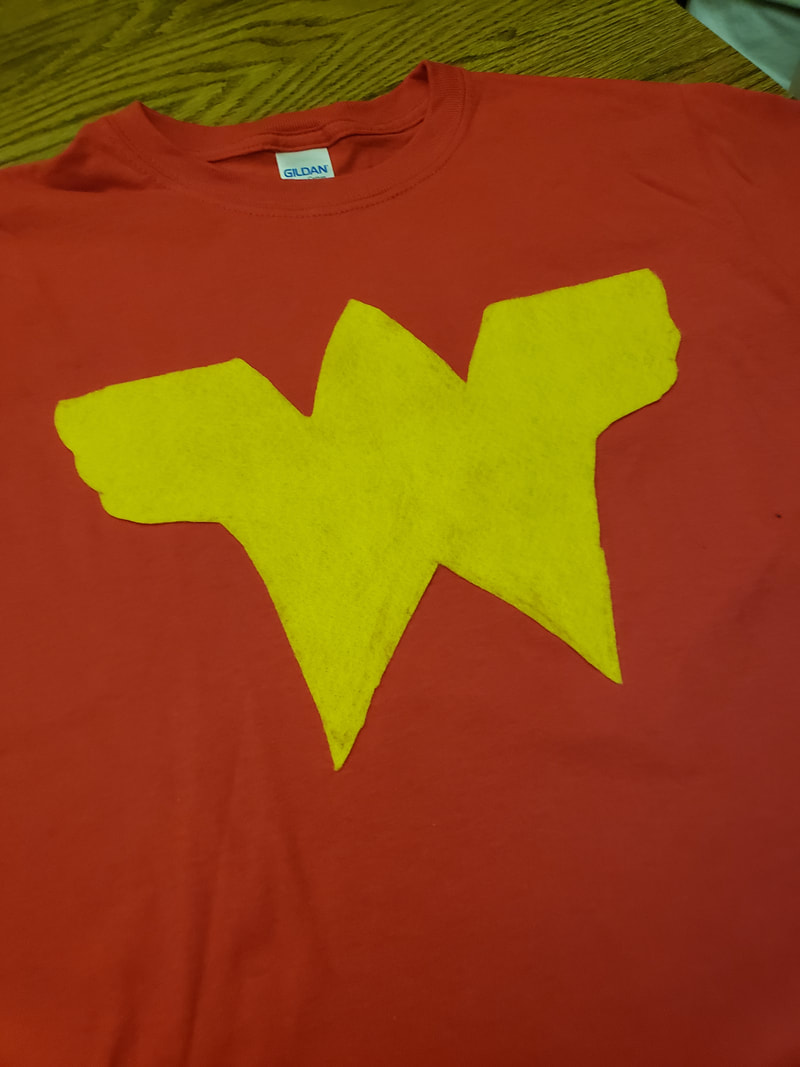 I measured Jenna's arms to get the cuff length figured out. Cutting about 1/4 of the felt sheet off I had the proper length needed. 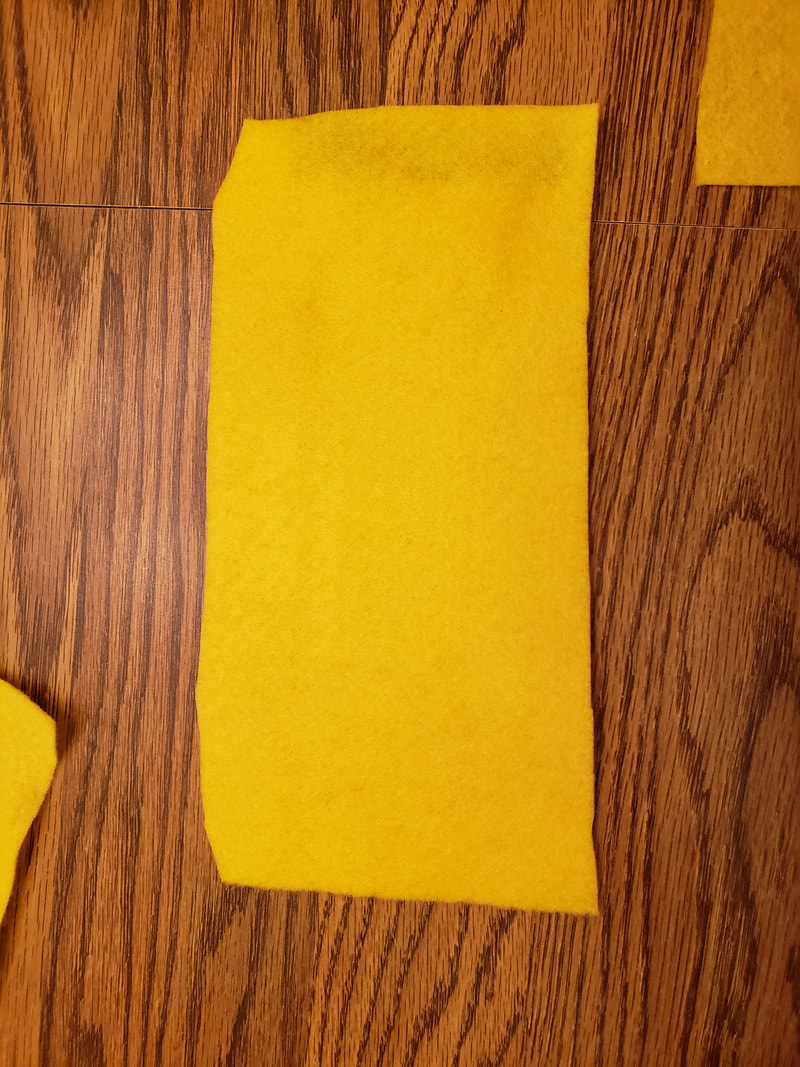 The tricky part about the arm cuffs is that you have to conform it to your child's arm. Our arms are not perfect cylinders so you can't just make a round band and expect it to fit around the wrist. I had Jenna stand by me and pulled the felt as tight as she wanted her cuffs to be. Then using a pen I marked where the pieces of velcro needed to be for it to properly fit. In the first photo you can see a dark line under the yellow felt at the very bottom. That's the other piece of velcro, her arms are so small that these bands seriously overlap fabric. In the second photo I folded it over so you can see the velcro clearly. 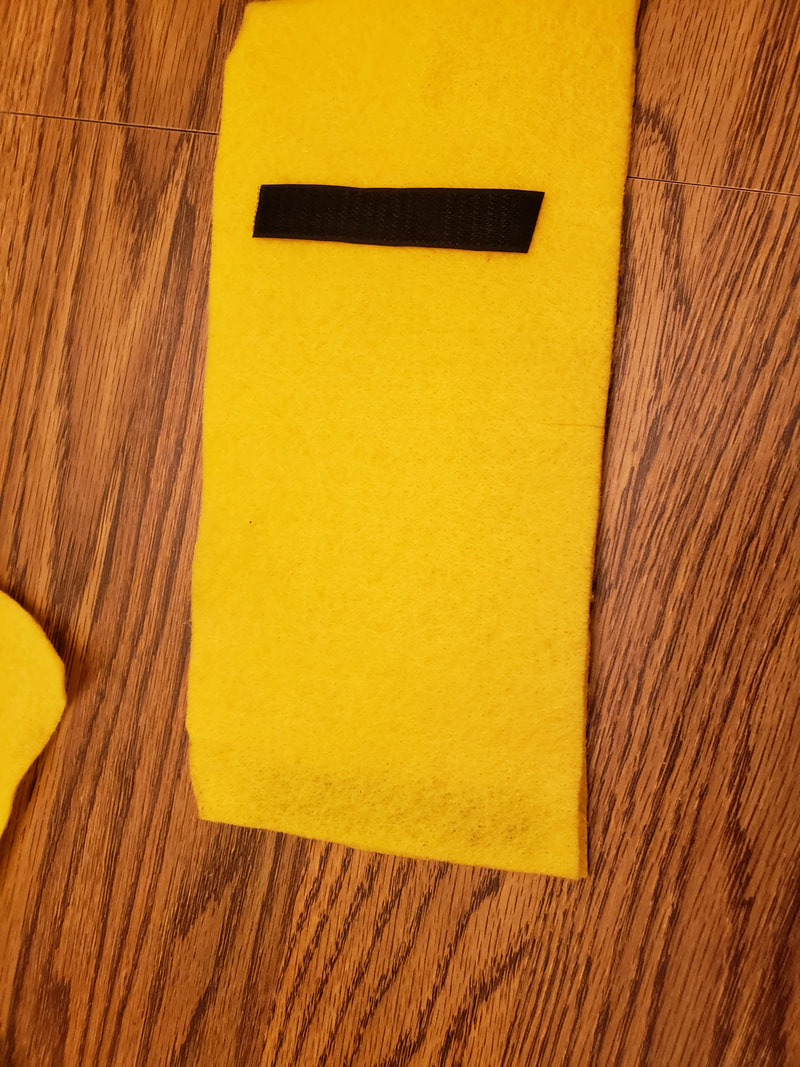 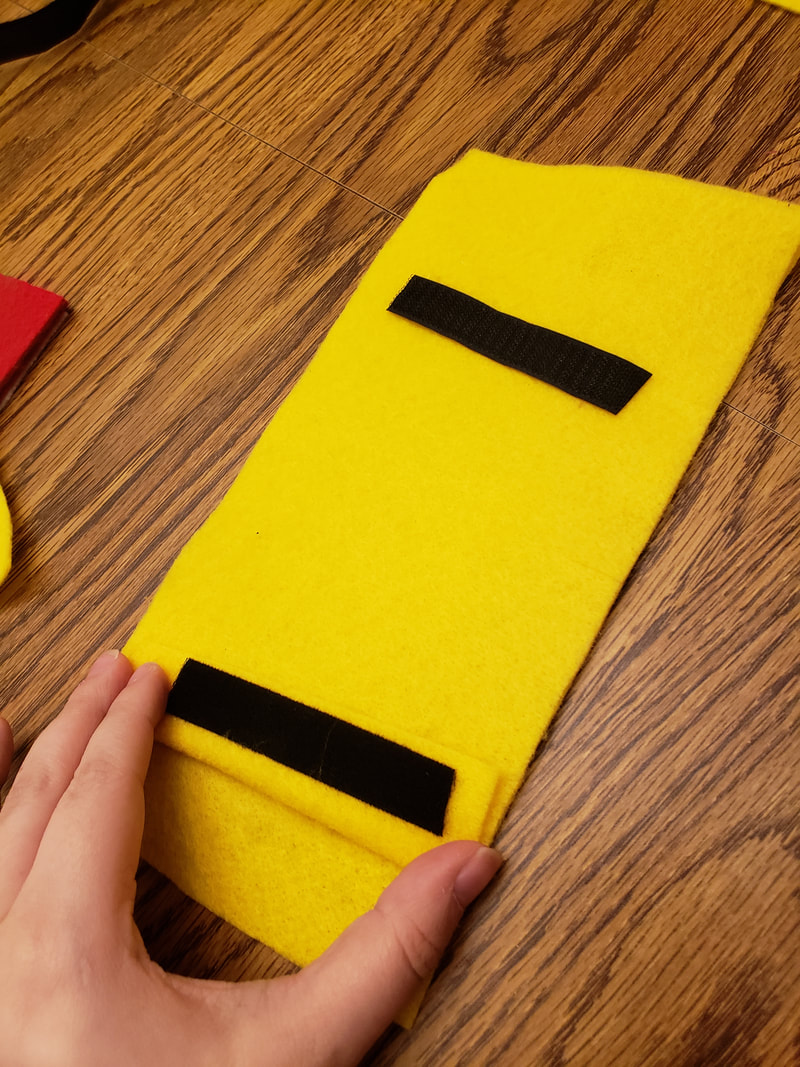 I then cut out little red stars and hot glued those to the cuffs as well. 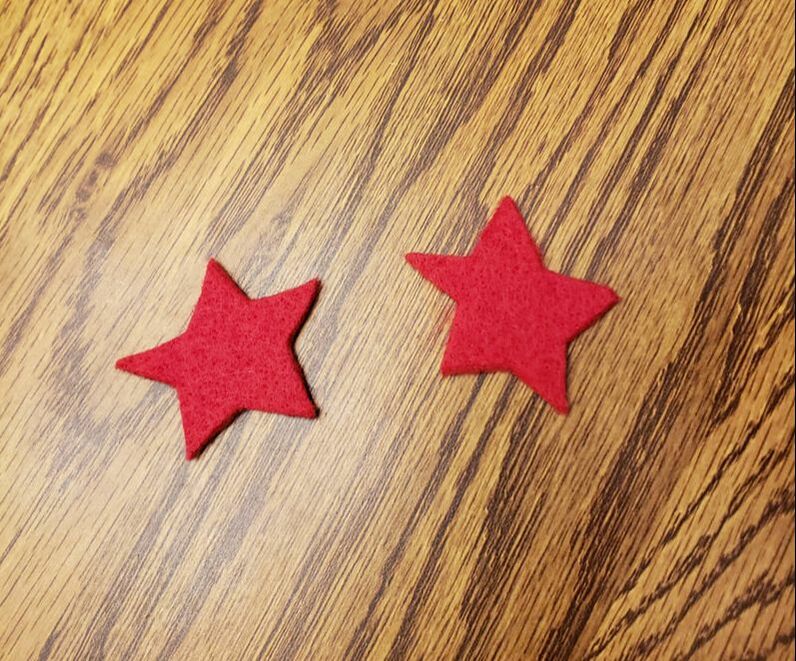 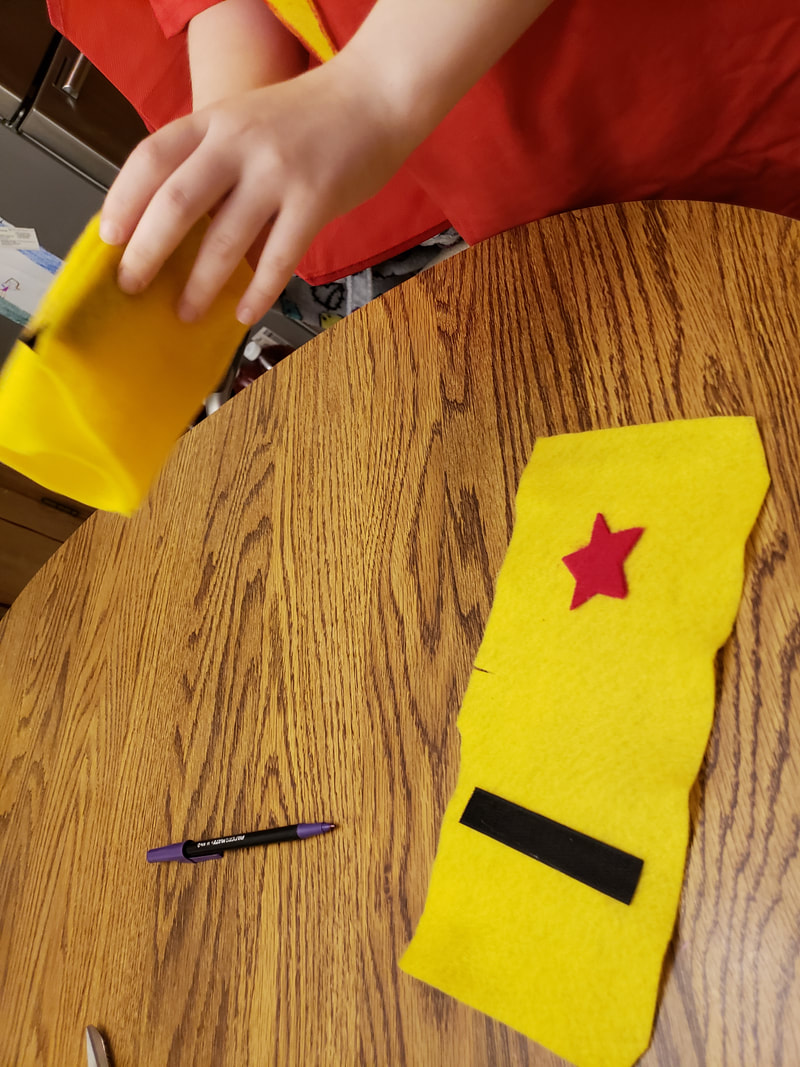 I didn't get photos of the process but I also made her a headband/tiara type thing. Measuring her head I made the band and used velcro to attach it. Then using the rest of my yellow felt I created the plate on her headband and of course added a red star. We also picked up a $1 superhero cape in case I failed at making this costume. So even though Wonder Woman is rarely depicted as having a cape, Jenna wanted that added to her costume as well. (Psst, I also went in and filled in the lines of the W with a red marker.) 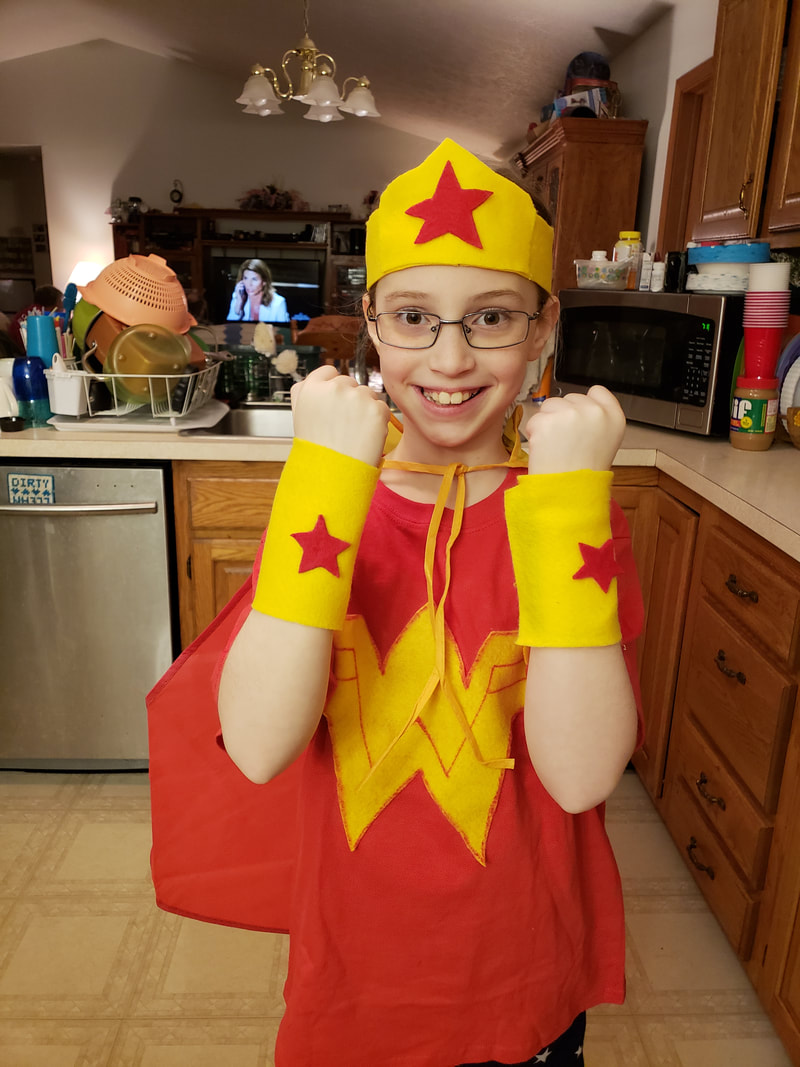 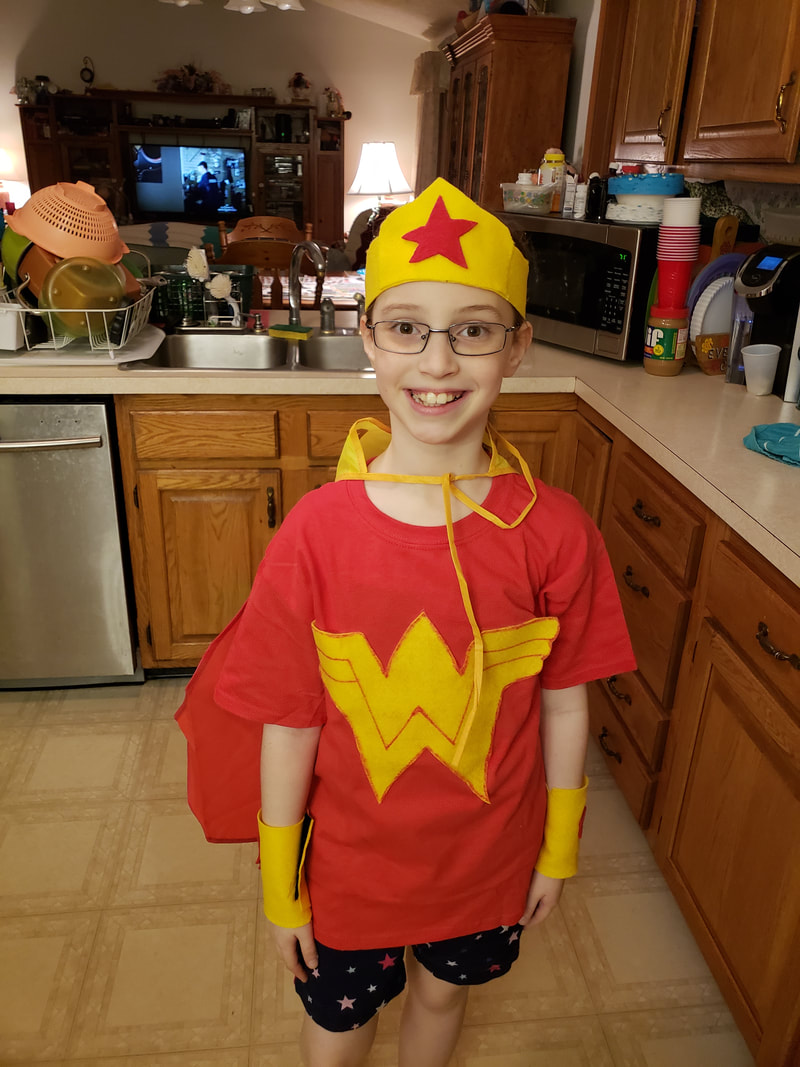  There you go a 20 minute superhero costume that cost me less than $10. But it was priceless to see her face light up and how proud she was coming home from school that day.
If you saw my post on the Soap Cloud Science Project, then this is a follow up to it. BUT you don't have to make some crazy soap cloud to do this, this is a great way to recycle soap bar slivers. YOU WILL NEED:
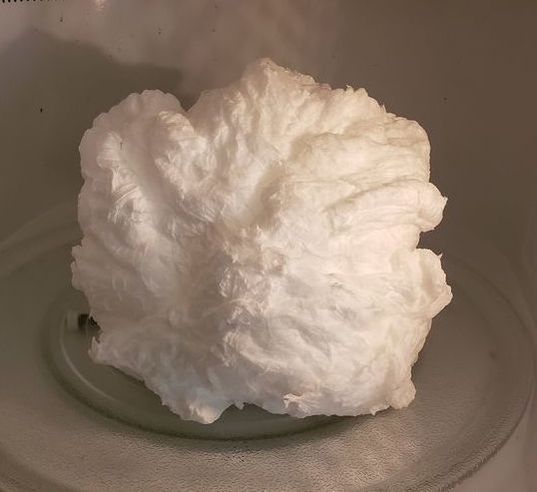 As I said, I started my soap recycling from left over soap from this science project. Now, you can check out the science project here ( ) if you're wondering what it is and what happens. It does not affect the soap in a, can it be used again, kind of way, but it does alter the state of it similar to what happens to popcorn. So since it's perfectly usable I broke it down into cups of soap. When you recycle soap slivers you need about a cup of soap to make it really work. But I had plenty of soap left over so I had six cups of soap to work with. Once you got your soap you need to soak it in water overnight to 24 hours. Stir it occasionally to make sure your soap is dissolving. 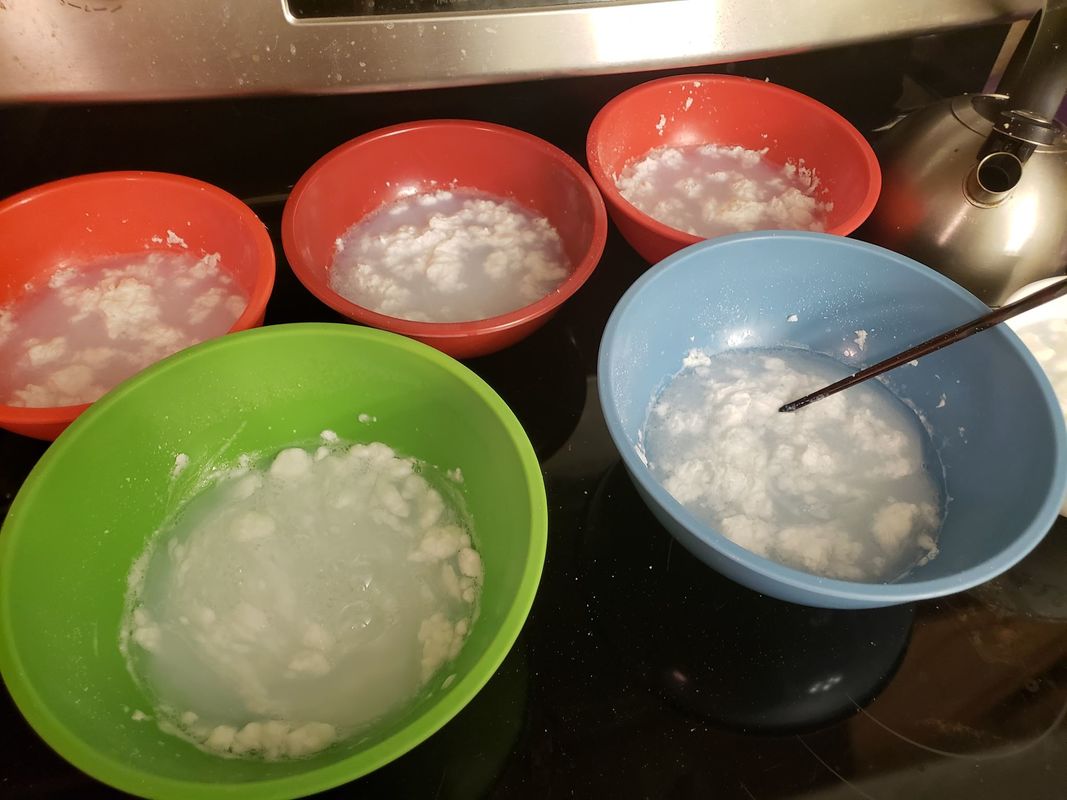 It was pretty neat, I don't know if the state of my soap played into this, but after about an hour I found that my soap had started to get this gelatin feel to it when I mixed it. The ones that were primarily water because of the flakiness I mentioned above, are the ones that never fully solidified, they stayed kind of in a gelatin soap cube. *shrugs* wasn't the worst outcome, but it's why I stress making sure you have a full cup of soap bars. OR that if you use a soap cloud you press the cup like you would in baking. 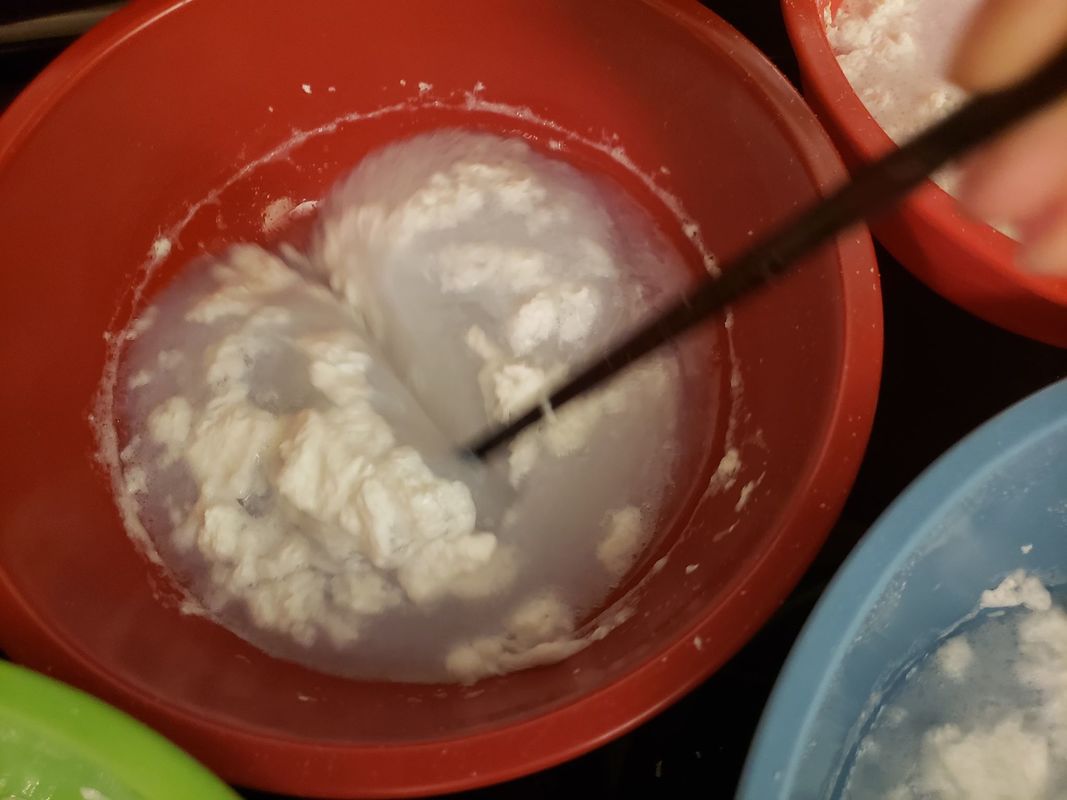 Then after they've finished soaking take your bowl and pour it into a pan. Slowly bring the heat up and watch for it to boil. I found that when it boils it bubbles silently so it's very easy for some of it to boil over. 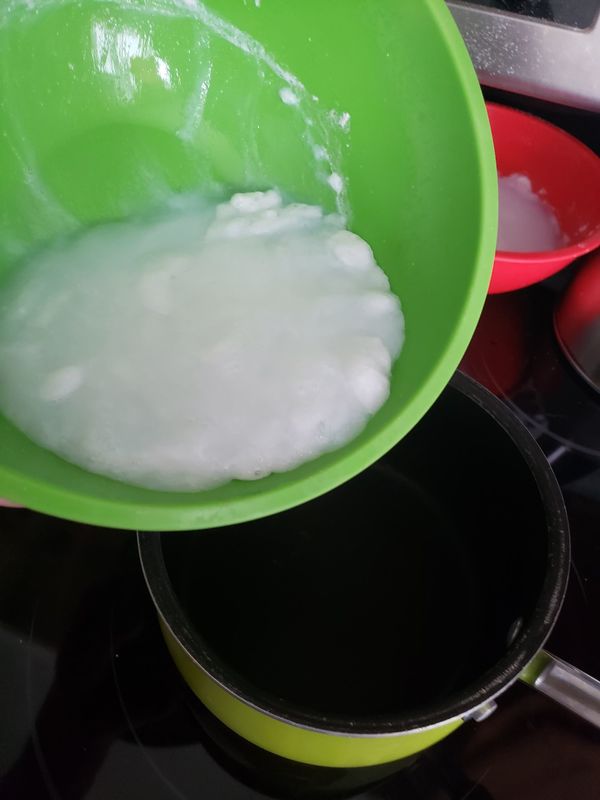 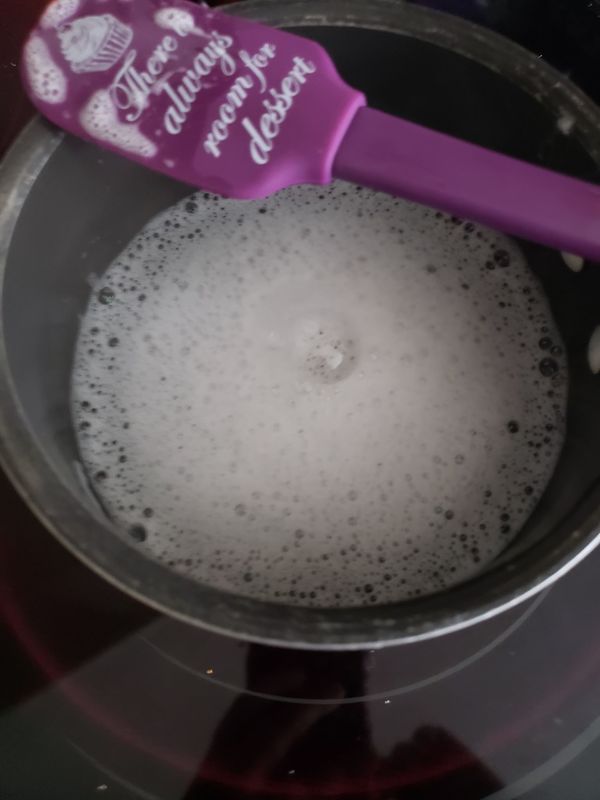 After it boils pour it from the pan into a heat safe bowl. You can see how clear it looks in the photo below. 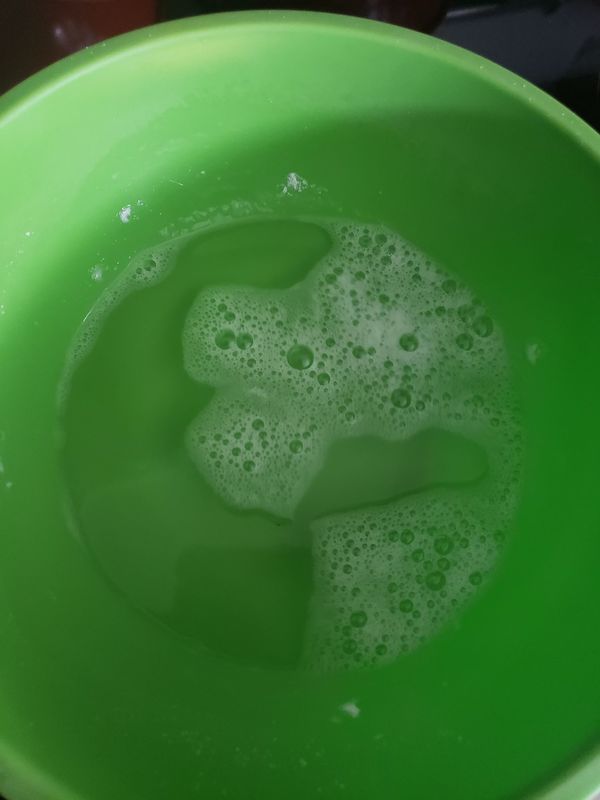 Then you are going to want to add a 1 tbsp of vegetable or olive oil. I would think you could use almond oil and other cosmetic oils, but when I was taught to make this I wasn't given any other oil options. So I am fascinated by this and will likely make some again in the future and see what happens when you try other oils. 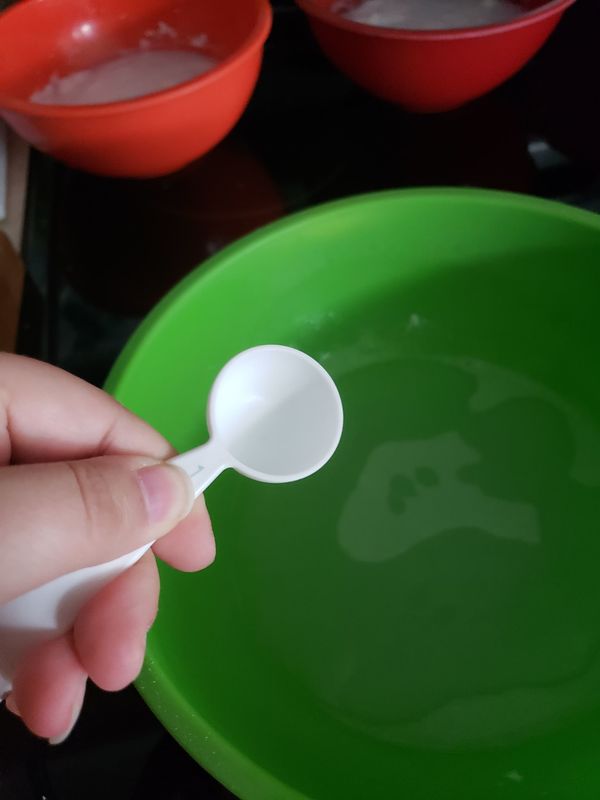 When that's finished you can add additional items to your soap. If you let it cool a little (so as not to bake the oats) You can add in oatmeal for expholiants. You can add in food coloring and you can even add additional scents using essential oils. If you chose not to add anything additional, simply pour it into your molds or soap containers and let it sit. 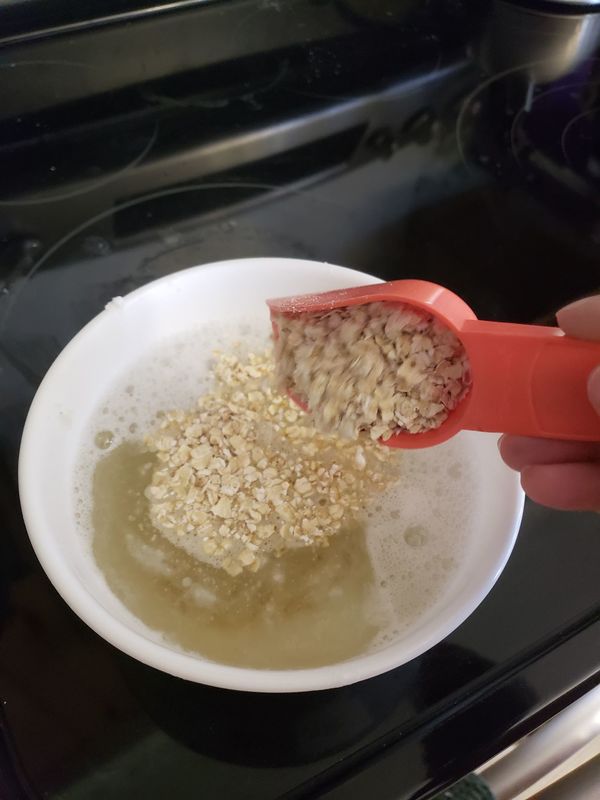 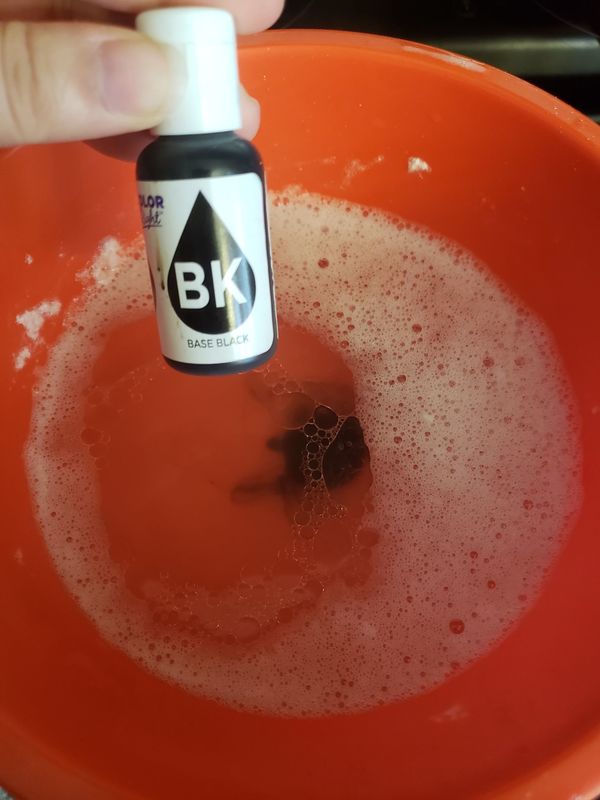 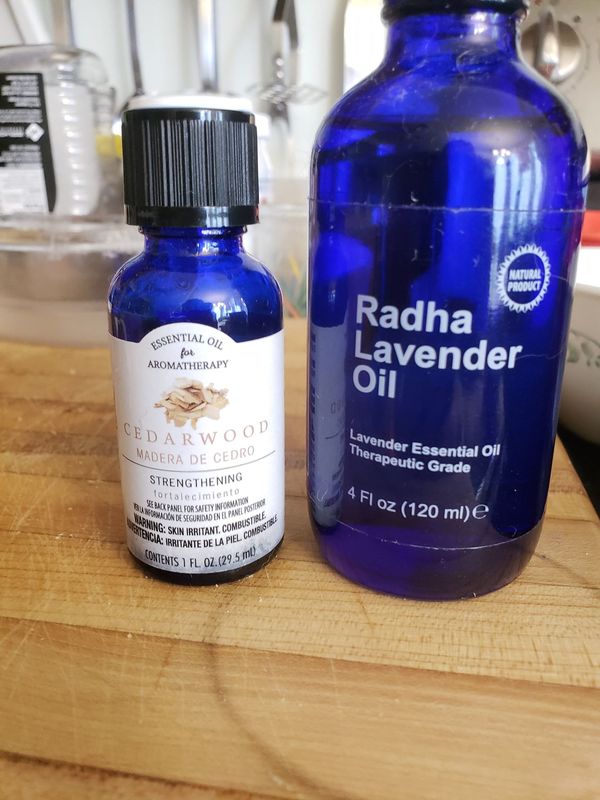 Some examples of the various types of soap I made. I am hopeful that the dark soaps are going to come out pretty cool because they would make neat Halloween goodie bag gifts! 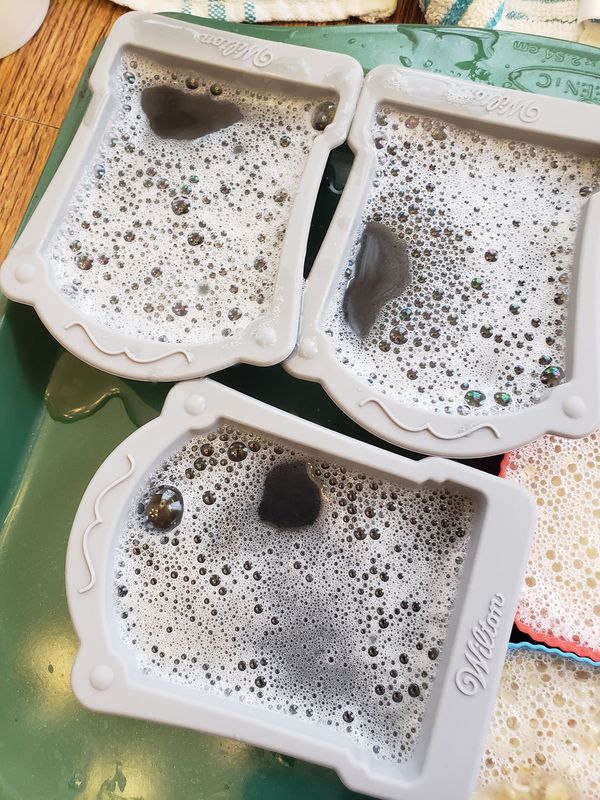  After about an hour of sitting in the molds you'll notice the soap being to turn back into a gel, you can lightly run your finger over it. 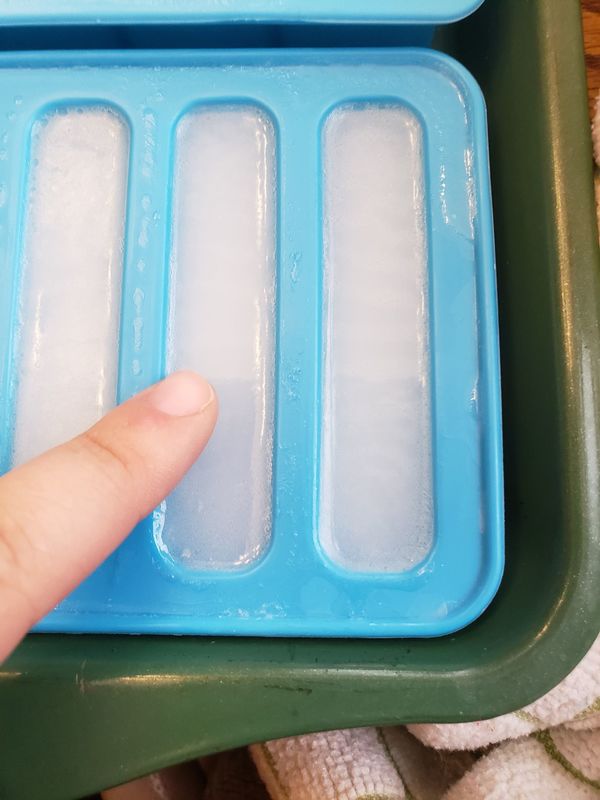 I let my soap set for 48 hours before attempting to remove them from their molds. Some of them were definitely solidified enough that they slid out no problem. THOUGH, they were soft enough that if squeezed them, they were going to mush in my hand. But check out how CUTE these tombstone soaps looked. 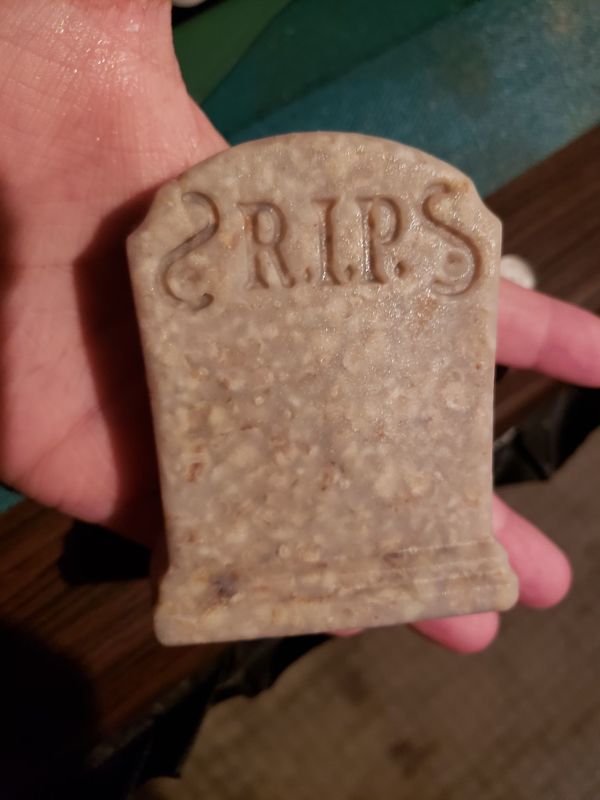 Moving my trays of soap to the basement (a cooler region of our house) I let them sit for a few weeks so they could cure and fully solidify. Which most of the them did, but a few like I said looked more like jello than bars of soap. They actually made perfect soaps for your shower though, simply crab your jello cube, load your loofah, and away you go.
I've been having fun messing around with candle making and I thought this would be super cute. YOU WILL NEED:
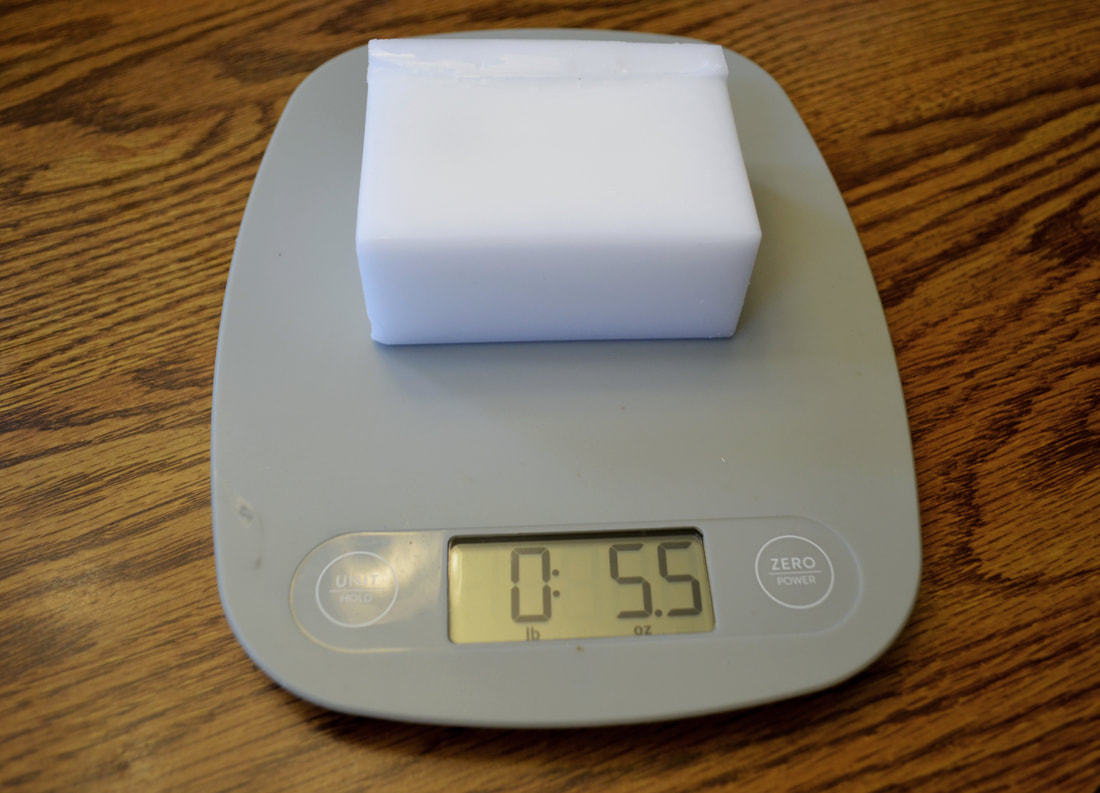 A food scale is perfect for this project because you can figure out the approximate amount of wax you need. Each block of Paraffin wax is approximately 5.5 oz as seen above. For this project I'm making the candle in a stemless wine glass. To find the approximate amount of wax needed for this candle I first weighed the wine glass. Then I filled it with water and weighed it again- subtracting the weight of the glass. I should also note that I only weighed it for as high as I wanted to fill it. 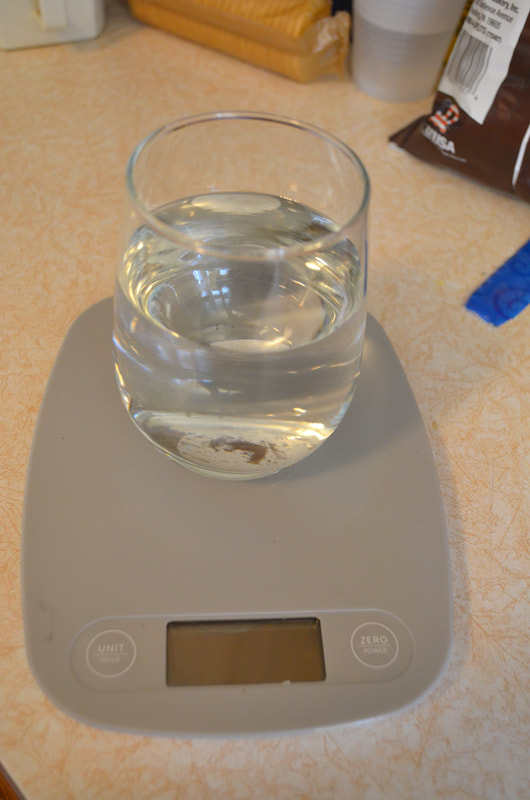 I ended up needing two blocks of Paraffin Wax for this project. Remember to cut it up before placing it in your wax pouring container. I use an Electric Skillet for these kind of projects. Simply fill it with water, set your wax pouring container inside of the water, and then fill it with the chopped up wax.  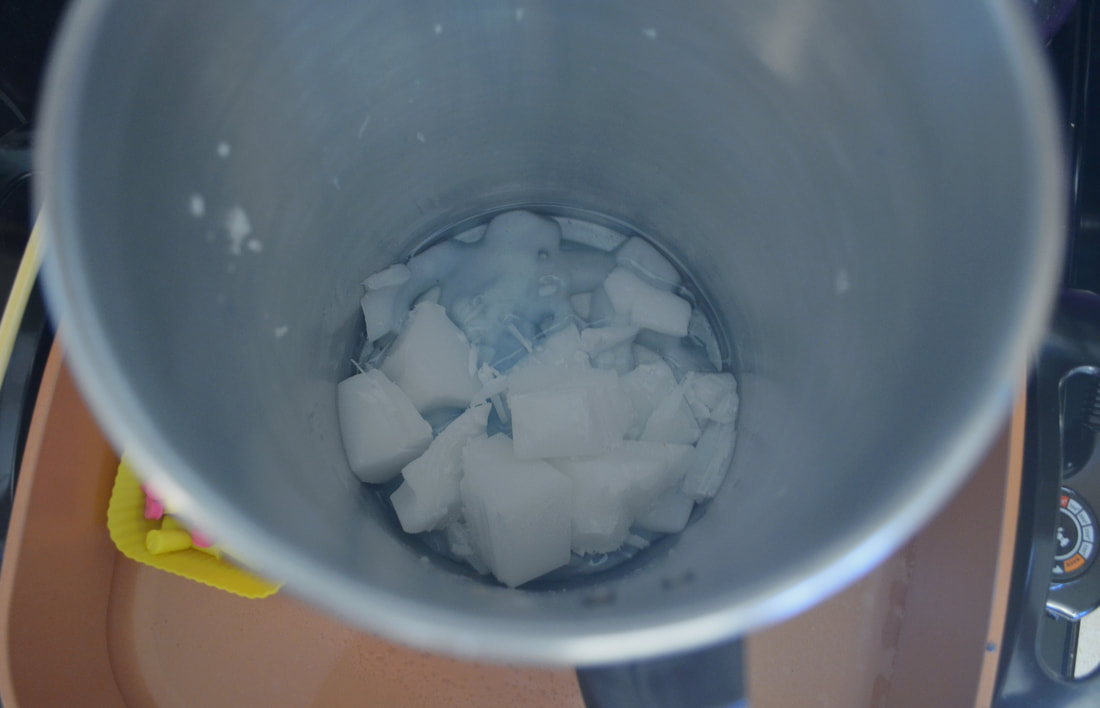 I use chop sticks to stir my wax, they're long enough that I don't really need to put my hand in the hot container, but also cheap enough that I don't have to feel bad getting them dirty/covered in wax. Let your wax melt and stay on the current heat you have it set to. In my case the skillet is set to about 210. Once it's melted you have to get ready to color your wax. I use a slightly controversial method. I use old crayons. Now, the reason this is controversial is that crayon wax is different from candle wax. It will clog the wick and therefore it isn't very practical. BUT if you have MORE candle wax than crayon wax it will do the job. They make actual candle coloring's but at the time of doing this project I just went with what I had laying around. The local craft-store only have two colors and neither one was going to be helpful to this project. So if you use crayons remember to outweigh the crayon wax with candle wax. Remove the wrappers, chop them up, and melt them. I melted quite a bit of crayon to get the right color but did not add quite this much t the candle wax. 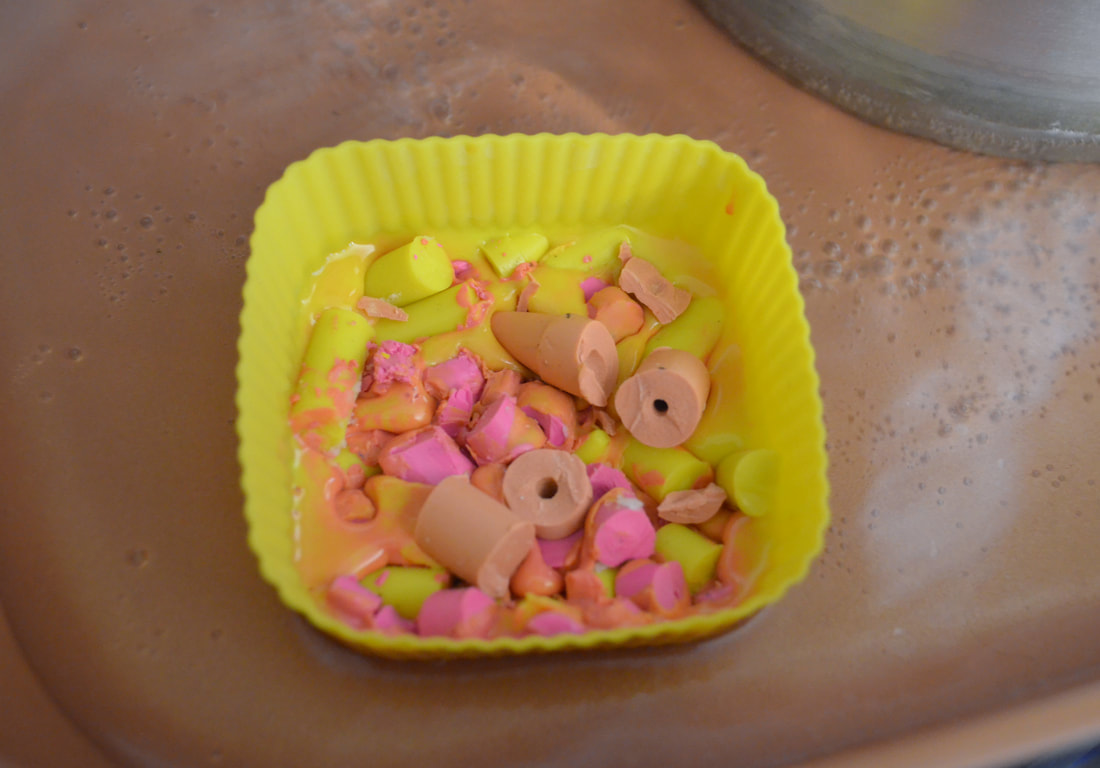 I used four or five yellow crayons, two pink, and a thick peach colored crayon to create the "drink" color for my candle. I melted them in a separate container to get a better look at the color I was creating. I was going for a tropical peach drink kind of vibe. While you're making your colors you should secure the wick to your container. I use an old candle makers trick and dip it in wax to adhere it to the jar. 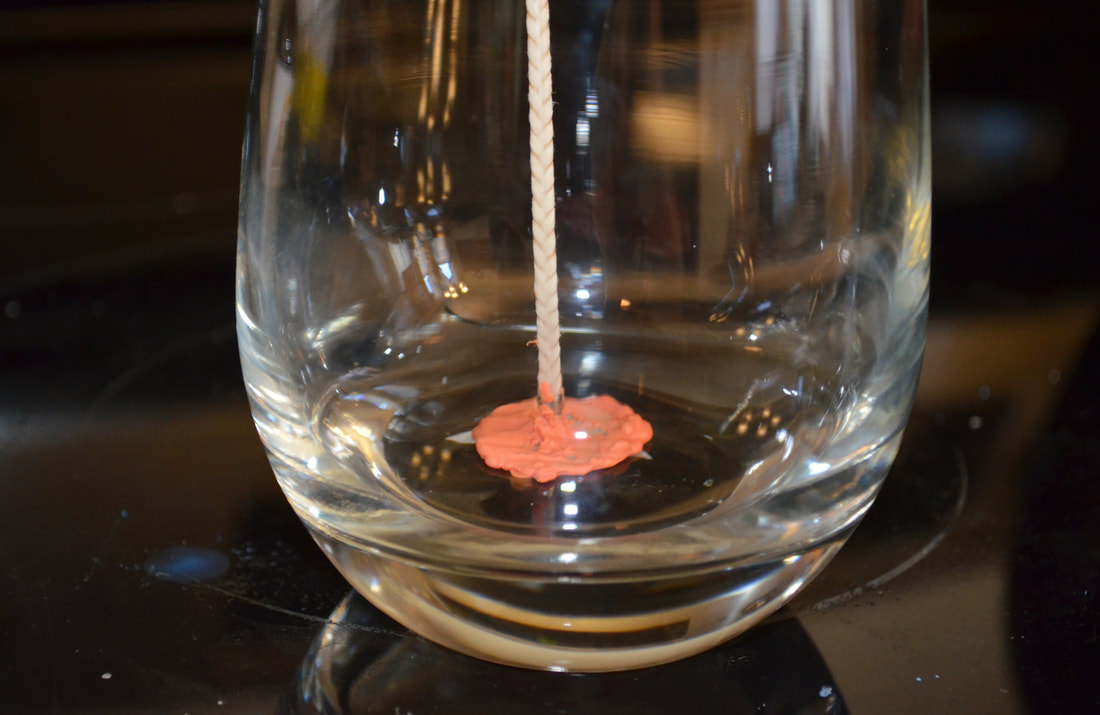 Then going back to my trusty chopsticks I used it to wrap my wick around and keep it centered on the jar. 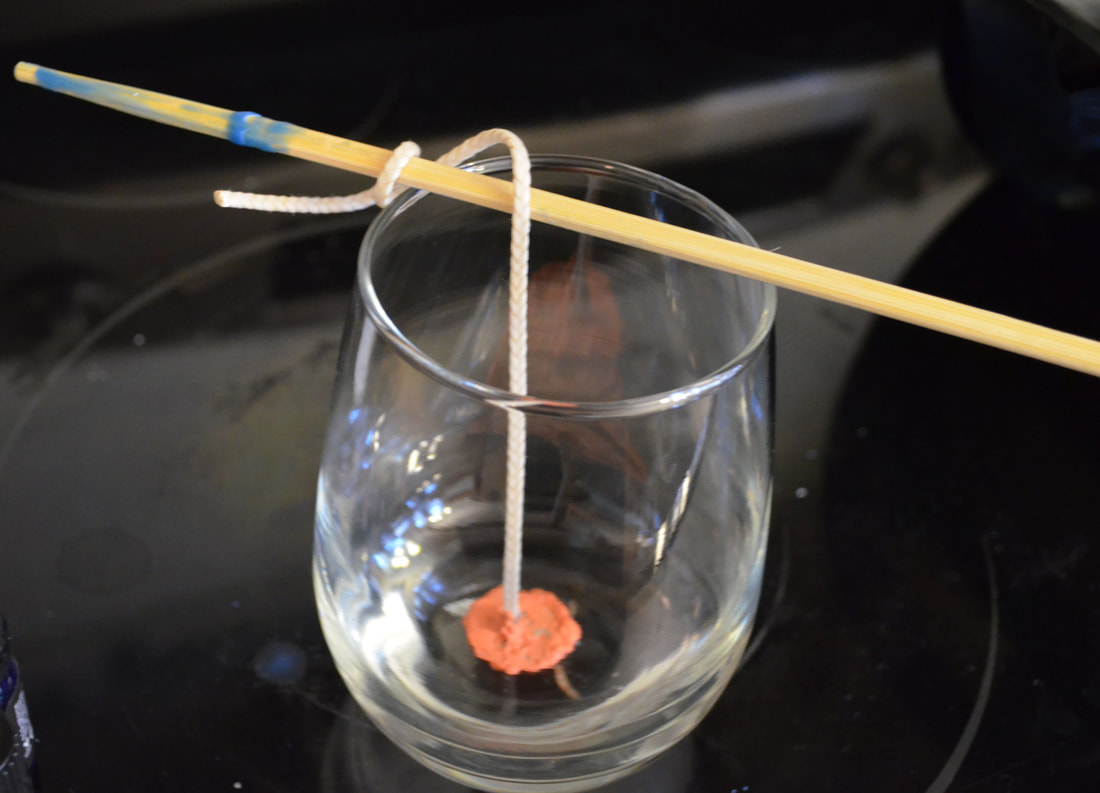 Once you're happy with your color, turn the heat down just enough that you can mix in your scents. I have some Artminds candle scents but I really love my essential oils. I used a little bit of both to create this scent. 1oz of Artminds Orange 14 drops of Pink Grapefruit 2 drops of Bergamont 2 drops of Ylang Ylang 10 drops of Lemon 10 drops of Australian Sandalwood 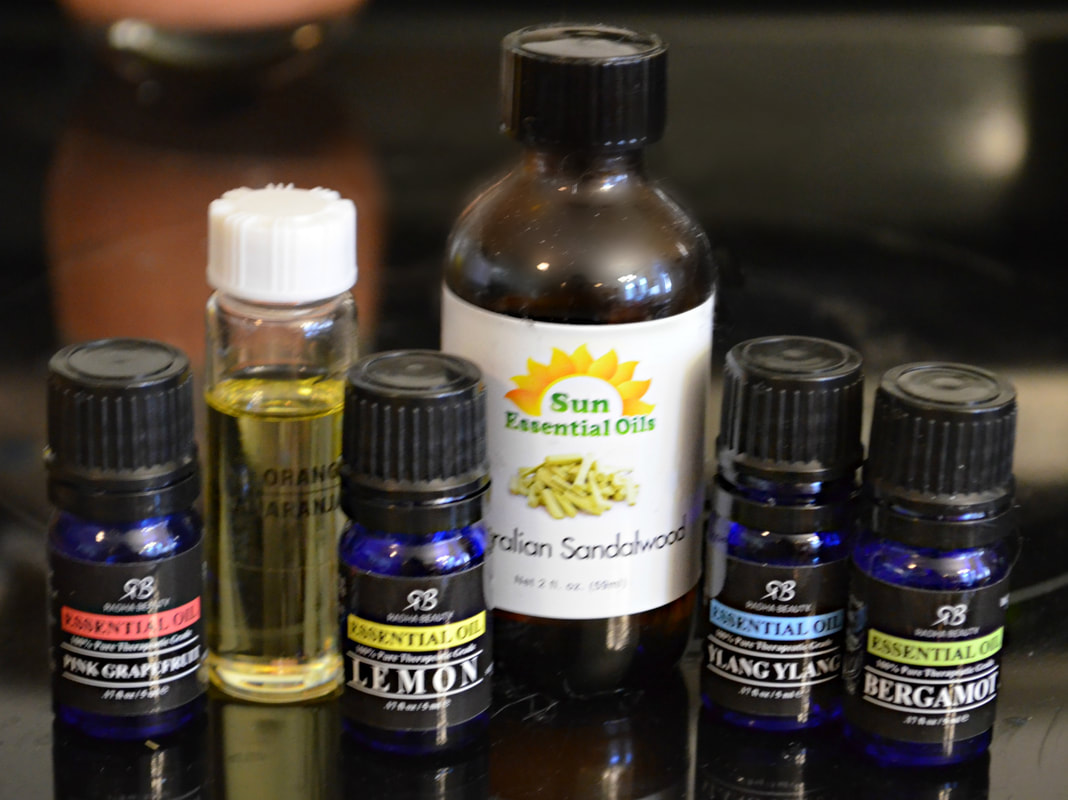 When your scent and wax is all mixed together, bring the heat back up just enough that your wax will easily pour. If it's too cold it was set along the way and you'll end up having to heat it all over again. 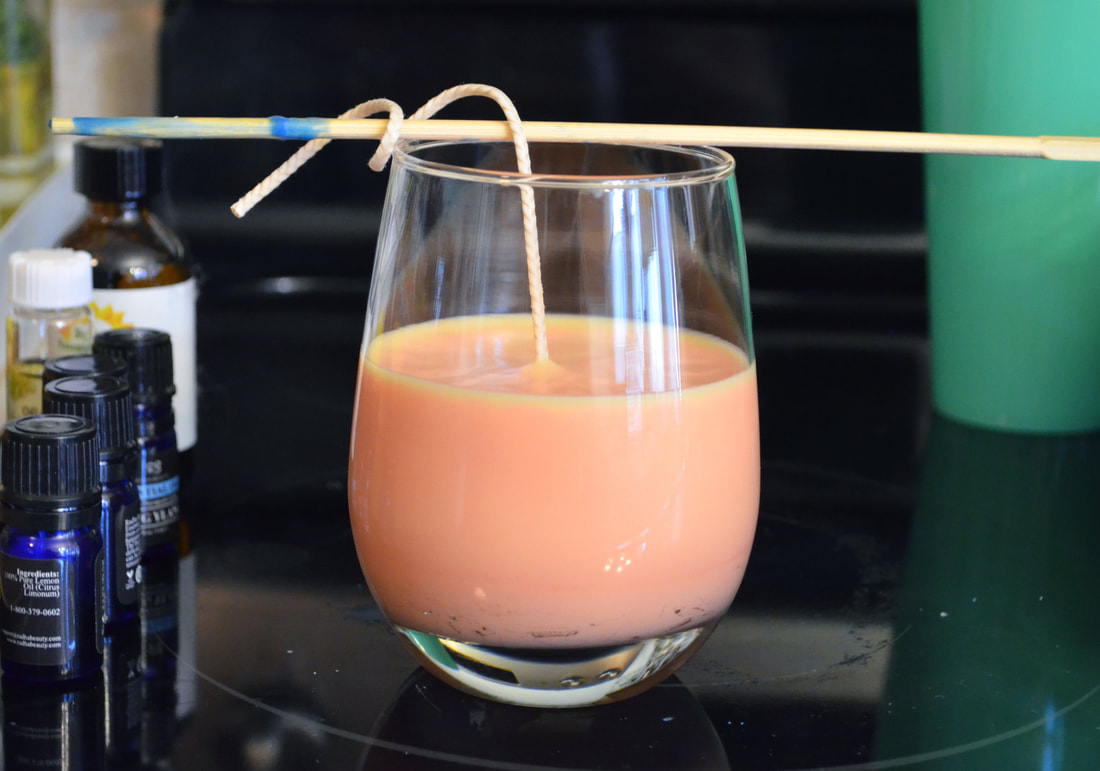 Now, I messed up and didn't photograph this step. But I used mini silicone cups to melt crayons down. NOW I CAN'T STRESS THIS ENOUGH, PLEASE REMEMBER TO ADD PARAFFIN WAX TO THE CRAYONS. This is where the mold in the supply list comes into play. 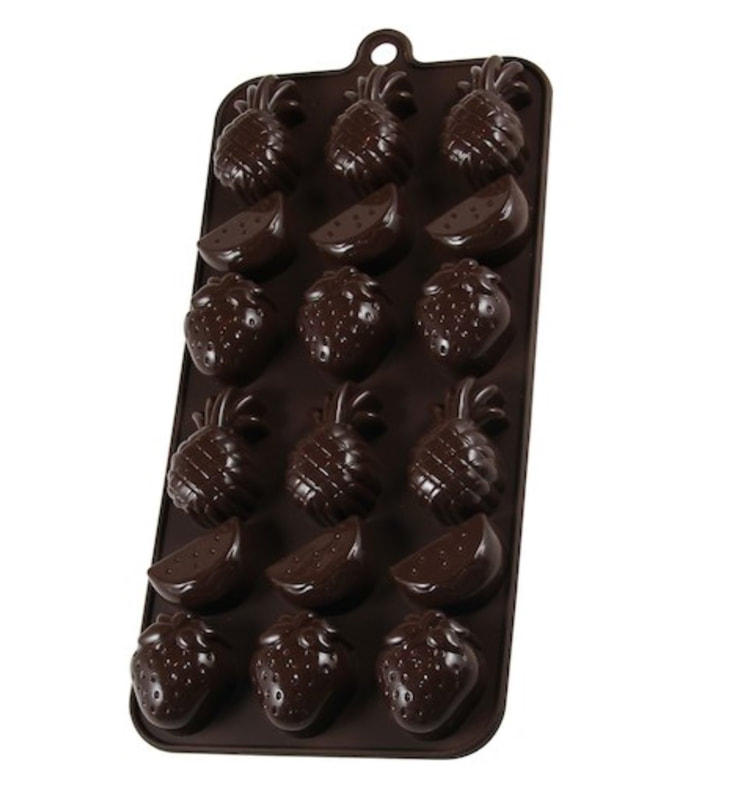 Fill your mold with the color of your choice and let it sit until the wax is solidified. 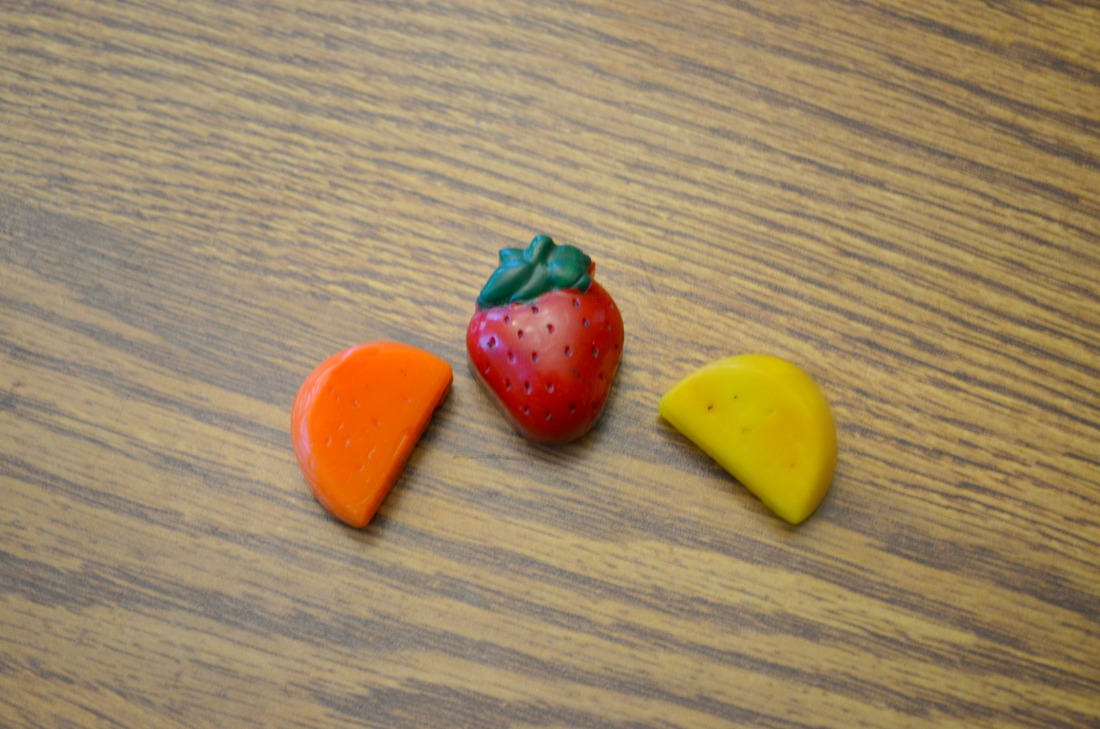 Pour a little more of your drink colored wax into the glass, then set it in the fridge for a few minutes. You want the wax solid enough that your fruit wont SINK into it, but liquid enough that you can wedge your fruit into place. 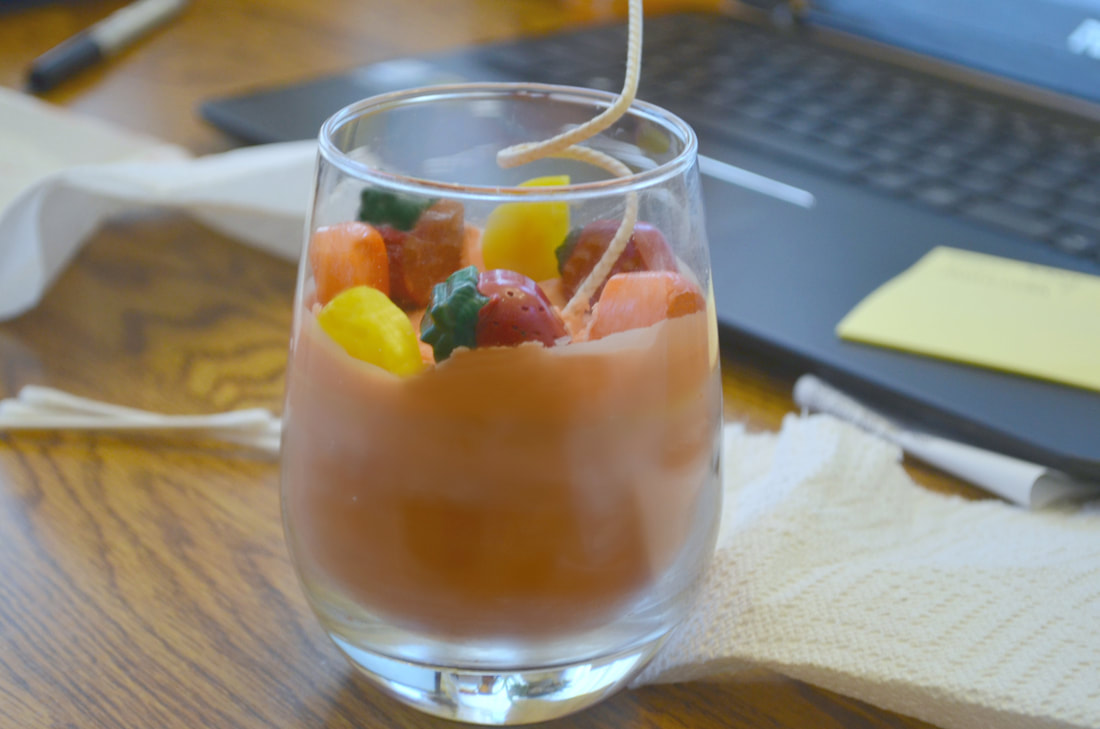 Continue pouring more wax and setting it until you're pleased with the way the drink looks. I added two fruit slices by the base of the wick as well for an additional bar beverage look. This is why I STRESS making sure you're mixing paraffin in with the crayon wax. If you don't your wick WILL get clog by the melting fruit. It will be a mess. Also remember to trim your wick when your candle is set. 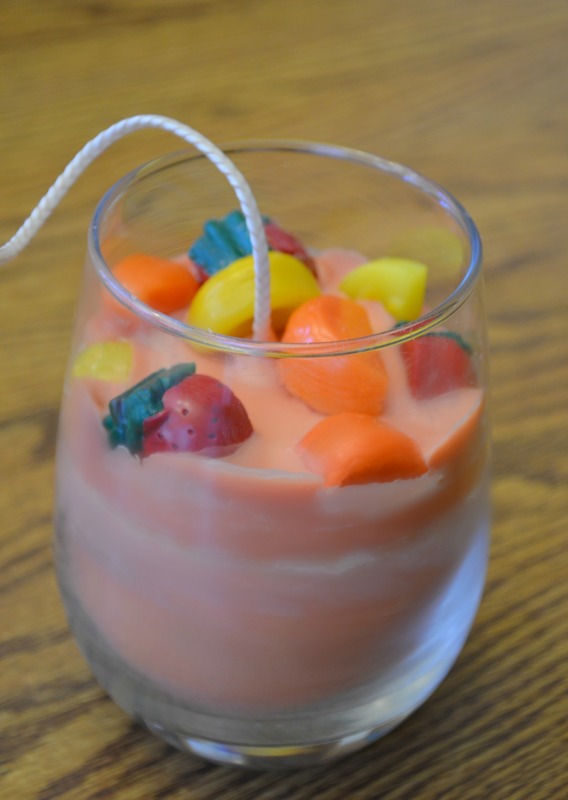 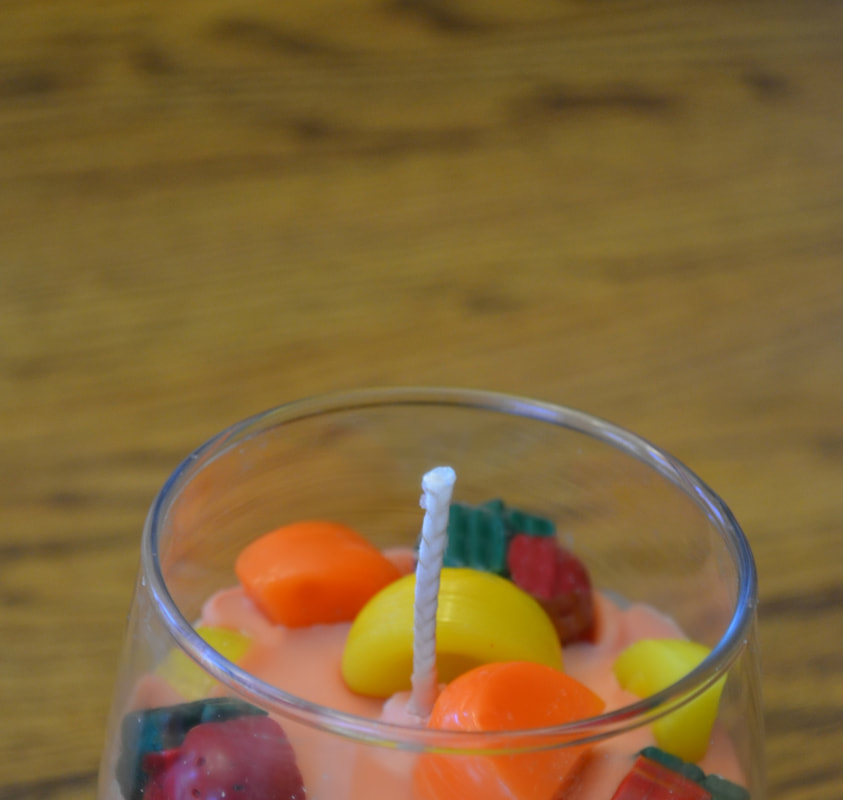 Candle making has been on my list of crafts for a very long time. I've always wanted to do it. When I was little we made them on field trips but those were very different. We made the hand dip taper candles like in pioneer times. And then we had a guy come to our school with rolls of beeswax and we hand rolled candles that way. Both were really cool. BUT working in a craft store for four years and stocking the wax and the molds, etc, I really had a yearning to learn this craft. I've done some research and some attempts and so far so good. YOU WILL NEED:
 There are different types of wax you can use for making candles. Primarily: Soy, Beeswax, and Paraffin Wax. I chose to use Paraffin Wax, you can get quite a bit for fairly cheap. And craft-store coupons are life! Each block of Paraffin wax weighs about 5.5oz.  Now, the amount of wax matters because you have to fill a certain oz of wax per container you're filling. I found out what I needed by weighing the glass jars on the scale. Then filled the jars with water and placed them back on the scale. Subtract the weight of the container, from the new weight, and you've got the ounces your jar will hold. Just like with chocolate melts you're going to want to break up your block of wax. It just helps the heat distribute across the wax better and makes it melt faster. 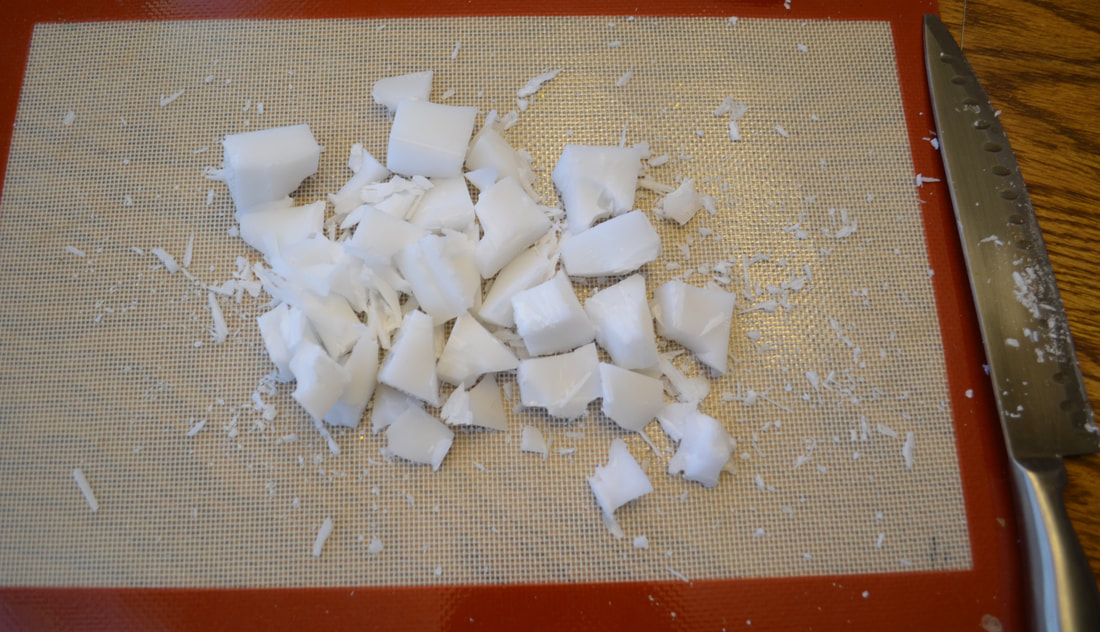 (ps don't chop on your silicone mats. This one was already damages so I wasn't terribly mad, but my husband did buy me new ones after this lmao.) You're going to need a way to heat up the wax. You can't put your wax pouring container directly on the oven, so a lot of people suggest using a double broiler. I like to use electric skillets for these kind of projects. Fill your skillet with water and heat them up. 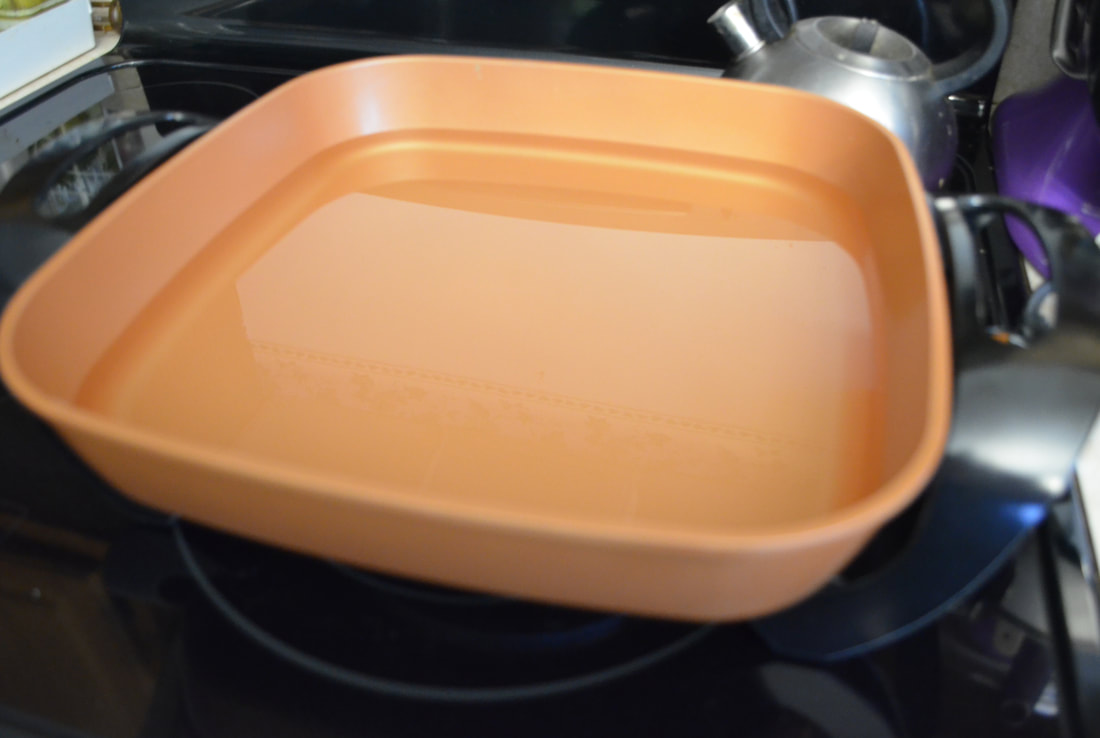 Then place your pouring unit in the skillet. Put your cut up wax inside the metal container and let it start melting. I used chopsticks to stir the wax since we always seem to have them laying around. 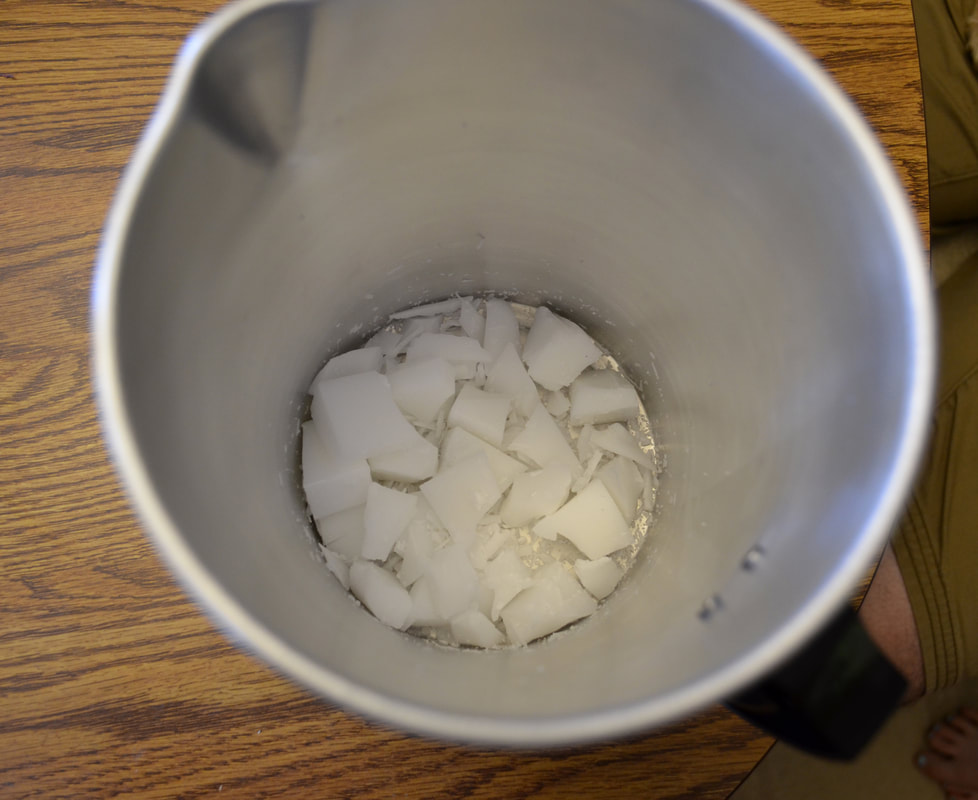  So once your wax is warmed up and melted you're supposed to add your color. Sooo this is where I did something a little controversial. They make specific coloring for candles. My local michaels only had two colors and I didn't want those. So I used crayons to color my candles. NOW the reason this is controversial is because crayon wax is not the same as candle wax. It can clog your wick and cause it to not properly burn. That's why candles made out of crayons are cute but not functional. However, if you are using PRIMARILY candle wax and much less crayon wax, you should be fine. So that's what I've done. I will say that I have had no problems with the candles I've made thus far. But if you really dislike this method or would prefer to do this strictly by the books you can find candle coloring online and at most craft stores. Taking your crayons you need to remove their paper, chop them up, and melt them down the same way you did with the paraffin wax in the earlier steps. 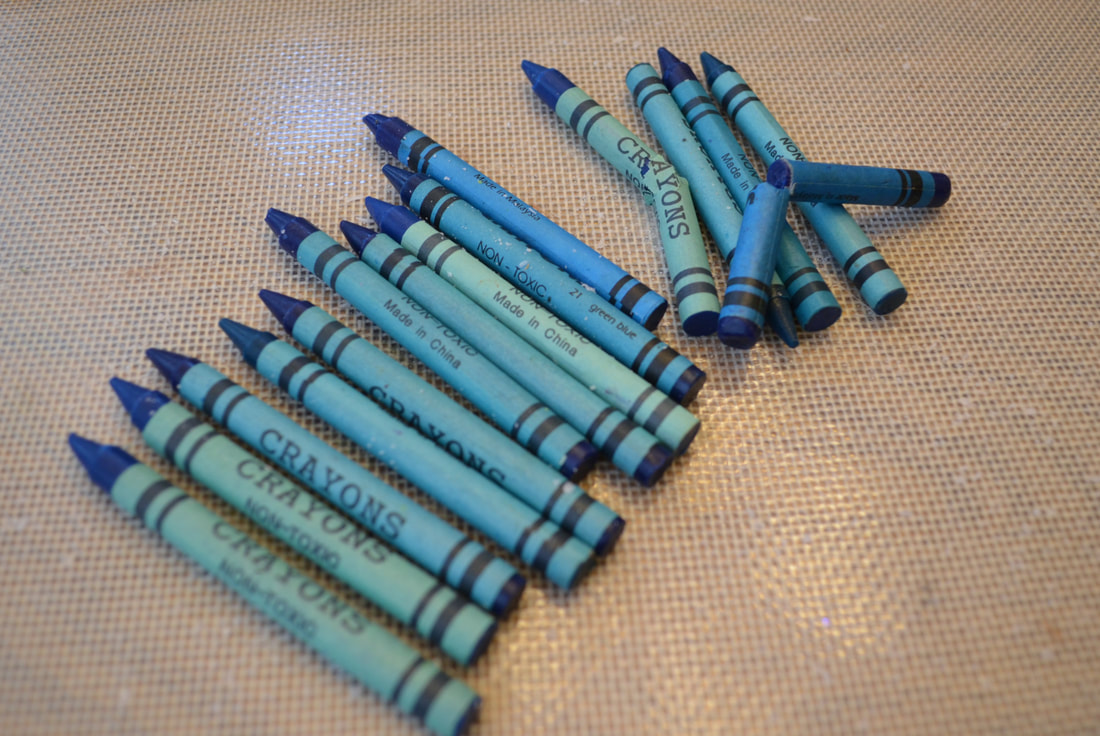 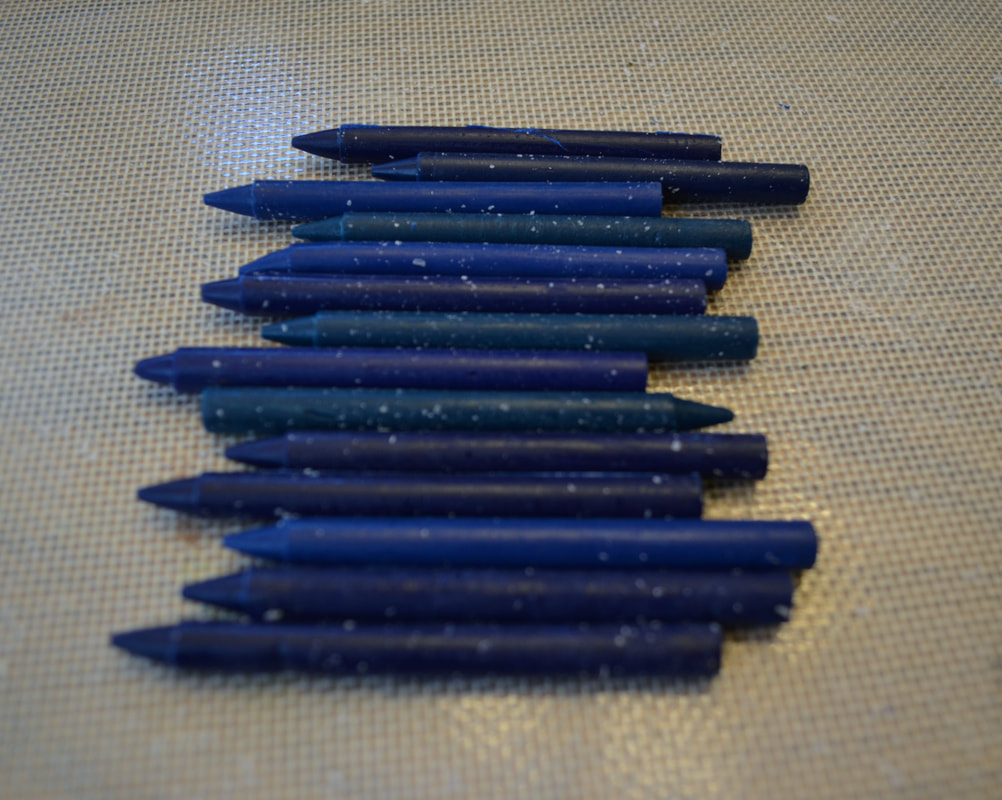 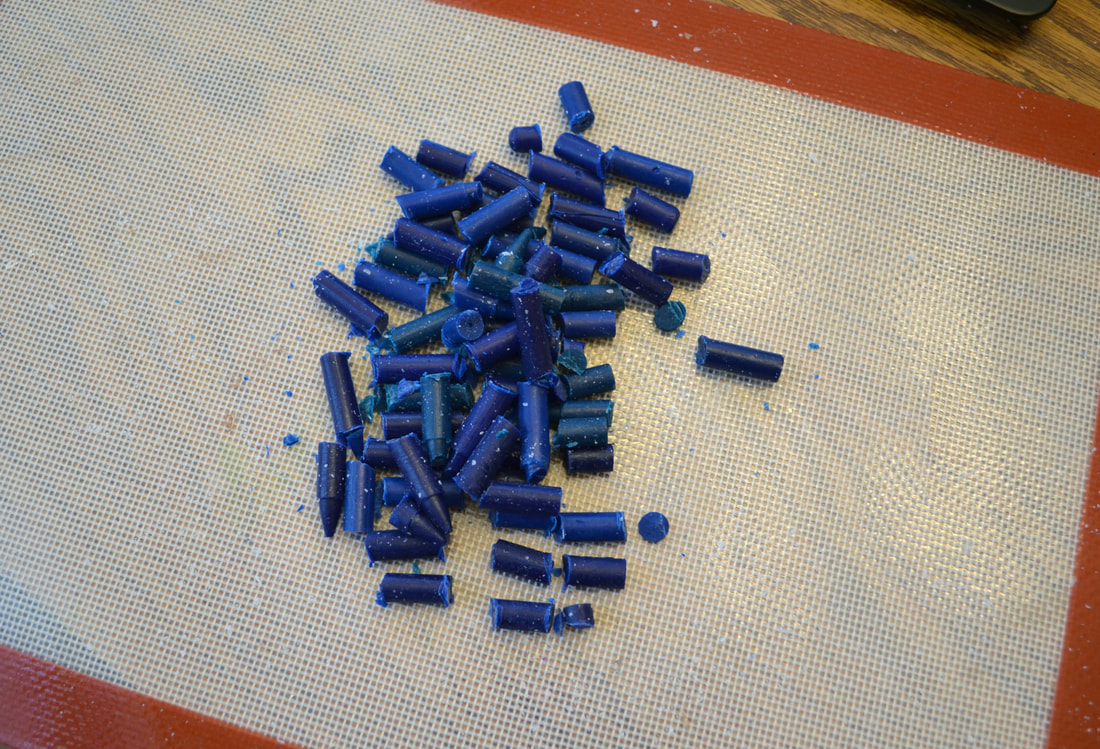 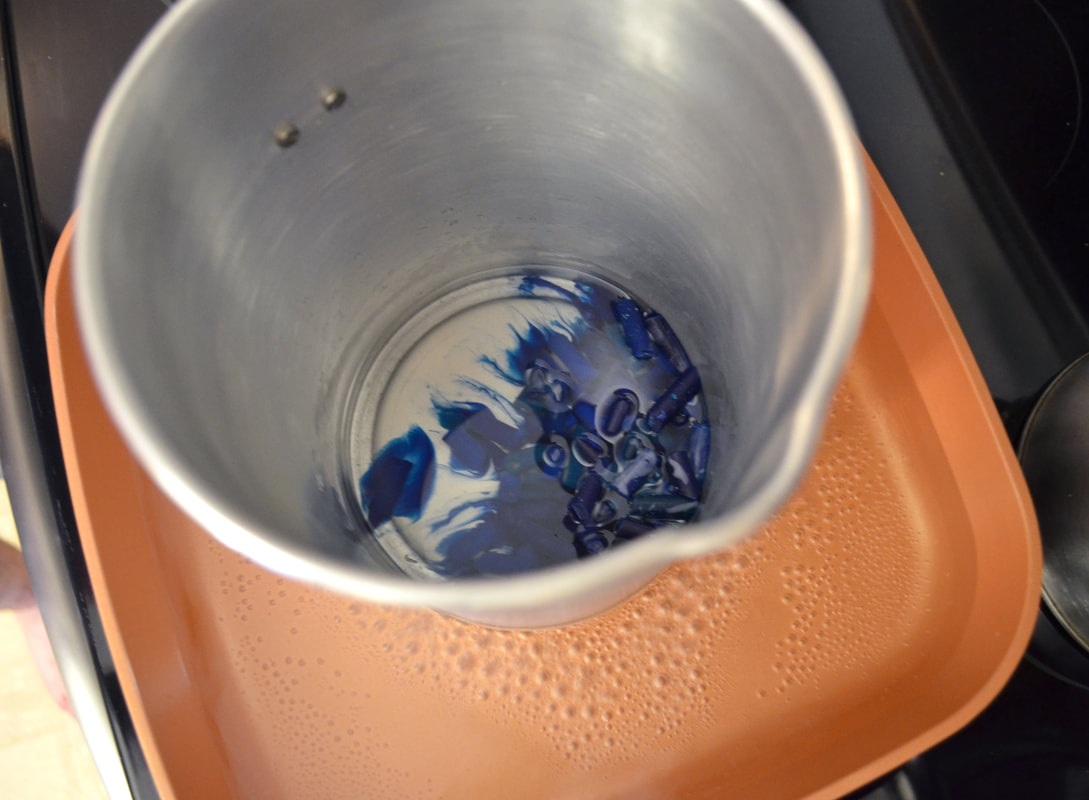 While your crayons are melting or your colors are blending, move on to securing your wick. I used an old candle making trick and dipped the end of my wick in the wax and used that to secure the wick to the jars. I will be honest though, I have made several candles since this tutorial was written and this technique has been hit and miss. I talked to some candle makers who said they even use hot glue to make sure the wick holds. 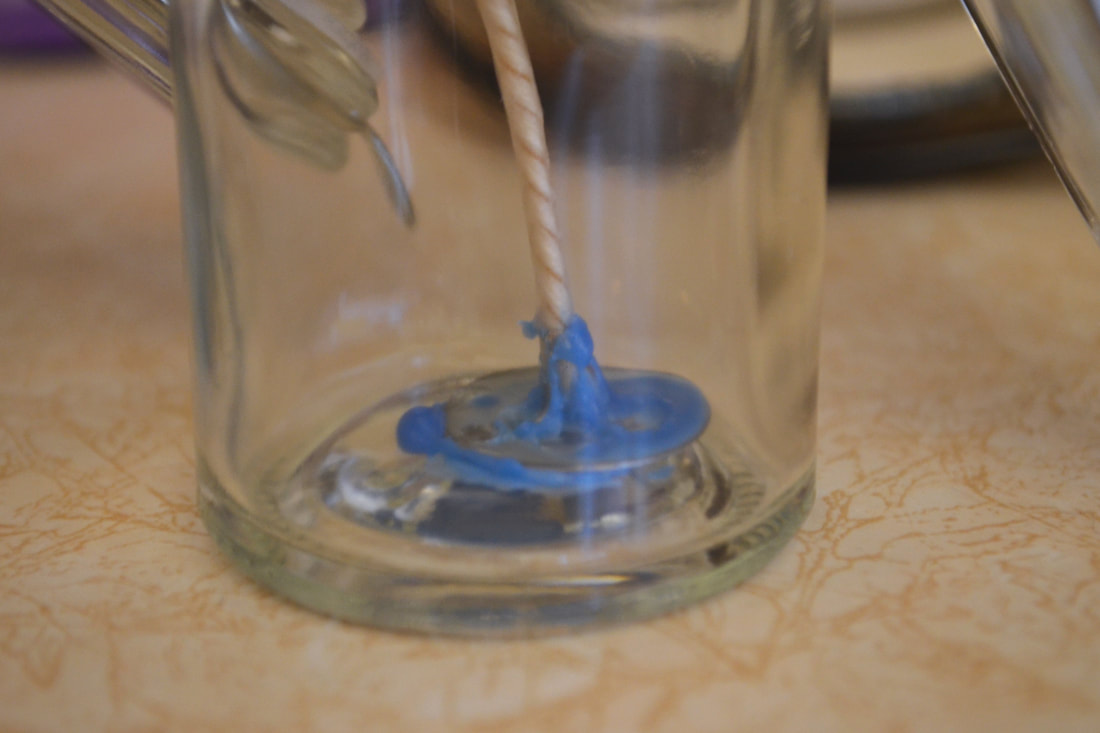 Now the next step with candle making is to reduce the heat and then add your scents. Now I bought some artminds scents but I really love my essential oils. I decided to take my focusing blend and make it into a candle scent. 15 drops of vetiver, lavender, and cedarwood. 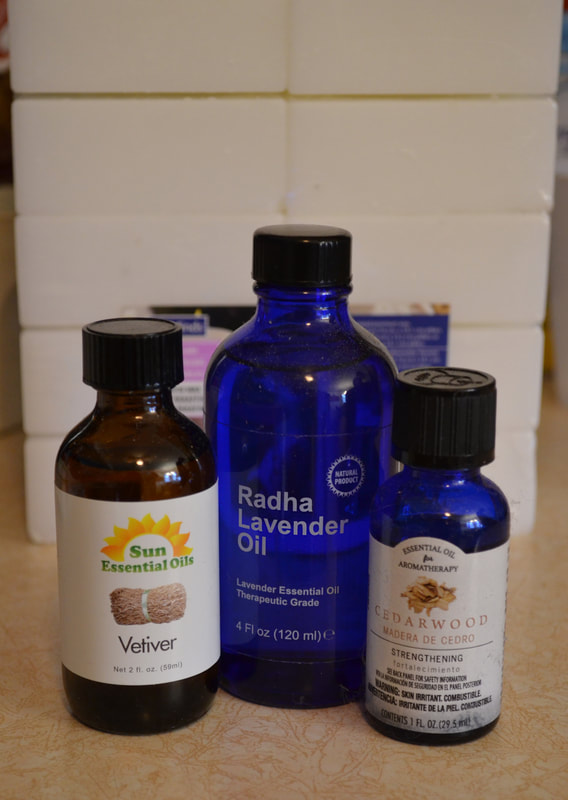 Let that simmer for a few minutes. While it sets secure your wick by wrapping it around a pencil or other long object to help keep it centered. I used the chop sticks once again. Then poured the wax into the jar and let the candle set. 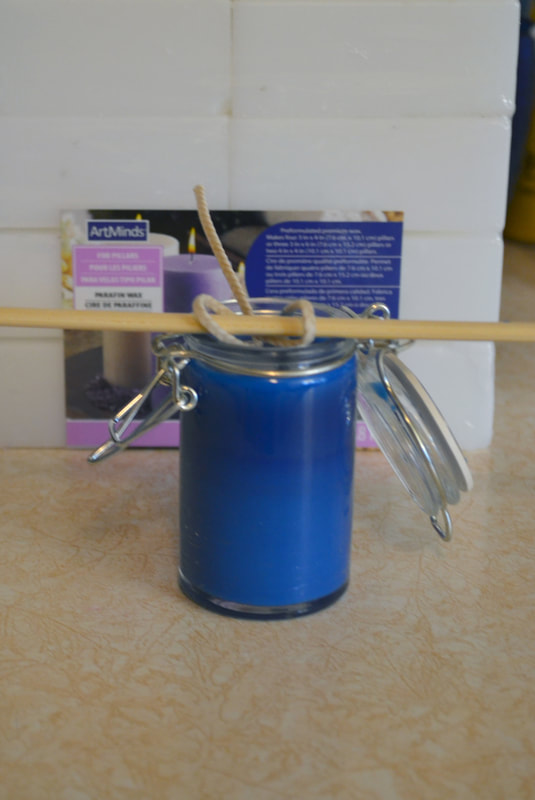 Your are almost guaranteed to have leftover wax in your pouring container. Keep that on the skillet. once your candle sets there is a good chance it will have a dent in the center or even holes where air-bubbles were. 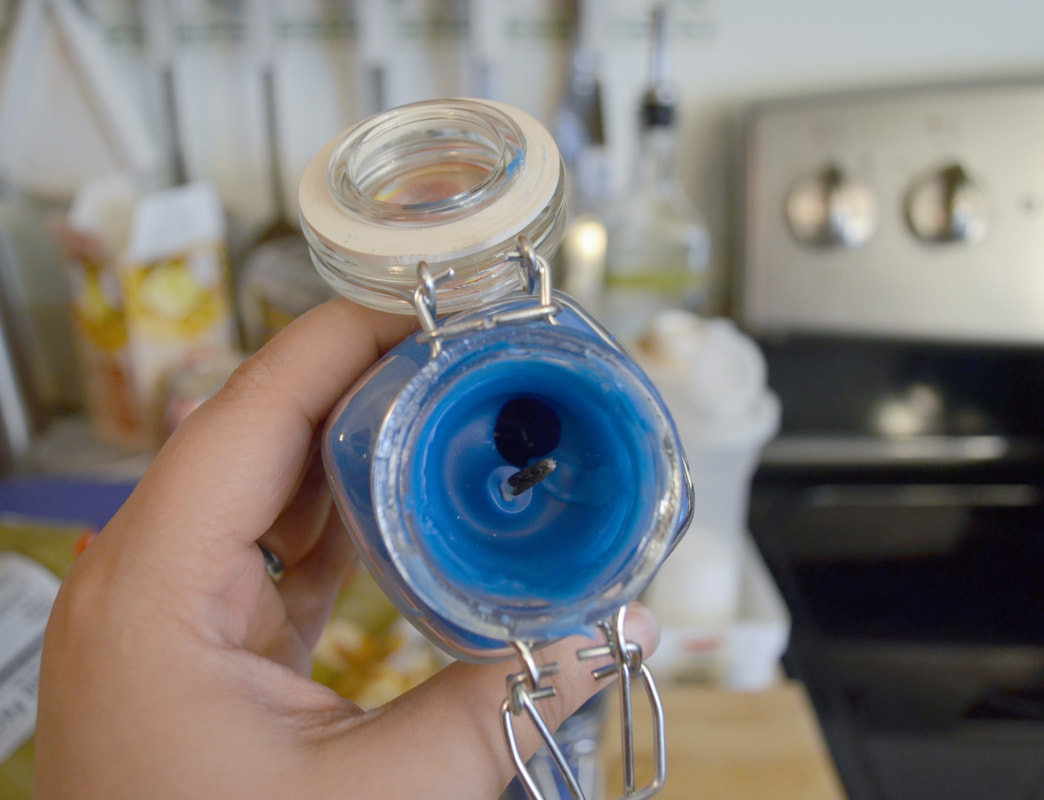 Fill in those holes with the leftover wax. If you still have any left over after that you can always make wax melts. I have silicone ice cube trays that I filled in order to make these. 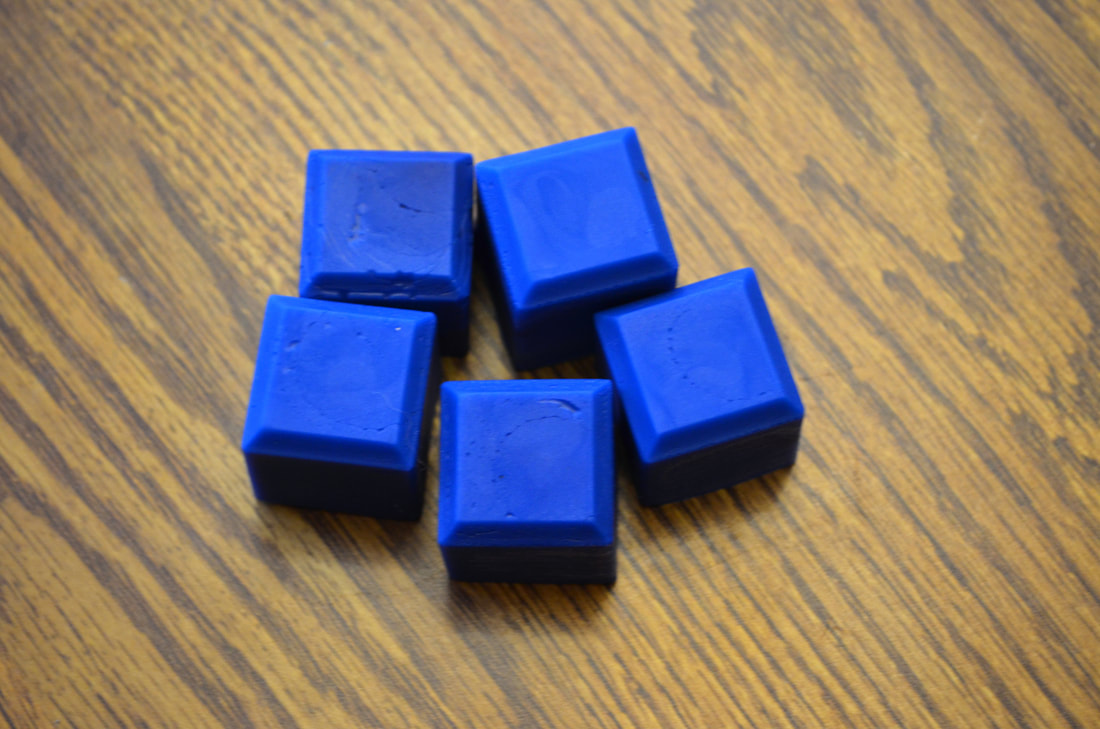 As I said earlier despite using crayons I haven't had an issue with the wick clogging and they seem to burn nicely. These make adorable little gifts and with adult supervision your kids will love helping to make these too. 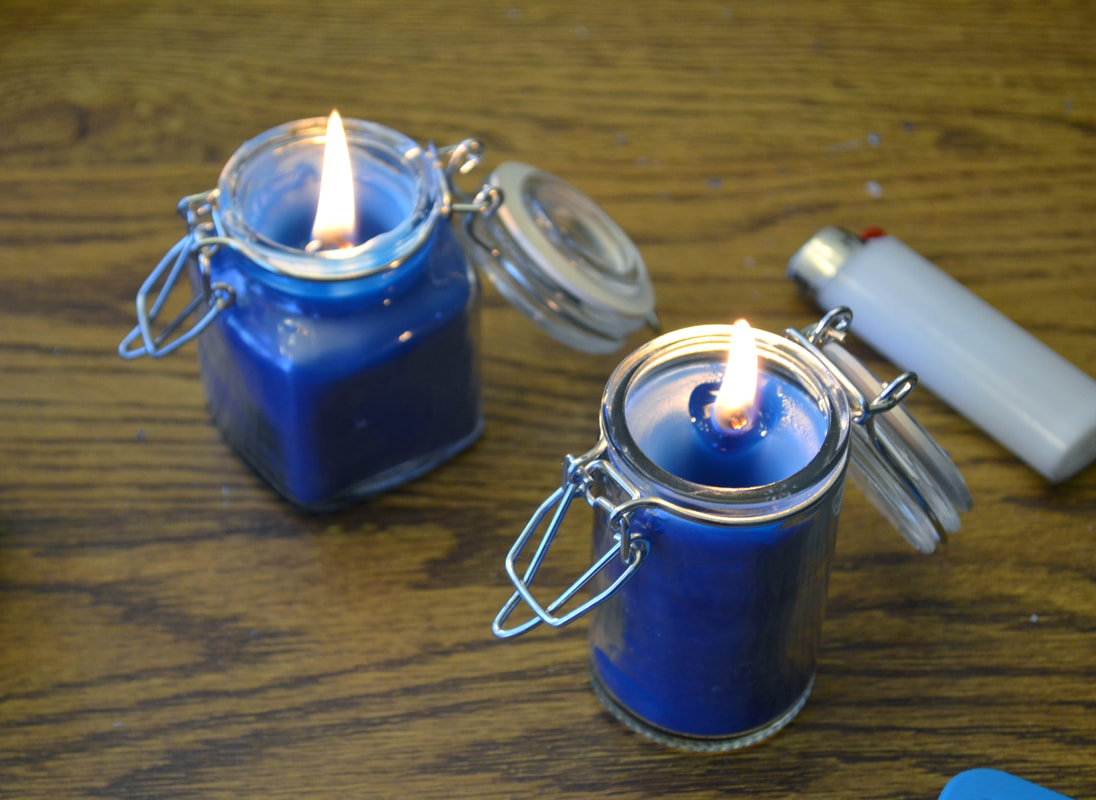 If you've ever gone sea-glass hunting you've probably found itty bitty chunks of green sea glass. And the bigger the piece the more impressive, but we keep them anyways. They always make me think of the movie, The Pebble and the Penguin. And thus this idea was born! YOU WILL NEED:
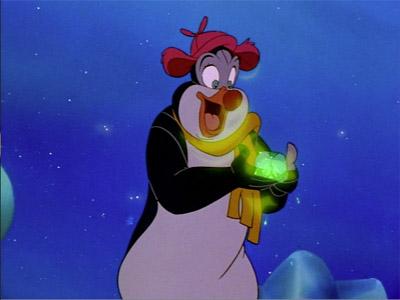 I started off with the two main colors you need for a penguin; black and white. You will also need orange for the feet and beaks. And remember that you will need extra colors for any additional accessory you may choose to give your penguin. I prefer using Scupley but I've also heard good things about Premo. Just be sure to check your baking directions on whatever brand you pick. Above is a photo reference for anyone who isn't familiar with the beautiful work of animation this is based on. 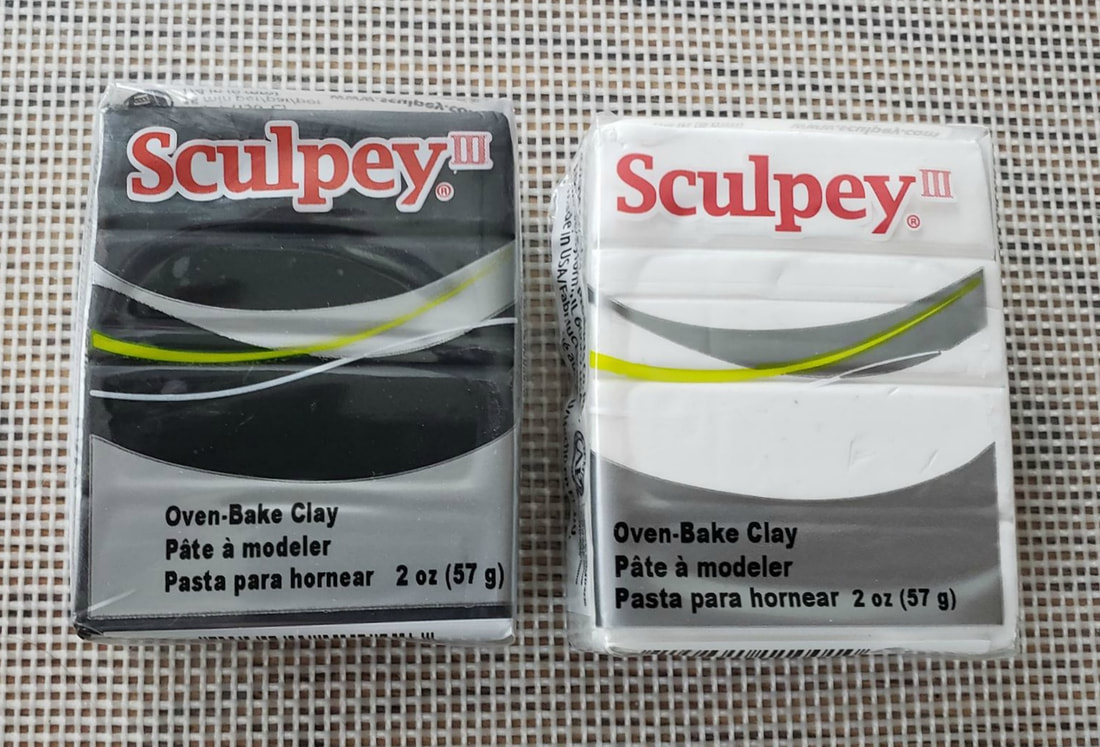 From there I made the head shape and the body of my penguins. Starting by making a round ball and then an odd oval for the body. 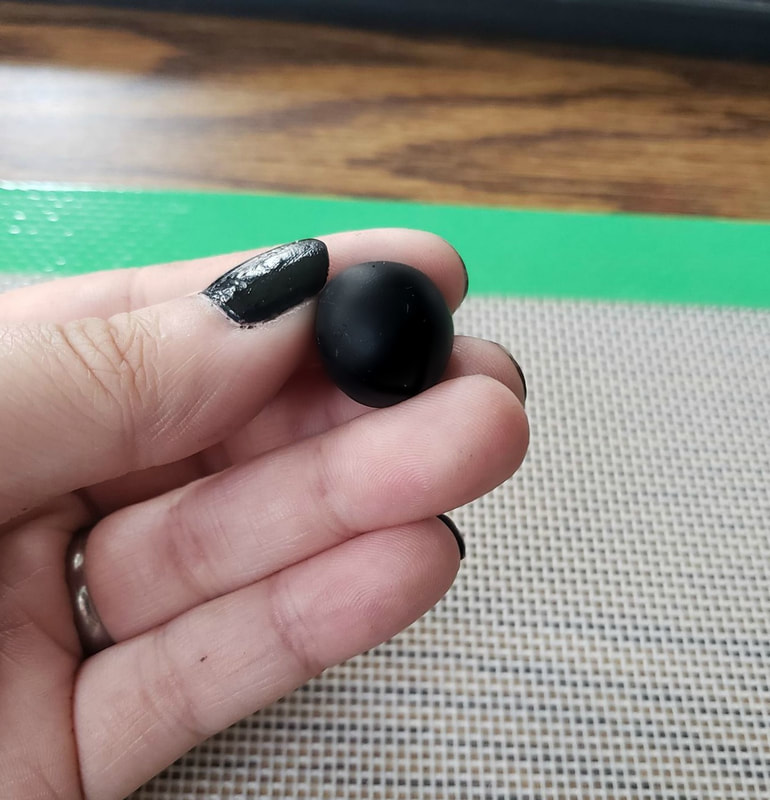 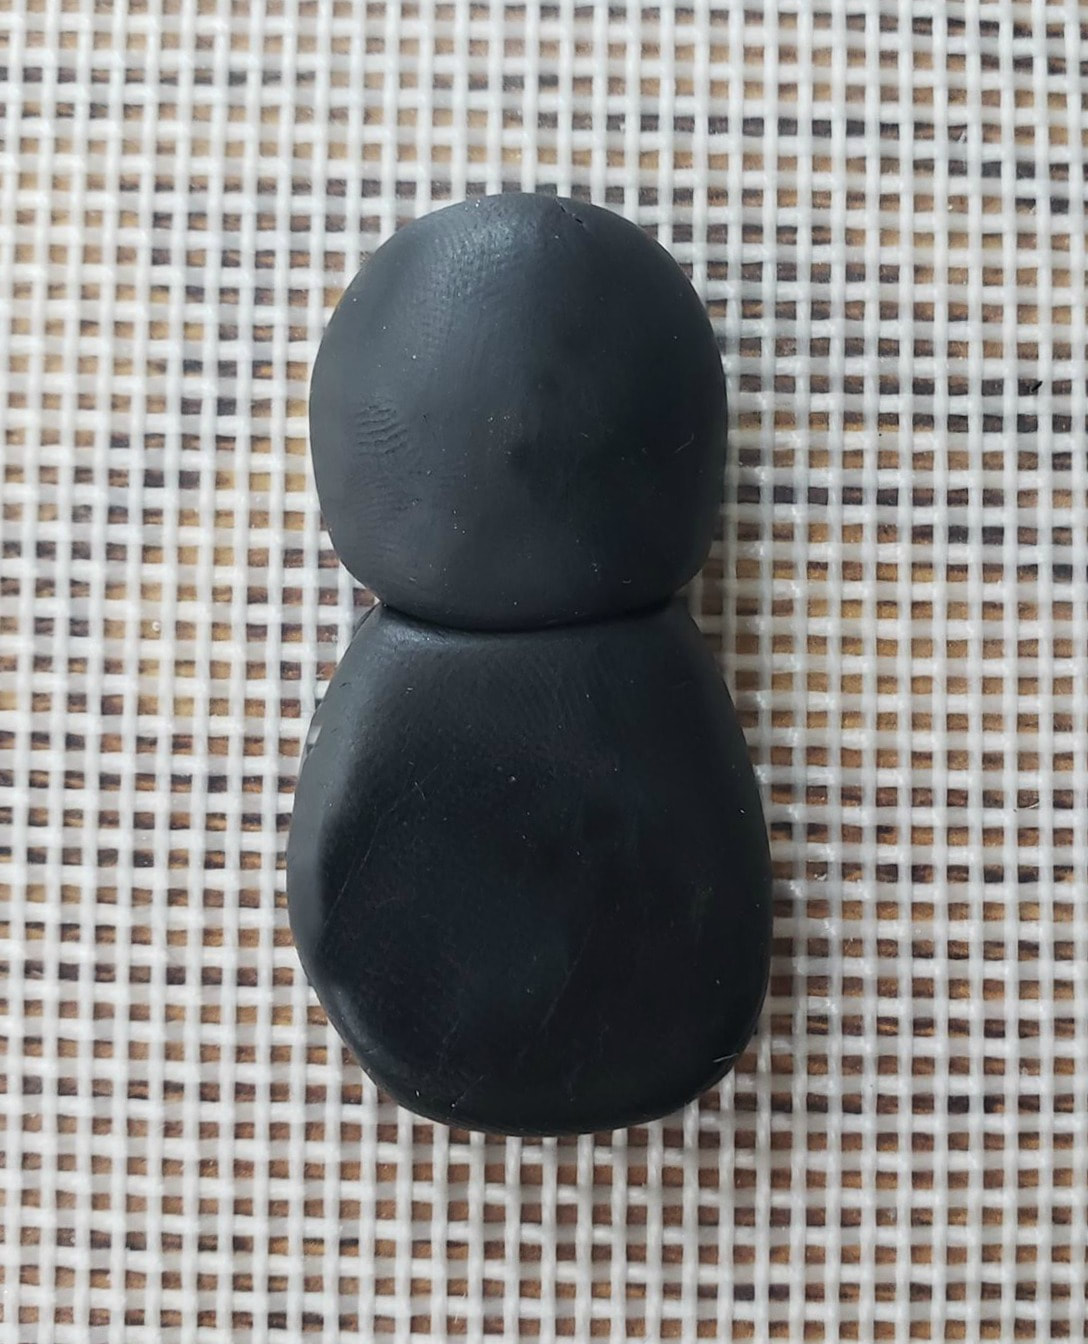 Once you're content with the shape of the body take some of your white and roll it out. I made a basic face shape and belly filler out of the white. 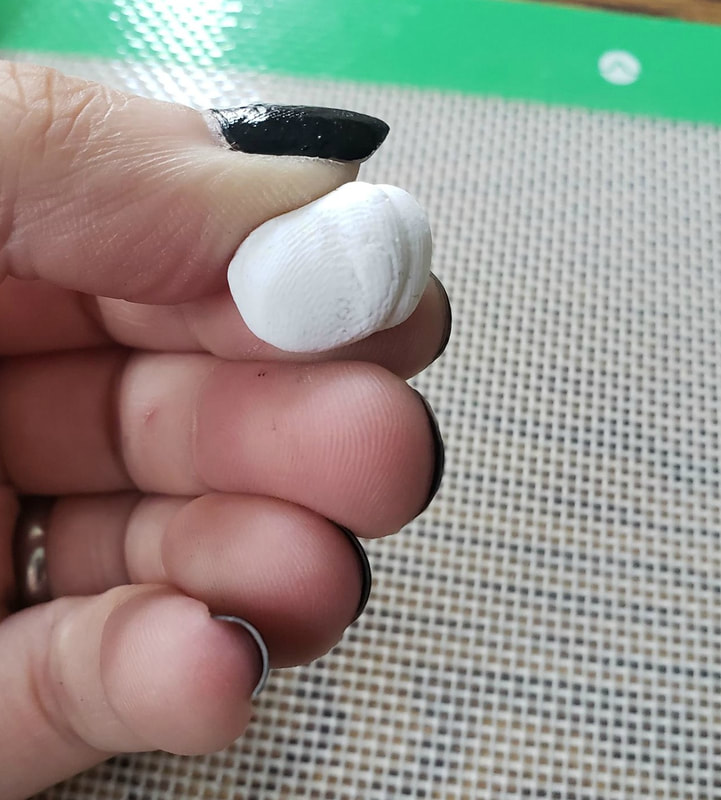 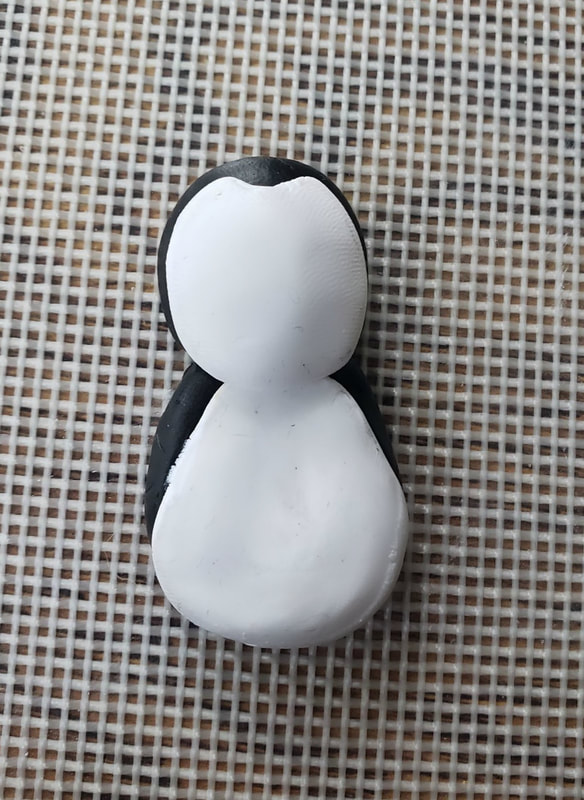 This is a good place to mention some tricks I used to make this project. Firstly I use Saran Wrap to help smooth out my clay. I find that I do a better job of shaping things with my hands than I do with tools. HOWEVER, when you use your fingers you leave finger prints. Placing the Saran Wrap between your fingers and the clay allows for a smooth surface. I also like to use makeup wipes to clean my hands and work surface after using heavily pigmented colors. Its very easy for residue to get left behind and taint the lighter colors, especially white clay. 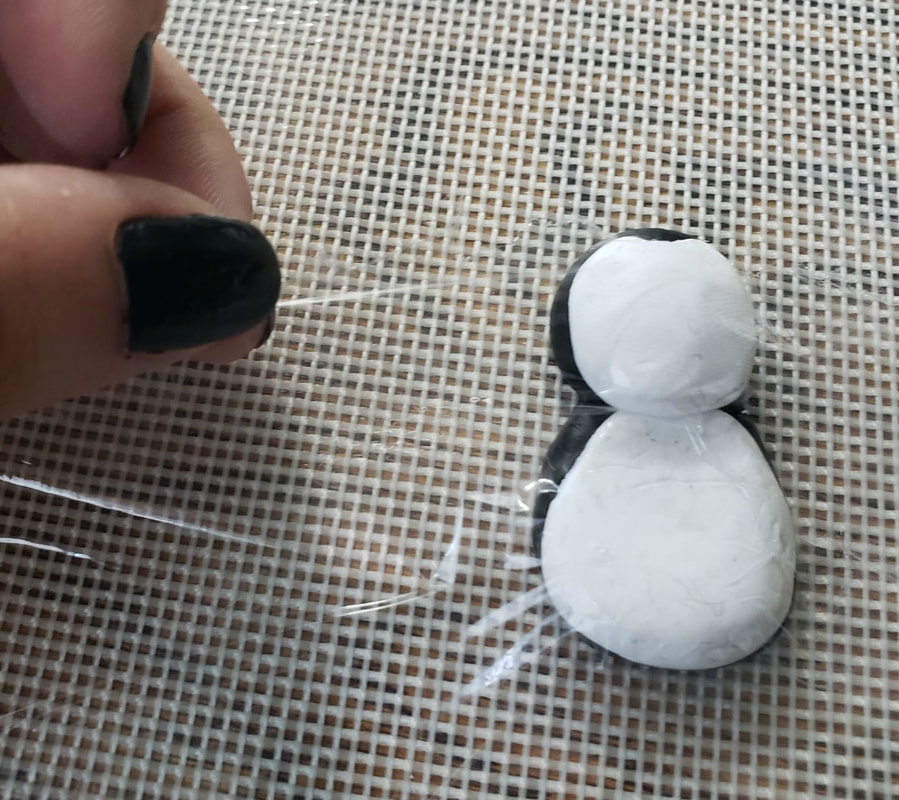 Next I moved onto creating the arms. This is very important because they will be cradling your sea glass. I made what can be described as a bike seat kind of shape. Let's see if you see it or if I'm just really weird. 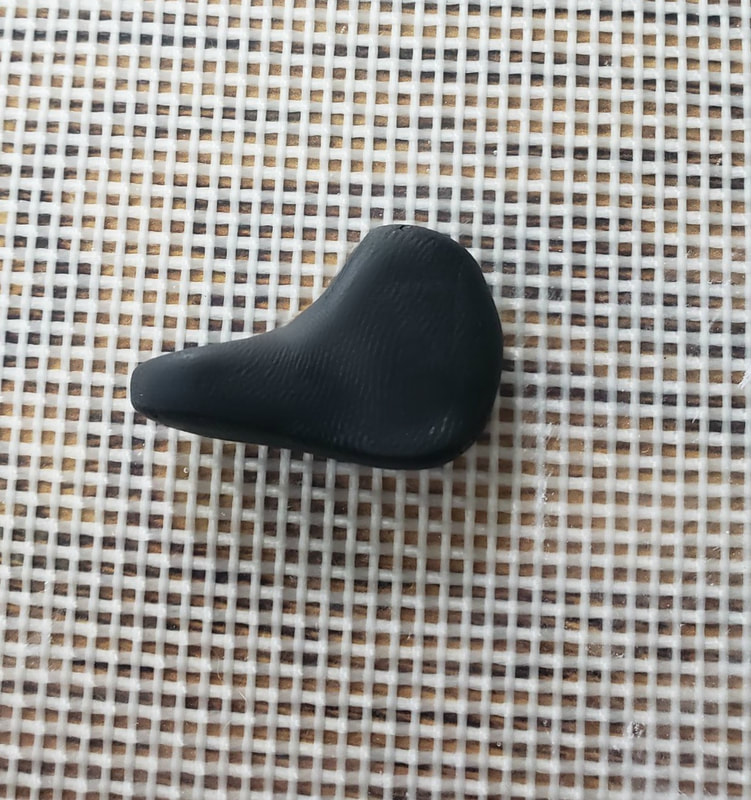 You'll need to make two of those per penguin. (Unless you're making a handi-cap penguin, I don't judge. I think that's pretty cool.) Then lay them so that they overlap a bit. Then take your piece of sea glass and firmly rest it in the crook of the two arms. I haven't needed to remove and glue down any of the sea glass I've cooked, so make sure to get it wedge into the clay. 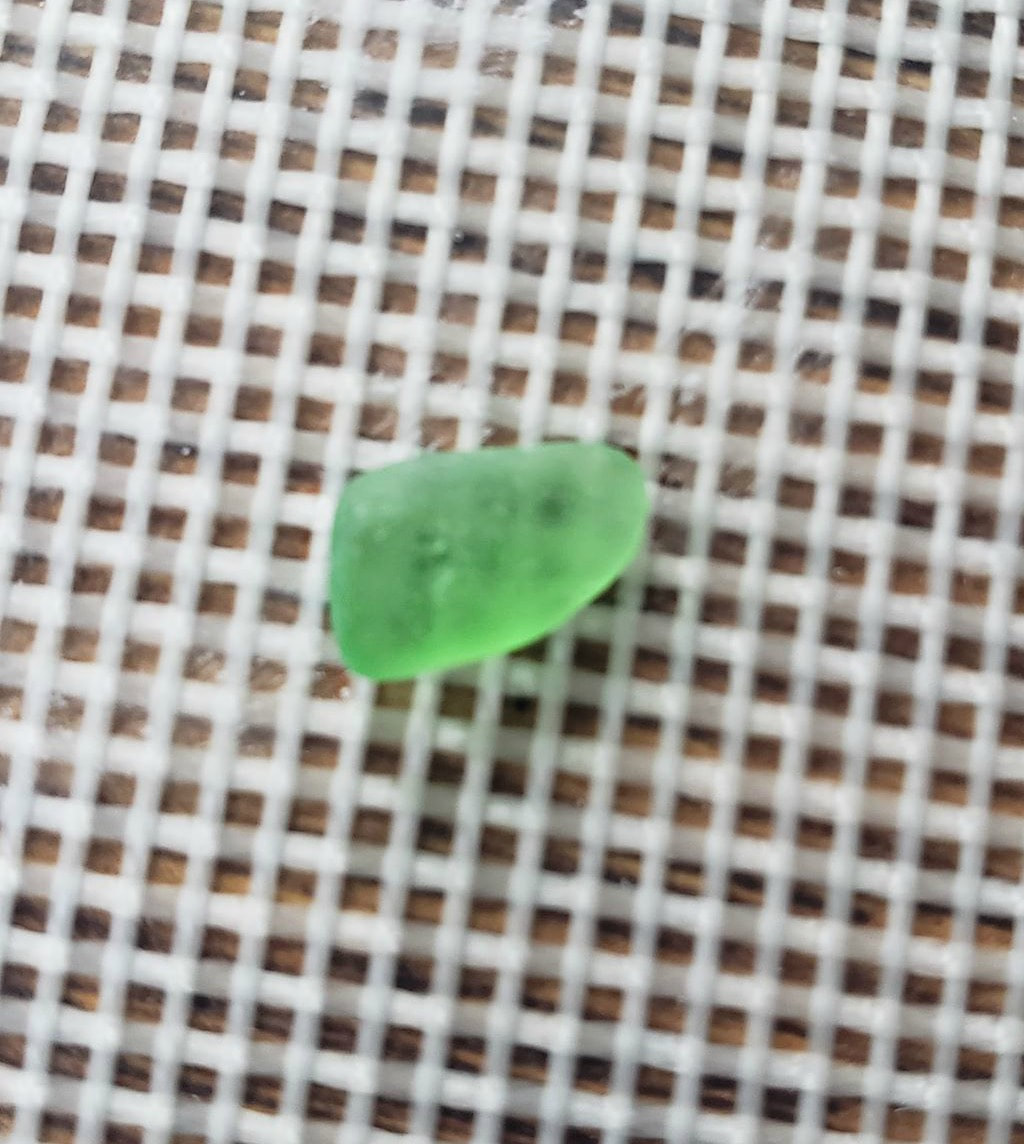 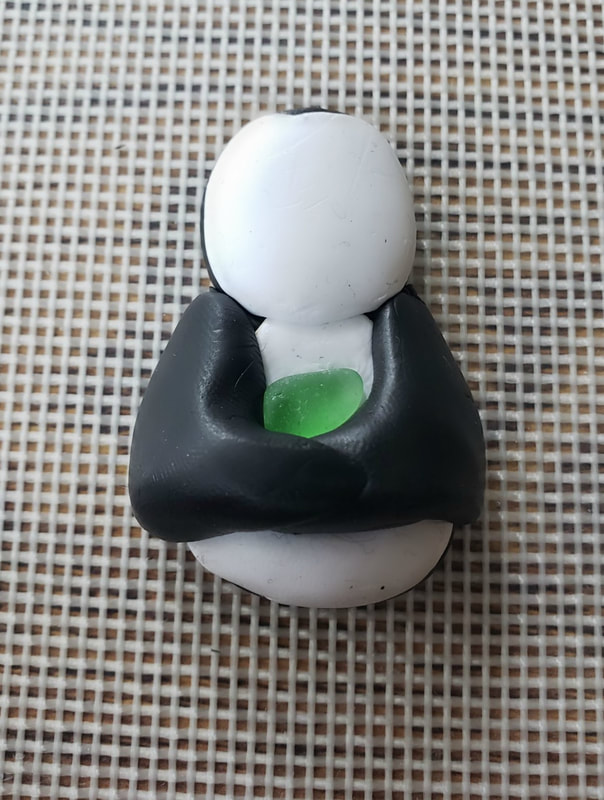 Then take your orange clay and create your beaks and feet. I made a small heart shape for the beak. And then two ball that I flattened out into feet. Using a toothpick I made the toes. 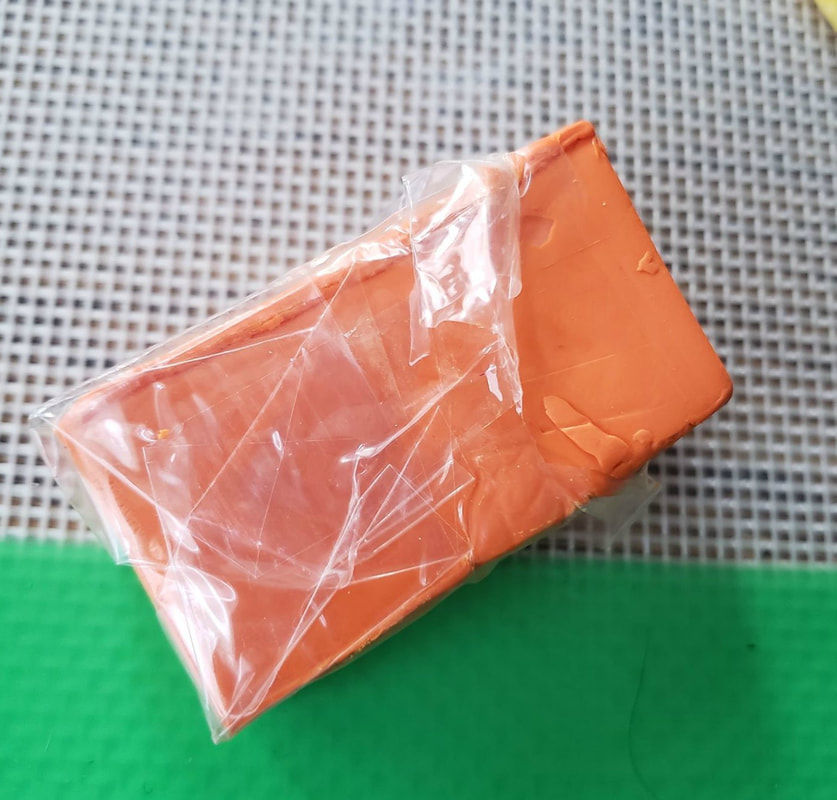 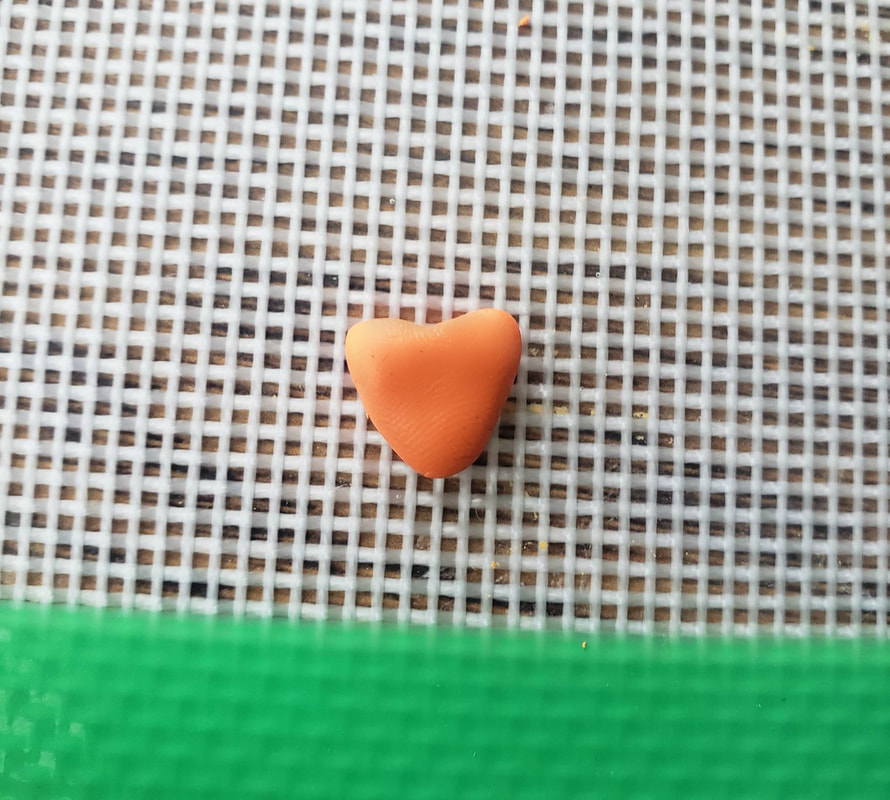 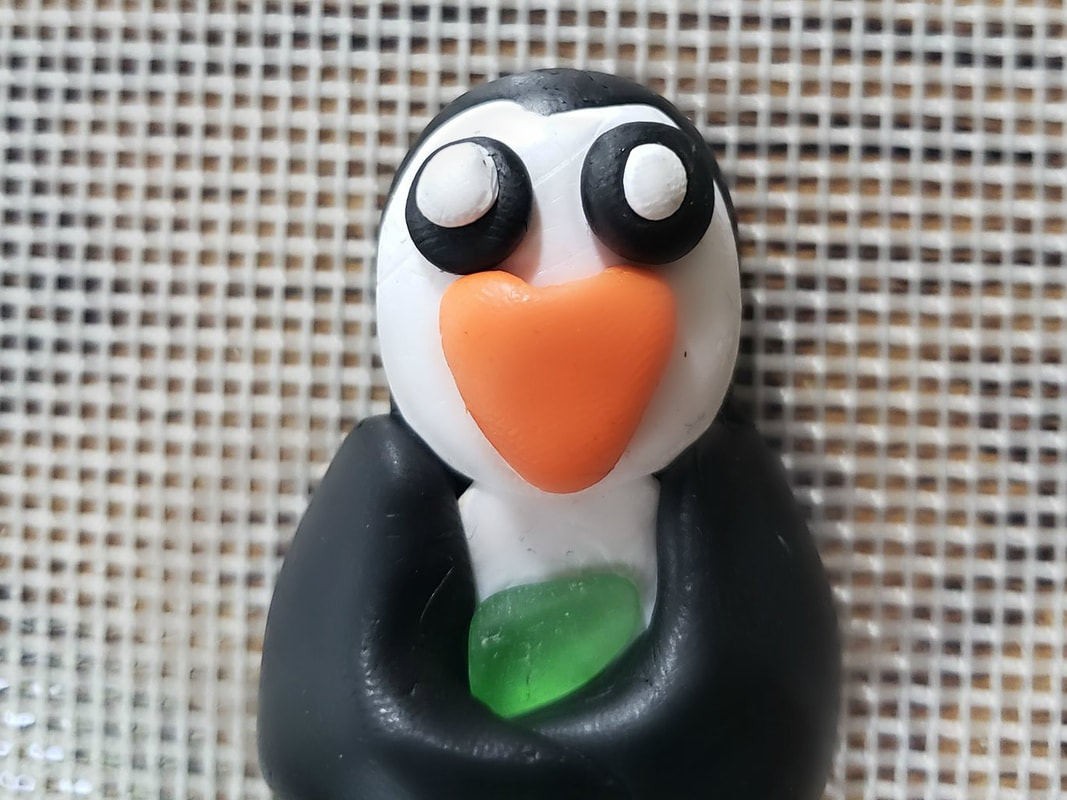 I forgot to show a picture of making it. But I made two eye balls out of black and white clay. 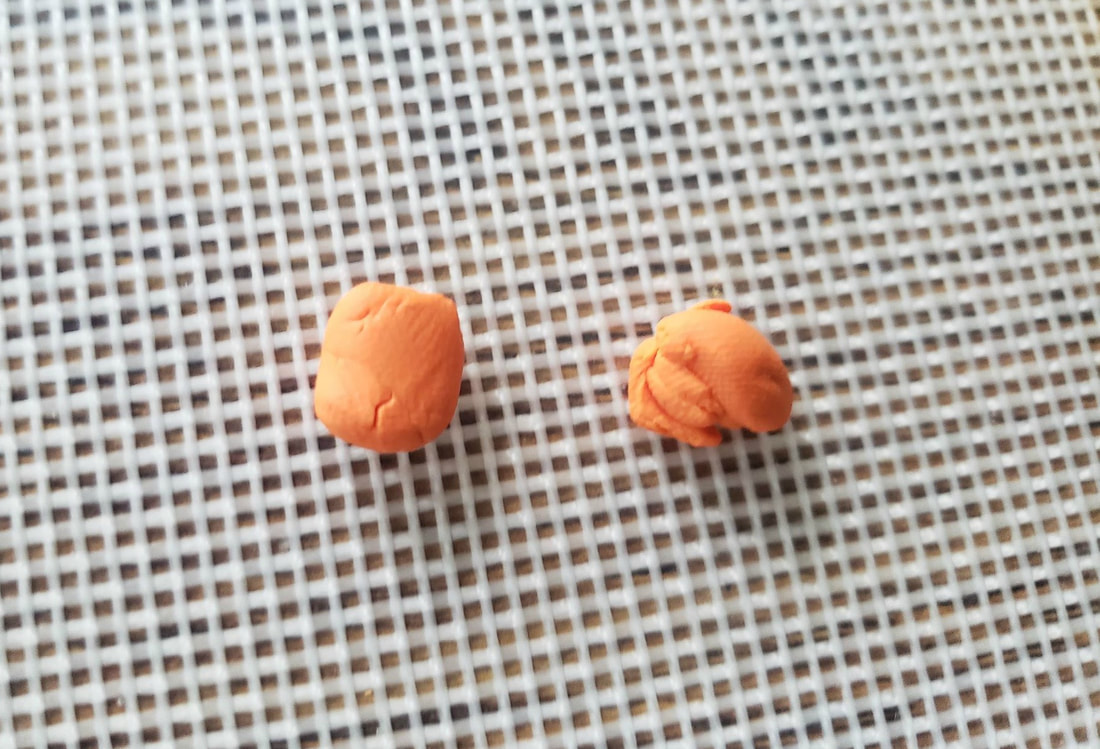 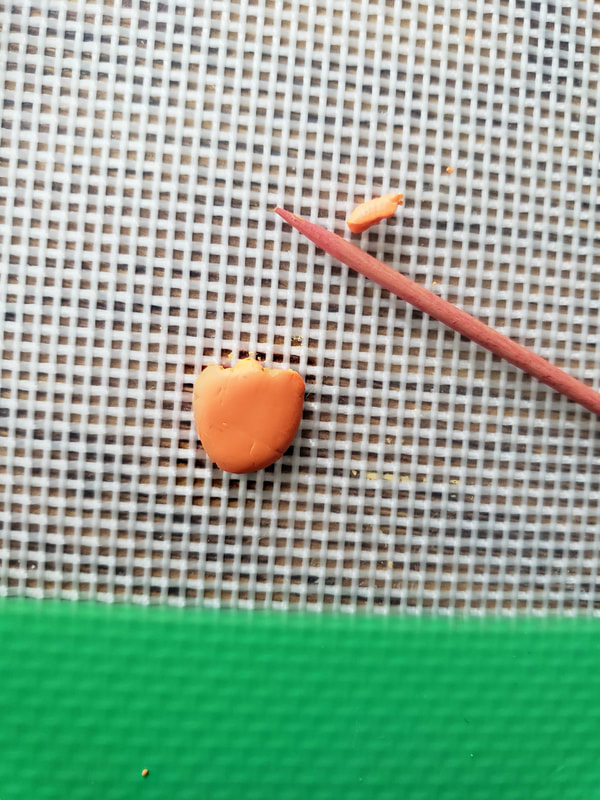 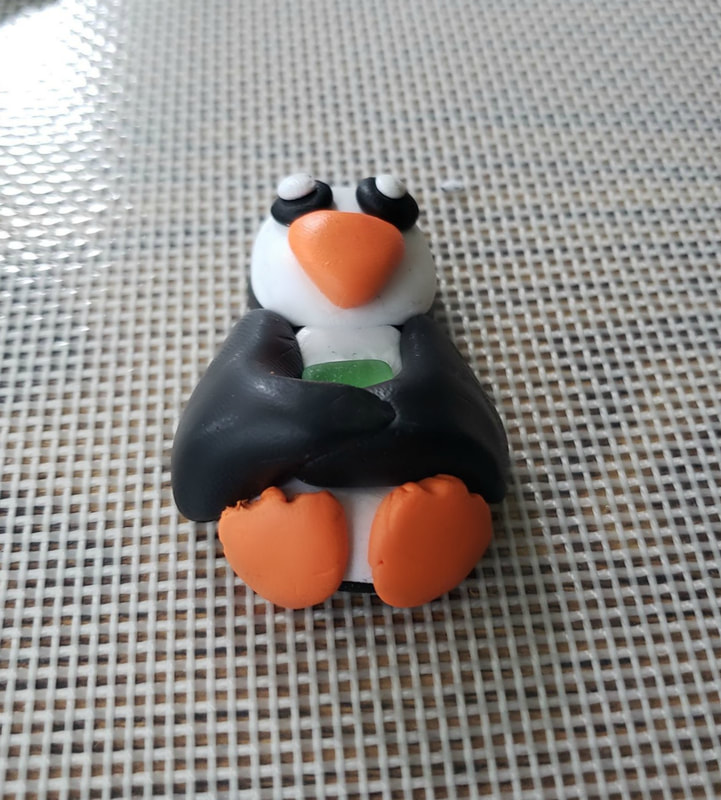 Now you can just skip to putting these in the oven, but I also made a couple penguins so I'll show you a tutorial of those, but otherwise you can just skip on down to the photo of the stove. If you're sticking around for the couple penguins make two more head shapes. You're going to make the body essentially the same, but make one side rounder and add a small pointed tall on the other side. 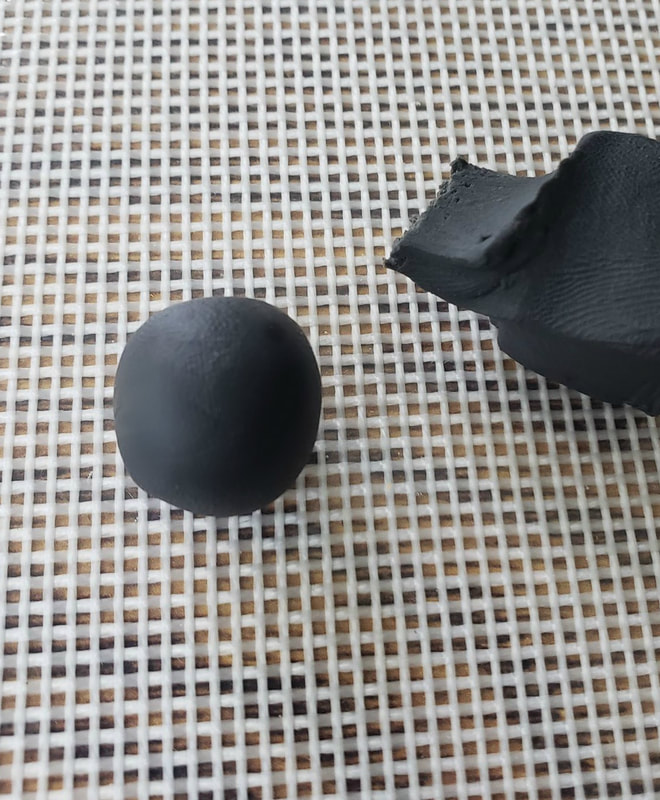 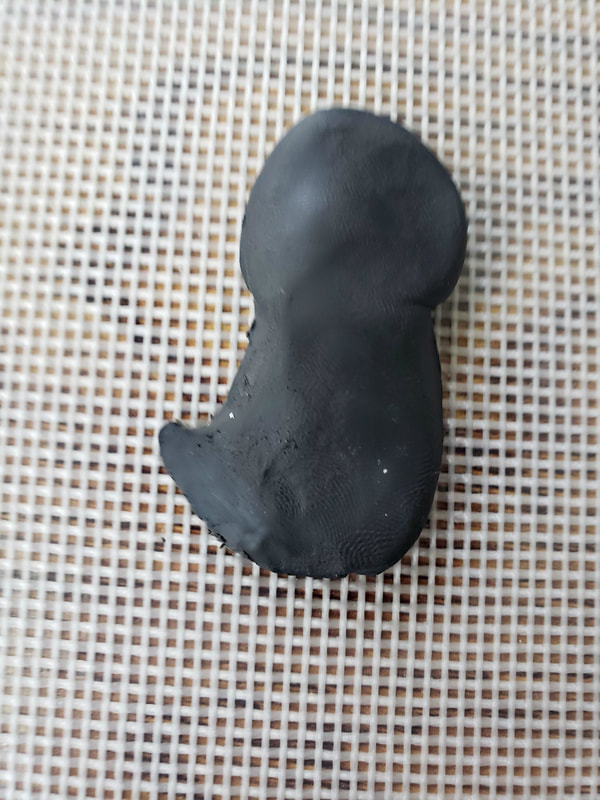 Get our your white clay and make the belly shape and the face shape. 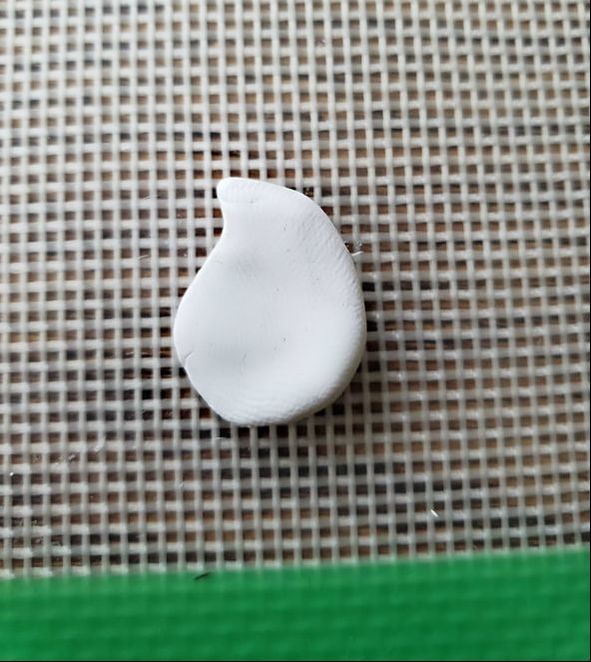 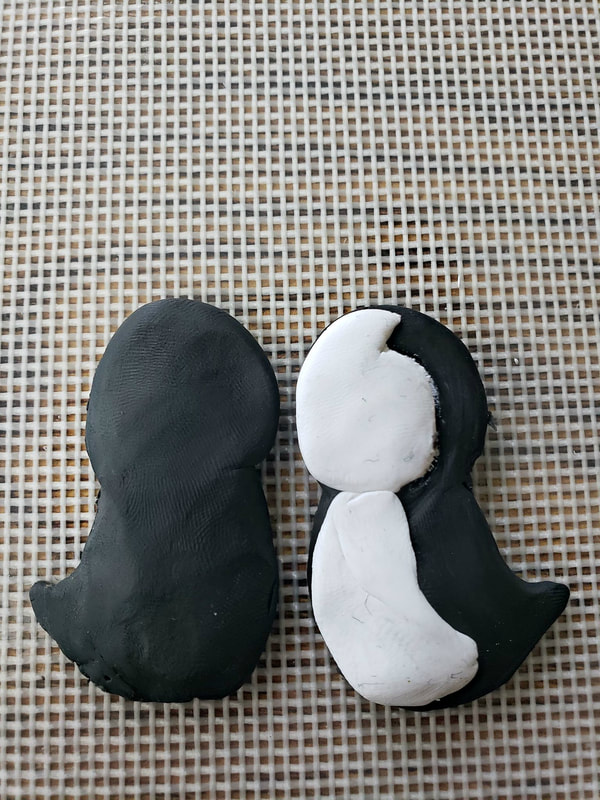 Make your bike seat arm shapes again.  And two small orange feet shapes. 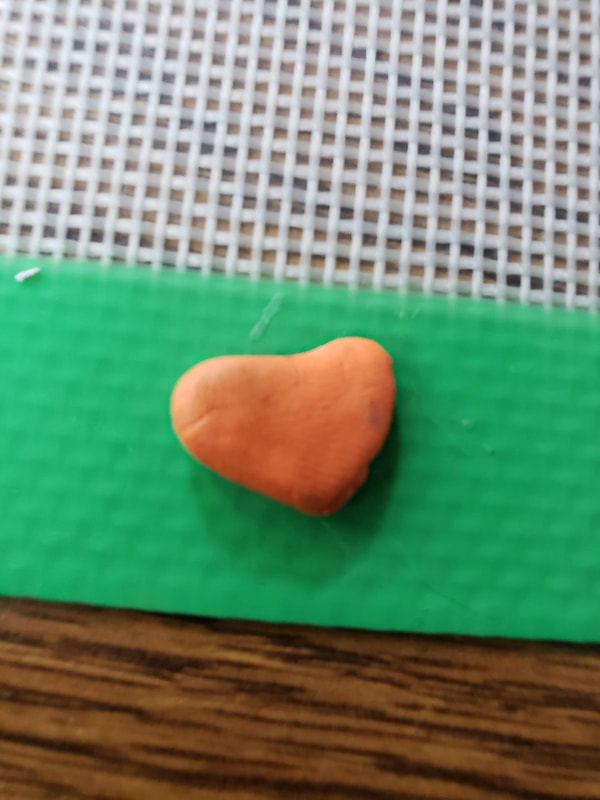 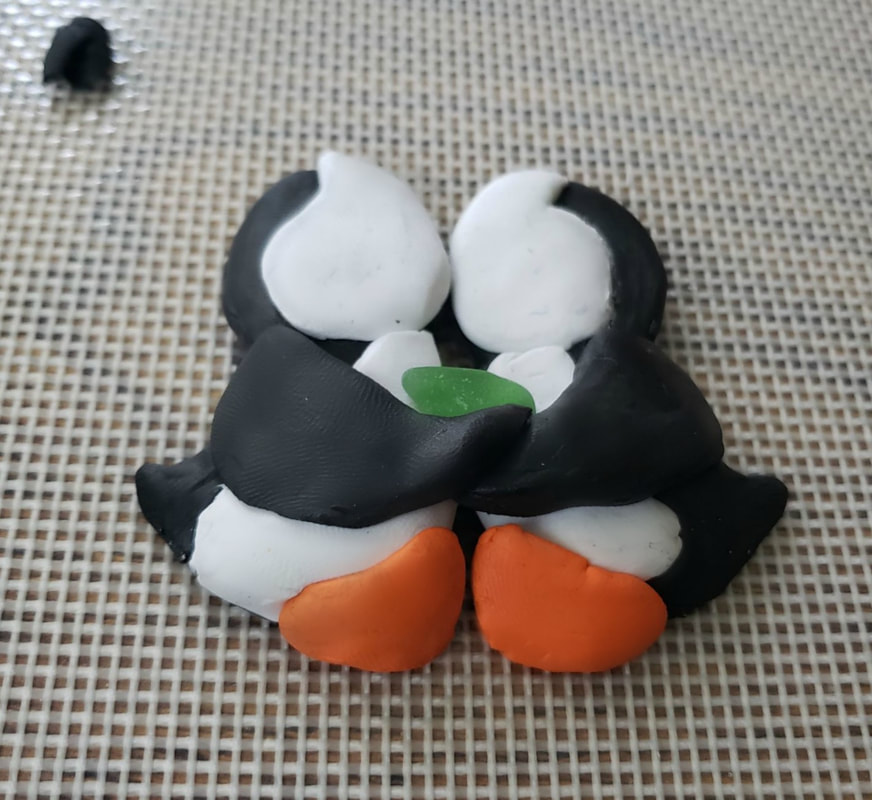 Same as before wedge your sea glass in between the arms. And make two triangles for the beaks. I also used toothpicks to give the beaks nostrils and mouth. 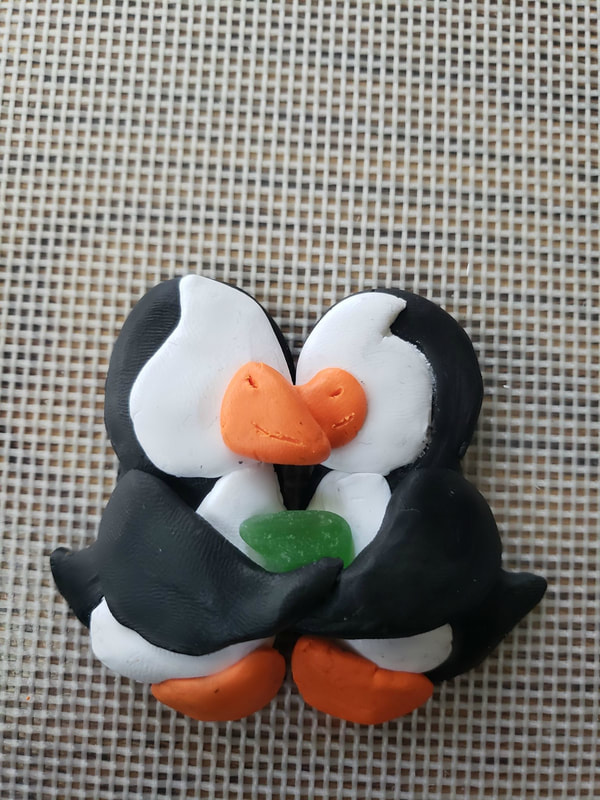 Make two black circles small enough for eyes and then two small white circles to fit inside it. 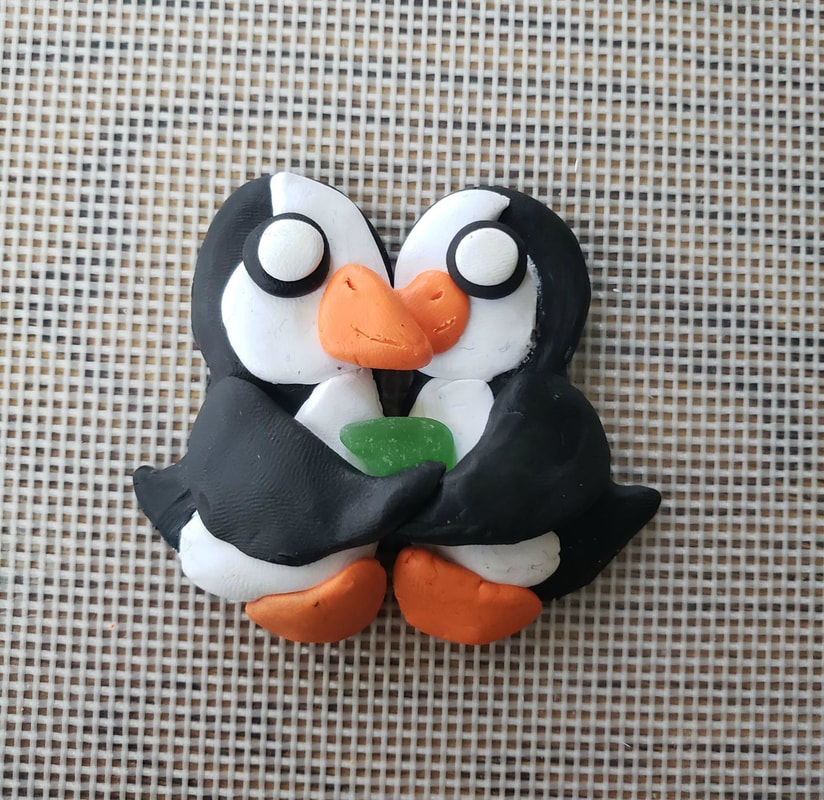 Now, I decided to take a little bit of red clay and make red heart pupils for the eyes. Annnd I also added a bit of clay to the cheeks of my girl penguin.  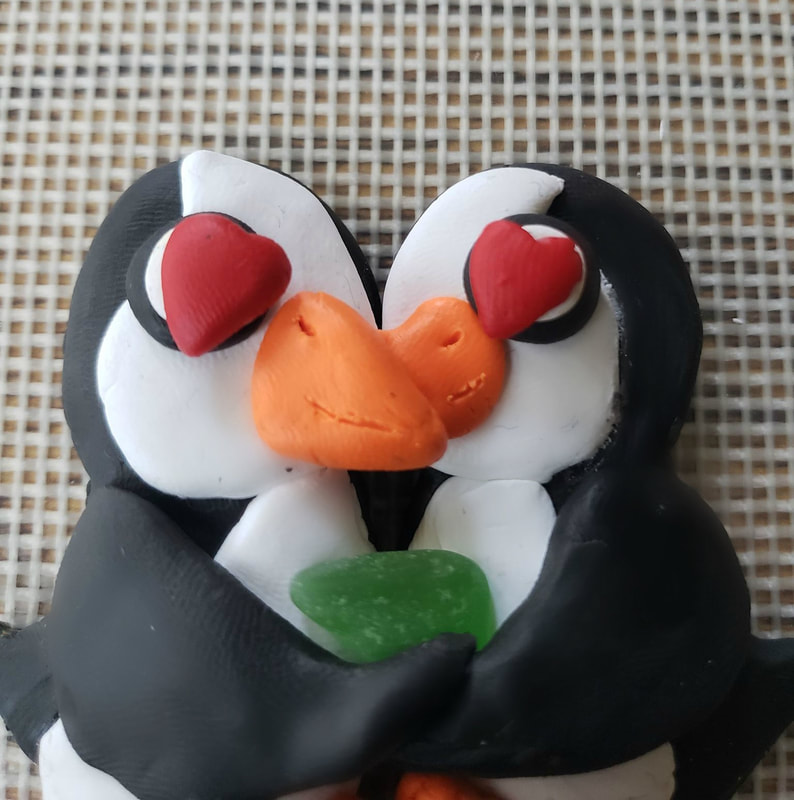 I also made a little pink bow for the top of my girl penguin. 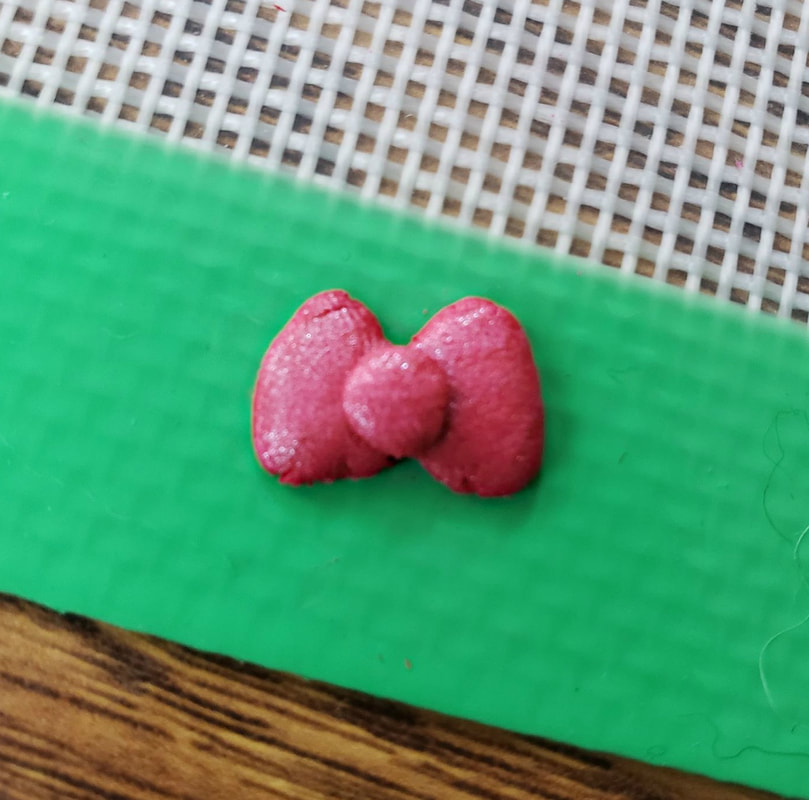 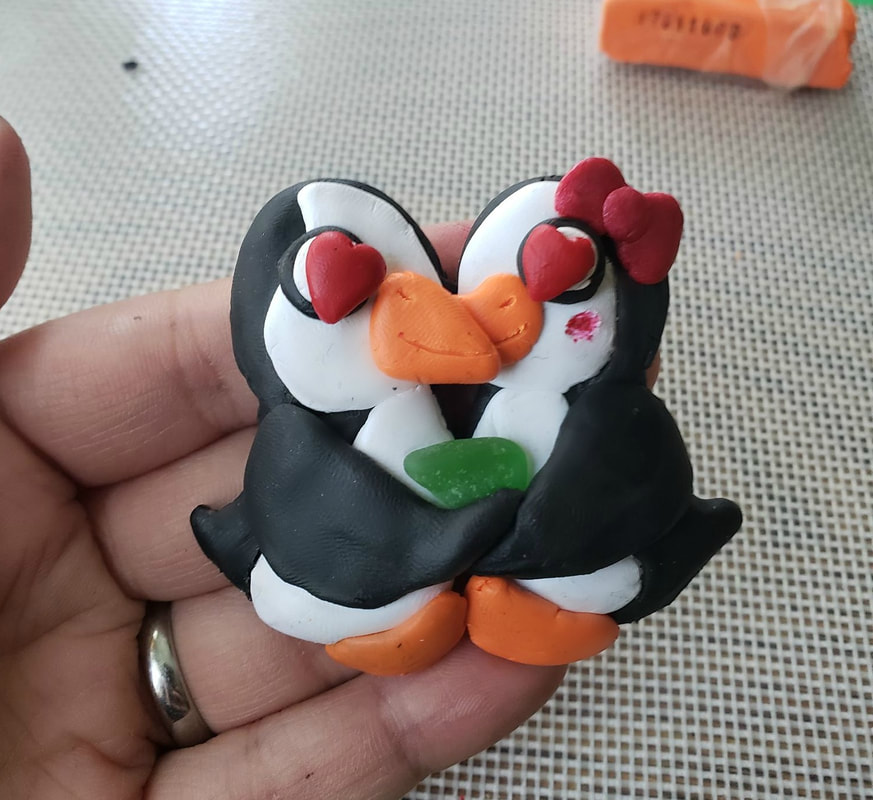 With most polymer clay you'll set the oven to 275 but be sure to check your baking instructions. You're supposed to do 30 minutes for every 1/4 inch of of clay, but since some of these penguins were thicker than other charms I've made, I set it for 40 minutes. 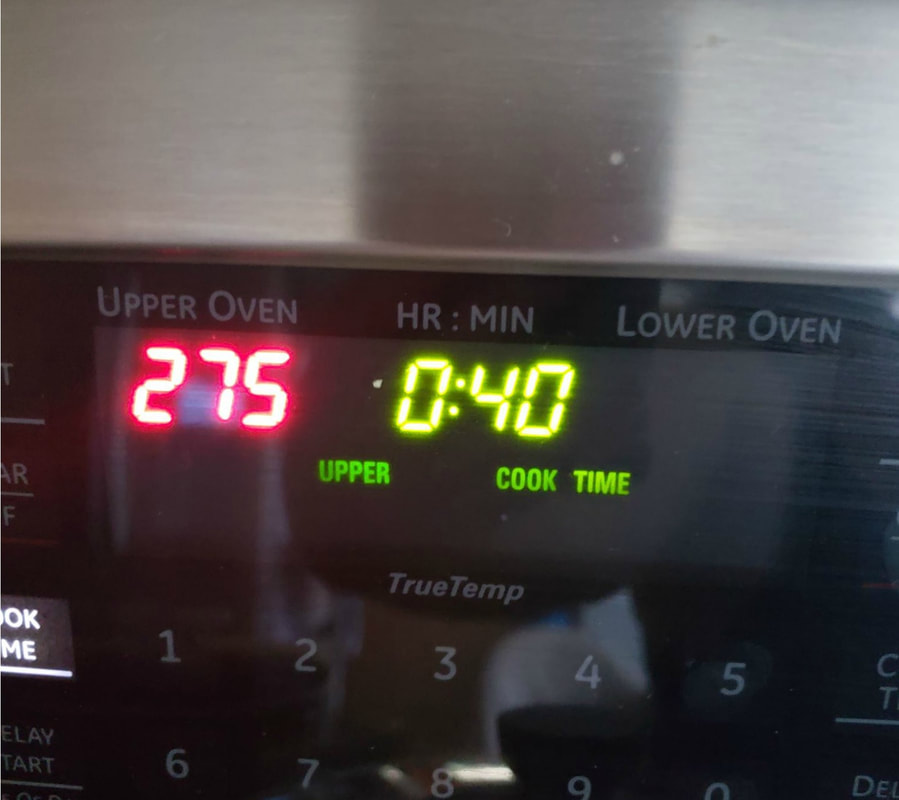 And as usual I baked my clay in an aluminum pan held together with bulldog clips. I also have the pans lined with parchment paper. This helps your clay to bake without burning. 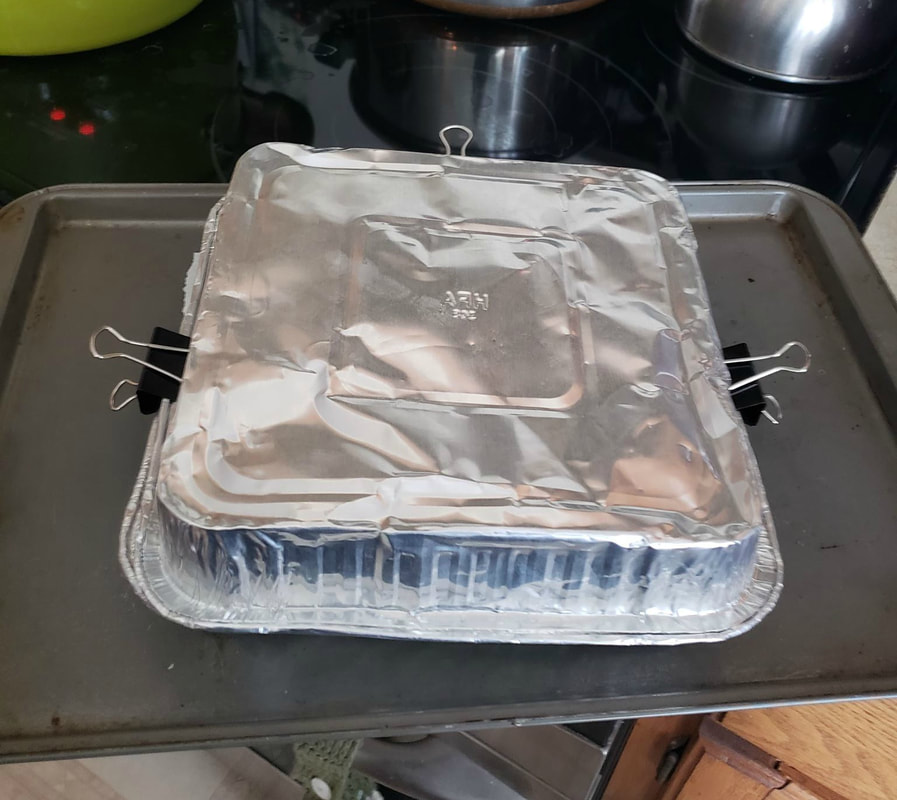 IF you are planning on making them into charms make sure you put your eye pins into the top of the their heads BEFORE you bake them. 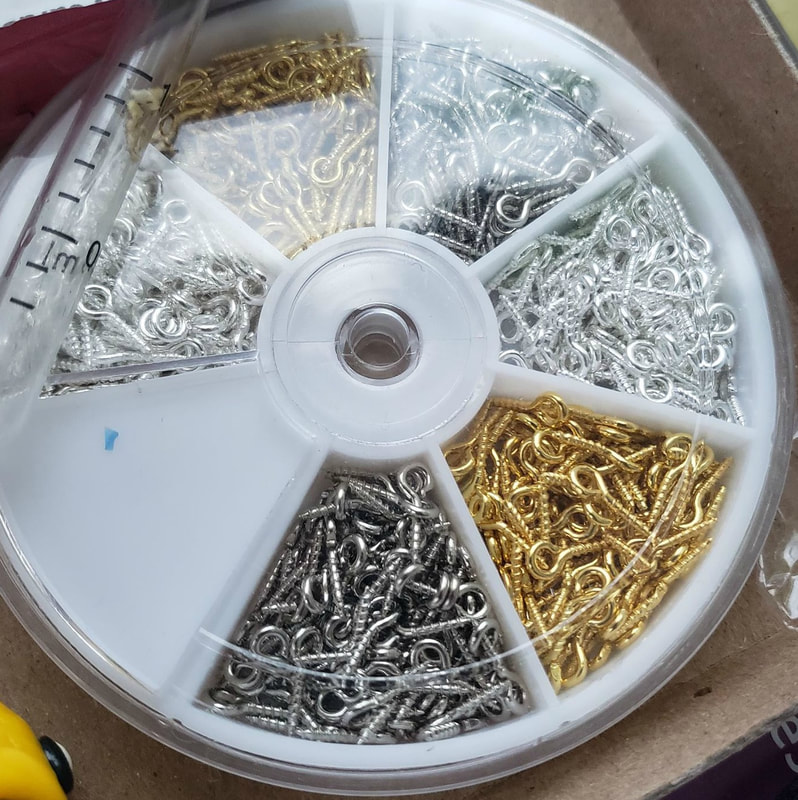 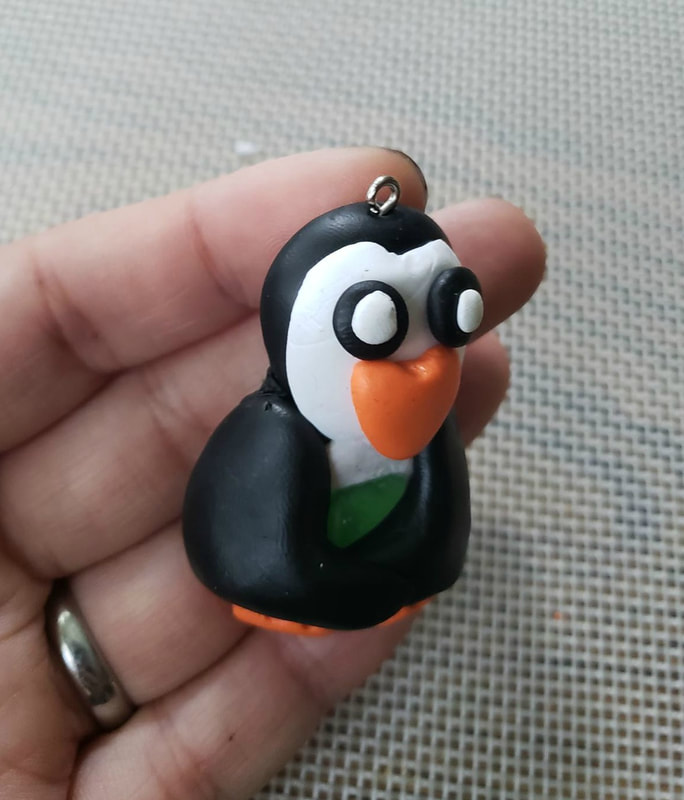 And finally once they're cool, give them a glaze. Once again it's not important, but I really like the way they look once they're glazed. AND it REALLY makes those sea glass shine. 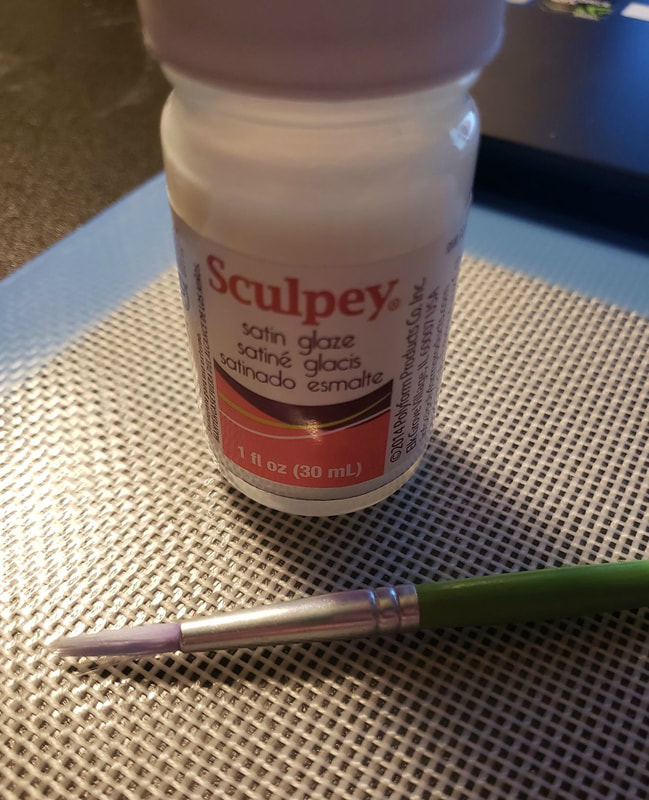 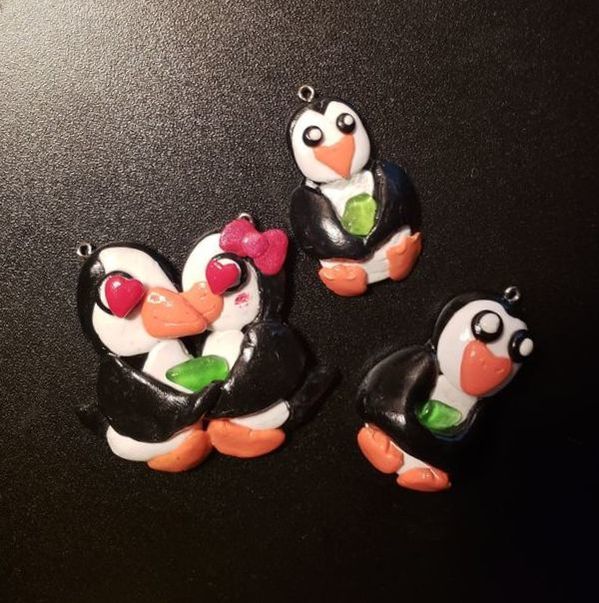 Sticking with my new found love of polymer clay I thought a beautiful symbolic picture from our wedding would make a lovely gift for his grandpa. So I came up with this frame idea. YOU WILL NEED:
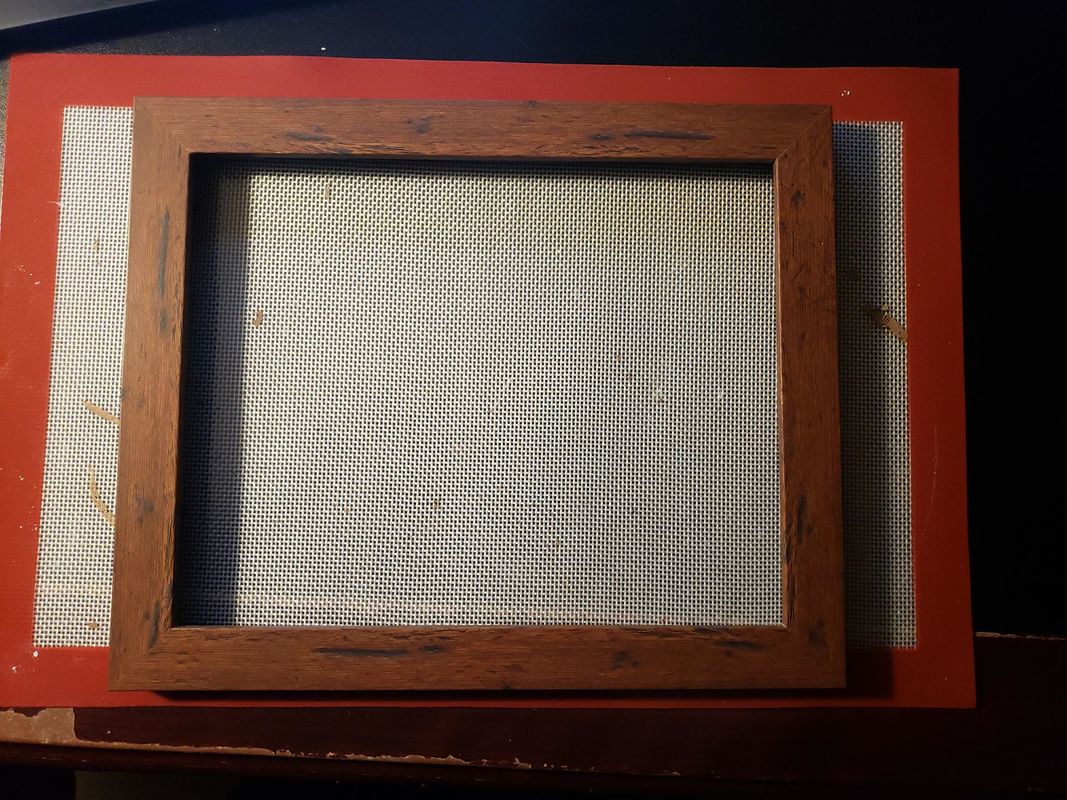 I went to Michaels and bought this 8x10 frame in dark wood for $6. I simply began applying the polymer clay to it knowing I was going for a tree. 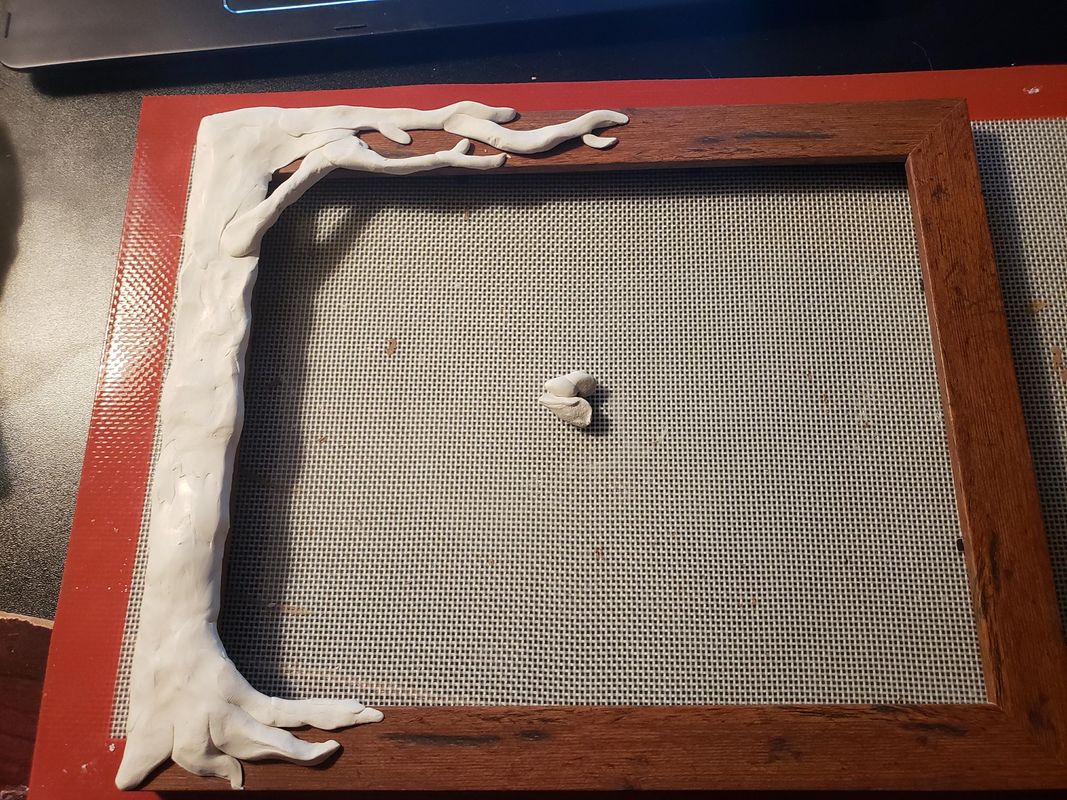 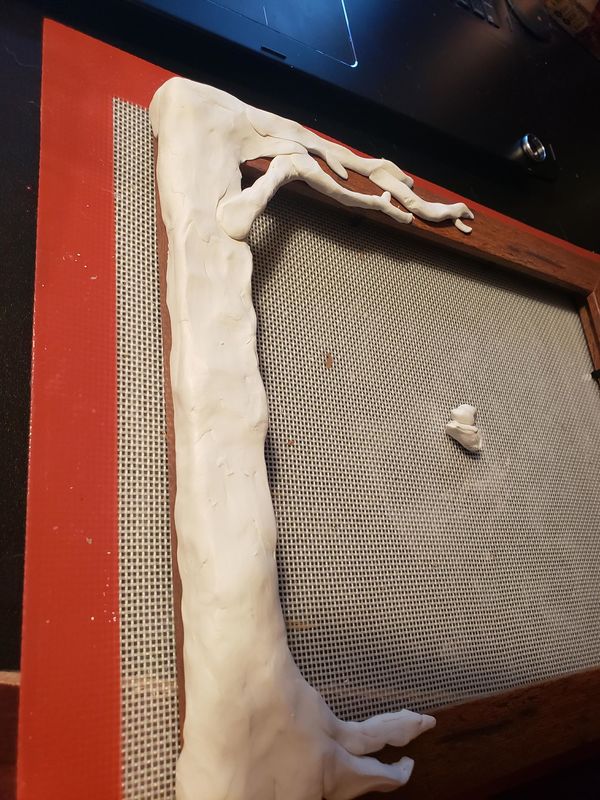 I rolled small thin lines and used them to create ridges on the bark of the tree. 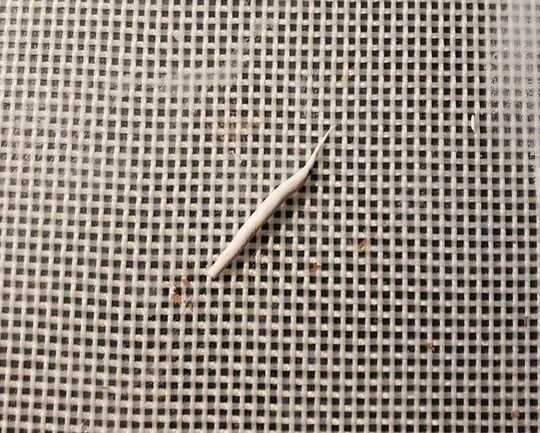 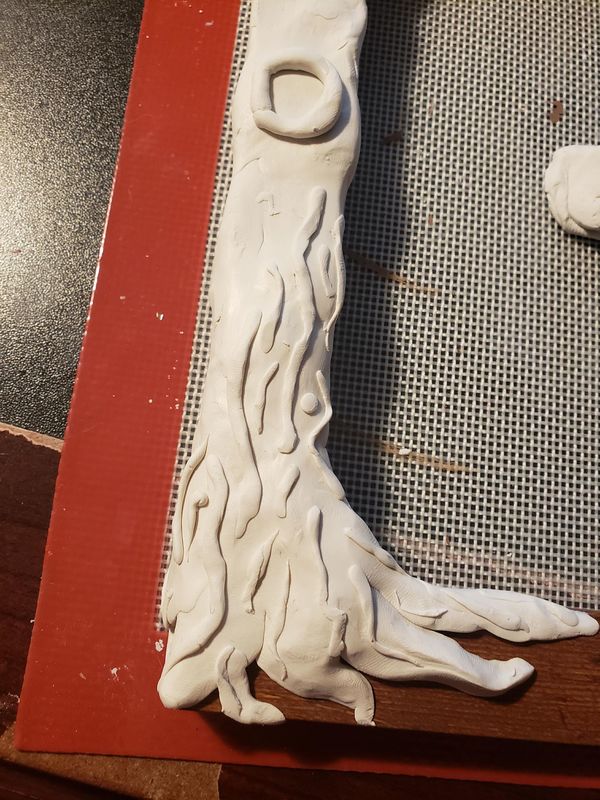 I made a LOT of little tear drop leaf shapes to create the top of the tree. 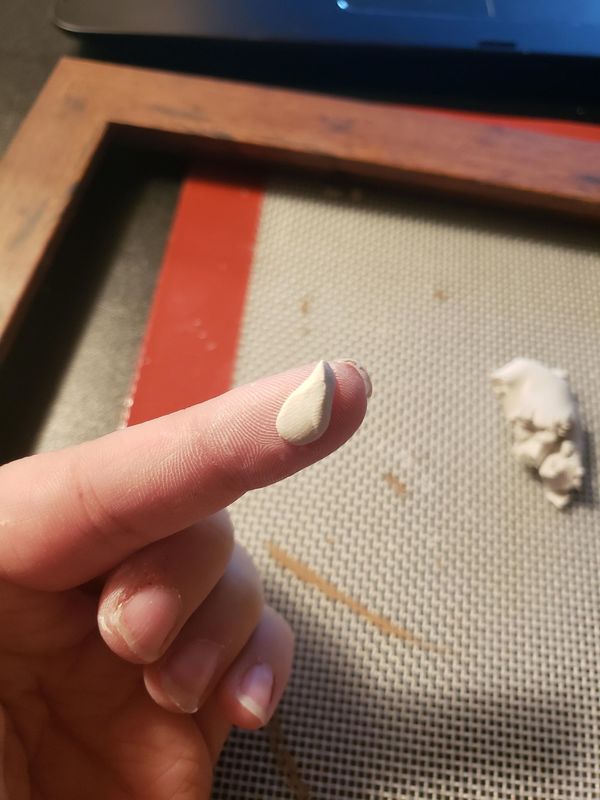 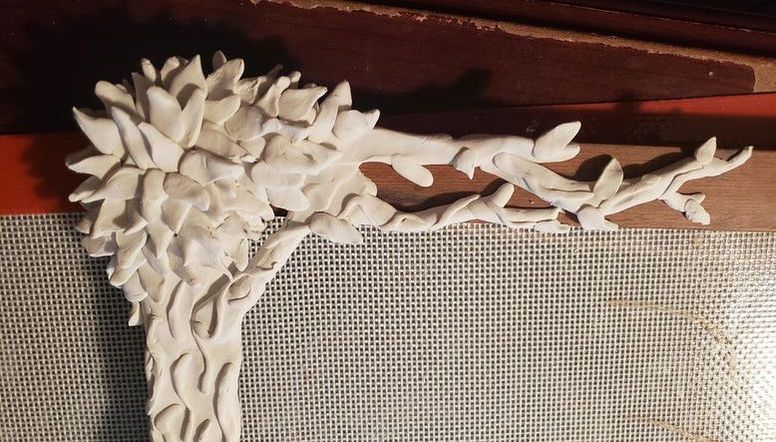 Using a toothpick I created small grooves in between the rolled lines I made earlier. 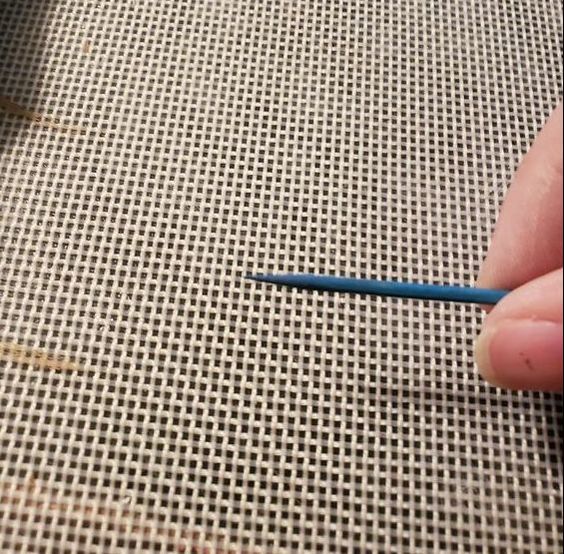 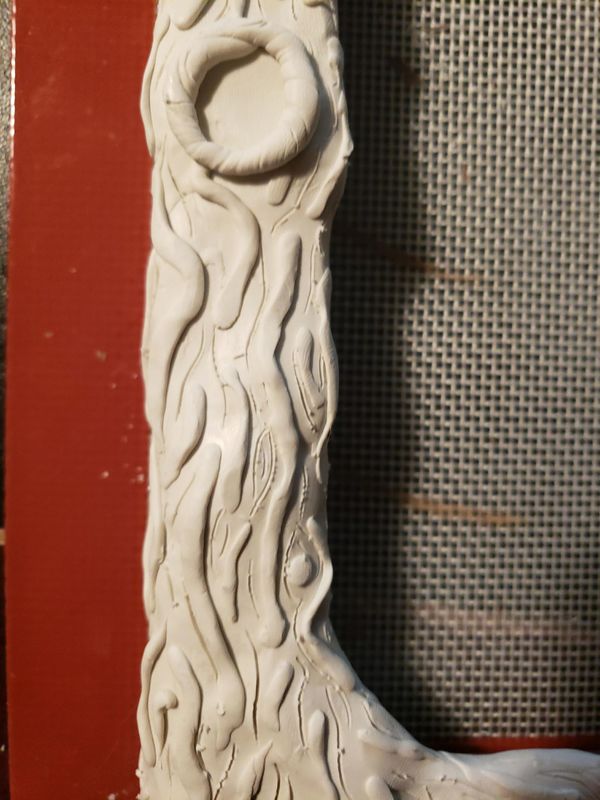 I also made a plaque and bird out of clay and added it to the frame. 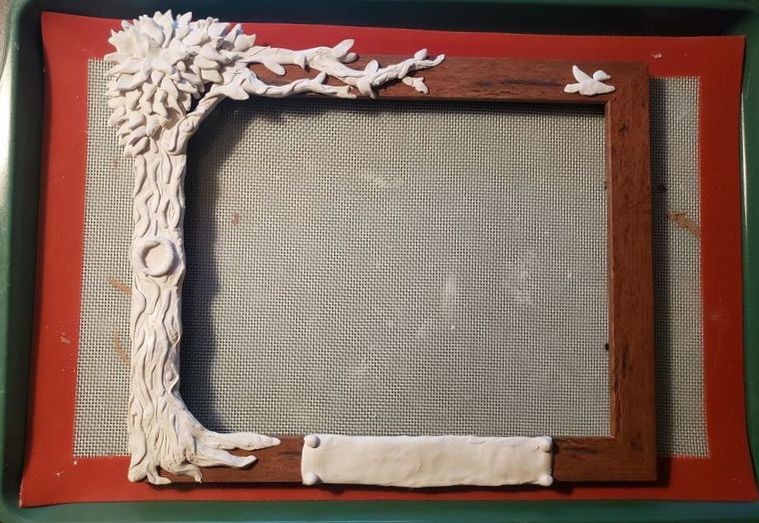 After this I painted the clay and heated the oven to 275. After the oven was preheated I placed the tray in the oven and baked it for 30 minutes. NOW, this is where the little tid-bit of information comes in. With a normal wood frame nothing will happen. With this frame the dark wood on it is a wrapping so it bubbled a bit in the back. If it's really bad, just put a dab of glue under the wrapping and it will be fine. But in this case I was able to just put the glass and frame back on and you couldn't tell. 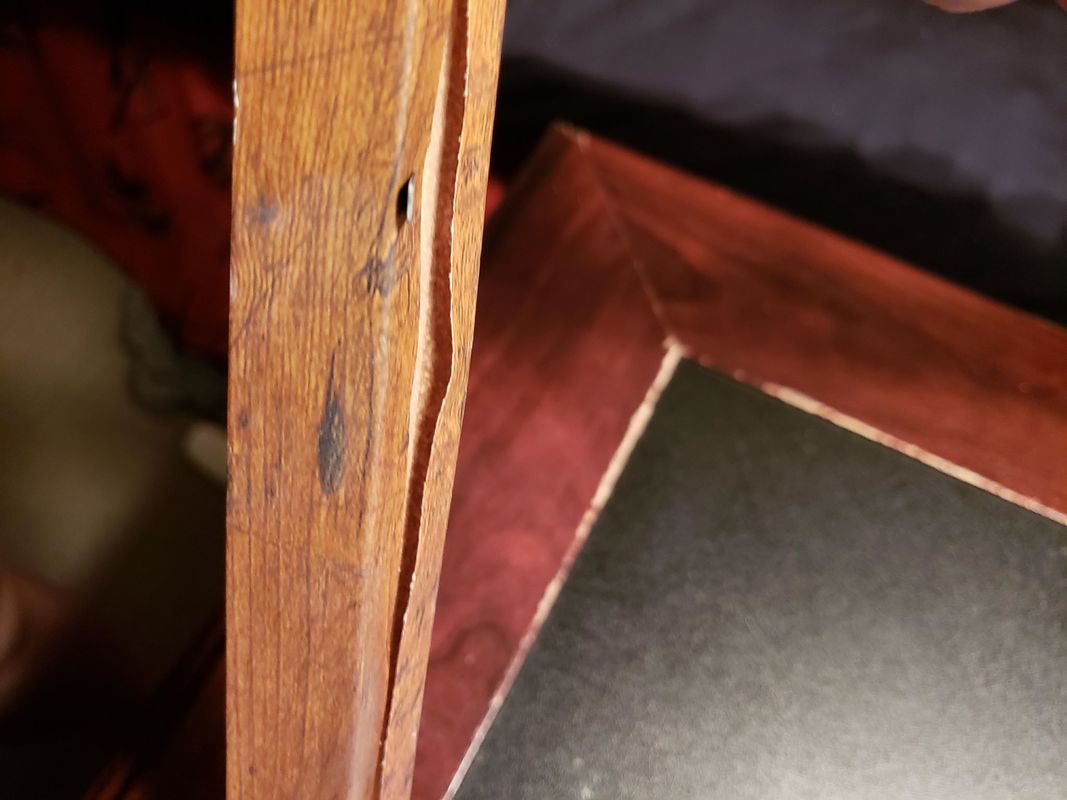 When it was cool I went over it with a glaze and then placed the photo back in it. This was a photo from our wedding of my husband's family. Two sets of grandparents (and a gorgeous great grandma). Very strong roots that raised a wonderful man I am blessed to call my soul mate. 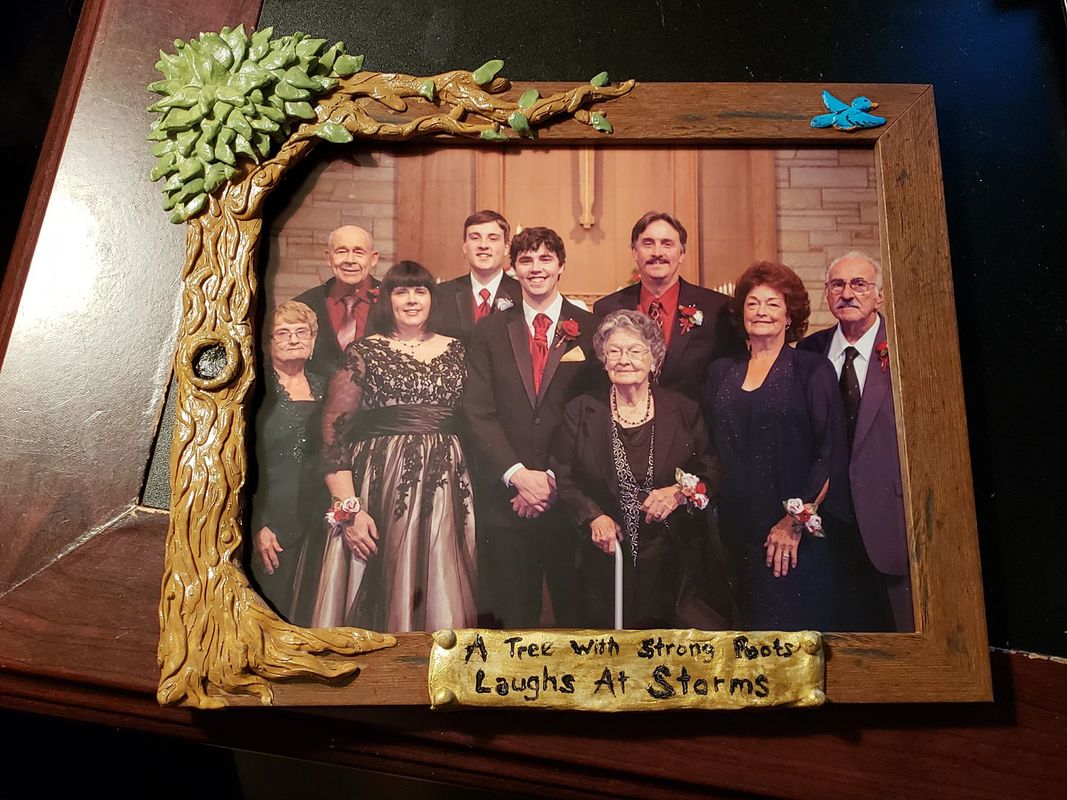 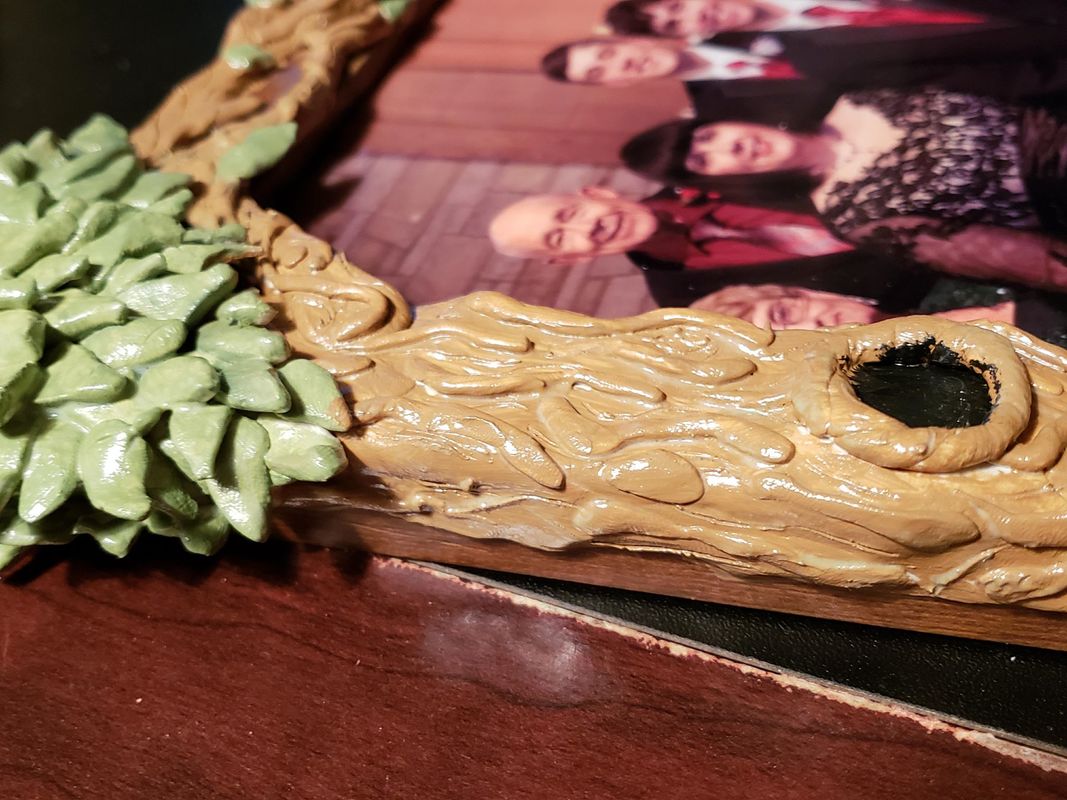 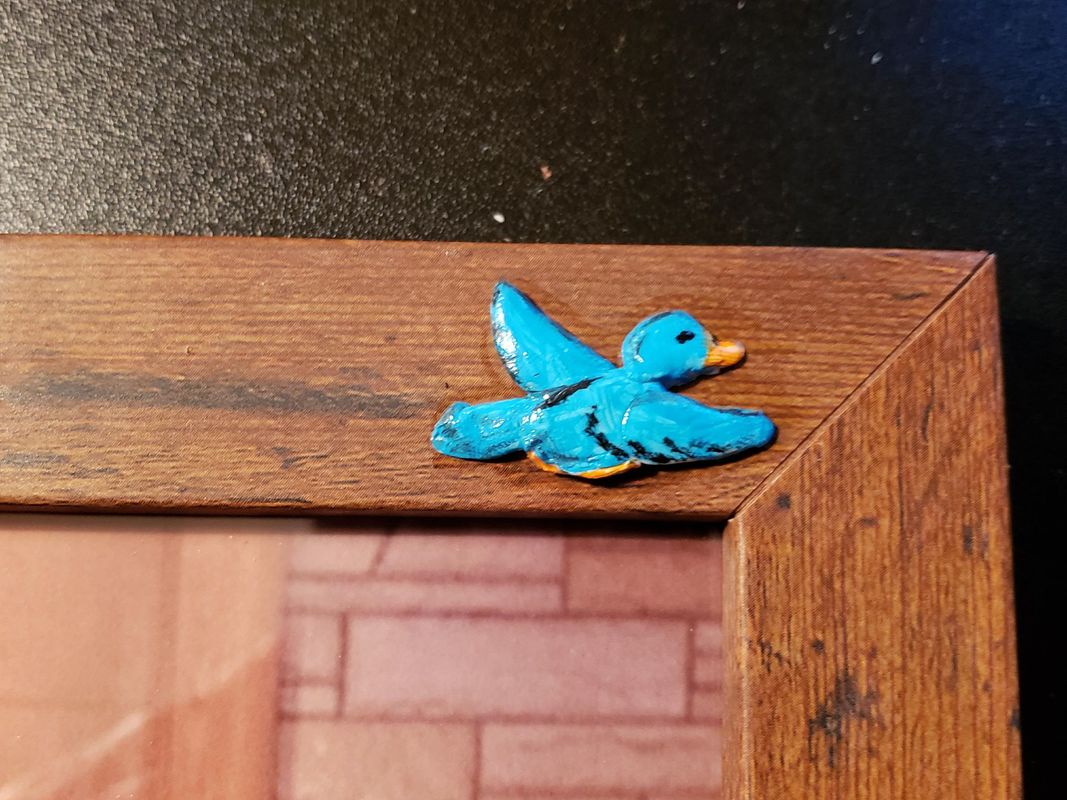 I wasn't too concerned with little paint mishaps or my terrible font on the plaque. All those things really bring out the homemade/made with the love feeling that makes this particular gift so important.
Also should anyone try and do this themselves the frame will be heavy to one side unless you match the sides equally. This wasn't a concern for me as I knew Papa and Grandma would be leaning it on the mantel or piano, but it is something for you guys to keep in mind should you attempt this project yourselves. So my family and I play Pokemon go. We play fairly regularly and attempt to do as many of the events as possible. I know it's silly, but it's also good family fun. Recently we've been doing more community activities. But I have a rather severe social anxiety and standing around talking with strangers can be so hard to do. I thought making phone charms with our team design on them would make it easier to sort into our groups. BUT I figured I'd share this tutorial with you guys because there are so many things you can make with this idea! YOU WILL NEED:
I printed out a wallet size photo of our team designs to trace through the shrinkey dink paper. This is totally optional, depending on what you want to do.  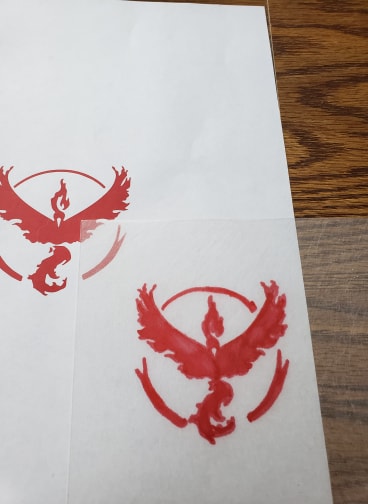 Once you've colored your design, remove it from the paper your tracing. I chose to also go in with a thin black sharpie marker and trace the outline of the design. Then I cut out the shape of my charm and used my hole punch. REMEMBER to use your hole punch BEFORE baking your shrinkey dink. Once it bakes it hardens and there is no chance to put a hole in it. 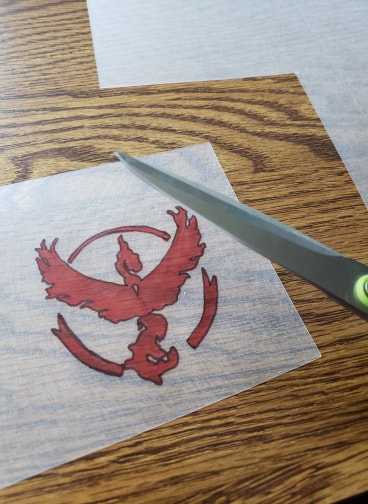 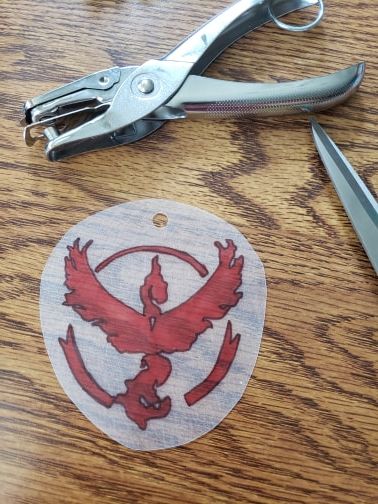 Preheat your oven to 325 degrees. Once ready place your shrinkey dinks on a tray and pop them in the oven for 3 minutes. Within a minute the designs start to curl up. 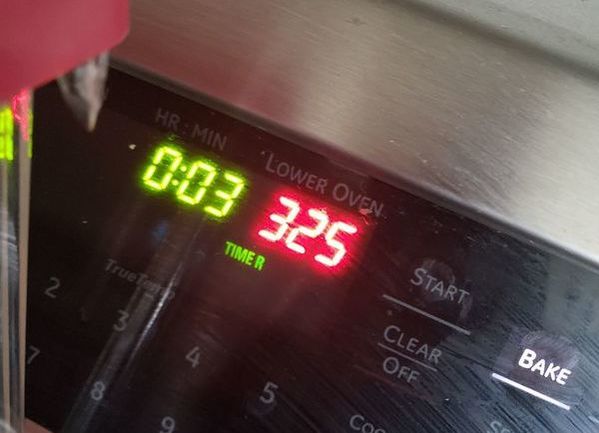 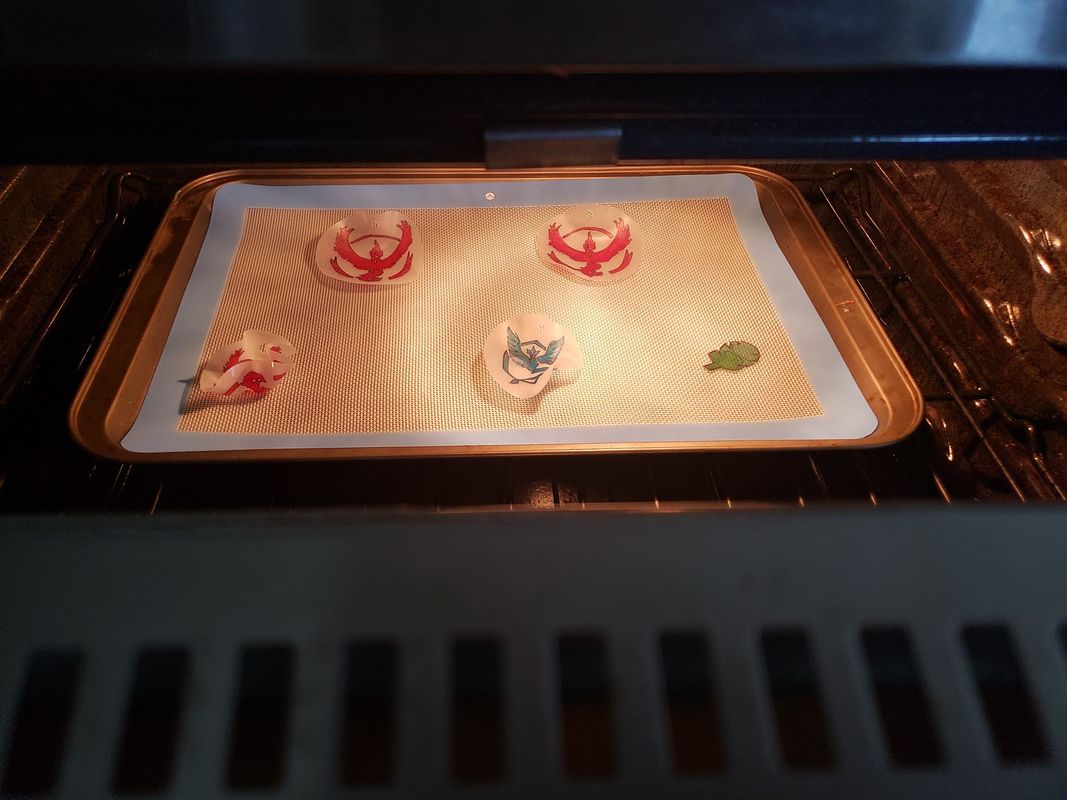 If you've never done these before it's a really cool thing to see. IF your designs curl up and don't start to uncurl, take your oven-mits and gently separate the pieces. They should continue baking normally. 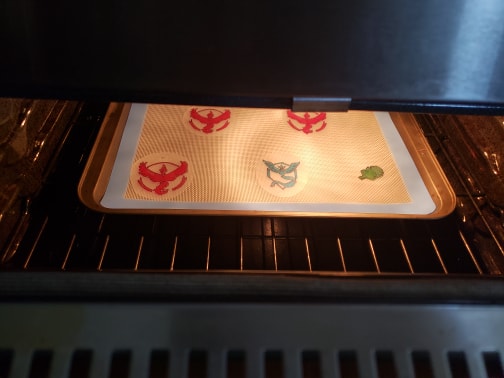 After they've cooled for a few minutes, pick them up and get ready to put your charms together. You'll need to get cell phone charms. I bought a pack of them on Amazon for $6. Then take your jewelry rings and needle nose pliers. Using the pliers I open the ring from the inside making it easy to string both the charm and the shrinkey dink. 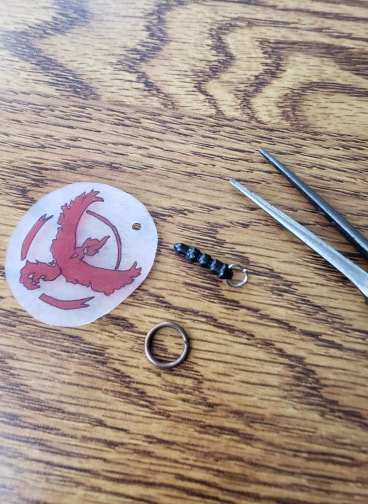 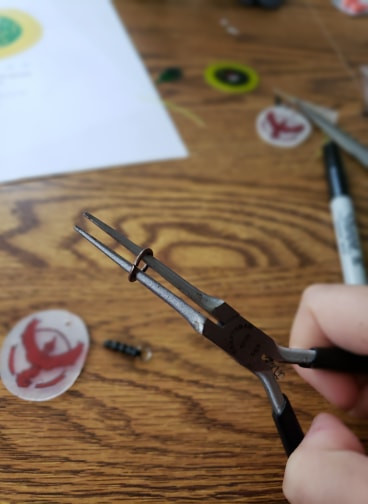 And of course once you've got all your rings connected, use your needle nose pliers to close the ring back up. 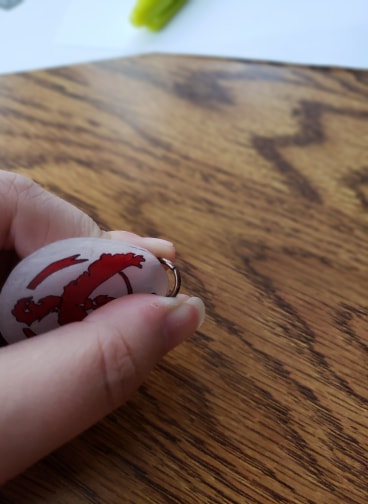 Then you're all set to plug your charms into your phone! 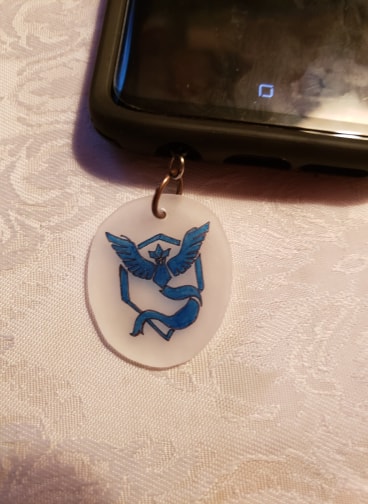 As a teen, but a preteen especially, I was always looking for things to personalize my phone, locker, etc. It's something a lot of kids go through. I figure this would make a great idea for the older kids in your life who want to make everything their own.
When doing summer school with a small child you try and find ways to get science and art into the everyday curriculum. This is a super fun way to do that. You Will Need:
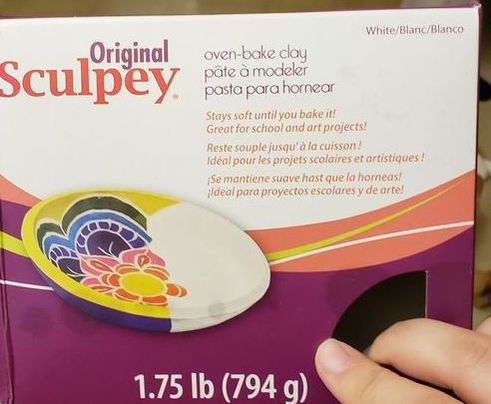 This is the clay I chose to use for this project. It's easy to break apart and mold and it comes in a large amount; at least compared to the little individual packs. Now, the next part is especially perfect for the kiddos. Taking them out to the park or your own yard, if you have plenty of plants nearby. Have them collect leaves from various plants. We used this as a time to discuss the different plants and how plants get their food, etc.  Next create shapes you would want for charms or paper weights. Or anything you can imagine creating with clay. Pick a leaf (or leaves if you're feeling creative) and place them on your clay. 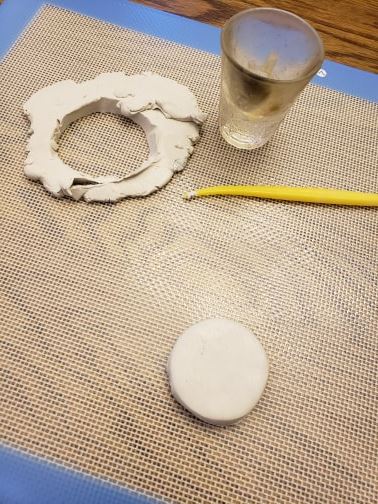 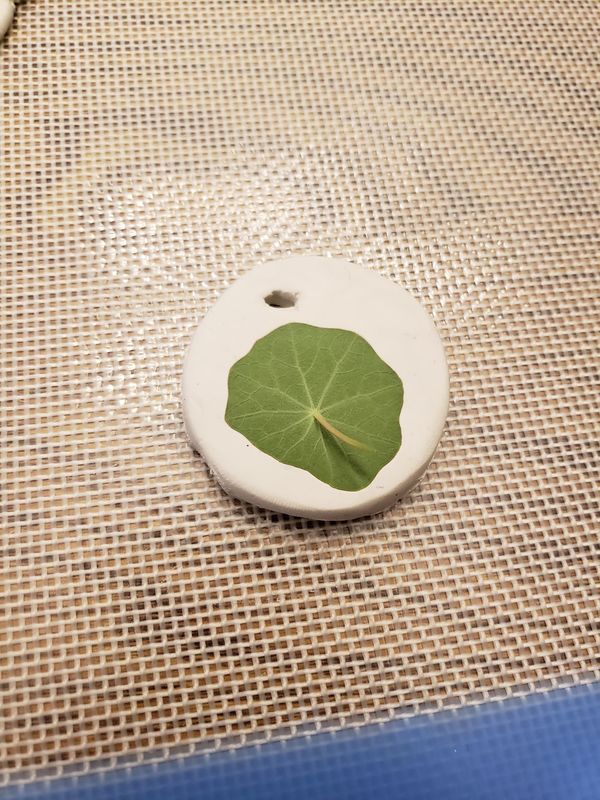 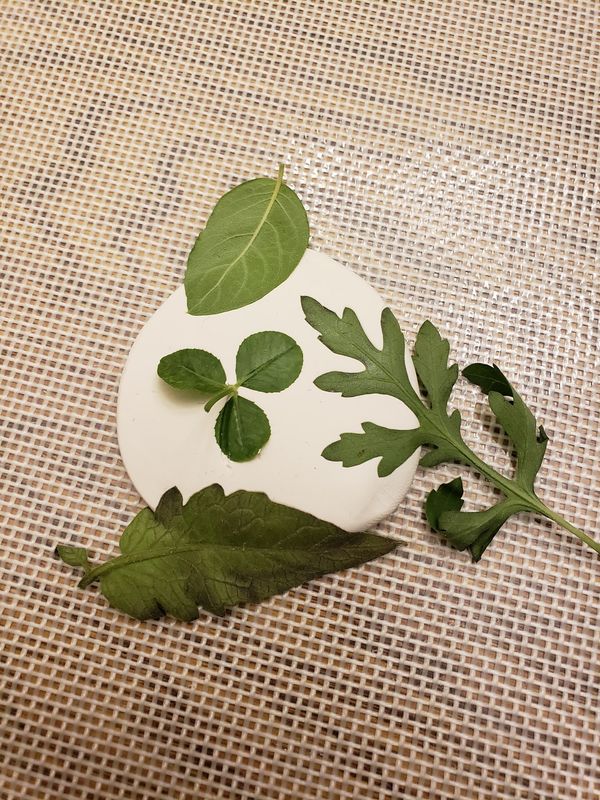 Take your rolling pin press the leaves into the clay. I also chose to follow up the rolling pin by rubbing the leaf gently with my finger. I found that it helped to really make the leaf impressions stand out. Also, be sure to poke a circle into your clay if you're choosing to make a charm or key-chain. You have to do this before it's baked. 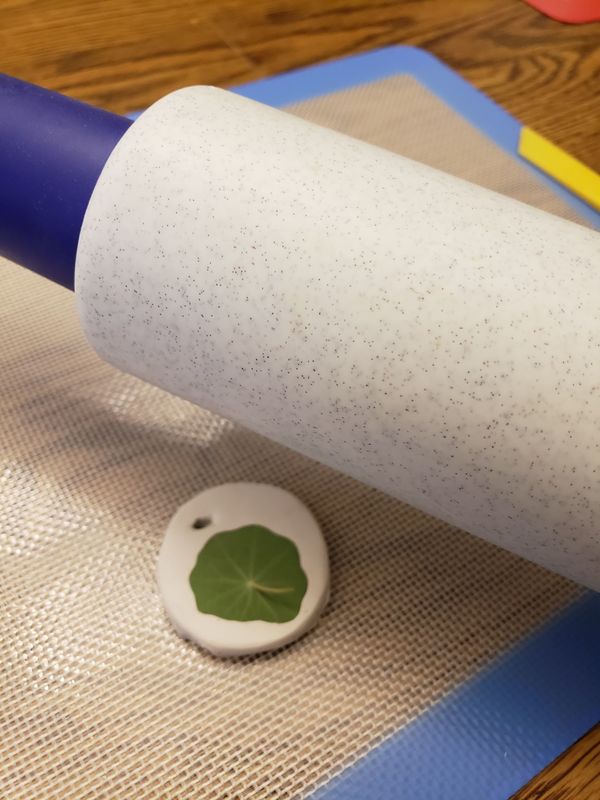  If you want to add letters to your clay, I suggest using a thing clay tool OR a toothpick. Otherwise continue to work on your shapes until you're ready to bake your clay in the oven. If you're using an air drying clay, simply set your designs aside for the 24 or so hours it takes for your clay to set. We really did get creative with our clay, making round charms as well. I'm making a mental note of them because I think I'm going to use this idea again for a future project.  When you're ready to bake set your oven to 275 and wait for it to heat up. Once it's preheated you can bake your clay. Now, if you haven't seen my previous clay tutorials this is how I recommend doing it. Get yourself aluminum pans, bull dog clips, and parchment paper. The parchment paper keeps your clay from burning against the pans. The aluminum allows the clay to bake thoroughly. And the bulldog clips keep your pans together while they bake.  Then you bake your clay for 30 minutes for every 1/4 inch thickness of clay. Some of mine were fine to be baked for 30, others I cooked for 40 just to be thorough. When your clay comes out of the oven, set it aside until it is cool. I was baking these very late at night so I just let them cool over night and finished them the following day. Now, maybe you're a fan of your clay imprint just the way it is. If that's the case, glaze your clay and call it day! But I wanted to paint the leaves. I also revisited the toothpick to get into the words.   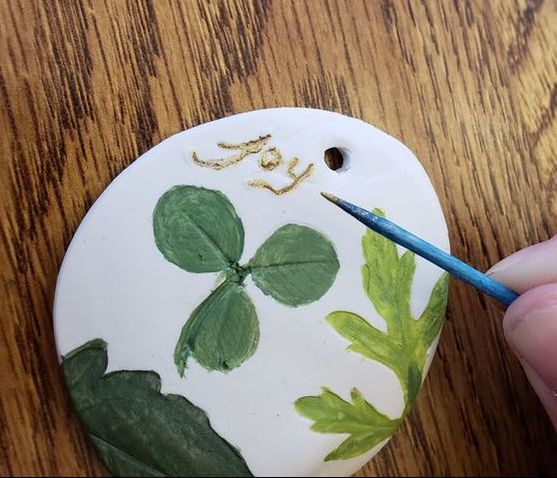 I found that very small amounts of paint worked best to fill in the leaves. The thicker the paint the harder it was to see the impressions of the leaves. Once they are dry I suggest using glaze for clay. Now, you don't have to buy the glaze. I understand that it seems so silly to spend extra money on this glaze. I will just show you an example of it with and without to show you why I chose to glaze these charms. 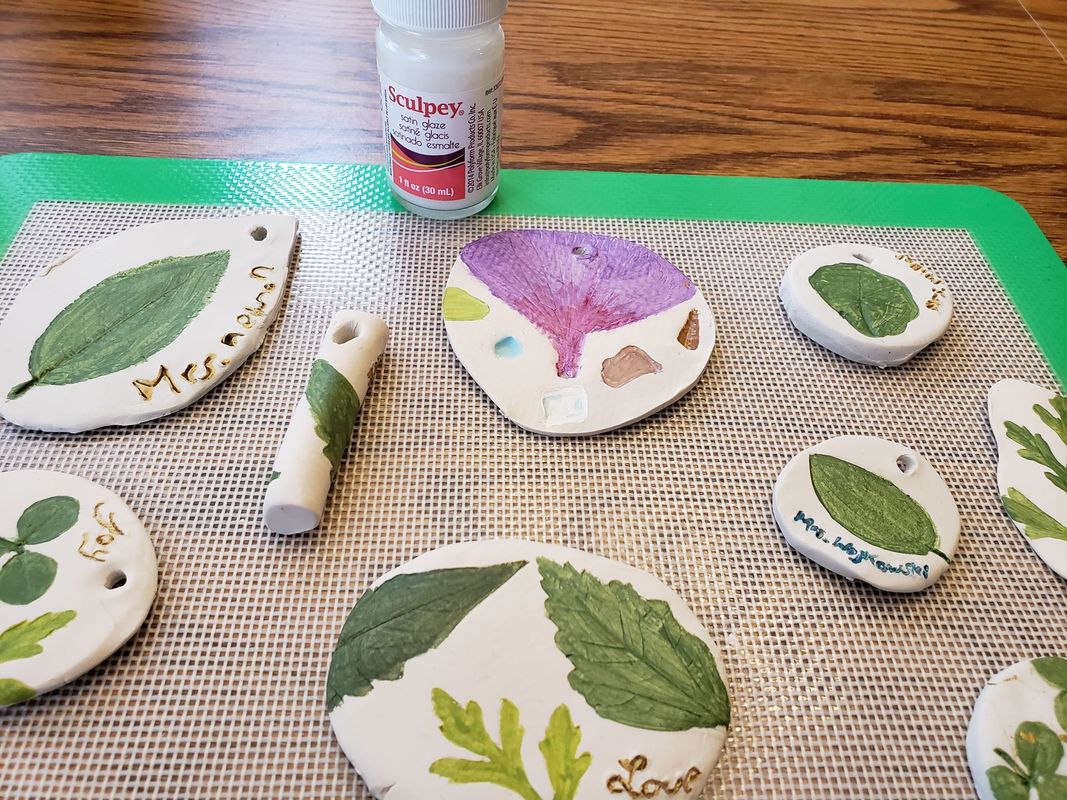 Side by side, with and without the glaze. 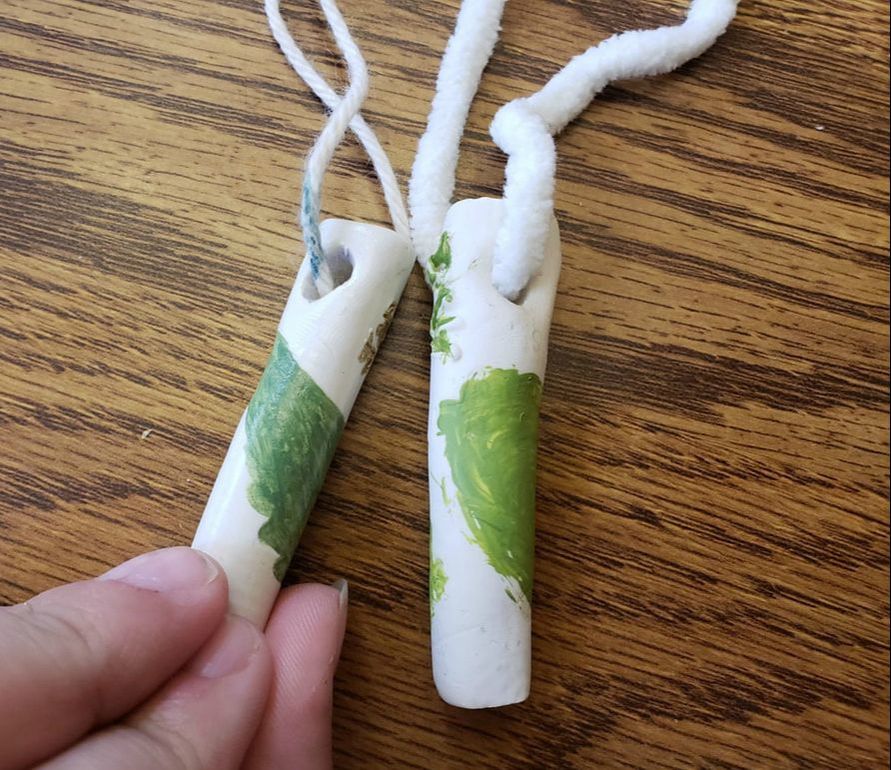 And finally you have to pick how you want to string your charms. You can use so many different types of materials. Here are some examples I did, but remember you can use all kinds of materials. If I had any metal key-chains I probably would have used those as well. Pipe Cleaners can make nice ways to attach charms to things. And hold heavier charms.  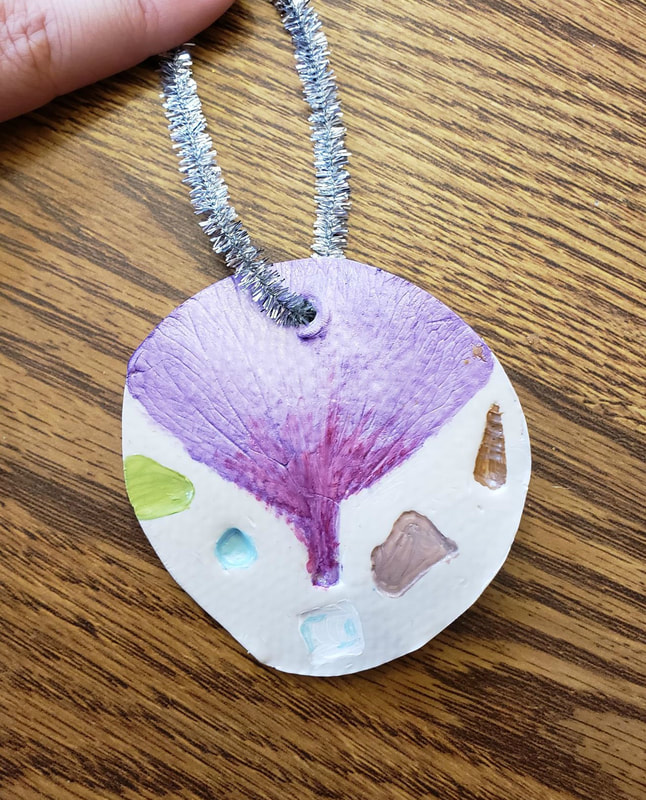 Thick Yarn like baby blanket yarn.  Twine or Sugar'n Cream Yarn 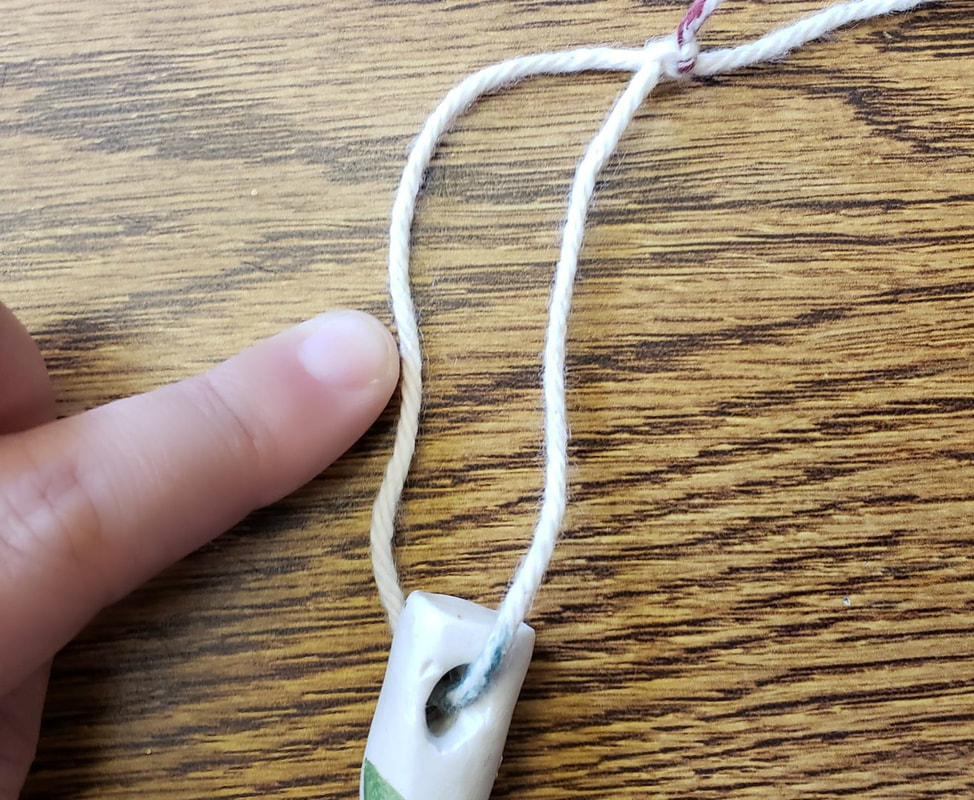 Ribbons 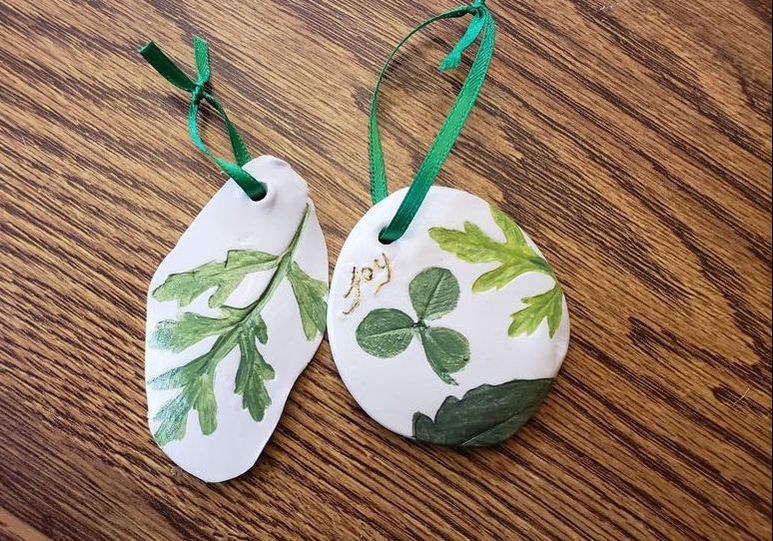 Or just regular yarn. Jenna made a bunch of these for her teachers and family friends that she adores. It was super cute!  |
Crafty Things?This is a page dedicated to DIY's and miscellaneous projects. Archives
April 2018
Categories |
 RSS Feed
