|
This year for her Read Across America Day Jenna chose one of my favorite books from when I was a kid. Mike and the Magic Cookies. The gist of this book is that a wizard sells Mike some animal cookies and when his family eats them they turn into whatever animal they ate. Its a silly book and perfect for grades 2-3. Jenna wanted to go as the wizard so we were going to need some magic cookies, a hat, apron, and possibly a beard. Starting with the cookie tray. We took cardboard off a box (I'm a ridiculous Amazon-aholic) and wrapped in in aluminum. You may have a small tray or something that you kids could use if they're doing a baking character. If not, remember aluminum is lightweight and this is something they're going to be taking to school or to some other dress up function. 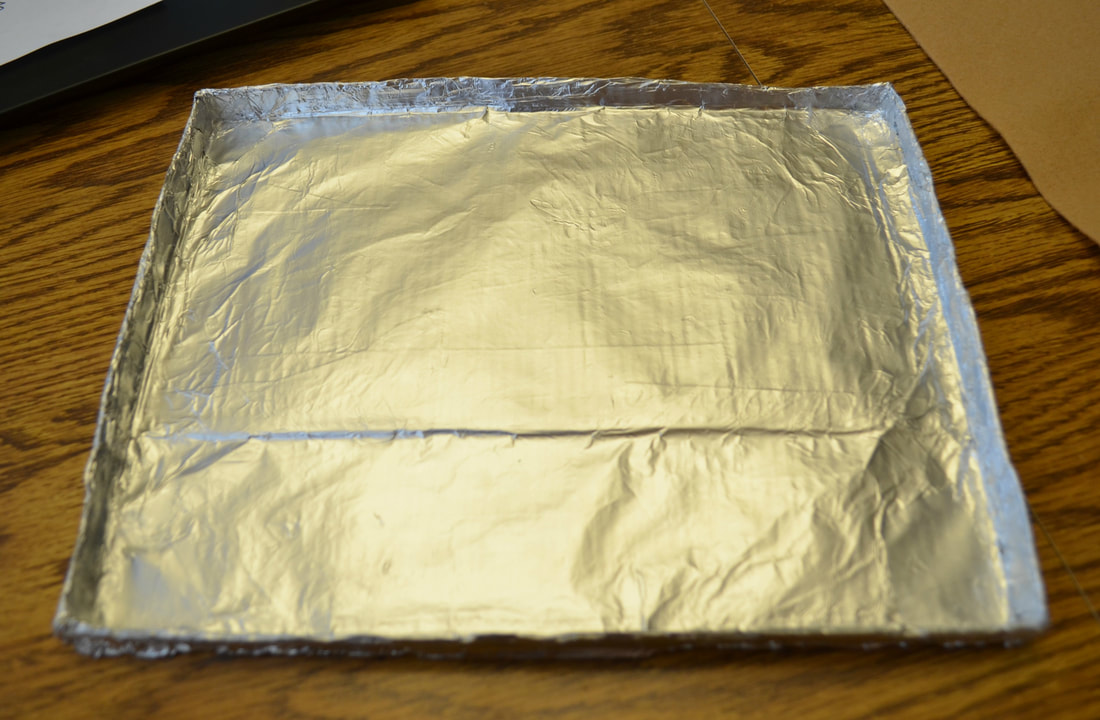 Making these cookie are also simple. Felt is your best friend for these projects. Sheets of felt are less then a dollar and they're good for multi purposes. In past years she has gone as the mouse from "If You Give A Mouse A Cookie" and the pig from "If You Give A Pig A Pancake". And I know we used felt for her pig costume! 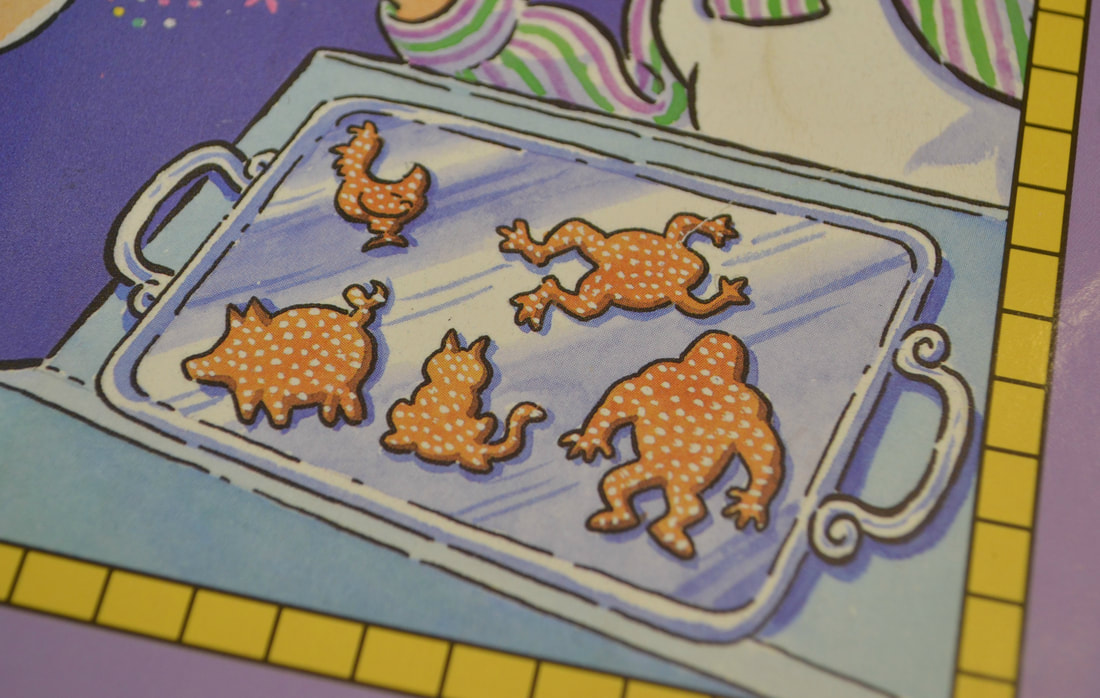 Above are the cookies from the book that we have to make. A sheet of tan felt, something to cut the felt with, and something to draw you cookies shapes with is all your really need. BUT I hear from so many people that they can't draw so you can also print out small pictures of animals to give you a base outline. I did this for the example to show you guys what I'm talking about. 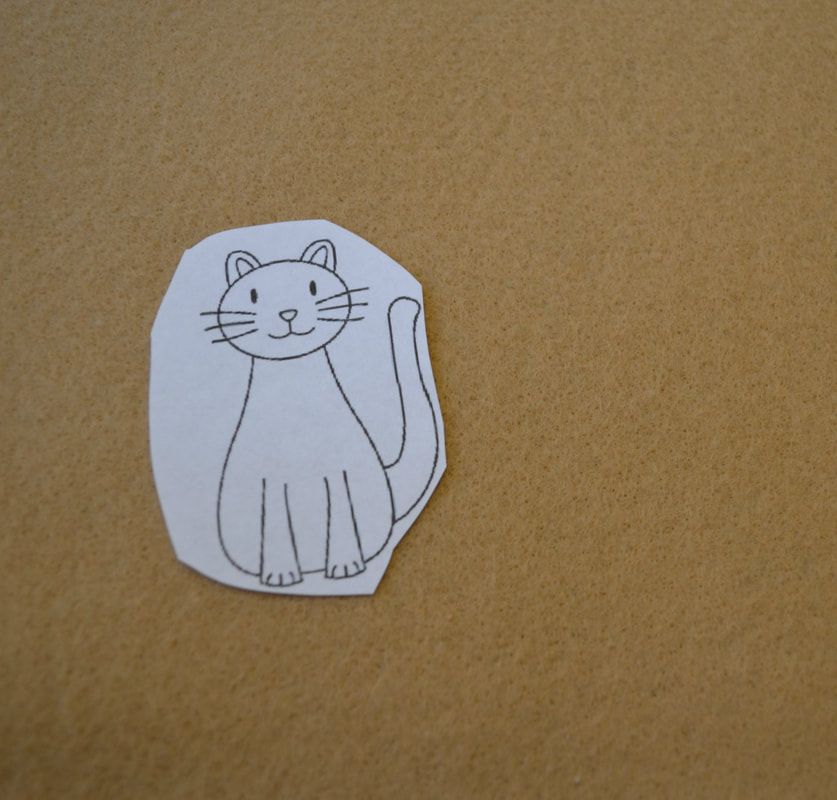 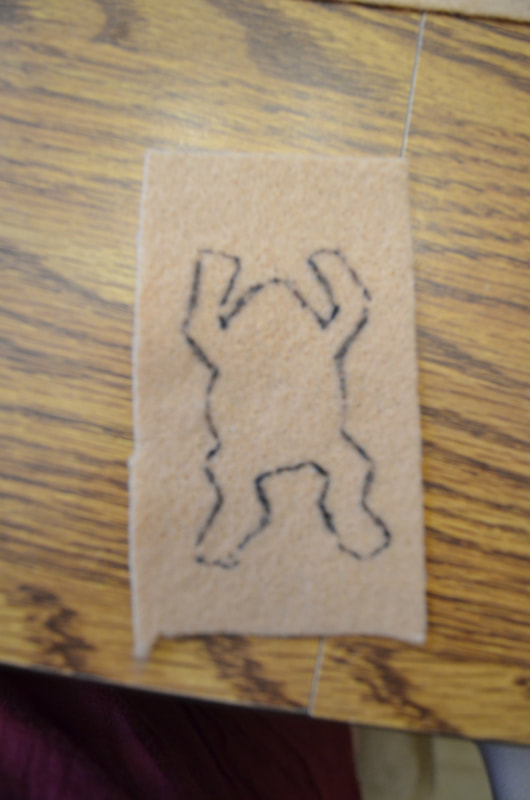 Once all your cookies are cut out we're going to need to little "sprinkles" or magic residue that you see on the book cover. For this I used decoupage and a cheap brush to coat the felt and then sprinkled glitter on them. The decoupage is nice because it holds the glitter well while drying clear so that integrity of your cookies stay in tact. 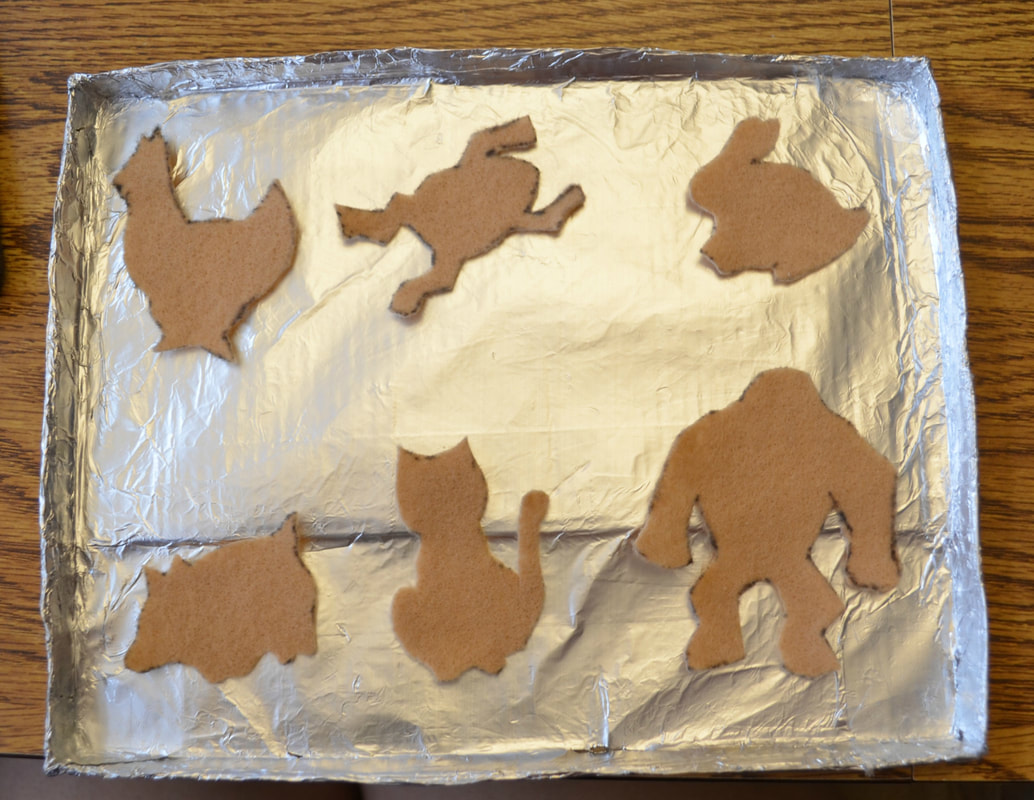  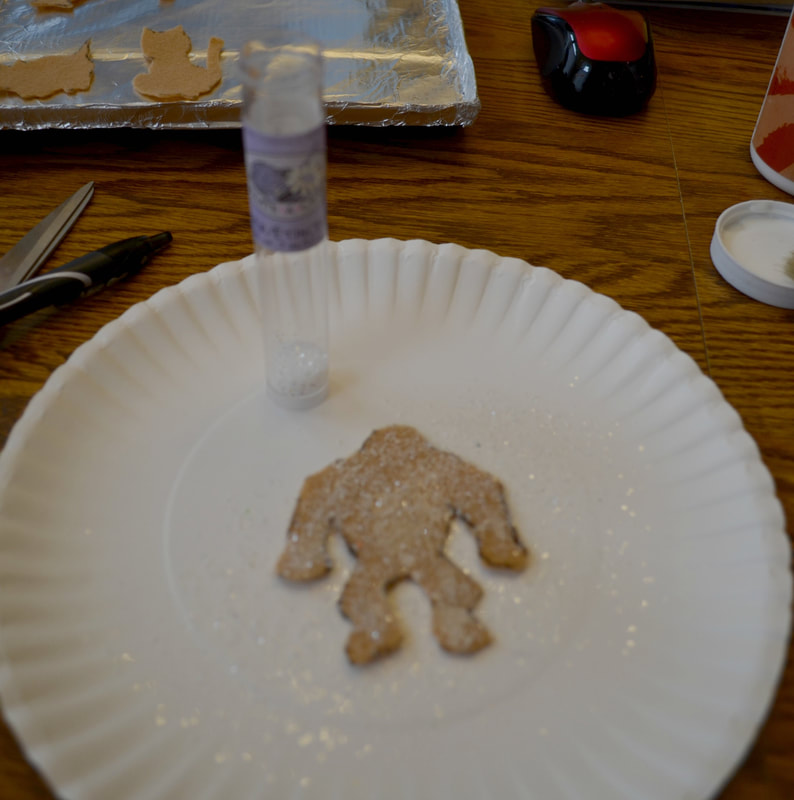 When these are finished you'll have a tray of glittered cookies. I used hot glue to attach them to the foil so that they weren't sliding off during transportation or the 'parade'. 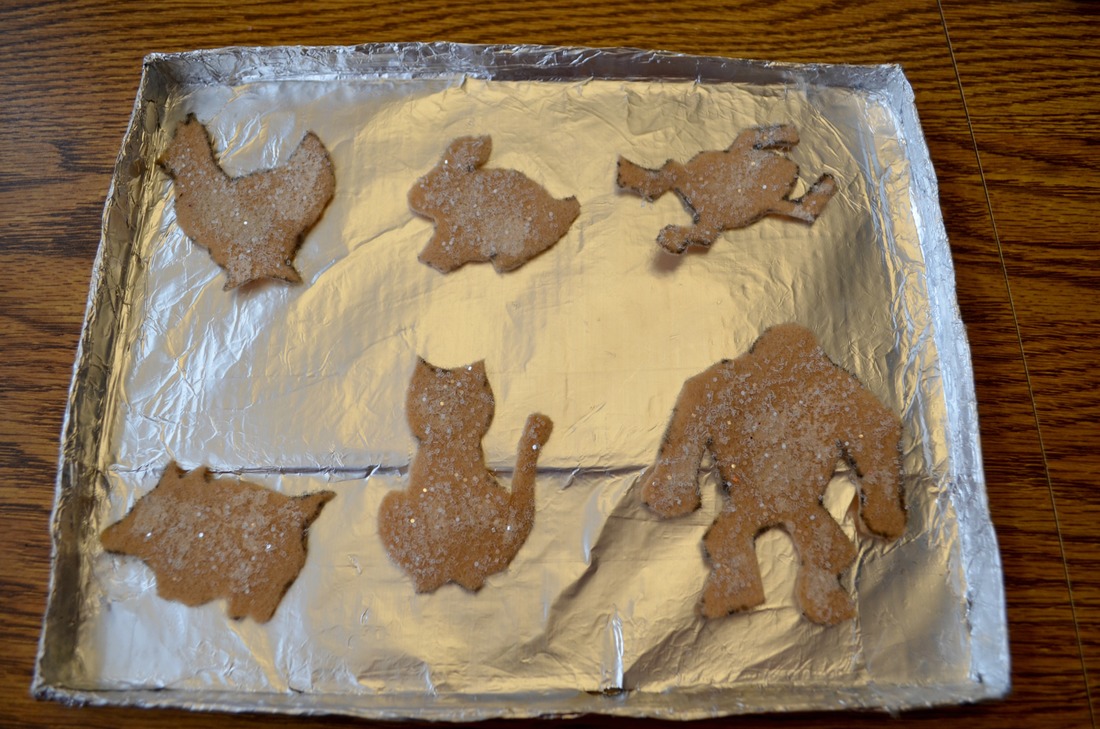 Alright so keep felt in mind because I will be bringing that back up to you guys with some other examples of how felt can really help bring your child's costume together. Now, she wants to go as the wizard and this guy has a very distinct hat. So we bought a plain yellow baseball cap at Michaels and a fabric pen. Here's the guy we're making the costume of and then here's the materials we bought. 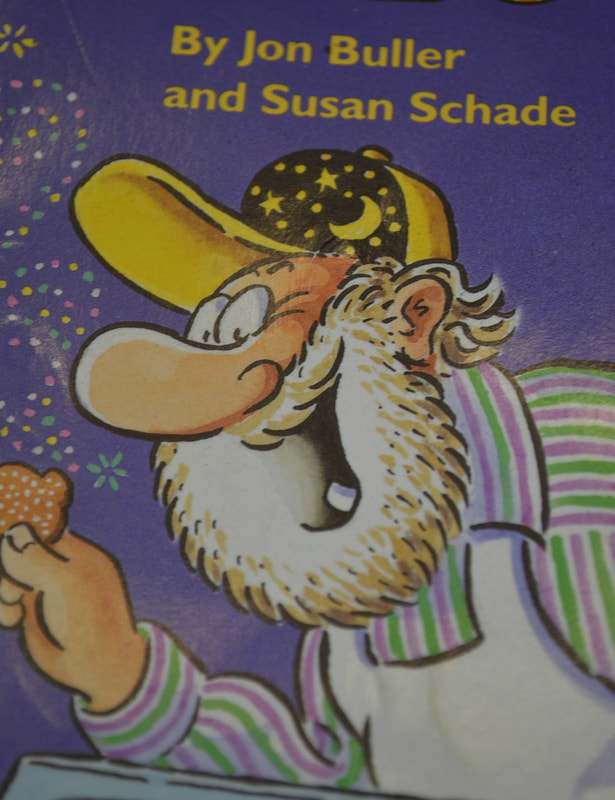 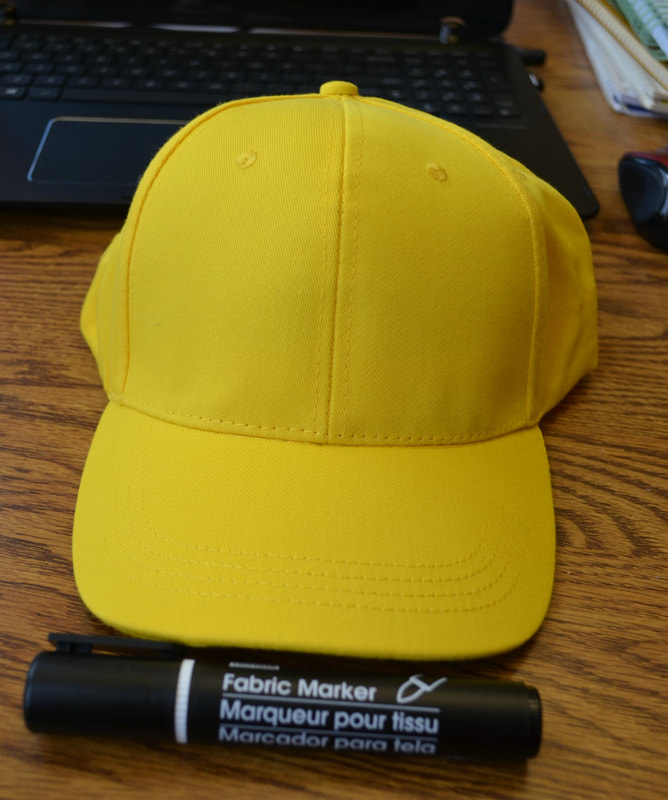 Alright, so using your fabric maker you're going to want to draw the outline of the shapes that need to go on his hat. So in this case a moon, some stars, and some little dots.  And then just use your black marker to fill in the front of the hat. 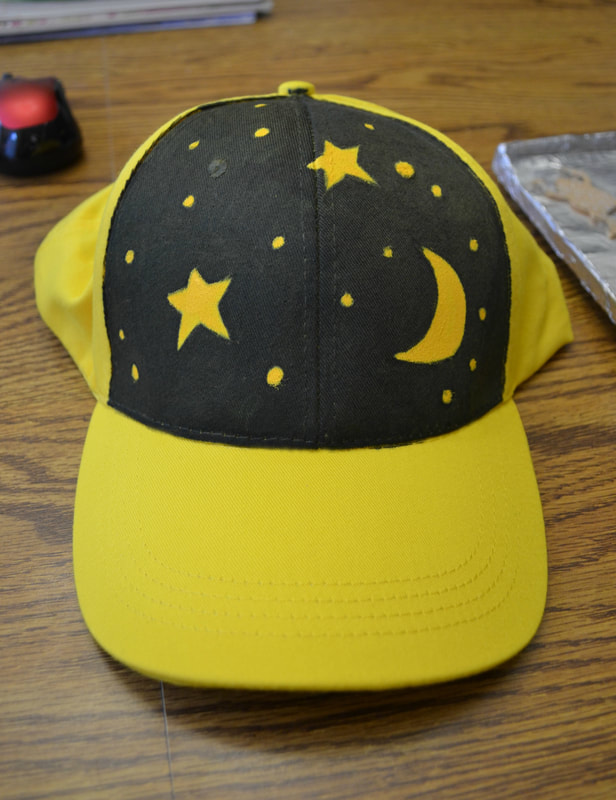 Alright so the wizard still has a distinct beard and an apron. If you go on Amazon and search for a costume beard you can find one with an elastic band for easy dress up. It's $6 and if you use prime (or take advantage of their free trial) you can get it in two days. You can also get a kids size apron on there for the same price. And I know the chances of anyone else's kid doing this costume are slim to none. BUT a baking costume where cookies, apron, etc are necessary? That's very possible, so maybe this tutorial will help spark some ideas. Same thing with a character with a pretty distinct outfit accessory. There's a good chance a cheap shirt or hat and a fabric pen is all you really need. In the meantime though, we have our apron and beard. 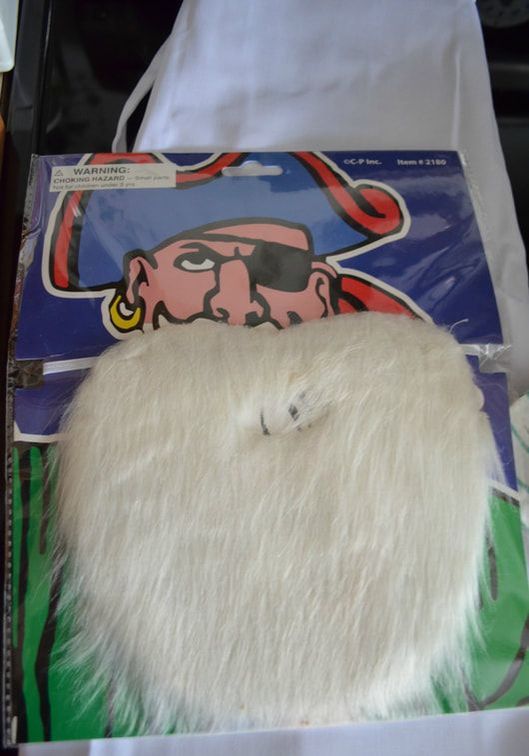 And while I couldn't find any ugly green and purple striped shirts, her grandpa lent us a green and white striped dress shirt. It will do the job- remember it doesn't have to be perfect. And when you put it all together you get this. 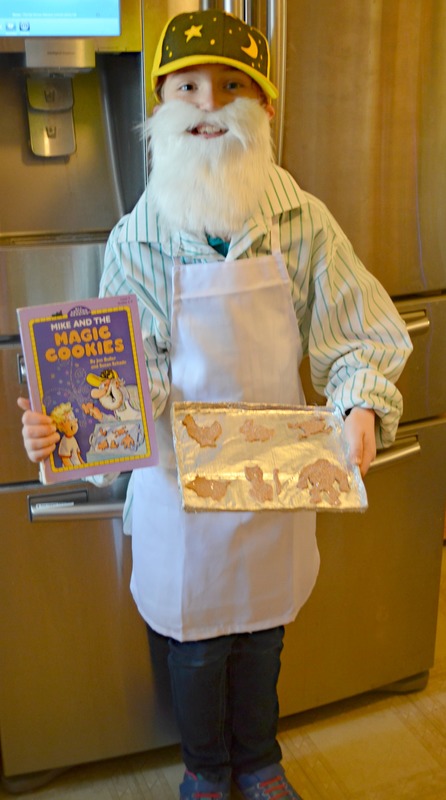 We're really proud of this costume. It's hilarious, different, and was super fun to make! Now, I asked you to stick around for more ideas. Here are the last two costumes we did for school. 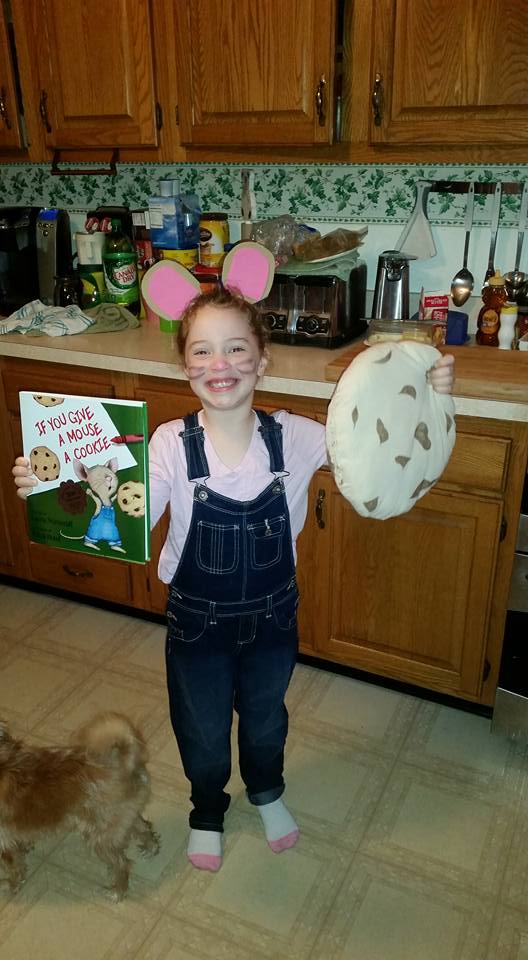 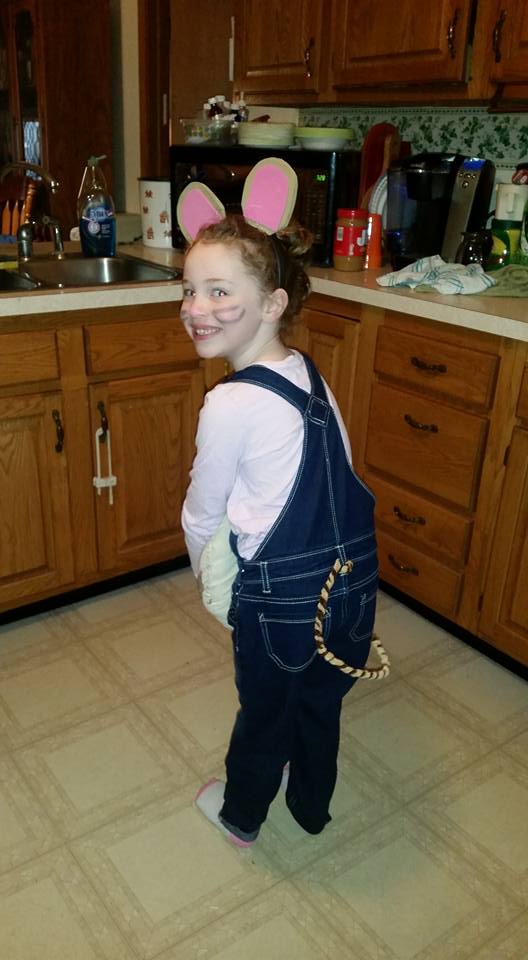 For the, "If You Give A Mouse A Cookie" costume she already had overalls in her closet and then we just made ears out of Soft Craft Foam. We cut out the shape of the ears so that they were two circles connected by a thin middle section. We slid a headband through those middle sections and glued the ears together so that they stood up. My mom used brown foam so we had to stick with brown pipe cleaners. Personally I wish we hadn't have mixed colors to make the tail... but the idea is to take two sticks of pipe cleaner and twist them together and bend them into the shape you wish your tail to be. For her cookie pillow we took a white craft t-shirt (You can get these at Michaels fairly cheap or just buy a five pack of white shirts at Walmart for nothing.) and dyed the fabric a light brown. Then cut and sewed it into the shape of the cookie. Using a fabric marker we drew on the chocolate chips. 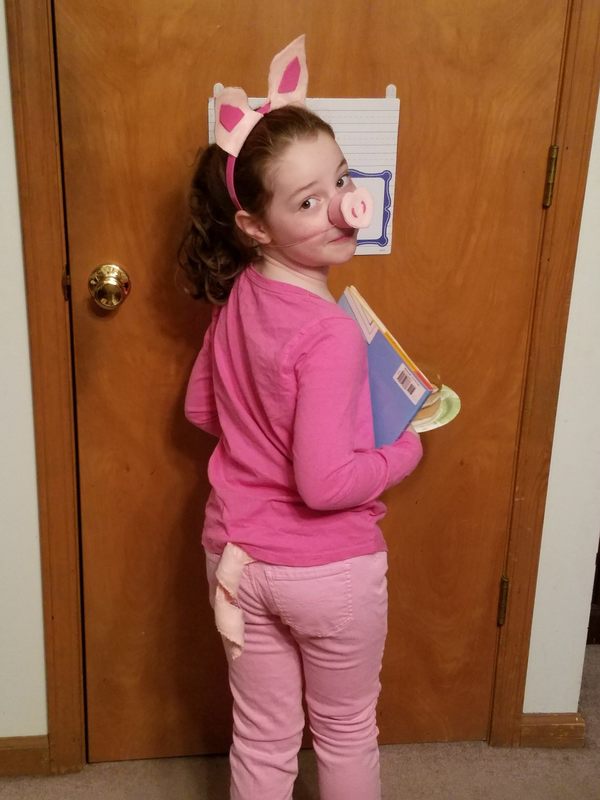 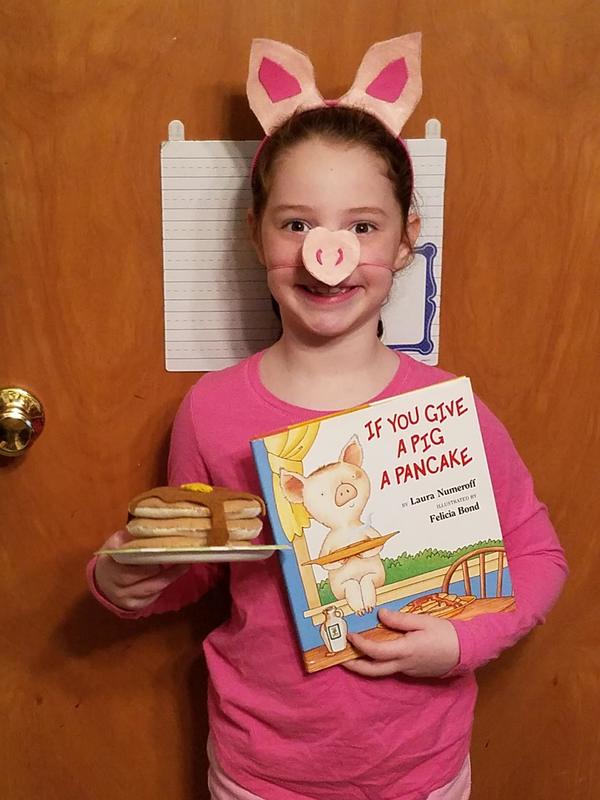 She wore all pink to match the pig's coloring. The ears were done in a similar fashion as the mouse's except for this one we actually used felt instead of foam (except I think we took a little piece of foam for the inner color of the ears). Her snout was made with elastic string, pink felt, hot glue, again foam for the details, and i believe part of a dixie cup to hold it's shape. Her tail was made using felt and some bendable wire. The pancakes are on a small paper plate, but they are made entirely out of felt sheets and sewing materials.  The lightest color was used for the base of the pancakes. The tan (same tan I used to make the cookies) was the top of the pancakes. The dark brown was the syrup and the yellow was the little glob of cartoon-like butter I added on top of them. Starting by cutting small circles out of the cream and the tan pancakes, like so. 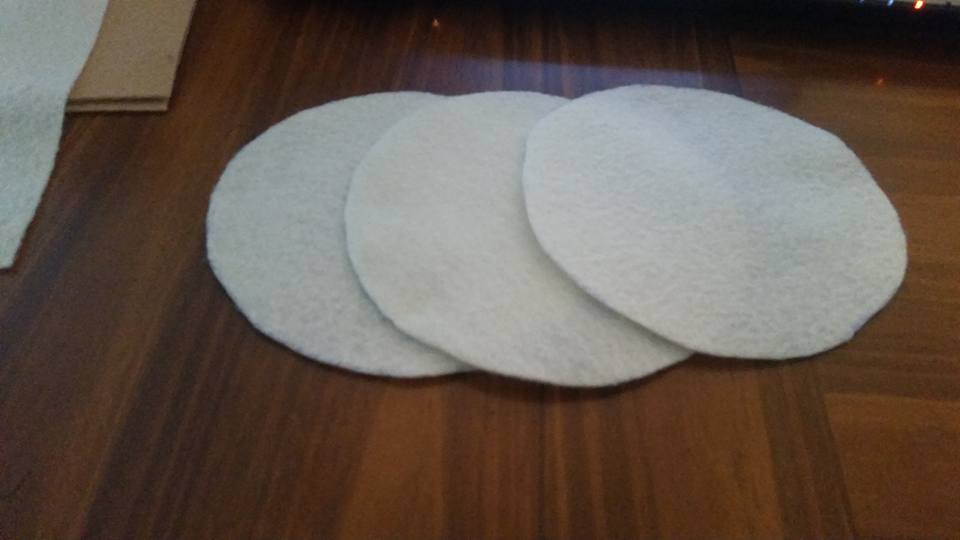 Then start sewing them together. NOW, I do not yet know how to use a sewing machine, so these are done by hand... I am also only skilled in what I call the "zombie stitch". Which literally looks like Sally from "Nightmare Before Christmas" where her body parts are sewn on. It's not pretty, lol. BUT I do know that when you're sewing items together your stitches are on the INSIDE. You're going to sew these together as much as you can, and then when there's a small opening left, turn them inside out like a pillow case. Take the remaining hole and fill it with stuffing. Pro tip: for something this small anything from tissues to cotton balls can do the trick. I understand not wanting to buy a big bag of stuffing if this is all you're going to be using this for. We have buffalo snow and other stuffing bags from Christmas and other projects, so it worked out for me. I cannot tell you how to finish the stitches off. They, umm, weren't the prettiest thing. I did a decent job of tucking them in and sewing the felt together tightly enough that the stitches weren't terribly noticeable... but I'll explain how I covered those up *wink*. 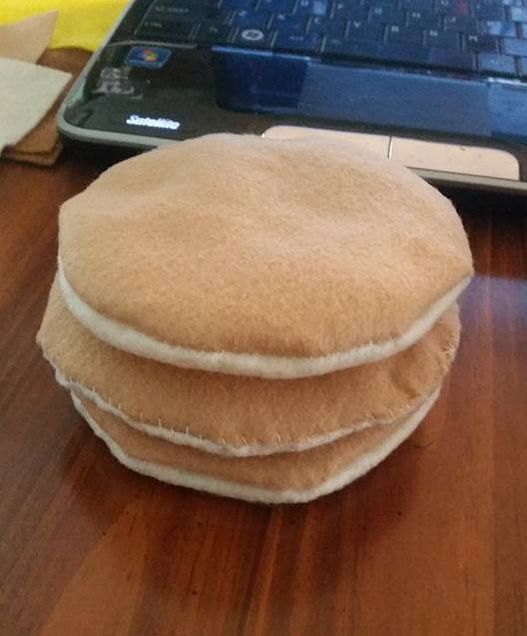 I did tiny stitches to keep the pancakes stacked together but you could probably use glue. Hell, I even thought about just using my trust Hot Glue Gun but I tried this first. Now, using the dark felt sheet, I drew a cartoon-like glob of syrup, with long strands of syrup running down the sides of the pancakes. These I did glue on top of the pancakes and to the sides. AND I used the really long pieces to hide my finishing stitches. I know, sneaky! Then using the same technique I did for pancakes themselves, I sewed the butter glob. 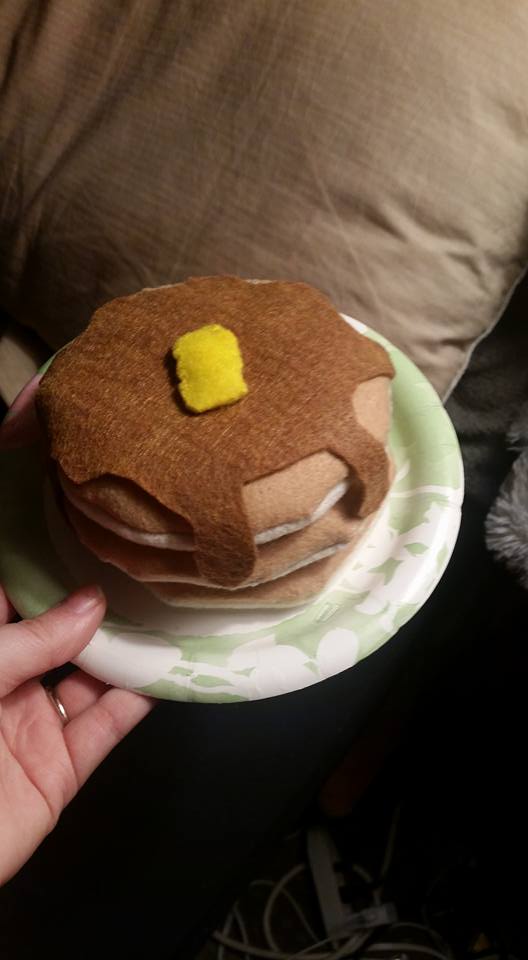 And there you go. Three simple book related costumes that will hopefully help someone out there with their kids (more than likely) last minute costumes.
0 Comments
For those of you who don't know, I am a huge supporter of the written word! I am an avid reader, I have a book review blog, and I actually write fiction novels. To say that I think literature is important for kids, is an understatement. Every year on March 2nd there is a nationwide celebration. Read Across America Day, it's held on Dr Seuss's birthday so most of the events are Dr Seuss themed. While I have my opinions about the man, I am a huge supporter of anything that helps spark the interest in reading. Now, my Alma Mater (k-8) has always supported kids with reading and given creative projects that kept it fun. Each classroom has their own project or book report assigned based off their grade and their teacher's preferences. Then the WHOLE school participates in a costume event where you can dress up like a character from your book of choice and they parade around the school. This is really cute and fun for the kids. This year, Jenna's class is doing a "Book Tasting". So I have a two part post for you guys. ONE to discuss Book Tastings and a second one that gives you guys ideas on how to do quick costumes. This one is a little long but it's worth it. If you're already familiar with Book Tastings you can skip the next section and go right down to the red letters. Book TastingsLet's start with what a Book Tasting is. The idea is SO cute and simple that I am blown away that I have never been to one/thrown one! You are basically turning a library into a restaurant but instead of serving a three course meal you are going to be presenting multiple books. Then letting your guests look them over. The idea is that we are creatures of habit and we don't tend to stray far from our favorite genres or authors. Or perhaps you're just not a big fan of reading. At a book tasting you are literally sampling different novels and more than likely, ones you wouldn't normally pick up yourself. Plus it's a great way to discuss your interests with other people and see things from a different perspective. In a lot of these Book Tastings they also have 'Menus'. These are blank sheets or tri-fold menus with some questions you need to fill in. These range in difficulty depending on the age group your taste testing is aimed at. For instance, in a second grade setting you're looking for simple questions, like these:
For upper classes you are going to see more in-depth questions such as:
Are you still with me? I know this is a long post. If you want to get up and stretch I won't be offended, lol. The next part is the Book Menu Tutorial. For Jenna's class they were sent home with a paper that says they are going to be doing a Book Tasting. Her assignment goes as follows: "After reading a book of your choice you will create a menu for your class to "taste" for Read Across America Day on Friday, March 2nd." She also gives a list of information the students should have in the PROVIDED tri-fold menus: The students name, title of the book and author, the characters, the setting, your favorite part of the book and why, a drawing of your choice, and be sure to give details about the story. My issue with this is that a book tasting is a predetermined list of questions because you're only supposed to be sampling parts of the story. This is more like a book report put into a creative format. (WHICH I AM ALL FOR, BY THE WAY. My favorite book report I ever did was in seventh grade when we had to do a Recipe Card Book Report. That was really creative and I remember it to this day in my 20's.) But you can't give the parents vague information and tell them to basically google book tastings and assume we'll get the idea.... No we did not get the idea! EVERY book tasting was the exact same. None of them were formatted for it to be a book report. Because let's face it, that's really what you're asking for. And that's part of why I am making this post. I don't know how many parents out their have been frustrated with vague information but I know I hate that. So I wanted to share how WE formatted a Book Menu Book Report. You're going to need:
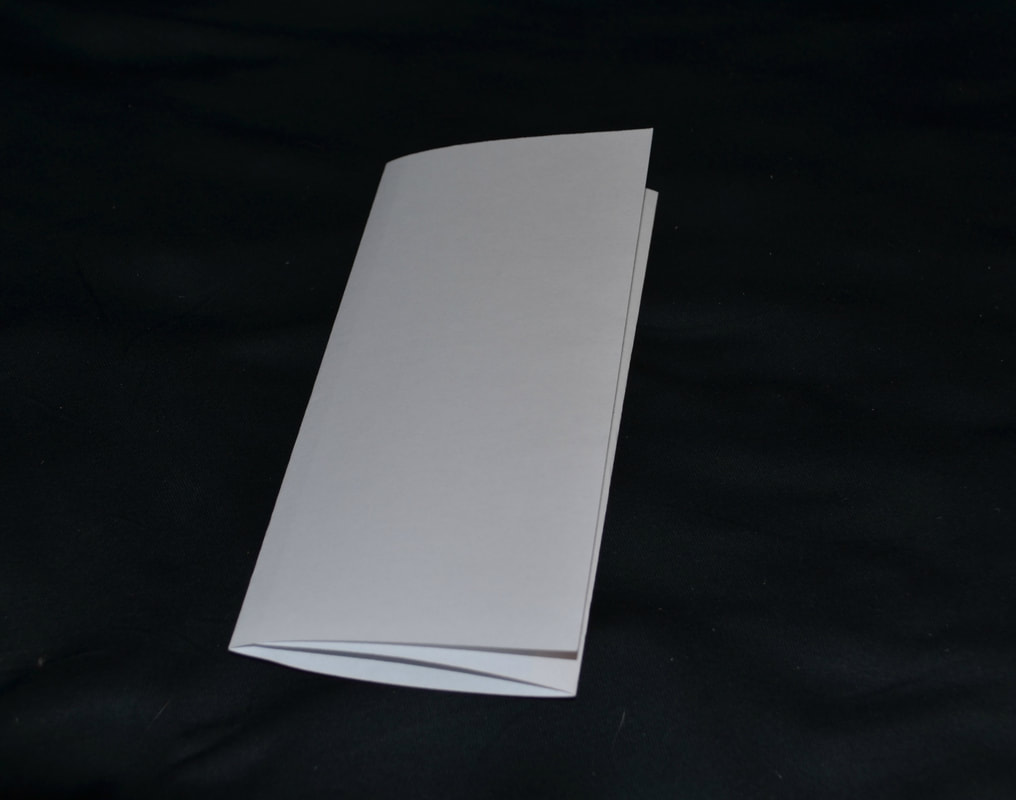 The cover of your menu should say your child's name. We thought it would be clever to put her name in a true menu style like you would actually see it if you went to a restaurant. On the left is Jenna's actual project and on the right is my (chicken scratch) example. We also chose to do a little doodle on the menu cover. I just quickly drew some silverware for my example, but on Jenna's she drew something more school themed. IF you know how, and are able to do your book report on the computer, you could probably do this MUCH neater and with a cool stock doodle, but I'm working with precious time here and a 2nd grader... 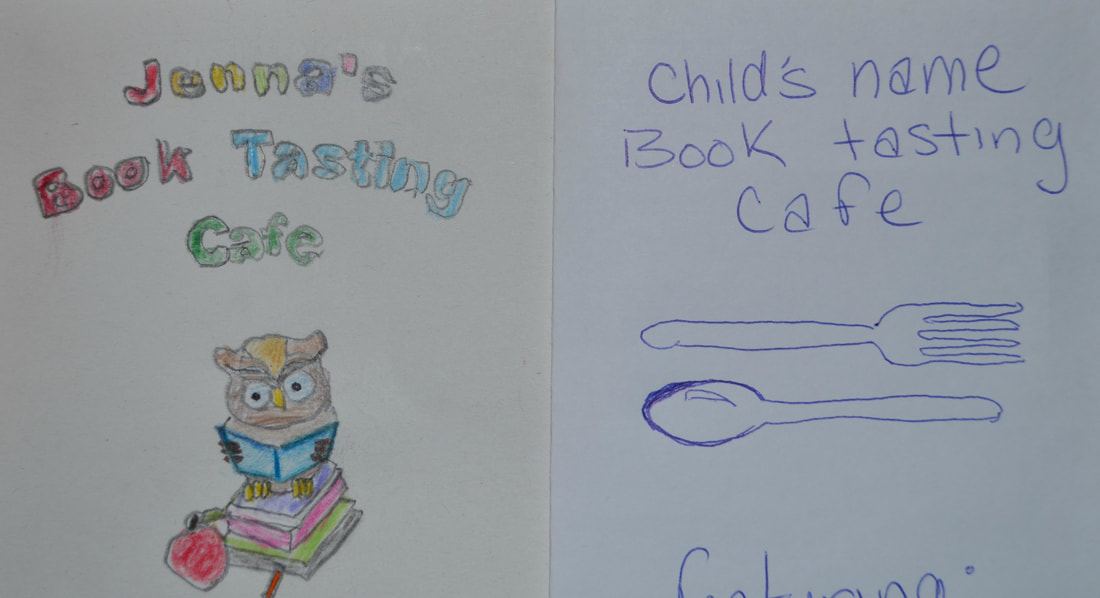 The rest of the cover is going to contain your book title and the author's name. Again we tried to stick with how you would see information presented on an actual menu. 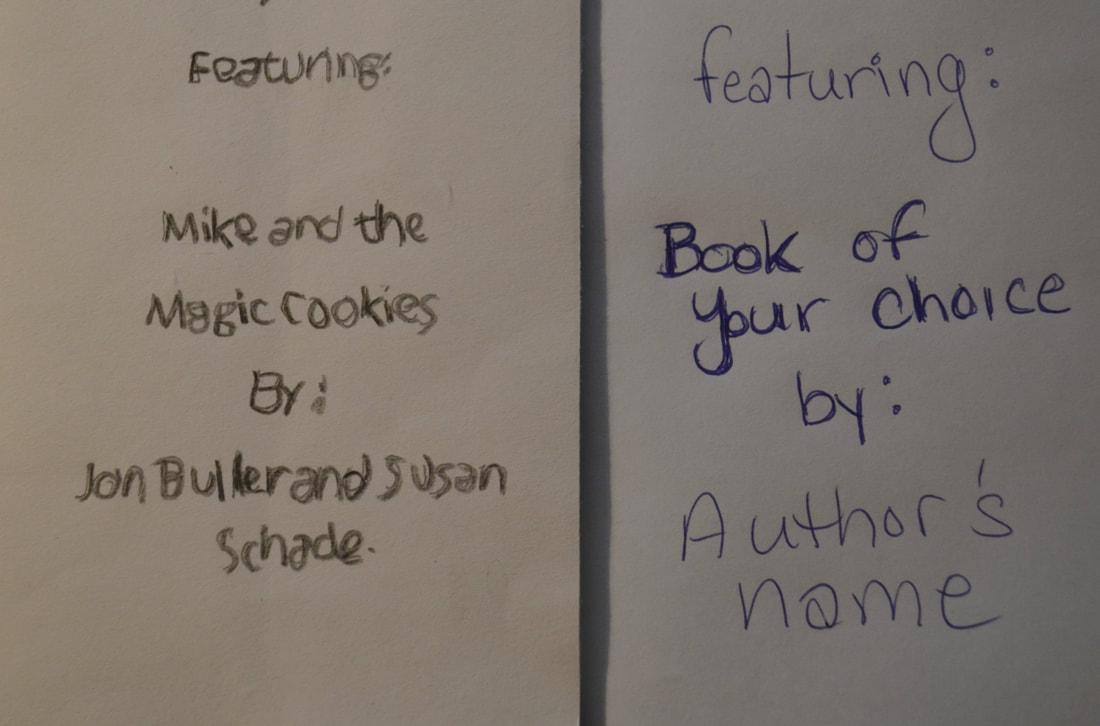 Now, opening your menu the very first page you're going to title it Appetizers. This is where we started with the basic information about the story. The who and the where- or setting and characters. If this was for an upper class I would suggest the genre and ISBN, the little information to get your started. 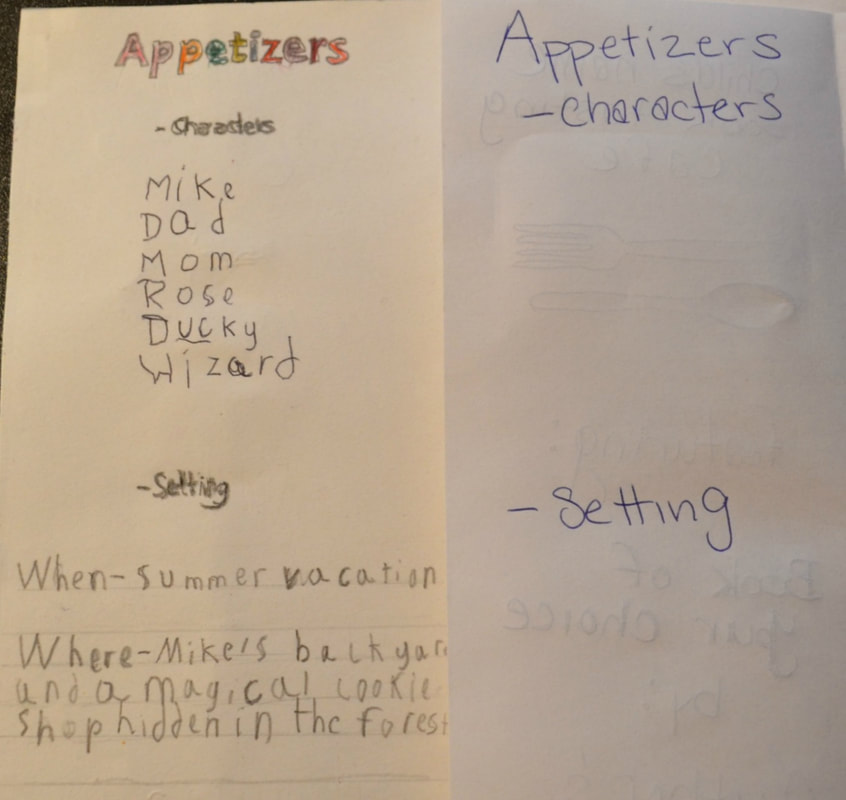 The middle section, we titled Main Course and this is where we put the bulk of information. The details or summary of the story. Now, our teacher didn't ask for a summary, in those exact words, but she did request details so that's what we chalked it up to. 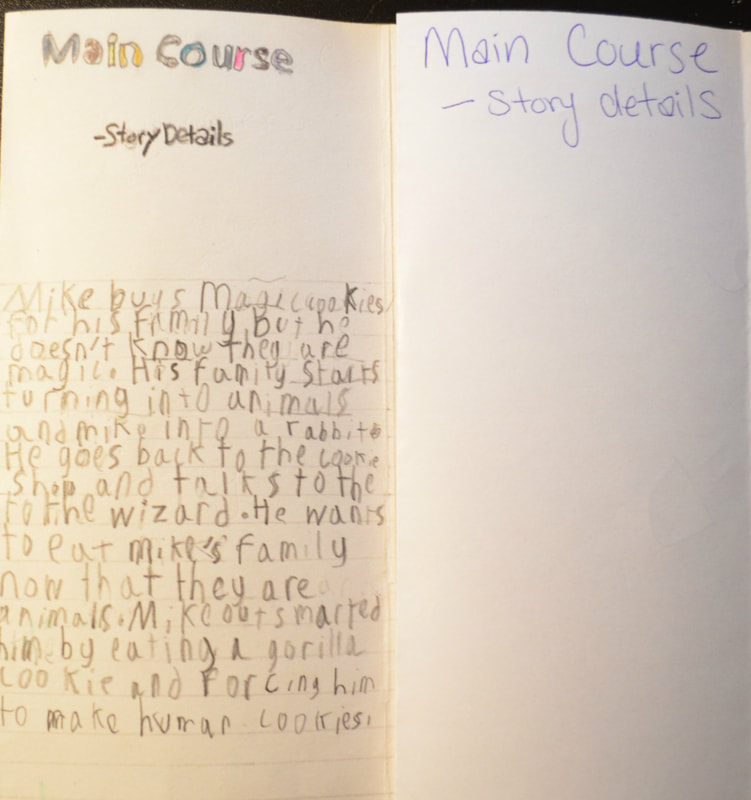 The last page of the trifold we titled Desserts and this is where Jenna wrote about her favorite parts of the story. On the back of the menu are two blank folds. Since our assignment also asked for a drawing, we used the back as a sort of cover design for our menu. I'm sure in the upper classes they won't be asked to do a doodle but I'm sure you creative mommy's and kids out there can find something to do with those back pages. Perhaps you'll be required to give more information and you can simply move the courses around and have a Drinks section added in? 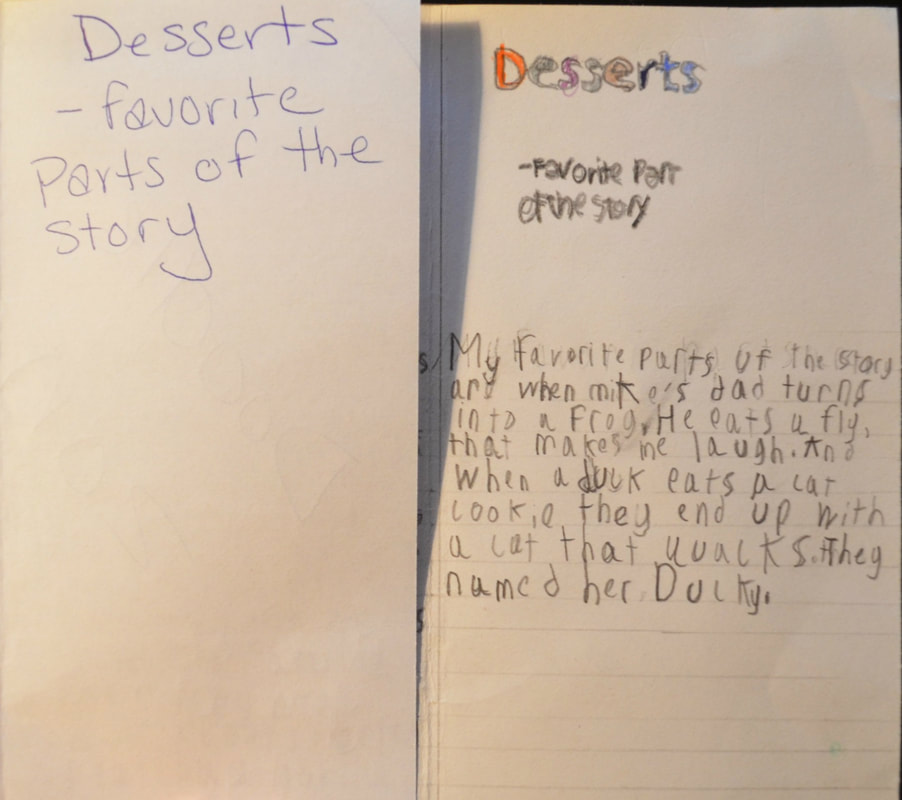 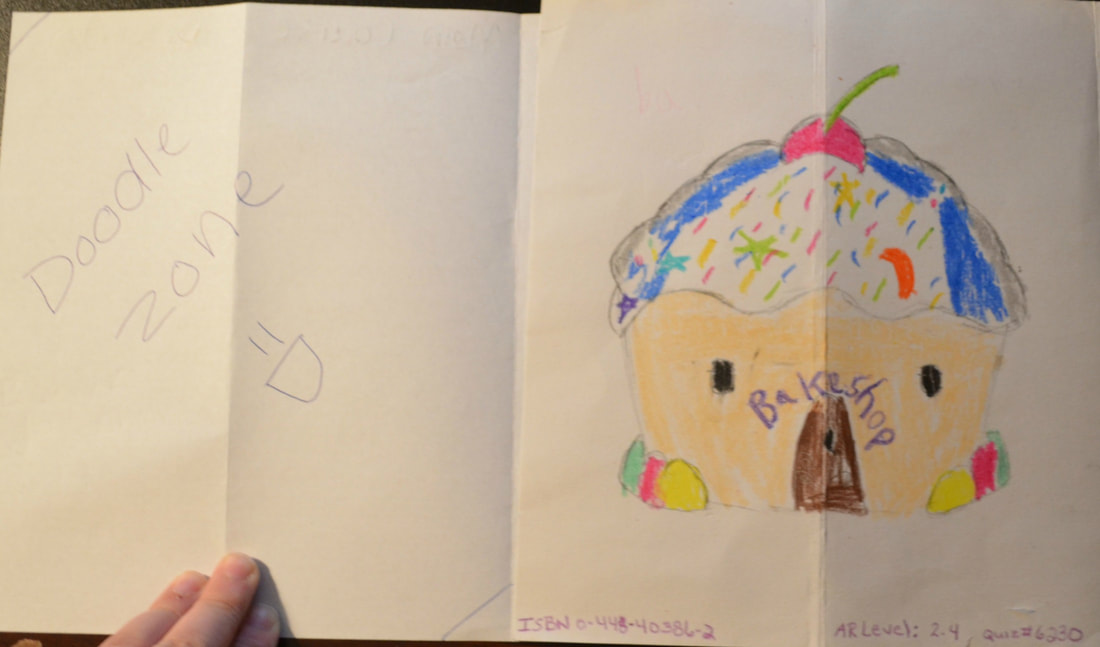 I truly hope this helped some struggling parent or kid out there who wasn't sure how a "tasting" could be presented as a report. Part two will go up tomorrow so bare with me. And if you made it through this LONG post, you're a champion! Remember learning can be a lot of fun, you just gotta find what works best for you. I encourage everyone to have as much fun as possible with their projects as they can. |
Education?Admittedly this is mostly going to be children educational projects. Being a guardian to a pretty awesome kid we do a lot of school projects year round. Yes I keep her education going through the summer with fun reading projects, science experiments and more. ArchivesCategories |
 RSS Feed
