|
In my ever expanding list of polymer crafts I decided to give this a try. I've always been a fan of cute USBs. I figured to give you guys an easy tutorial I would make a camera. I take thousands of photos, especially during the spring and summer, so a USB just for photos is a great idea. And I also made a book USB for my writing. YOU WILL NEED:
Alright so starting with your USB sticks. I did some research on this before I started just popping things in the oven. Supposedly you can just bake regular zip sticks as long as you break off all the plastic and outer coating. BUT that made me very nervous so I bought nano zip sticks. They are no more expensive then the regular length ones I normally purchase from SanDisk. But with the nanos all you have to do is make sure there is a hole for them before you bake your clay.  (STEP #1) Taking your zip stick, if you use the nano, simply push the plastic end of the USB into the clay to form it's spot. If not remember to remove the outer casing and then sculpt your clay around the metal. And remember that your zip stick is going to be plugged into your laptop, computer tower, xbox, etc. So if what you sculpt has any 3D parts or odd shaping, you'll need to have a flat spot for it to sit flat against whatever your USB is going into.  Once you got your indent made simply remove the USB and work on flattening out the surface and sculpting more. I suggest as you work on your item periodically take your nano and place it back into its indent. It's very easy to mess up it's location simply by flattening a part of it or pushing too hard on your clay. Anyways, continue building your item. For me I am making a camera zip stick. So I started with a black rectangle block of polymer clay.  I'm torn between wanting to just show you guys how to make a USB out of clay and how I made the camera. I will show you the step by step of the camera but I'm also going to tell you if you just want the basics just skip on down to (step #6) (Step #2) Next you're going to want to want to make the lens for the camera. Taking a chunk of black clay break about half of it off and roll it into a ball. I have one of those tools with the ball at the end of it to make a nest indent, but your pinky would probably do just as well. (It is hard to see in the second picture but the center is a rounded dent.) 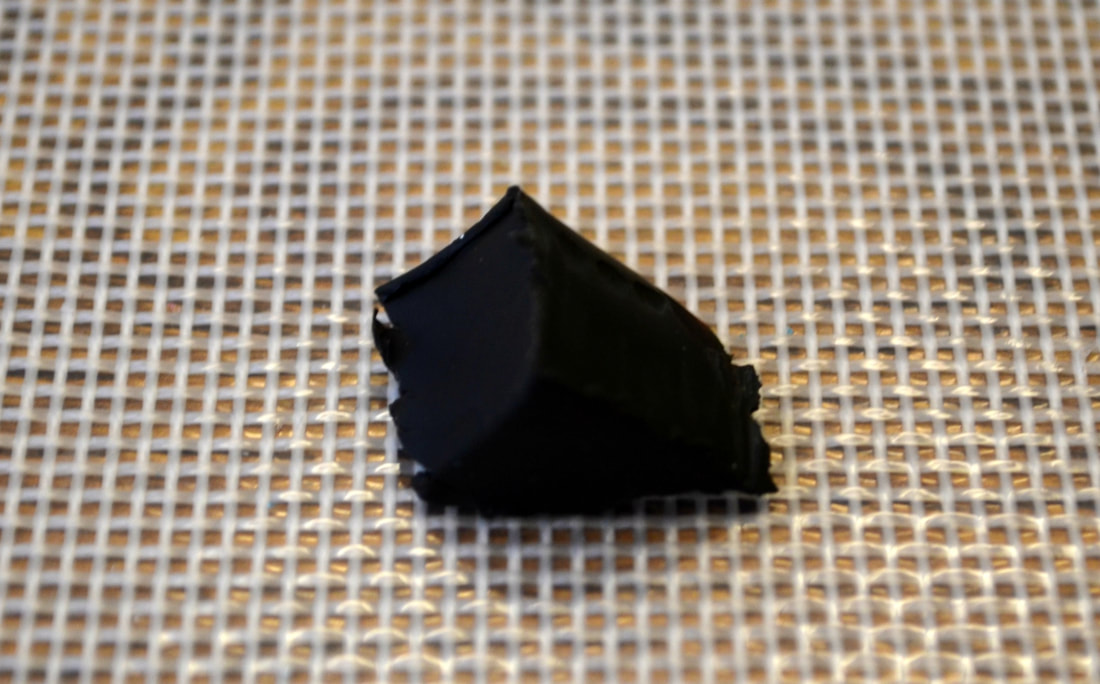  Taking a chunk of white clay make a smaller ball and slightly flatten that as well. You're going to take that and fill the center of the black ball we just made in the above photo.  (Step #3) I also wanted to add some details to my lens so I took a SUPER small ball of black clay and rolling it out with my fingers made a long thin piece of clay. I then took that and bent it, cut some of it off, and then slightly flattened the top. Then I attached it to the white lens we made in the last step.   (Step #4) Going back to the chunk of black polymer clay in (step #2) break off another chunk and create a small rectangle or a triangle to make the flash for your camera. I made a triangle, and then took a small piece of white clay and made a smaller triangle for the center.  (Step #5) Small details are also important to our project. So here's the little details I added. Taking small red clay I created the shutter release and a detail for the front of the camera.   I also took a tiny black ball and created a small circle for the camera mode dial.   (Step #6) Once your set with your polymer project- AND SURE YOUR USB FITS- let's bake it. I use parchment paper and aluminum pans. Placing parchment paper in the bottom of an aluminum pan, set your polymer clay project on top of it. Then taking bulldog clips attach a second pan like so.  This is to help your clay from baking without getting burned. Each brand of polymer clay bakes a little differently- but the directions should be on the container. I have been using Premo so that's 275 degrees for 30 minutes.  (Step #7) Once it's out of the oven and cooled down you can apply a coat of glaze to it. Honestly the glaze makes it look nice and supposedly helps the clay from getting damaged or breaking but I haven't seen any proof of that. So I understand if you're hesitant to spend money on a glaze, especially if you're new to this. But just taking a paintbrush apply the glaze all over. I did not put the glaze inside the indent where the USB is going to go. And if you baked your USB it probably goes without saying that you shouldn't glaze it.  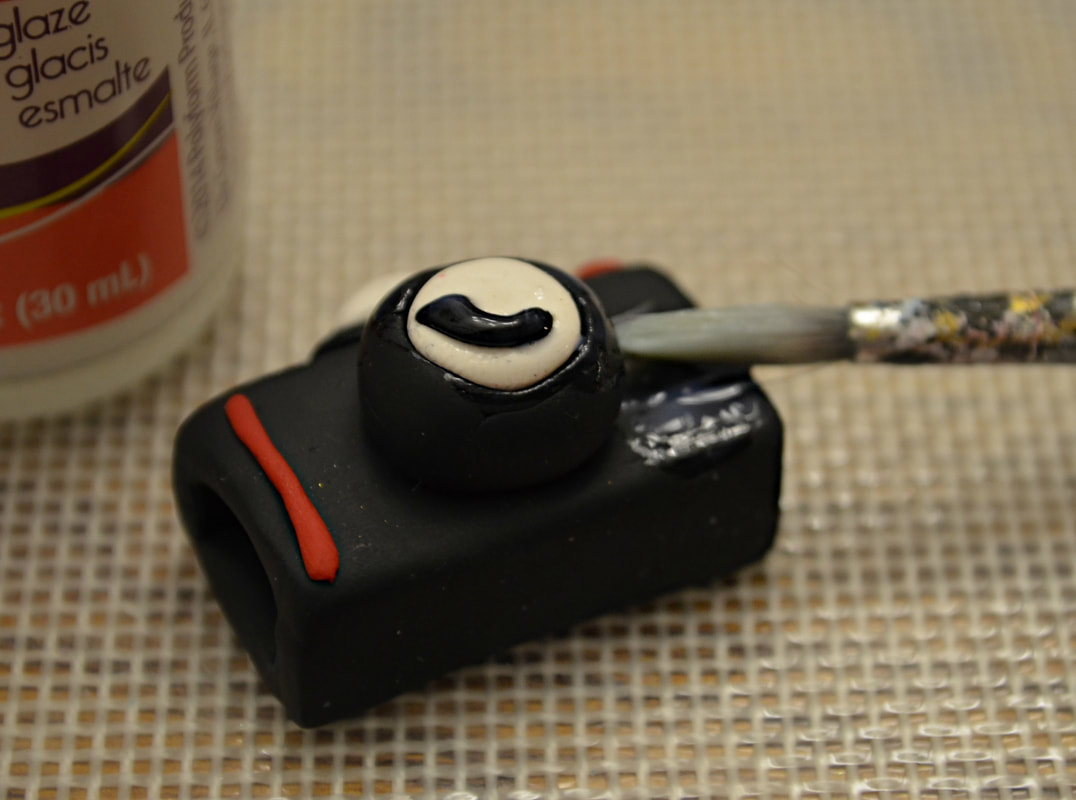 (Step #8) Once your glaze has dried take your tube of E6000 and fill the hole where your USB is going to go. Don't over fill it otherwise the glue will seep out and into the USB itself. Now I forgot to photograph this with the camera zip stick but I took a picture with the book USB. So don't mind the photo change.    (Step #9) Let it dry for 24 hours and then enjoy your new zip sticks!   Now I'm not a professional and I'm still learning. These aren't perfect and I'm sure you can spot a number of mistakes. BUT I think it's important to start somewhere and hopefully give someone else the courage to just try something new. Throw caution to the wind and start creating. Every master was once a beginner, no? Happy crafting ya'll!
0 Comments
|
Crafty Things?This is a page dedicated to DIY's and miscellaneous projects. Archives
April 2018
Categories |
 RSS Feed
