|
When I mentioned that I was going to be writing about how we made our boutonnieres people started asking me about our bouquets. Now, I hadn't written about those because I COMPLETELY forgot to take step by step photos of how we made them. It was a mess, flowers and floral tape everywhere. (And my beautiful friend Jeanni helping my mother and I figure out what we were supposed to do.) BUT I will do my best to explain the initial floral steps. You're going to need your flowers of choice and a way to attach them when you're happy with their placement. With this in mind, what kind of bouquet do you want? There are a lot of different styles, I'll include a link from easy weddings explaining the most popular ones. https://www.easyweddings.com.au/articles/bridal-bouquets-ten-different-types/ I think mine would be considered either nosegay or round bouquets, BUT because I used Bouquet Holder/Handles that you can buy at a craft-store or online, I'm really uncertain. And because I already had my handles, I would be using Hot Glue to attach the flowers to the Styrofoam. I picked ribbon to wrap the stems with and I will show you how to do that. For my initial bridesmaids I used White and Red Silk Roses and pearl picks (these may be called something else but search in the wedding section and they should be easily found). You're going to use wire cutters to trim your flowers down to your ideal height and then begin placing them in the Styrofoam. This is where it's all up to you. No tutorial is going to tell you what's going to look best to you. What I will say is that, unless you're making a Biedermeier style bouquet, you don't want your flowers to be symmetric. When my mom was first trying to help me with these she literally placed the red roses in such a way that they formed a perfect square. It looked like a dice, lol. So we obviously rearranged those. 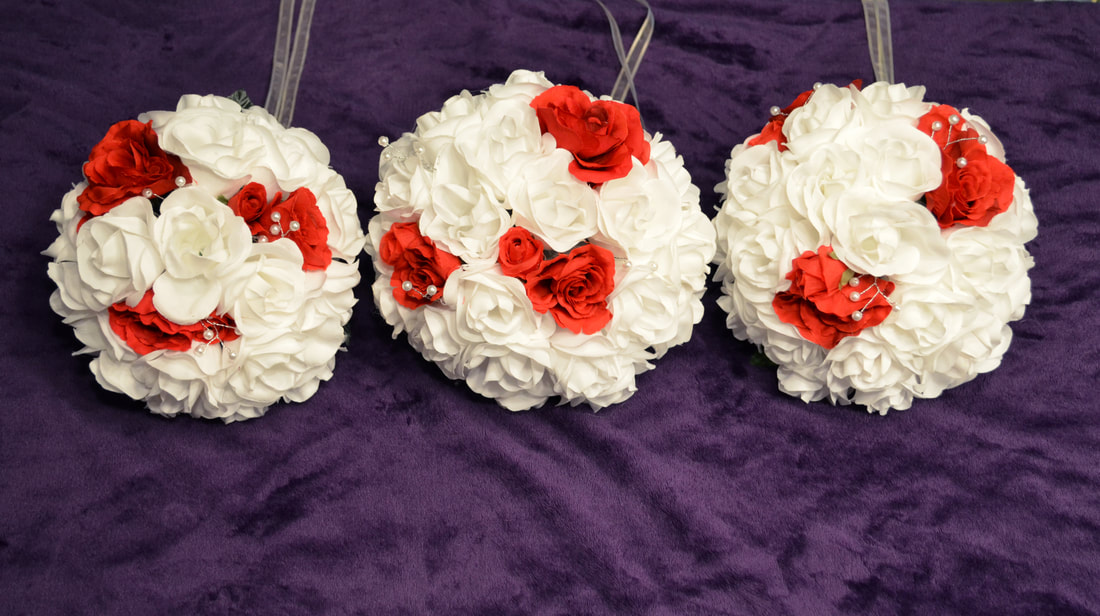 For my Maid of Honors we did basically the same thing, except we gave them mini cascading fronts. I knew mine was going to be a large cascading bouquet so it only seemed fitting. To make the cascade we left the stems longer than rest of the bouquet. We placed them in the front of the holder's Styrofoam. We also used some greenery to fill in around them. 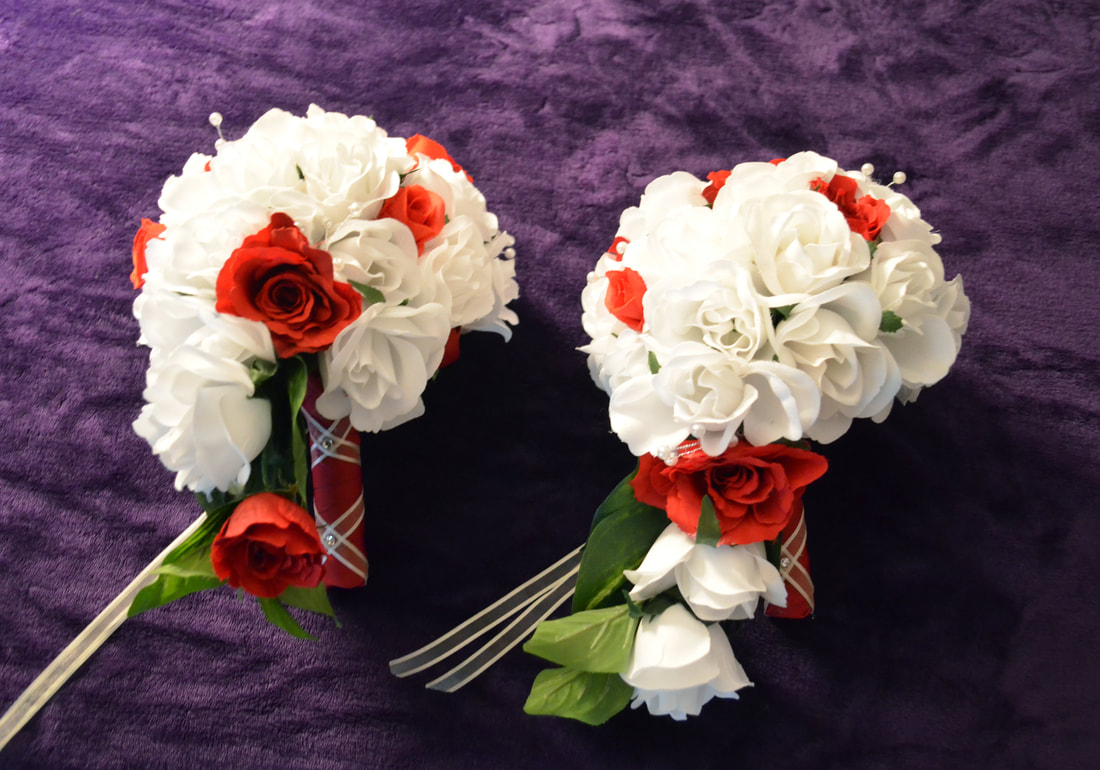 I hope this gives you an idea of what you want to do. I am sorry it's not much help. HOWEVER, I can help with the handle wrapping. When we were deciding what to do with our wedding parties we knew we wanted my little sister and our three nieces to be apart of our wedding. We decided to have a female ring bearer but I wanted her to feel just as special and dolled up as her sisters. Being the eldest niece it seemed fit to give her a junior bridesmaid dress, and a special bouquet. She's way into MCR so to keep things special for her I made her bouquet all red with a black and red handle. For Kalli's we bought a premade red rose bouquet. This is the exact one that we bought from Michaels. (I goofed and forgot to get a picture of it before we altered it.) 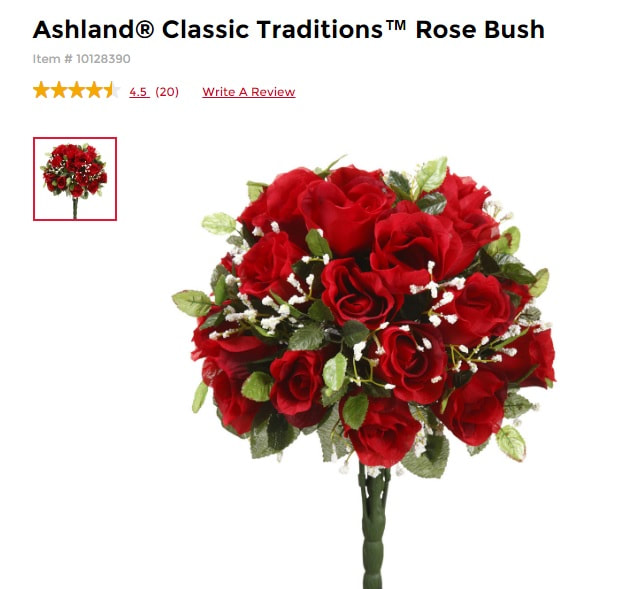 And to include the Ringer Bearer part of this we purchased ring holders shaped like roses. You can find these on Amazon really easily.  Because I added those to the premade rose bouquet, I didn't have a Styrofoam base to simply glue it to. So I used a little bit of Hot Glue and a rubber band to attach the ring-roses to the bouquet. It is also worth mentioning that the bouquet's stem was VERY long and I had to cut it down for a more realistic size. Because I cut it, the ends flared out and I also had to use a rubber band to hold the end together. 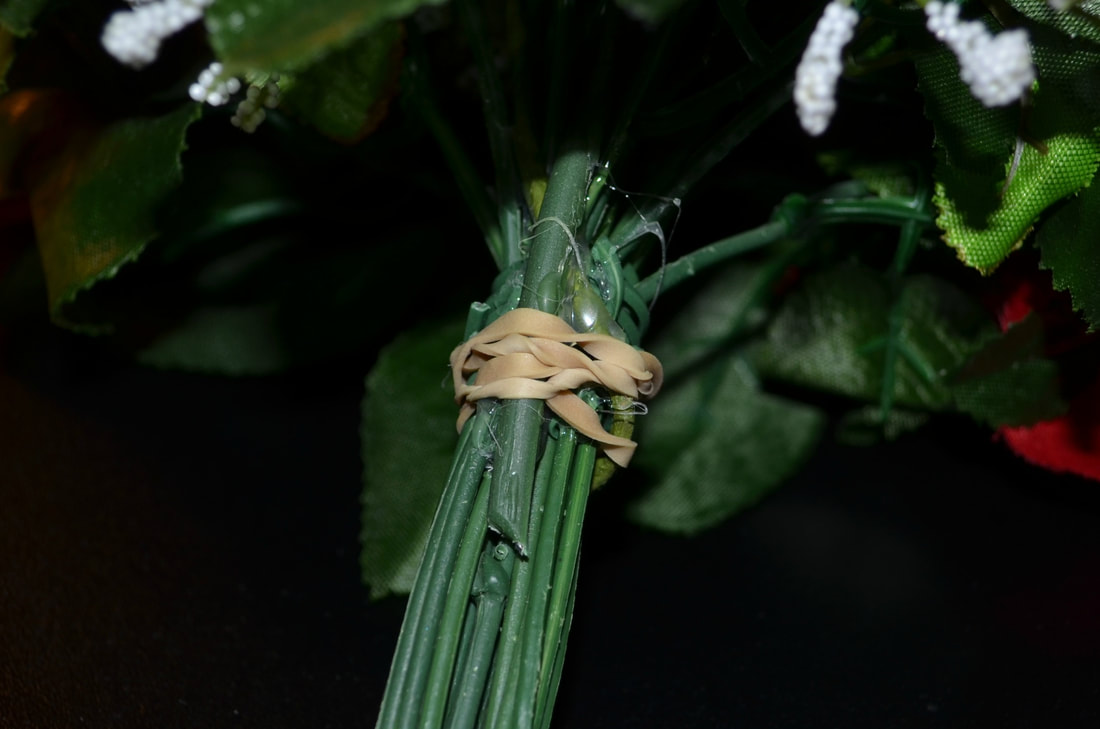 To begin wrapping your bouquet handles you're going to start at the very bottom of the stems. You're going to tuck your ribbon on the backside of the stem and use hot glue to hold it in place. 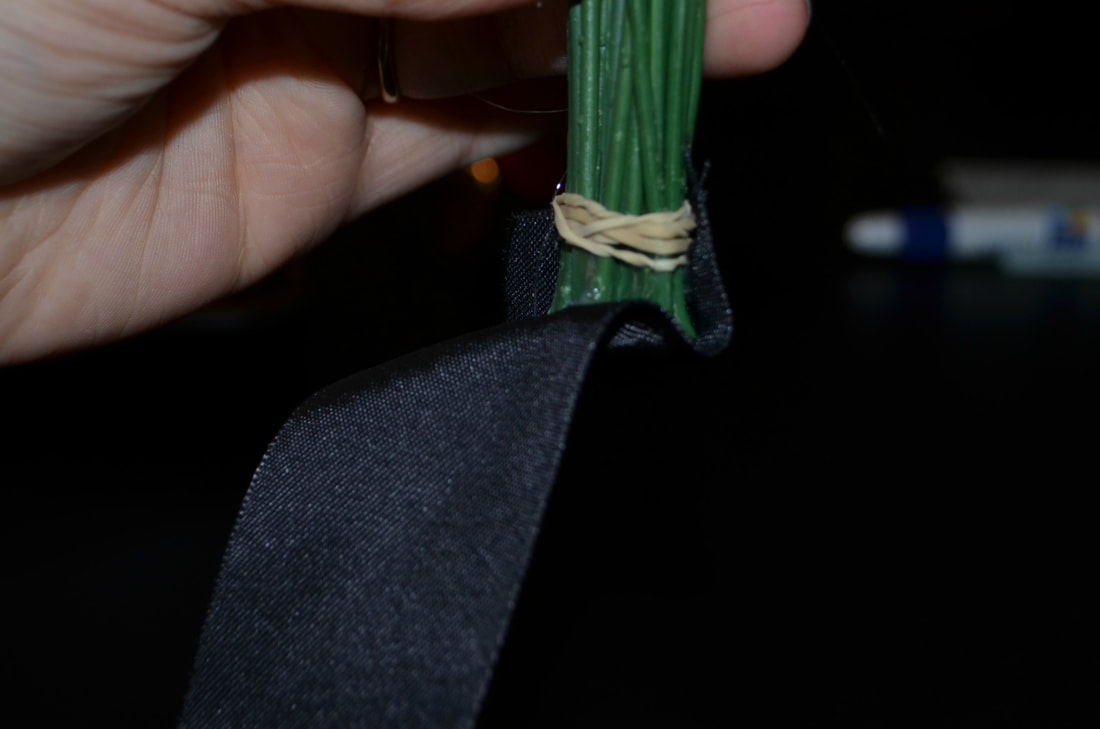 From there you're going to begin wrapping the ribbon around the stem in a spiral motion. 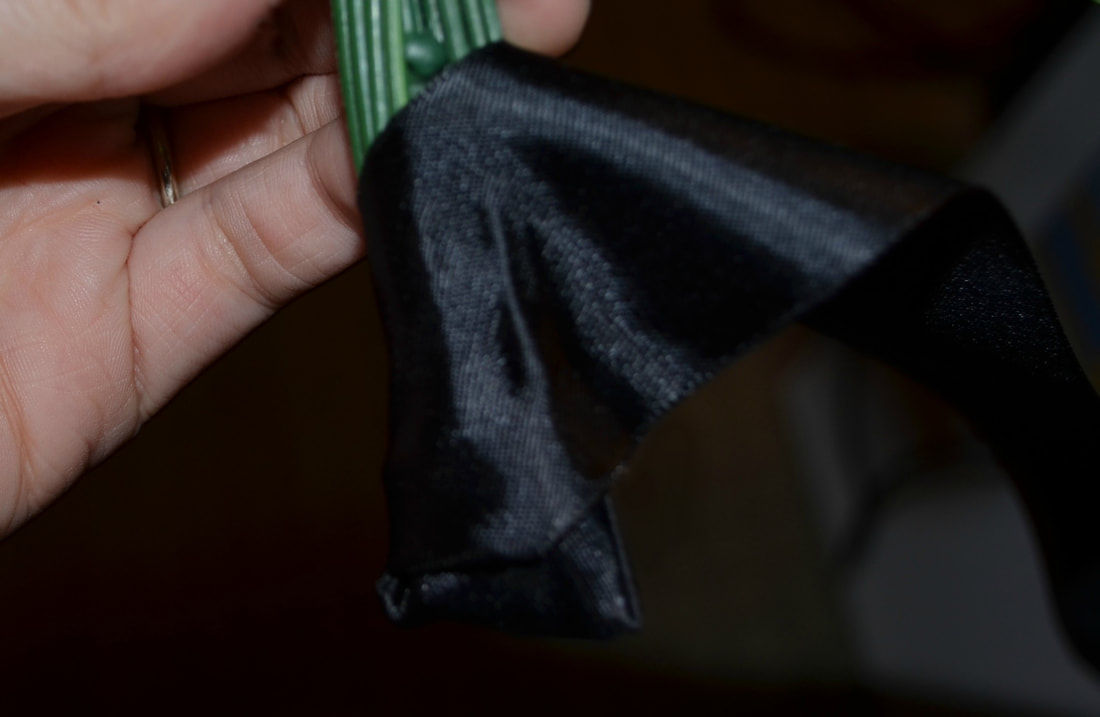 Continue to wrap and glue until you reach the base of the flowers. From there you're going to fold and crease your ribbon to form a tight circle cover of the handle. No green should be showing. 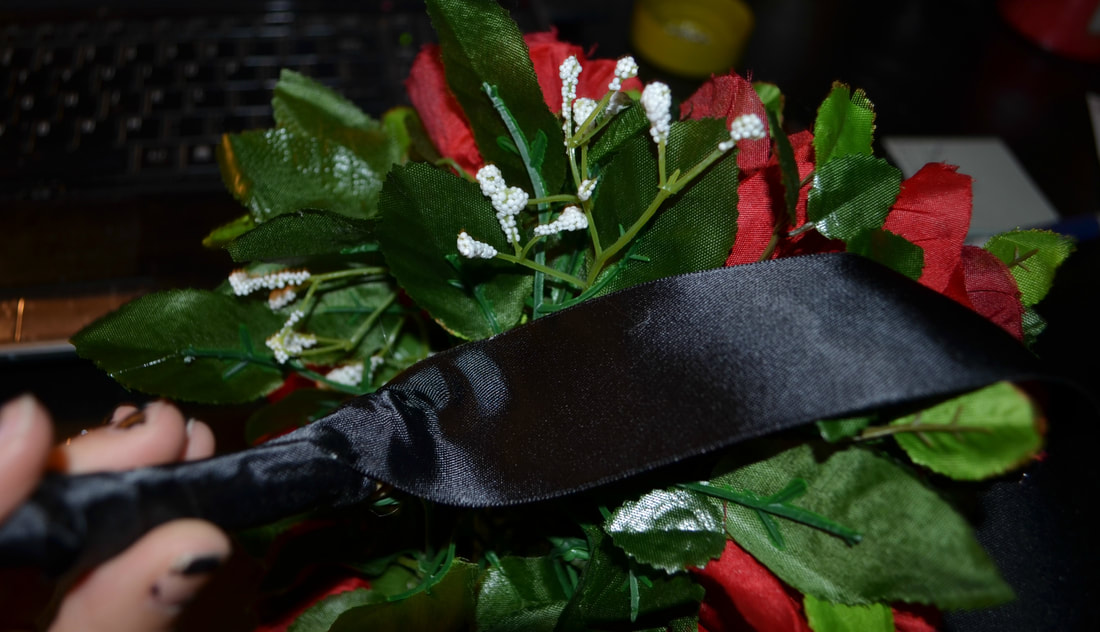 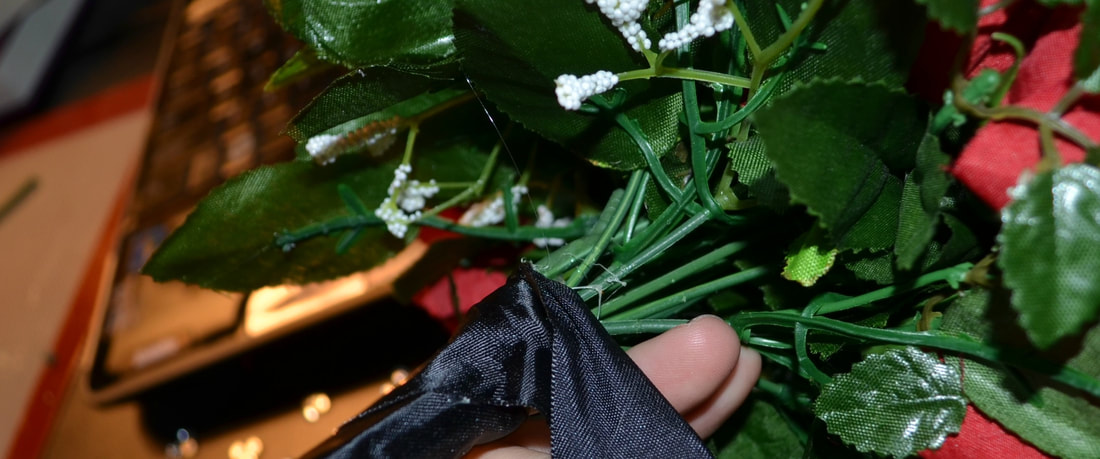 Once you've covered the stem with ribbon, you're going to start making larger creases and gluing them to the base of the flowers and leaves. creating a hexagonal shape. 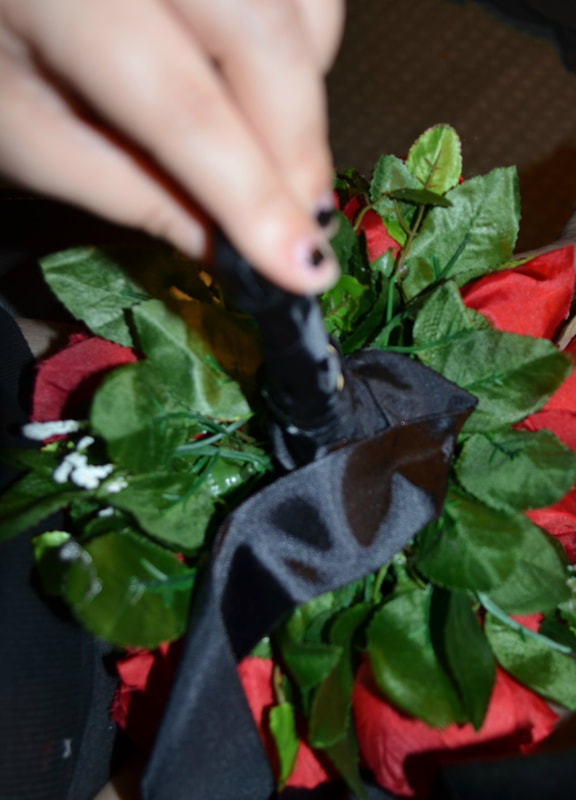 After that you're going to make bow loops with the ribbons. Cover the base of the flowers completely. Depending on the bouquet you're going to make more than one layer of bow loops. 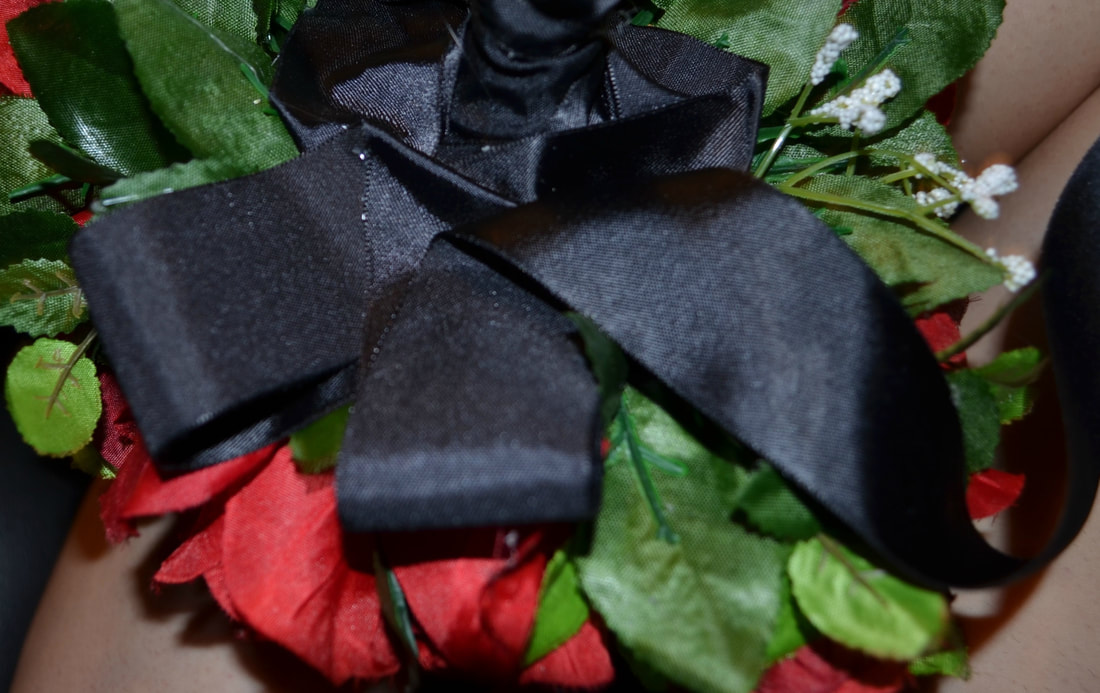 When your base ribbon is set you can add any additional decor you're interested in. For mine I used a thin accent ribbon. For Kalli's bouquet I used a red ribbon but on my bridesmaids I used a sheer gold ribbon. You're going to start with a decent length to work with. Find the center of the ribbon by placing the two ends together and grabbing the middle section. Taking that middle section glue it at the base/towards the back where you started the first ribbon wrapping. Start criss-crossing and gluing your ribbon as you go. I made this pattern all the way up the handle of the bouquets. On my girls I left lots of extra ribbon to have some hanging down. With Kalli's I tied a small bow at the top of the handle. It was admittedly slightly off center- like I've said, I'm not a professional. BUT the good thing, no one is going to see this over the bows and flowers so it's not the end of the world. I also added gem stones to the center of the criss-crosses. 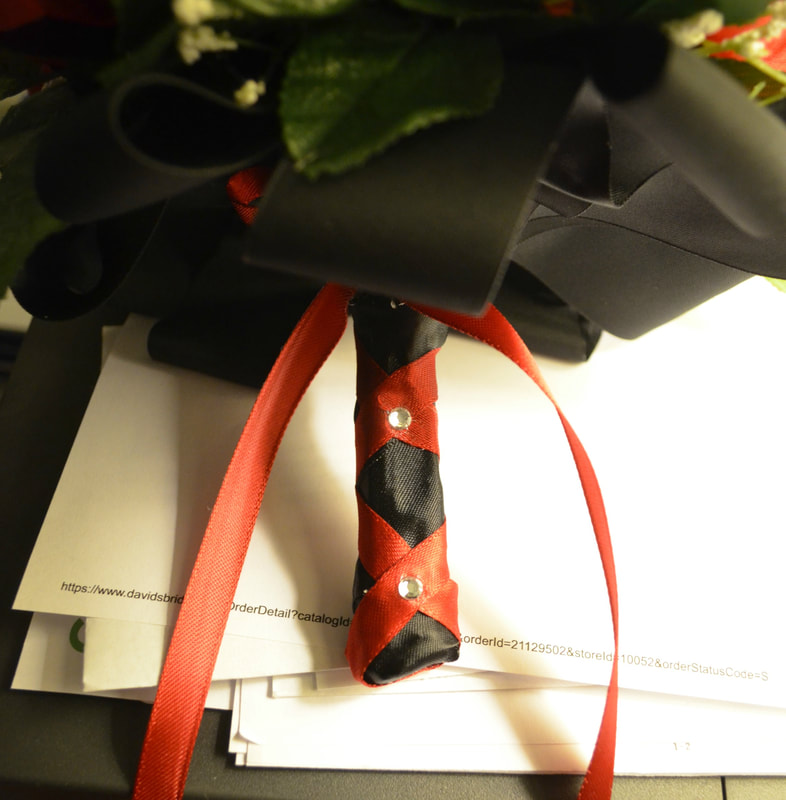 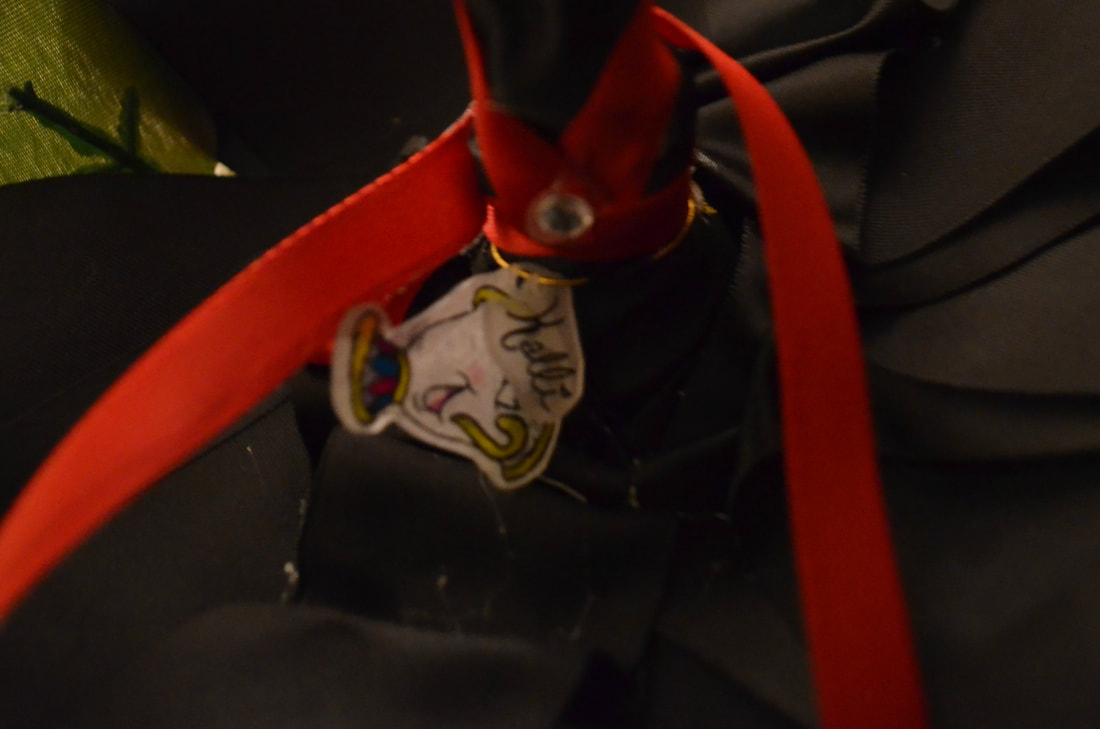 And if you saw the Flower Girl Basket Tutorial you'll see that I did the same personalize-ation on Kalli's bouquet as I did for the other girls. And finally the top of the bouquet I placed a gem stone on the center of the rose that would hold my ring. 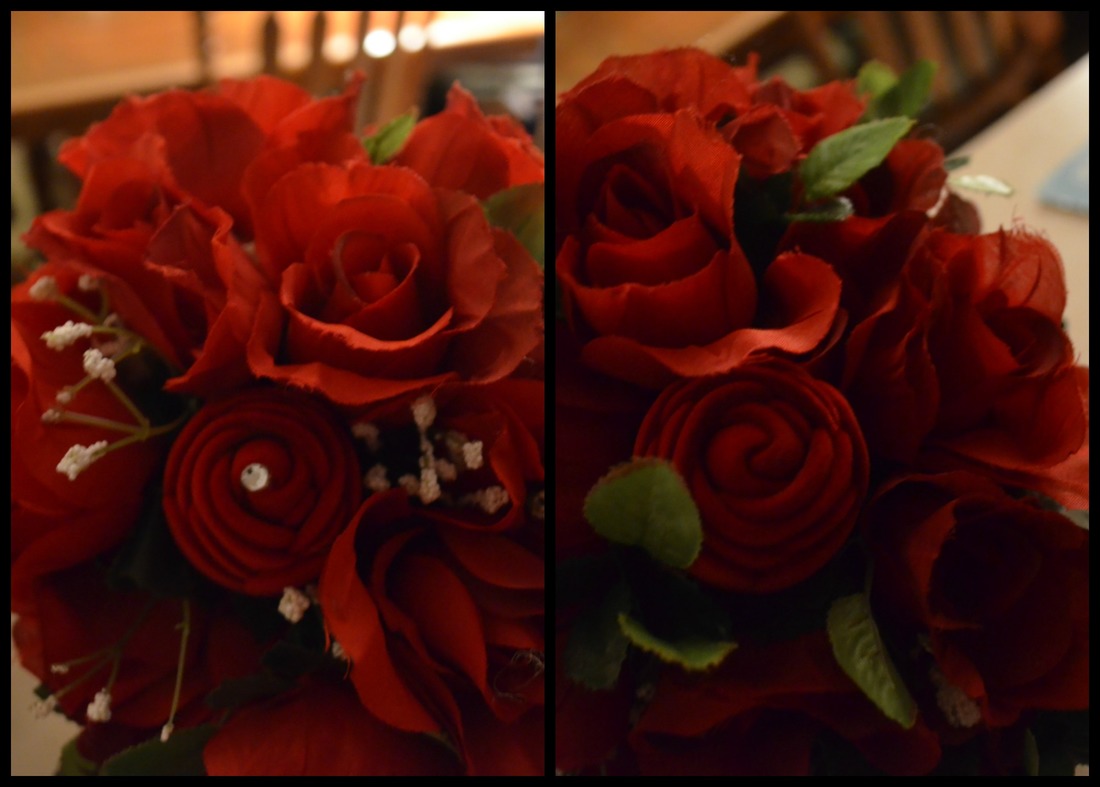 I hope this was helpful to someone out there. Like I said I realized that I didn't get all the steps photographed or worked out any notes for how to explain this. So I didn't think it was worth posting, but ya'll seem to think different! Below I'm going to include all the pictures I can of our bouquets.
0 Comments
I wasn't originally going to do an article on how to make your own boutonnieres, but I've been asked by a few people how we made these without going to a florist. As you already know we used silk flowers so take that into account. YOU WILL NEED:
Honestly, these are super simple. So don't panic, just remember there's bound to be trial an error until you get the rhythm. You're going to take your flower of choice and any additional items you want to go with it. Such as decorative pearls, baby's breath, etc. We had several different boutonnieres to make: the groom's, the best men, the groomsmen, the ushers, and the fathers/grandfathers. (We also offered our pastor one, but he declined.) Each set of them were made a little differently. The Best Men and the Groomsmen were almost identical, we just added a little extra gem to the Best Men to distinguish them. So here's how I made theirs. 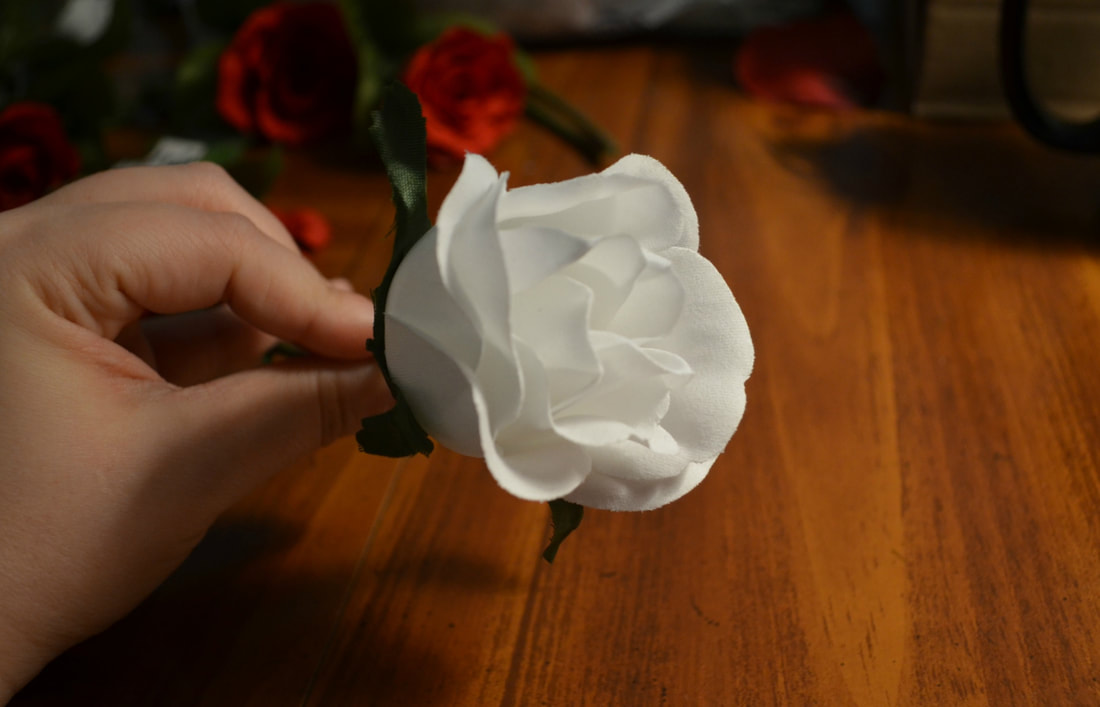 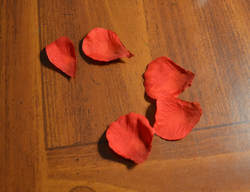 I took a white rose (my girl's bouquets were white and red roses) and some red rose petals to create a multicolored look. 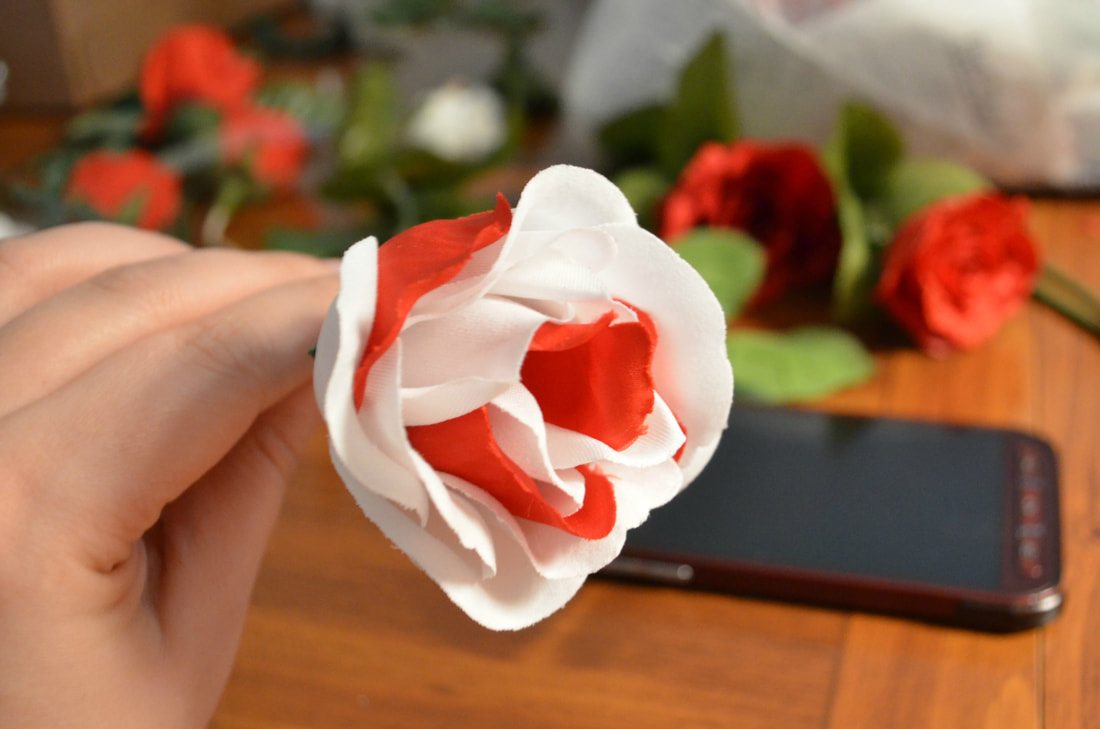 Once I was happy with the placement of the petals I used my hot glue gun to attach them to the white rose. I used those wire pearl picks for some of our wedding floral. (These can be called picks, sprays, accent stems, etc. So don't be discouraged if you go somewhere and can't find them by the name I use. But you should have good luck if you look in wedding sections or explain to a salesperson what it's for.) Since mine are the wire picks I simply wrapped them up the stem of the white roses. 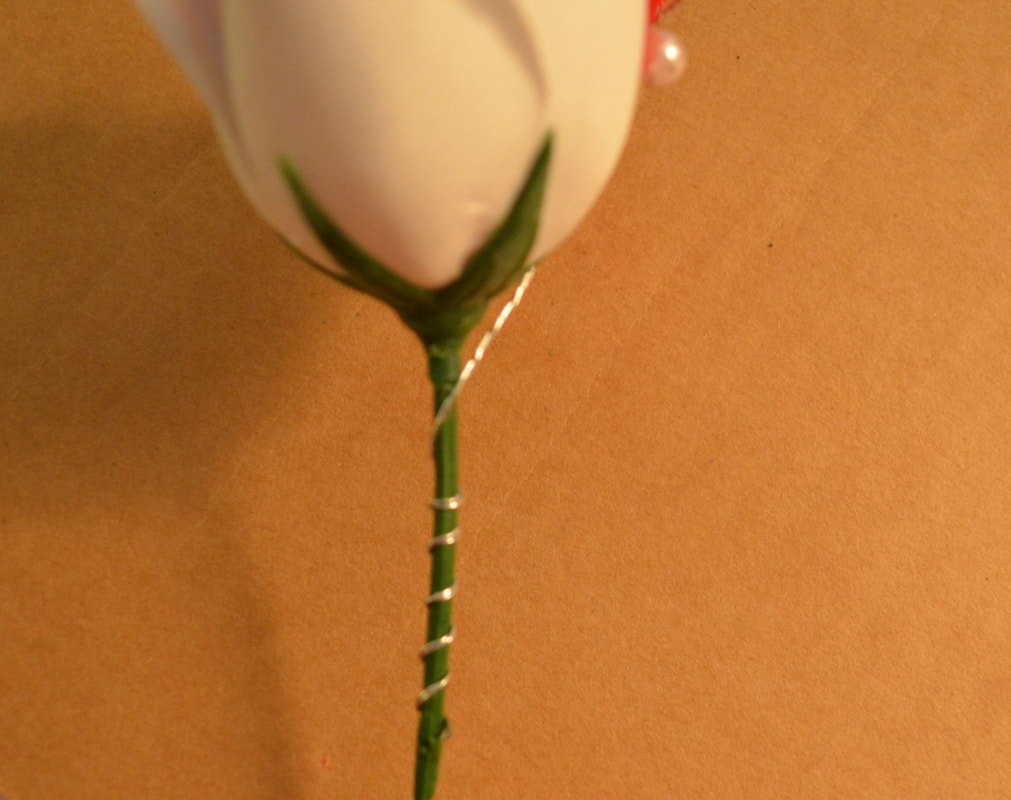 I also took leaves from flower stems and wrapped them in floral tape to attach them to the stem of the white rose. 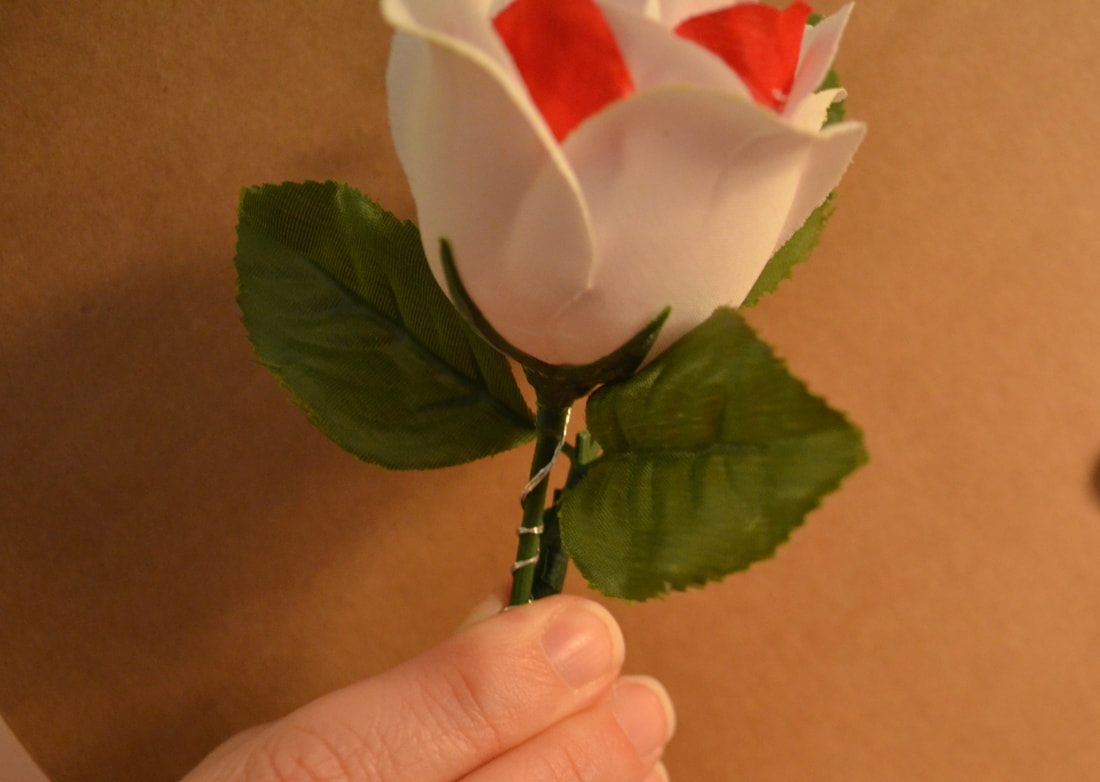 The next part is really the final necessary step. You're going to use your ribbon of choice and your hot glue and wrap the stem. 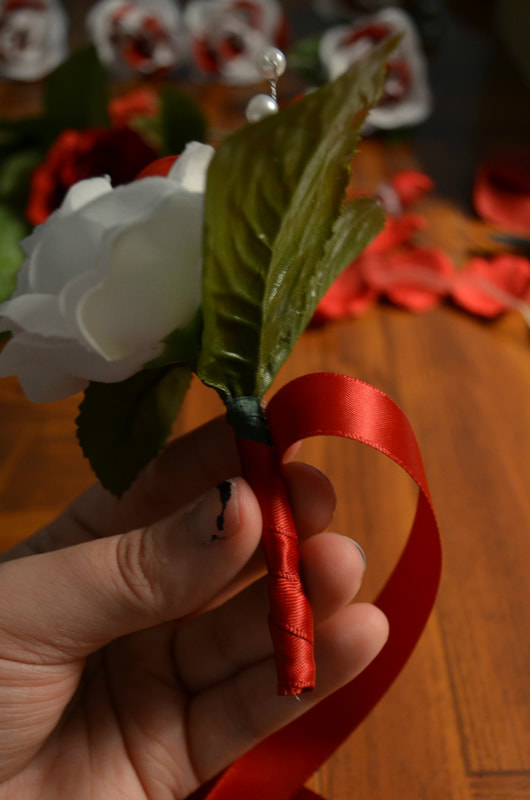 If you want you can make a bow with your ribbon, glue decorative items on, or even add a second ribbon. I did a little bit of all of that. I'll show you how I did the bow as well as photos of the rest of the boutonnieres. You're going to take your ribbon and crease it at the top to create a bow loop, then cross it in the middle (using a dab of glue to keep it in place), and then finish the loop off to create the bow. 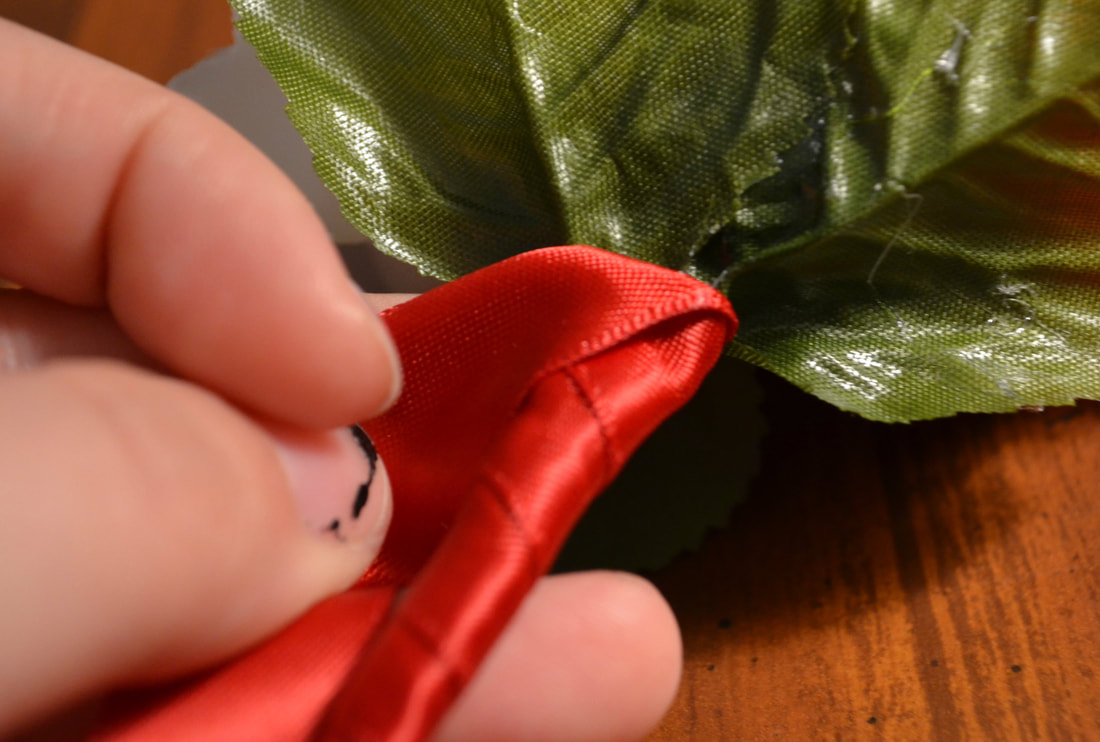 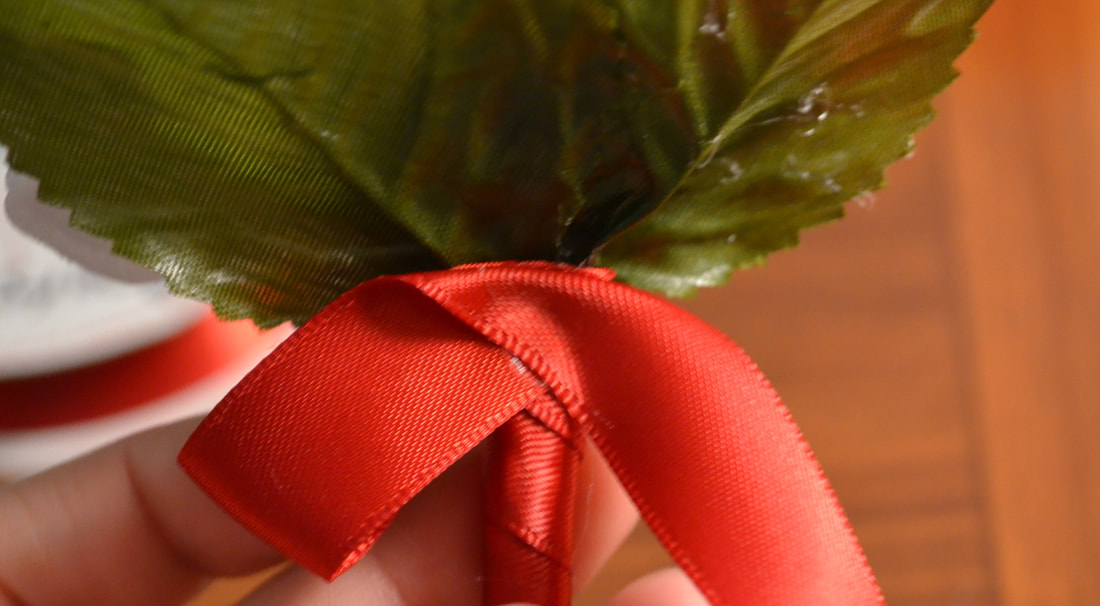 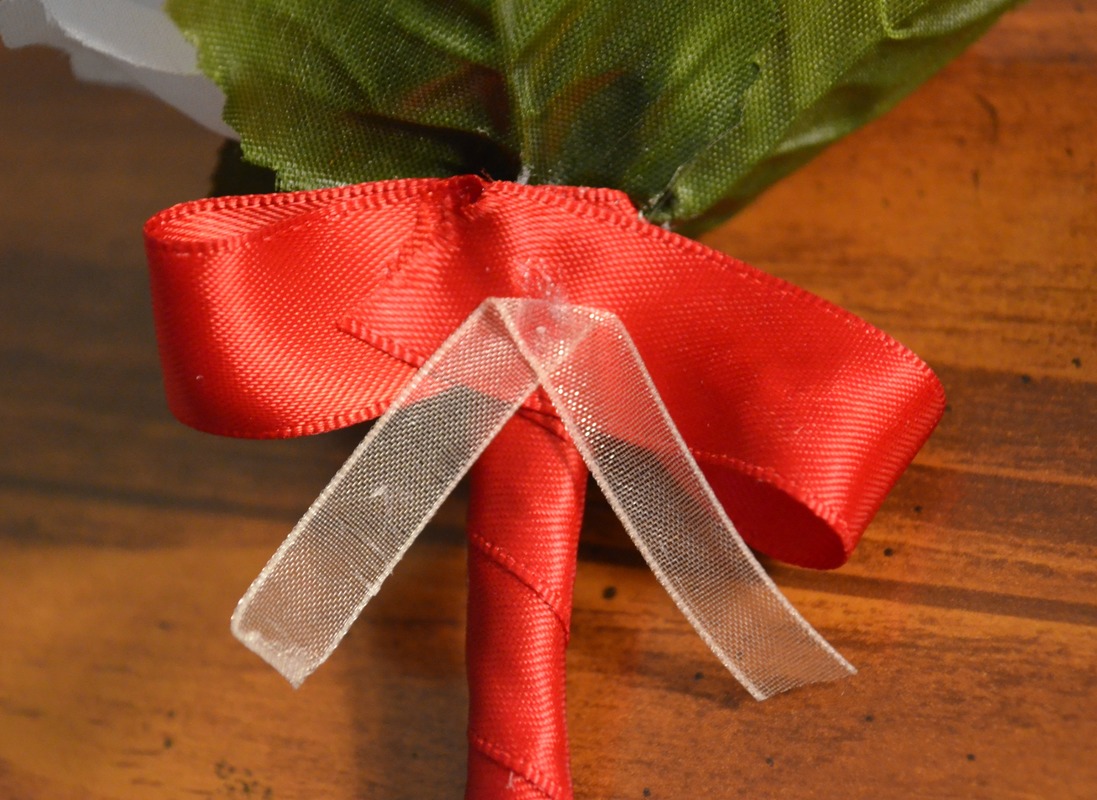 Pictured ABOVE are the steps I took to make the bow. These are seem from behind the stem. The photo BELOW shows the front of the stem. 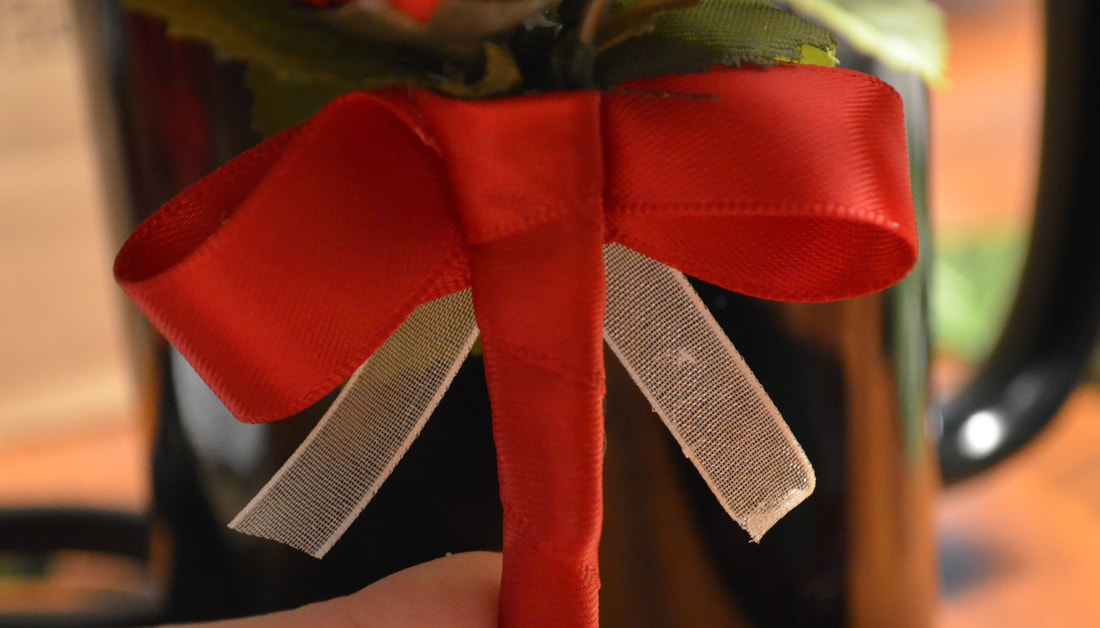 I also chose to take the gold sheer ribbon and wrap it around the stem for an added touch. When you're happy with all the additional touches you want, simply push your corsage/boutonniere pin through the stem. I made the groomsmen all the same boutonniere. But to distinguish the two Best Men we added a smell gem stone to the center of the bow. 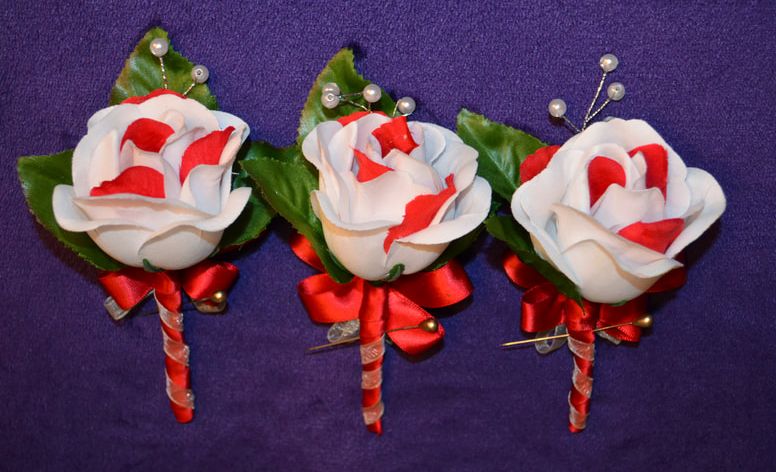 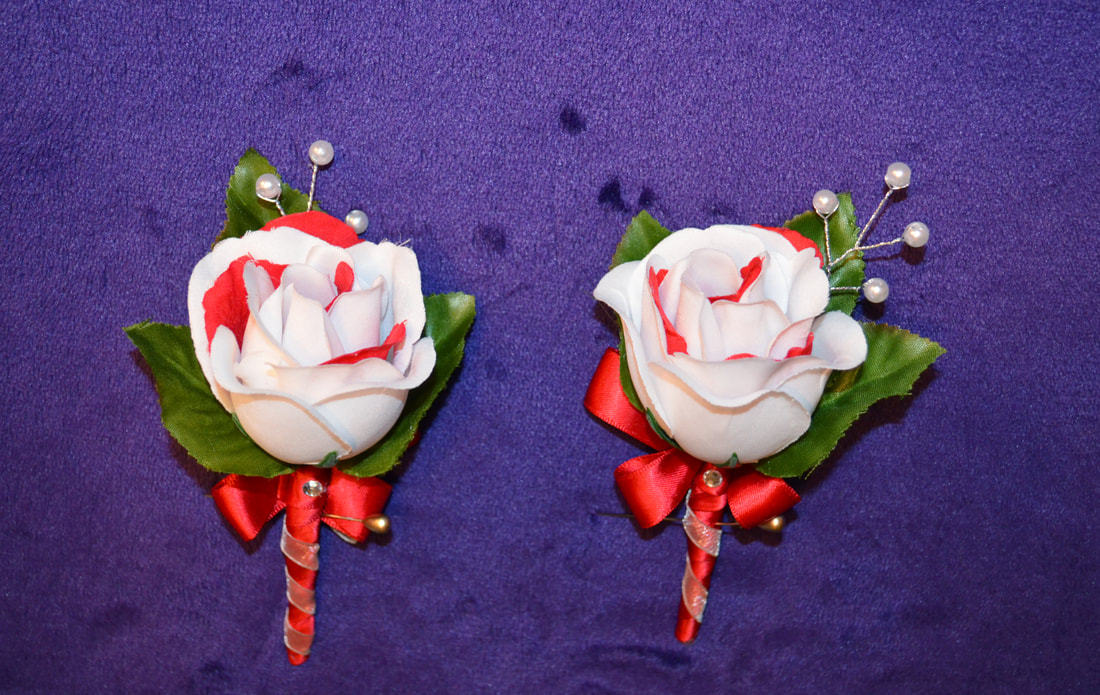 For the Fathers/Grandfathers we took two small white and red roses and wrapped their stems together, and repeated the process of attaching the leaves and pearls. 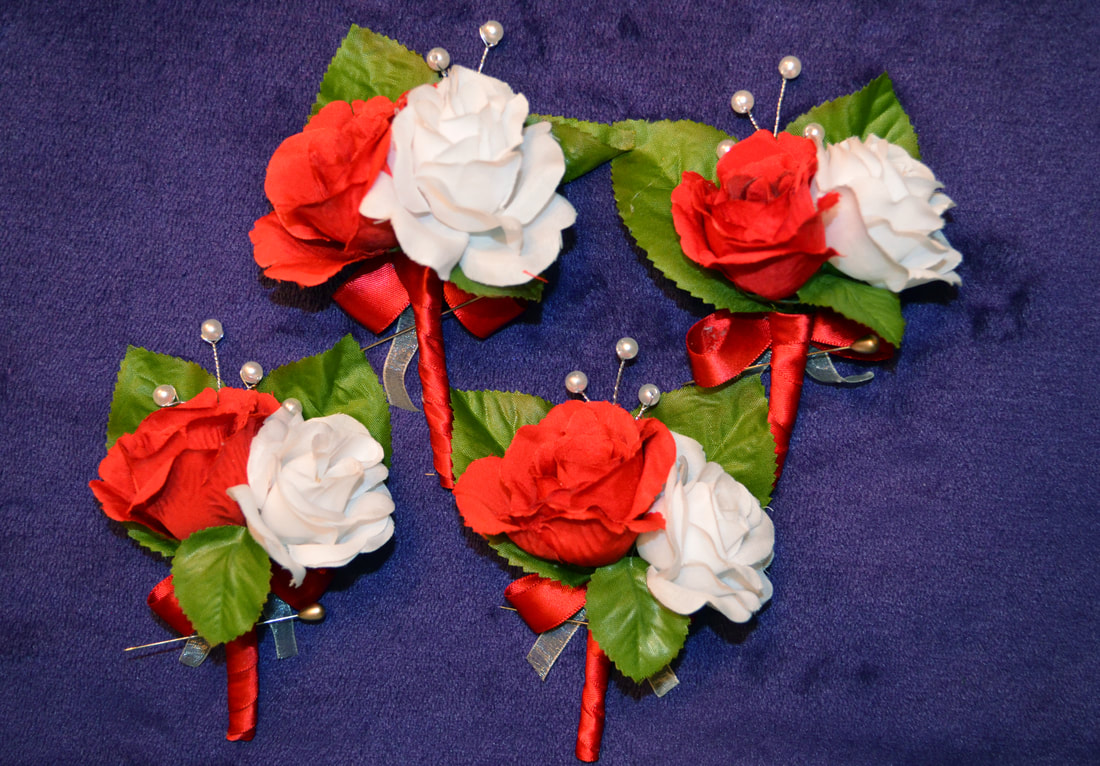 My grandpa walked me down the aisle so he got a special boutonniere. We made his similar to the Groom's. Most of the roses in my bouquet were velvet so we made sure to find a mini velvet rose for his boutonniere. So we also gave my grandpa one AND keeping with the two headed roses for the Fathers we also gave him a small white rose. 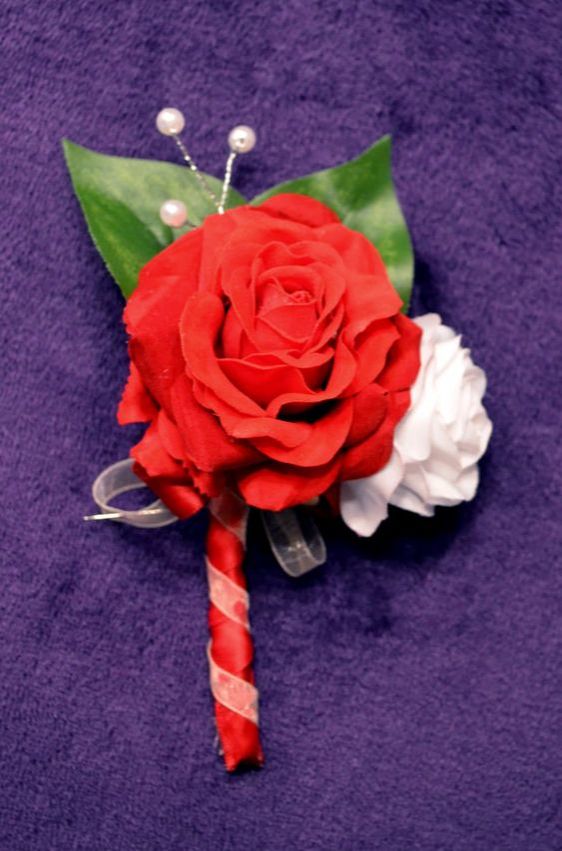 For our Ushers we used White and Red Rose Buds but we wrapped them in a gold ribbon for the base of the stem. 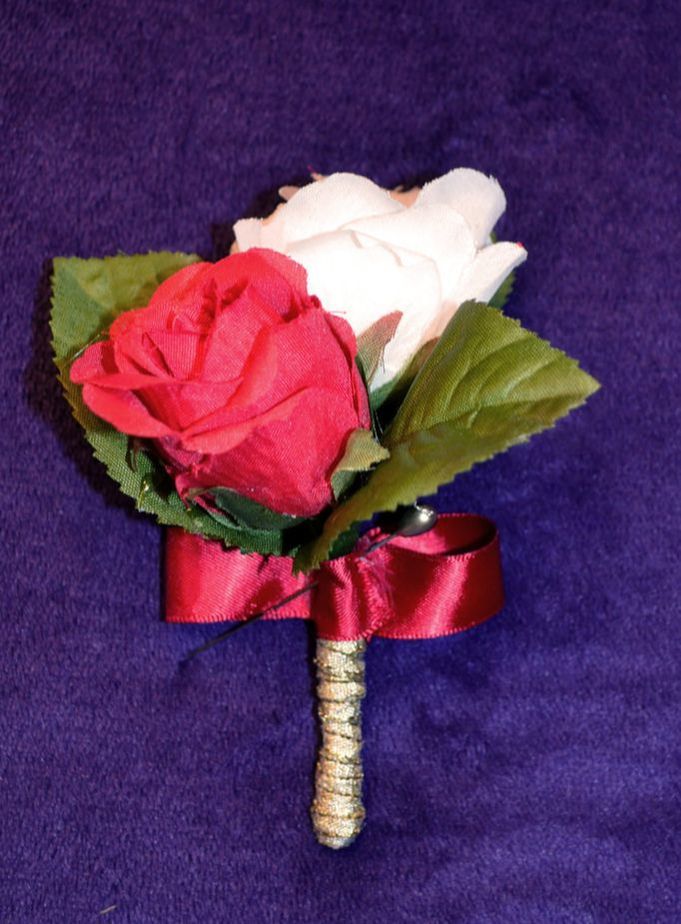 I can't find the photo I took of my husband's when I was making them. Not that it matters because these are terrible photo quality. The light in the house was working against me all that day. BUT I have a GORGEOUS photo our photographer took! (Shout out to or photographer @ Gena Loy Photography) 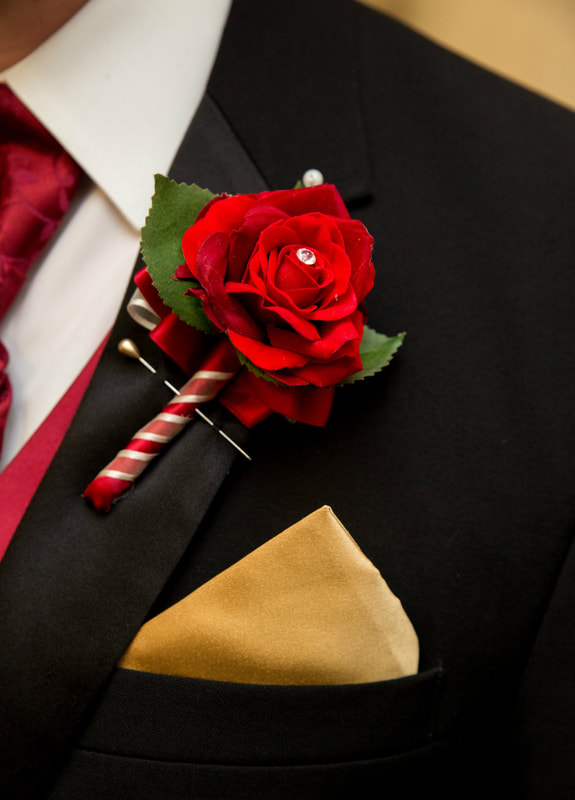 And as I said, his was made to match my bouquet. The rose was velvet and we even included the little diamond in the center of the rose, like many of mine had. 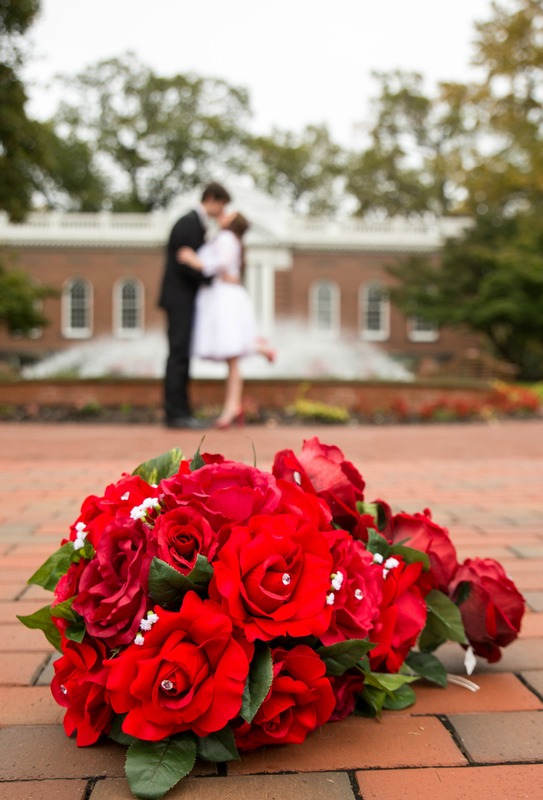 All of the photos in the DIY and several others will be included below for you. And I really hope this helped you to make your boutonnieres. I'd love to see the colors and flowers ya'll use. This is such an exciting time in your life and from one bride to another- you got this! I originally wasn't going to post how I made my shadow box because it is super easy, but I've had so many people ask about it! Thank you to everyone who thought it was beautiful and wanted to know more about it. It's super simple and I have kept it to hang in our home as a "fund" box where we put loose dollars to help save money here and there. YOU WILL NEED:
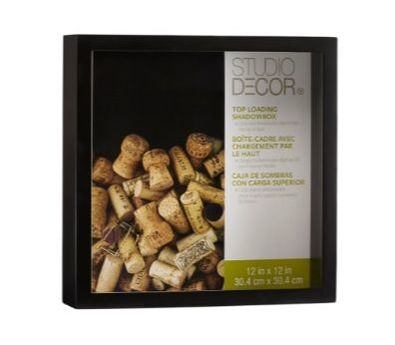 I forgot to get a picture of this shadowbox before I started working on it so I took this one from online. This is the exact size and brand of shadowbox I used to make my card box. What I did was take the cardboard baking off of the shadowbox. I cut a piece of paper to match the size of the backing and drew a design on it. I used the backing because this way I could slide it inside the shadowbox and tape it to the glass. 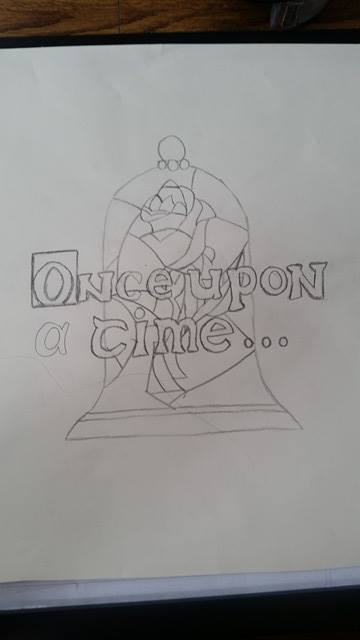 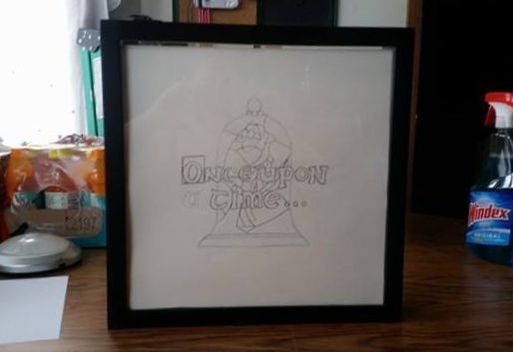 This is also why I mentioned having a printer. A lot of people tell me, "But I can't draw!" Well, with this project, you could just print out a picture and tape it to the inside of the glass. But once you have your design you're going to take your enamel paints and paint in the design. 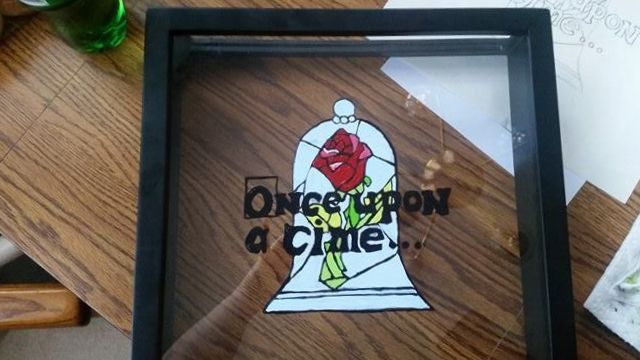 I used tape-runner, but you can also use glue sticks, hot glue, decoupage, etc, to attach a sheet of card-stock to the cardboard backing of the photo-box. This will show behind the design you painted and just give it a little extra dimension and style. I went with a "script" themed paper to help continue using the book theme in Beauty and the Beast. 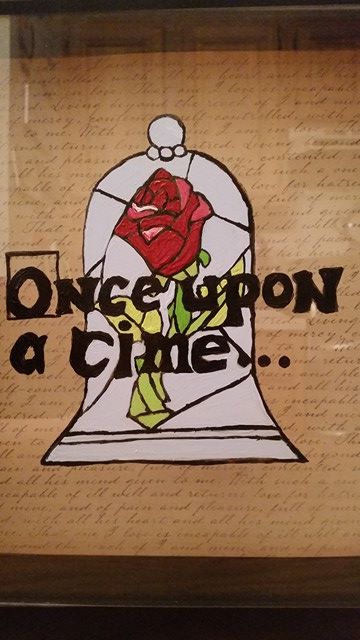 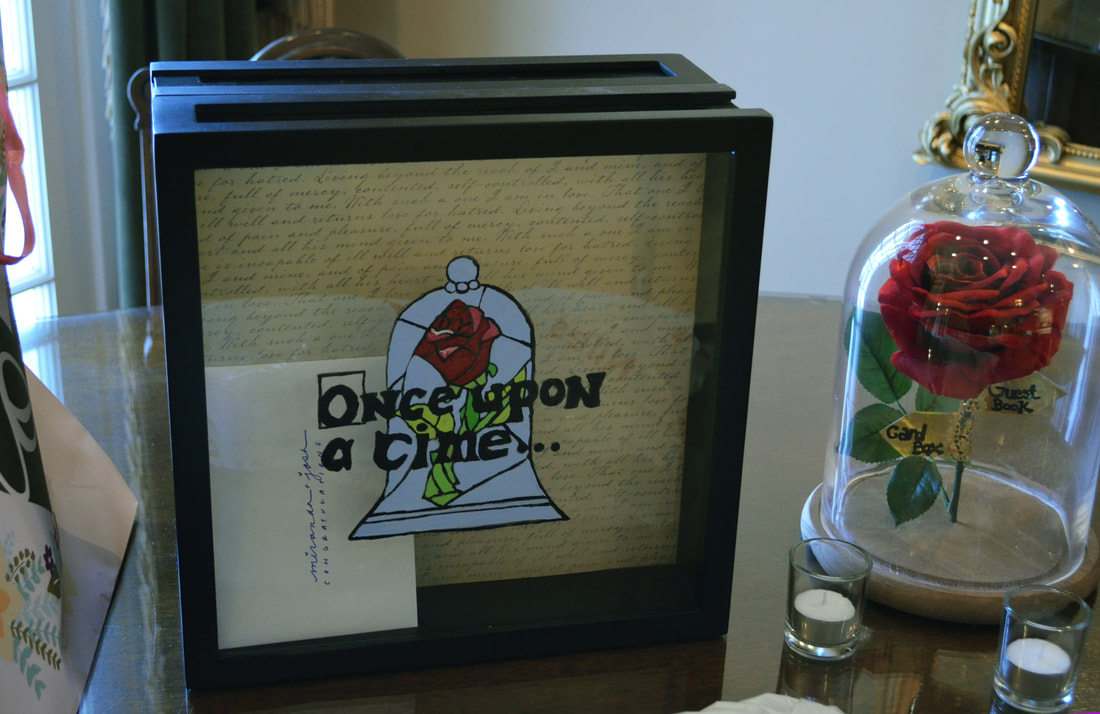 Now, in the photo from the wedding reception, you may notice that there are actually TWO shadowboxes there. Well, when I told people what I was using for my card box everyone said it was going to get filled too quickly and that we would regret it. SO, I got a second one, and did the same thing (just a different design) and then using extra strength velcro, I attached them back to back. What this did was allow my shadowbox to stand without fear of it getting knocked over AND made sure that should the first one fill up, the slit could be opened and turned around so that the second shadowbox could be filled. I couldn't find a photo from the wedding but here's the second cardbox. 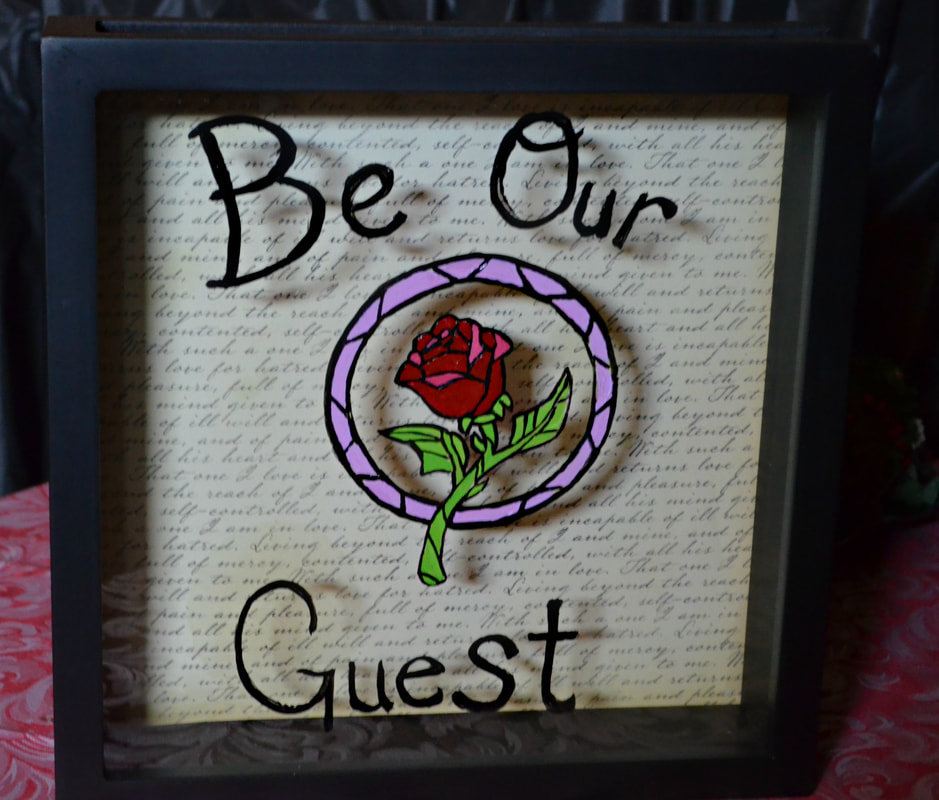 |
AuthorNow that the weddings over I'm a far less stressed woman and here to share the journey. Archives
February 2018
Categories |
 RSS Feed
