|
Minus putting a few books on our Teapot Centerpieces I hadn't really found a way to incorporate books into our Beauty and the Beast theme. BUT THOSE ARE CRUCIAL! I searched the internet for all kinds of ideas and I found a gorgeous book escort chart... on a Swedish wedding photography-site with NO information on how to make it. Soooo I called in my expert crafting team- Jeanni and my mom. And together we made this bad boy. And NOW I'm going to teach you how we did it. YOU WILL NEED:
Now, we knew how many tables we were going to have at the wedding when we actually built our chart. We were originally looking at 16 tables but when our final headcount was all said and done we only needed 13. Take this as a cautionary tale to not make your escort chart unless you actually have your finalized headcount put together. Since we knew we were only looking at 13 tables I got a 27x40in poster frame at Michaels. Then my mom went over to Dollar General and bought a bunch of romance novels and thrillers that were all the same size. Originally my mom and Jeanni started measuring the books and finding their middle sections before running the drills through them. I think at some point they stopped and just sort of trusted their eye... But it's all good. So grabbing your drill, you're going to want to drill straight through the books on each half. ((BUT you should leave several pages UNSCREWED. Basically open the book in half, and then half those sizes.)) Stick your screw through the holes and then put an acorn nut over top of them. These acorn nuts are going to come in handy (trust me). 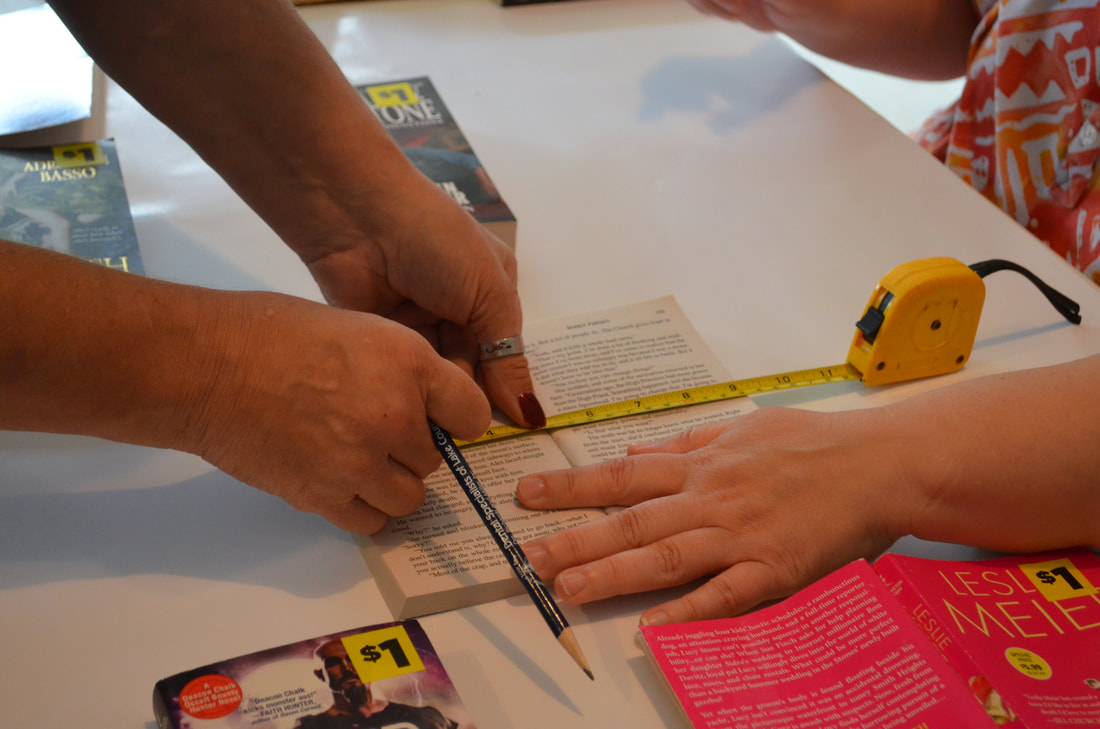  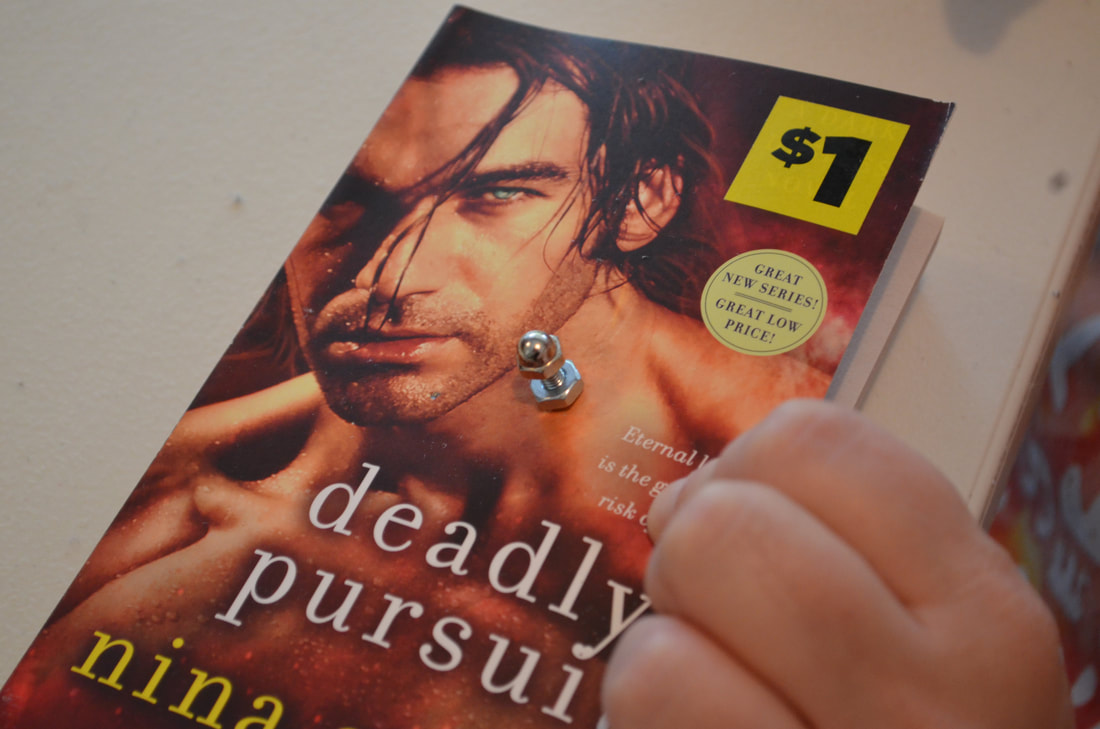 Once you got your books drilled and your screws put into place, you're going to need to get rid of the plastic sheet on the frame. There's no good way to remove it. You gotta just kind of break it and pull. You should really do this outside as it can be quite messy.  The cardboard backing on the other hand you're going to keep. Take the rolls of fake moss and cover the backing with it. The E6000 should do the trick to glue it down. The moss will, inevitably, hang over the edges of the backing. And this is where your trusty box cutter will come in handy. 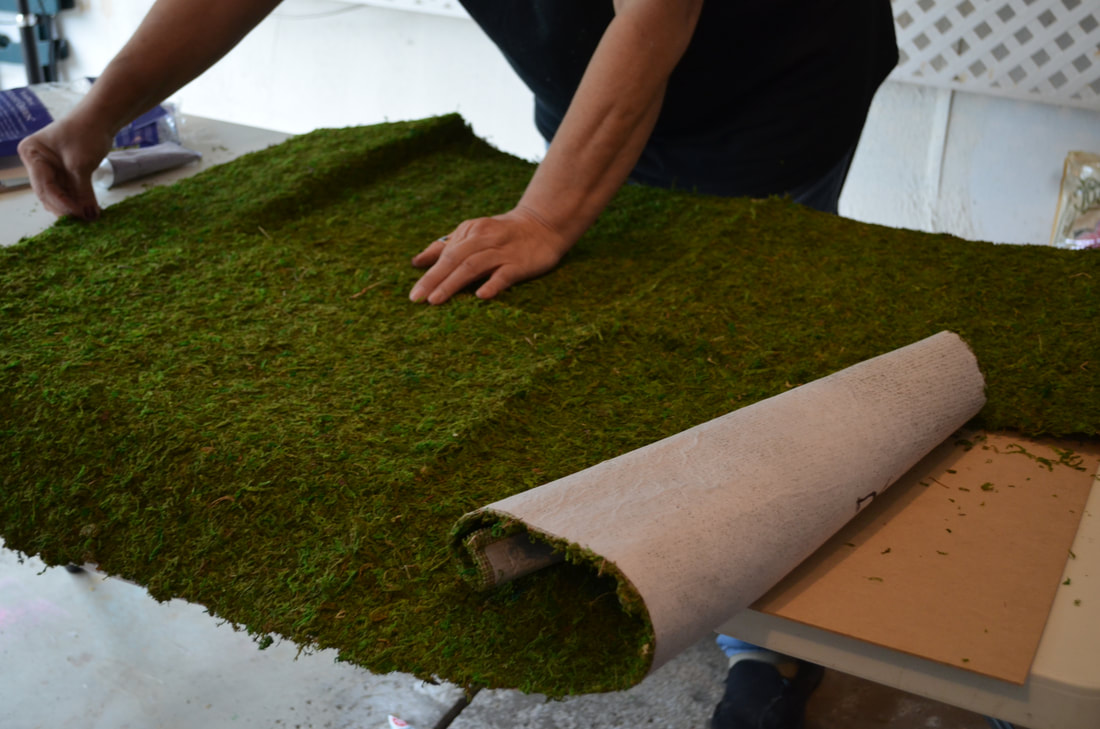 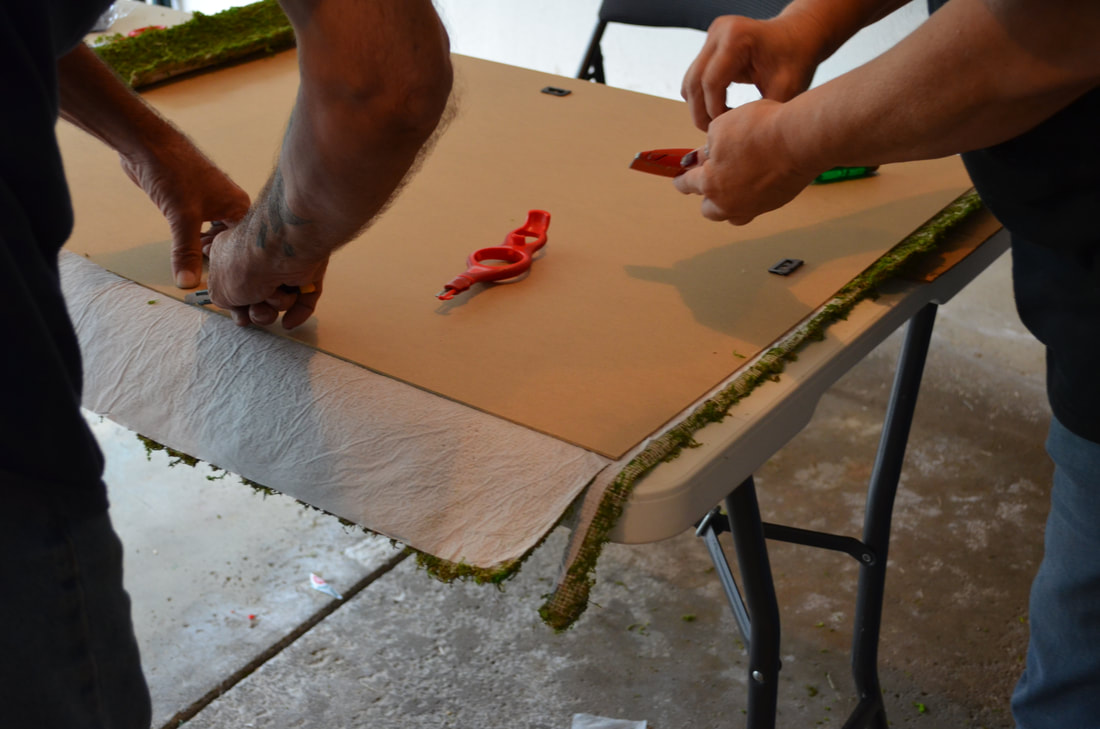  Now, here's where the paint comes in as optional. I dipped the Acorn Nuts into paint and placed them on the moss. This way I left little paint dots and I knew where to drill! WOOT! Genius! 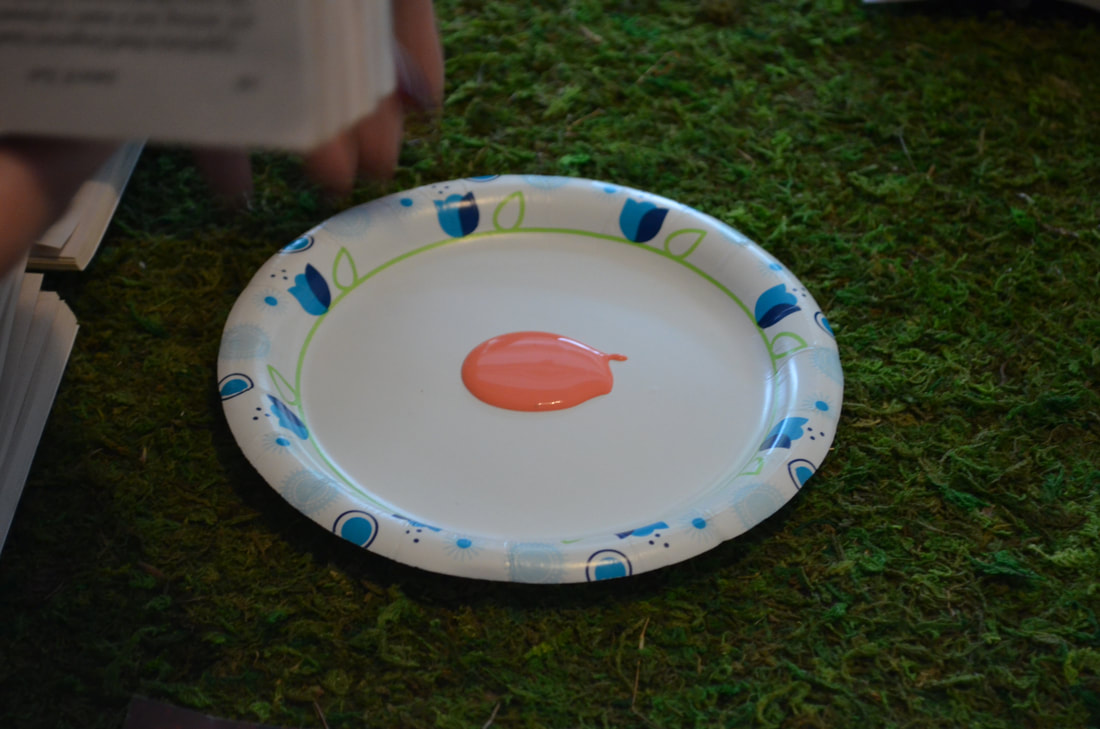  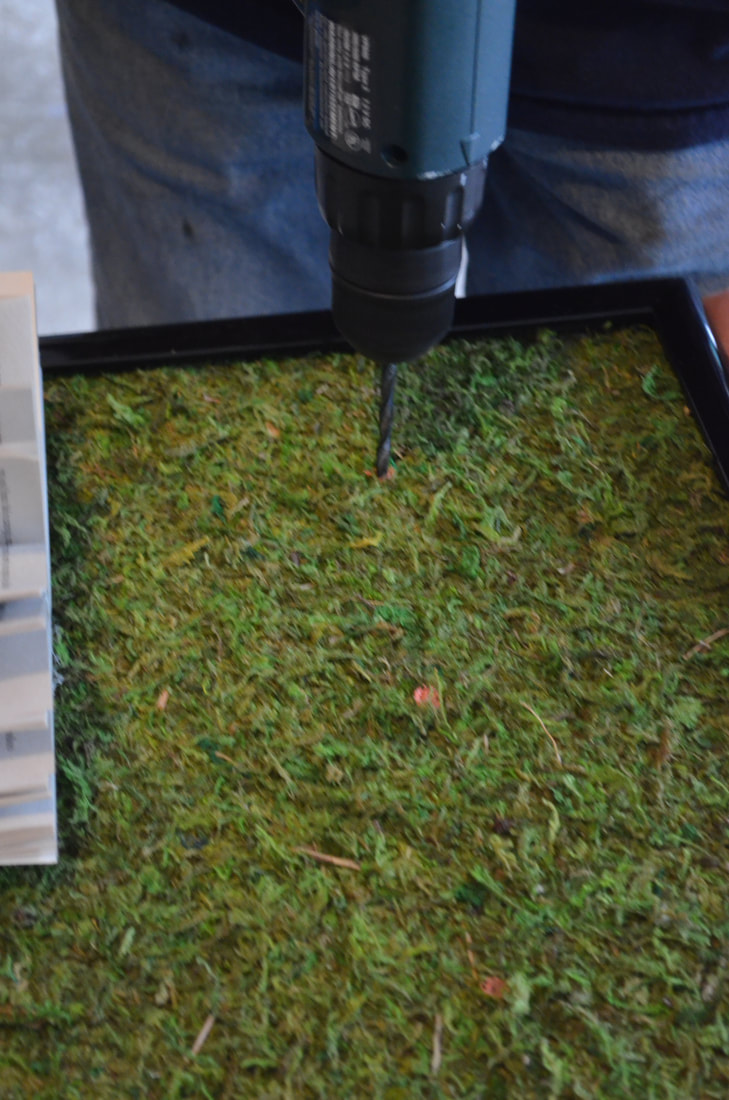 Earlier I mentioned that you only want to screw through part of the book. Here's why, you're going to take your hot glue gun and pony beads and glue them every so many pages to help the book have that nice round look. 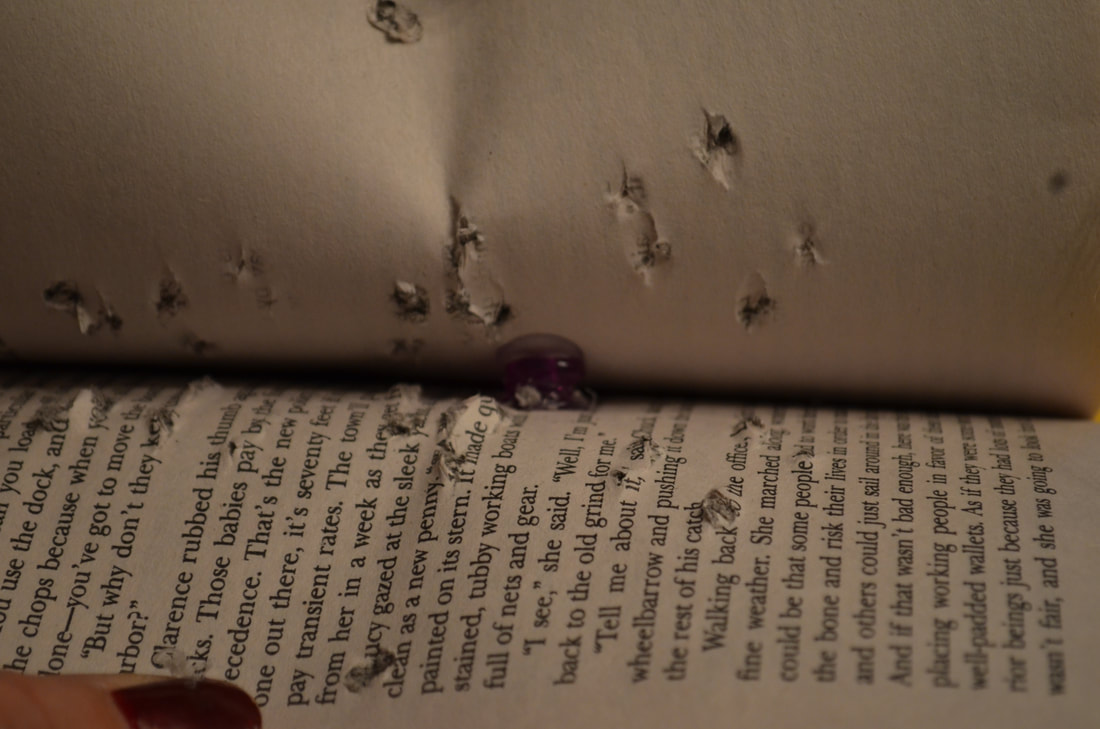  Now you're going to take your decoupage and glue your pages together. And as you can see in the above picture you're going to need to weigh them down so that they actually stick and hold their shape. It's about a 24hr long process with the decoupage and if some STILL don't hold just touch it up with the hot glue. 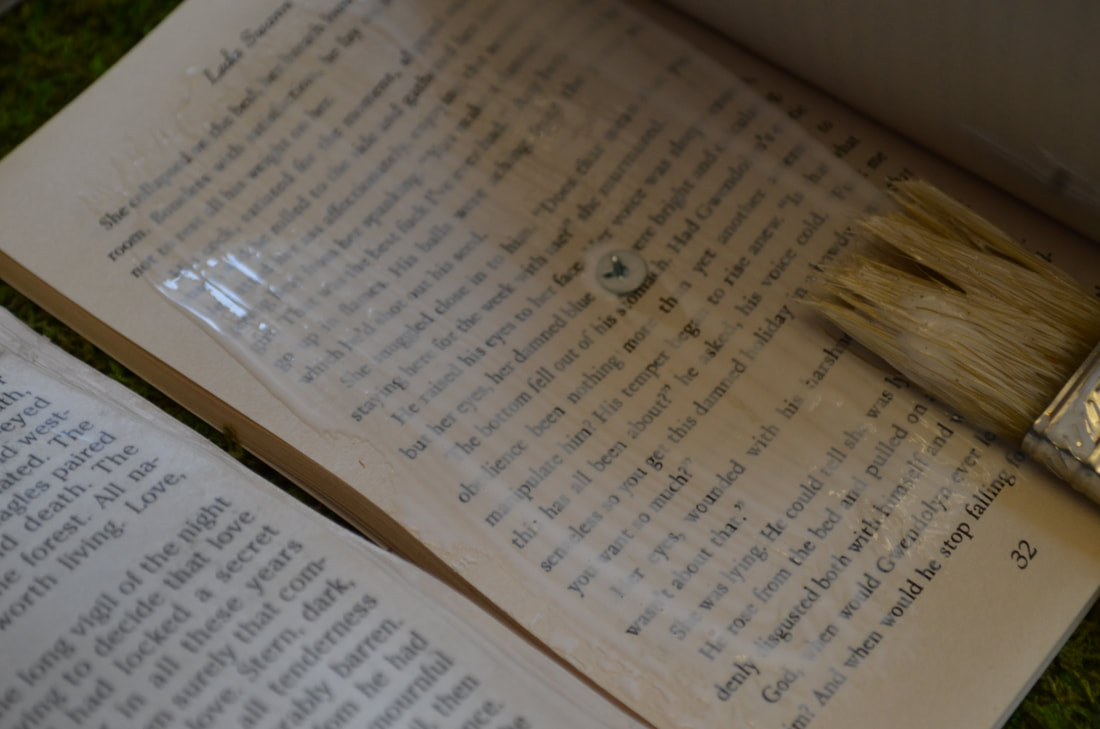 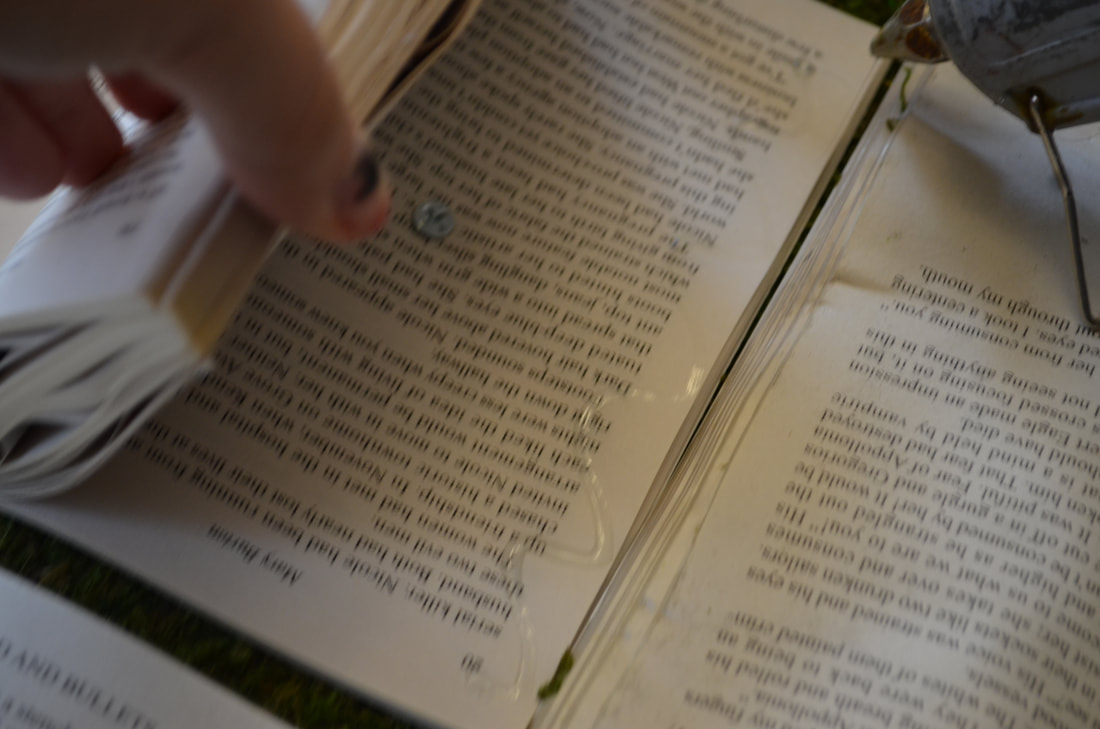 Now, you need to print the paper to place OVER the books. This is where the Buttercream printer paper comes into play. I made a template to show you how we designed the books. I did pixalate out the last names as I don't know how people will feel about having those exposed, lol. 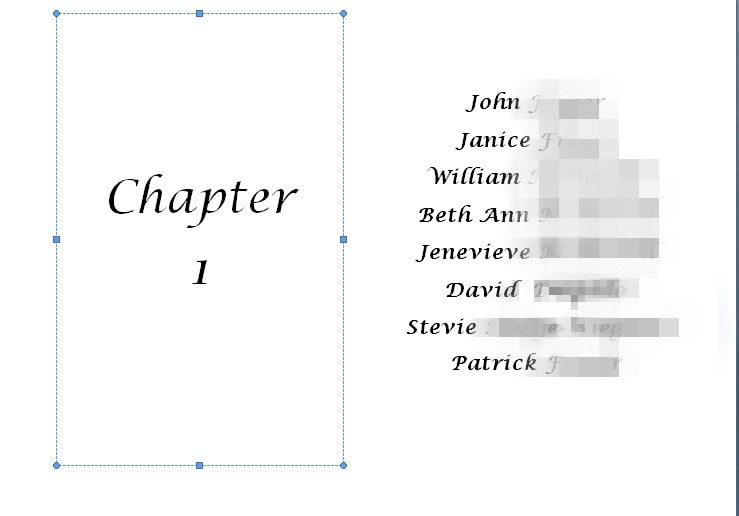 The left half of the page is in a 48 size font and the right size is printed in 22 size font. I printed these out and fit them to the books. This is how. First thing first, when you print the paper make sure you fold it in half and then fold the very center over a little bit like this.  Now hopefully you bought extra books, you know, in case you mess up. Because you're going to need one the same size as the ones you used for your chart. Set your book down on your folded paper and trace around it. You'll want to cut around that for it to fit over the book.   I actually used an Elmer's glue stick to attach these to the book. It was really simple and didn't leave residue or bumps. 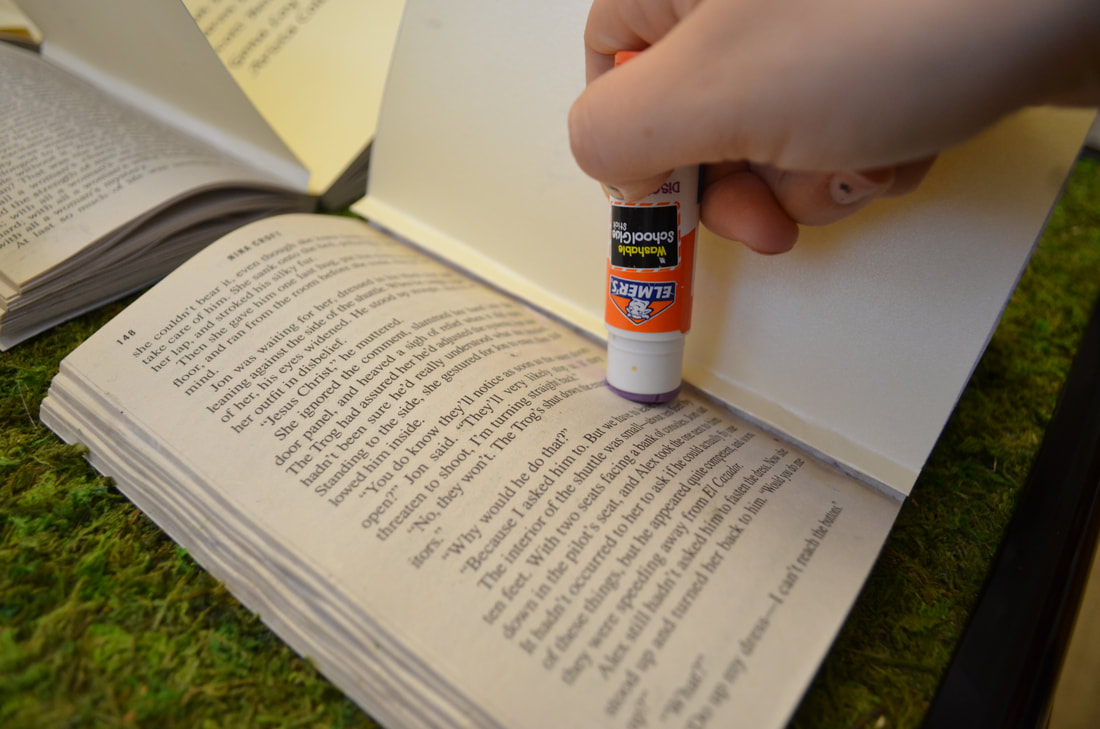 Now, here's where those decorate extras come into play. I ordered a whole bunch of bookmark tassels on Etsy (Link to the store:www.etsy.com/shop/ButtonsbyDoug?section_id=7499214 So I decided to hot glue some of those to the books to make it look like there were little bookmarks dangling in the center of the books. I glued it into the top of the books because once this is hanging up you're not going to see it.  I also took extra flowers and leaves that we had left over from doing the centerpieces and bouquets and used it to jazz up the corner of the chart. See examples below. 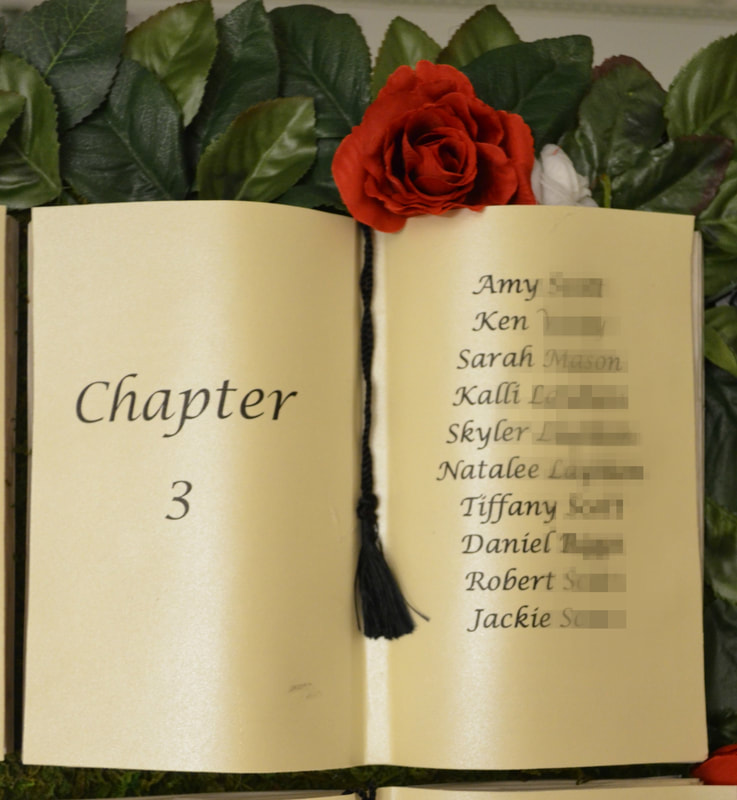 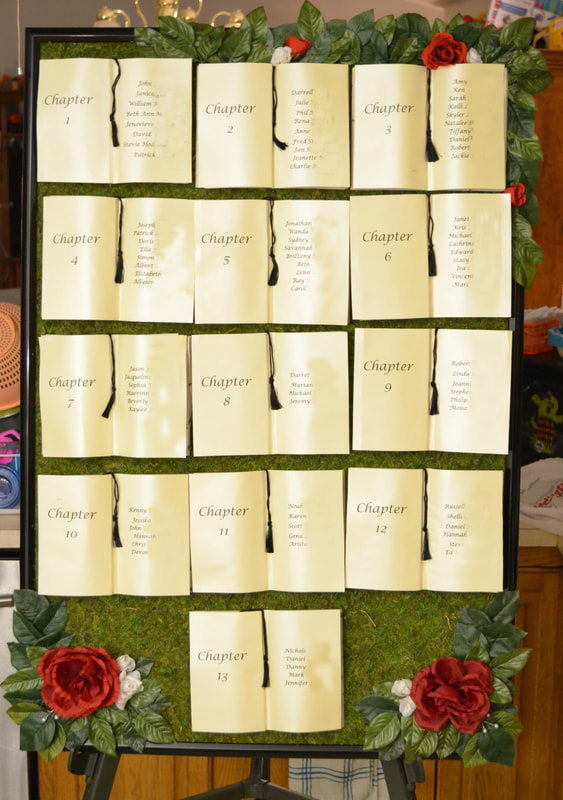 And we got our wedding photos back sooo here it is! In hindsite I wish more of the books looked straight. But by the time we did this, so much time had been put into it and we were so close to the wedding that I needed to stop worrying about the decor and focus on honeymoon plans. 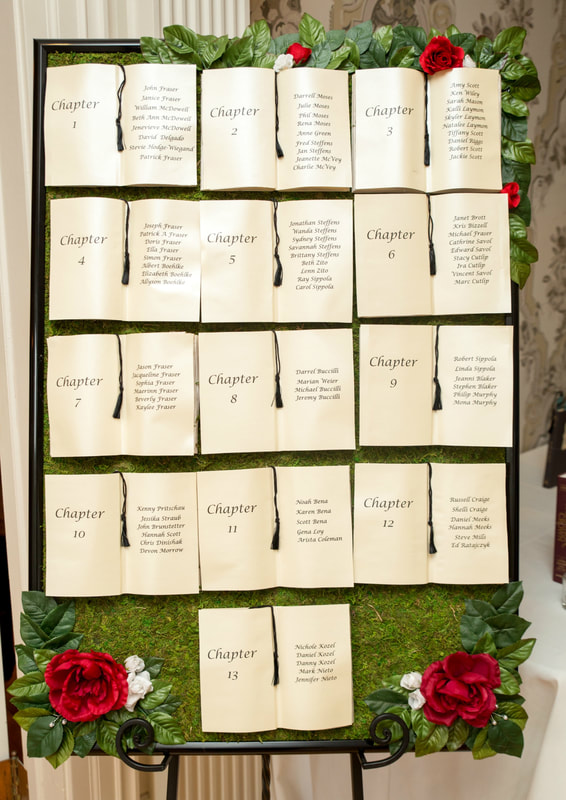
0 Comments
|
AuthorNow that the weddings over I'm a far less stressed woman and here to share the journey. Archives
February 2018
Categories |
 RSS Feed
