|
Continuing to learn about Polymer Clay I decided to try out some puppy themed designs. Now, by the time this releases I should officially be a puppy mommy to TWO pups not just one. My husband and I are adding a little corgi to our life. And I've been dropping little hints to our friends and family. (If the adoption is official, I'll include a picture of him below) YOU WILL NEED:
If you google Dessert Dog Stickers and look through images you'll see the idea of mixing animals with objects is nothing new and it's really cute. I knew I was going to make a Corgi but the dessert part just kind of came to me. Once your mat is laid down grab your clay. I decided to stick with the chibi look and use a yellow for his coloring. Taking a chunk of the yellow I shaped it into a circular shape. The first one I did as a tester, had an oval shaped head and my mom preferred it that way. When you're happy with your head shape also make two little ears. I made the ears in the shape of triangles and then softened them in a teardrop fashion. I think it did a pretty good job of shaping those adorable corgi ears.   I used white and a tiny bit of red clay to make soft pink for the inner ears. (And later the inner mouth.) 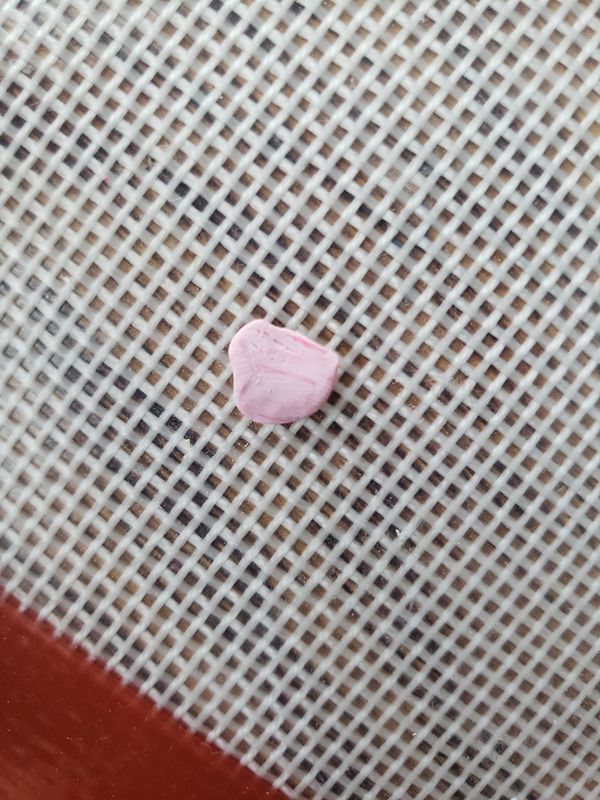  Then using the body color (whatever color you choose to make your corgi) and a chunk of white clay, mix them together to make a lighter shade for the face.  Using black polymer clay I made three small balls. Two round ones for his eyes. The third Rolling TINY black lines of clay I started to shape out the mouth. Once I was content with the shape of everything and it's placement I made two TINY dots of white clay for the center of the eyes. Then using white and a decent amount of red I made a darker pink for his tongue.    Using the light pink we made for the inner ears, use a tooth pick or small clay tool to fill in the inner mouth around the tongue. Then taking your white clay roll it out in a long tube. Taking your roll of clay, weave it back and forth to make a whipped cream look. It's easier to see than to explain... I also used a toothpick to carve grooves to really give it depth. 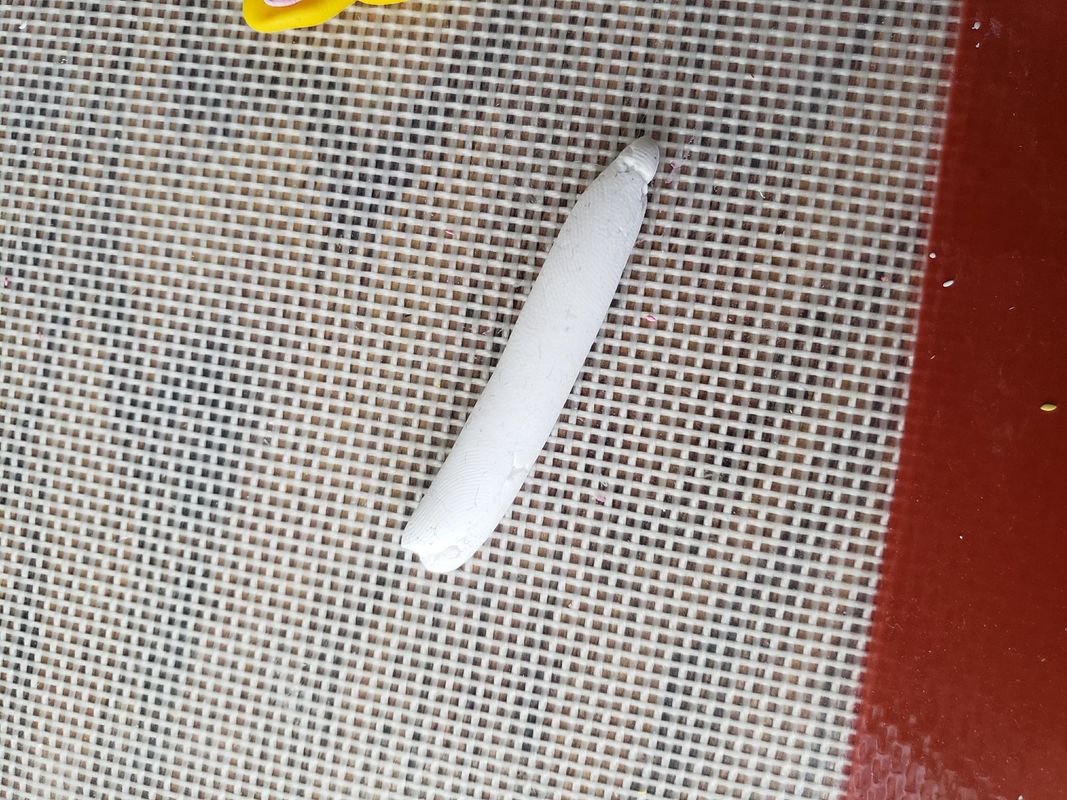  Using more of the white clay make a "collar" of white clay around the neck of the corgi head. I made it wavy, I wanted it to look like he had just popped out of a sundae. 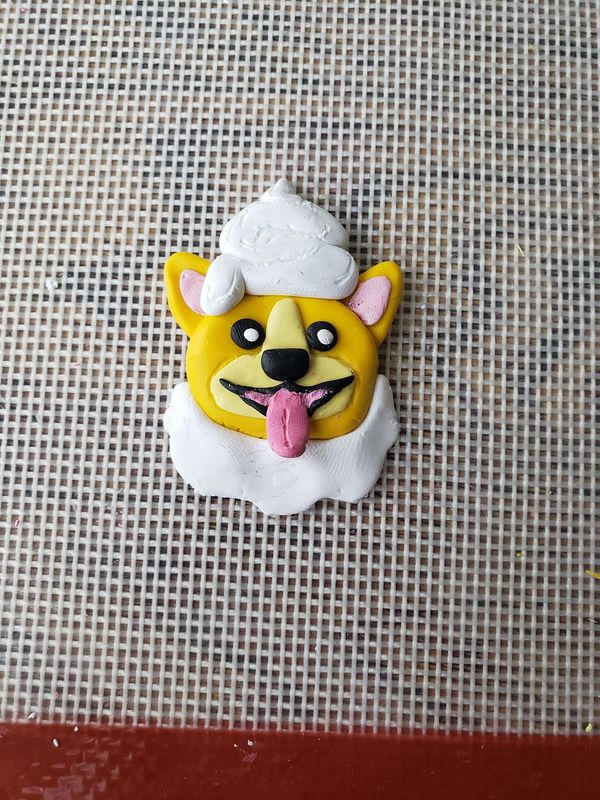 Using the same color as your dogs head, make two little legs. I made them wider at the top and smaller at the feet in a cartoon-ish charm.  And as the final touch to my design I took a small chunk of the red clay and rolled it into a ball. I stuck it on top of the whipped cream and wallah- the cherry on top! ((I also used an eye screw and twisted it into the top of the charm so that I could then turn it into a key-chain. Almost forgot that step, lol.))  If you hadn't already done so make sure your oven is preheated to the proper temperature before baking your clay. With the clay I use it's 30 minutes for every quarter inch of thickness at 275 degrees. Most polymer clays are the same but some need slightly less time so always check before baking. Now, I like to place my aluminum pans on a cookie sheet, but whatever works for you. Set one pan down, line it with parchment paper so as not to burn your clay, and then place your polymer clay creation inside. Then using your bulldog clips attach the second aluminum pan over top of it, like so.  Once your clay is out of the oven and cooled down you can then cover it in a glaze. This gives it a nice shine, but for the type of craft I just made it really isn't necessary. I just think it gives it a nice touch.   And as of June 12th we are the proud parents of a little Corgi named Finnigan! Here's some photos of the cute little bundle of joy! He's also the reason this tutorial is behind, we wanted to announce him to our families first.  
0 Comments
Leave a Reply. |
Crafty Things?This is a page dedicated to DIY's and miscellaneous projects. Archives
April 2018
Categories |
 RSS Feed
