|
I will be the first to say that this isn't a new idea. In fact lots of people have covered this topic. And yet, you know how often I have had to look for a how to like this? So, I figure it can't hurt to have one more tutorial on the internet. Sorry this isn't as interesting as my usual DIY's but I'm sure it will help someone out there. YOU WILL NEED:
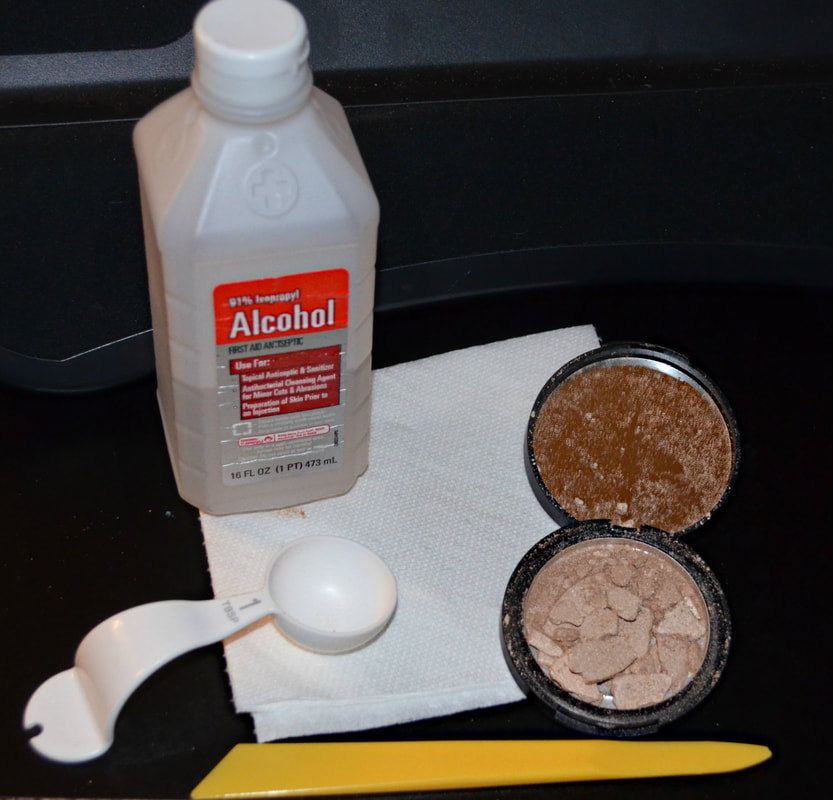 As you can see in the picture above my highlighter was broken. More annoyingly I bought it, opened it, and saw that! It's the first time I've ever bought makeup and it was straight up broken. But I figured why take it back? More than likely this either happened in shipping or while it was being stocked, so there's a good chance the rest of them were broken as well. Instead I just fixed it myself. In the supply list I mentioned that a knife was optional. (And I actually used a sculpting tool). If you want to, use your knife to chop up the broken makeup into finer pieces. This does seem to help more: the alcohol is soaked up better and in general it's just a smoother transaction. BUT I can understand if your makeup broke in large sections that you might not want to chop it all up. 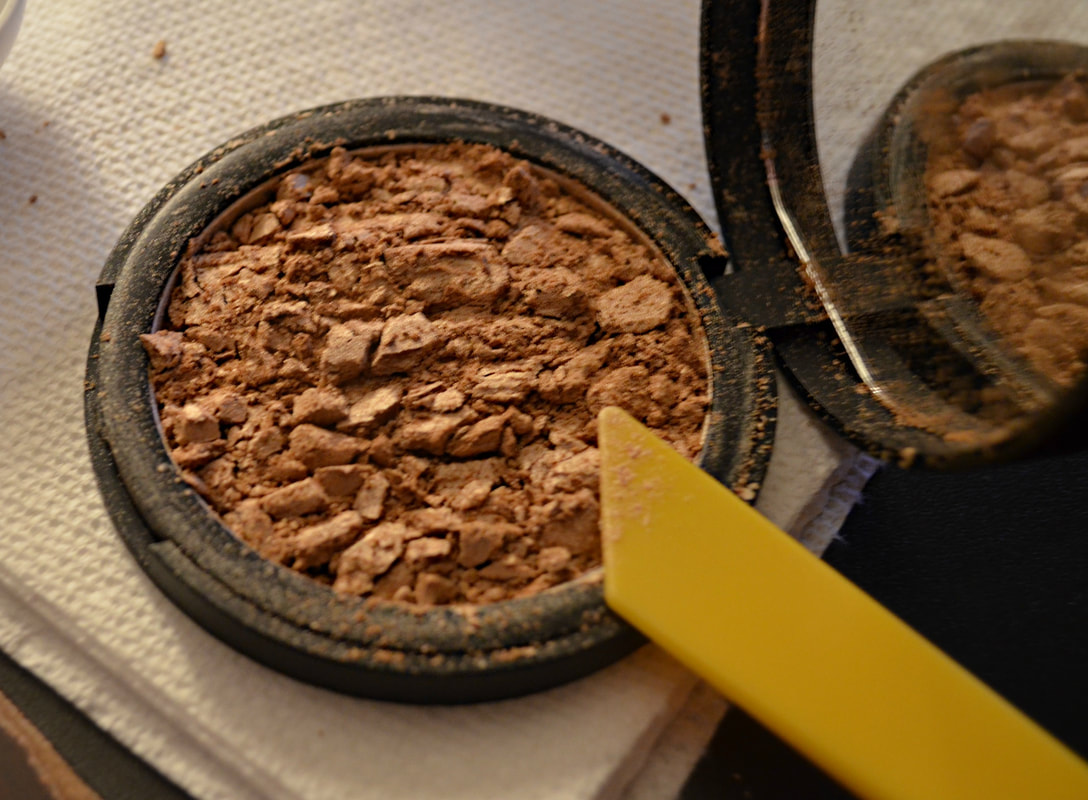 Once you've either skipped that step, or chopped the makeup real fine, you're going to get out your alcohol. I already had some in my cabinet for other projects and mine is the 91% alcohol. Which I will talk about because I want you to know the pros and cons.
But as I said, I already had the 91% in my cabinet, and I wasn't about to run to the store when it wasn't necessary. I was always told to use 1.5 tablespoons of alcohol for fixing makeup. I wasn't sure I was going to need that much so I added it a little at a time. I did end up using about that much, but I'm still glad I added it gradually. 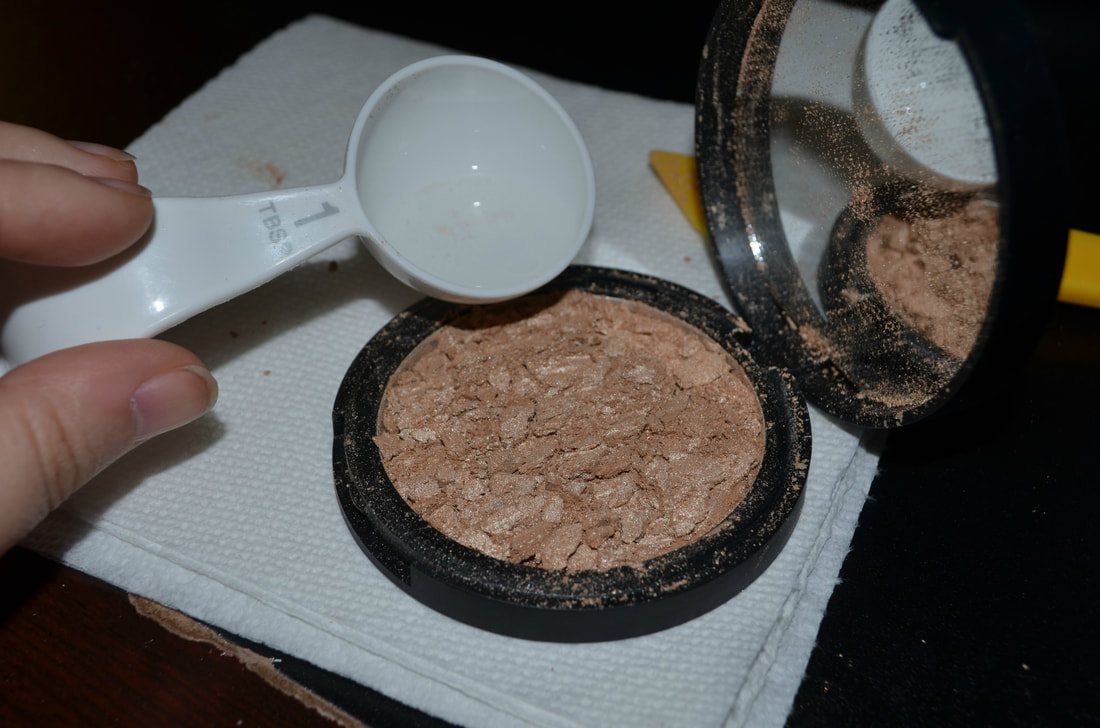 When the alcohol had actually saturated everything and the makeup was dissolving, I used my tool again to help spread the contents out to that it filled the inside of the compact. Technically what you're supposed to do next is let it sit for x-amount of time and THEN dab it with your paper towel. I however felt that there was in fact too much alcohol in the container and dabbed it a little early. But then I set it aside of 15 minutes and really used my paper towel to apply pressure to the makeup. This helps soak up any remaining liquid and helps make sure the makeup is properly back into place and will become powder once more. 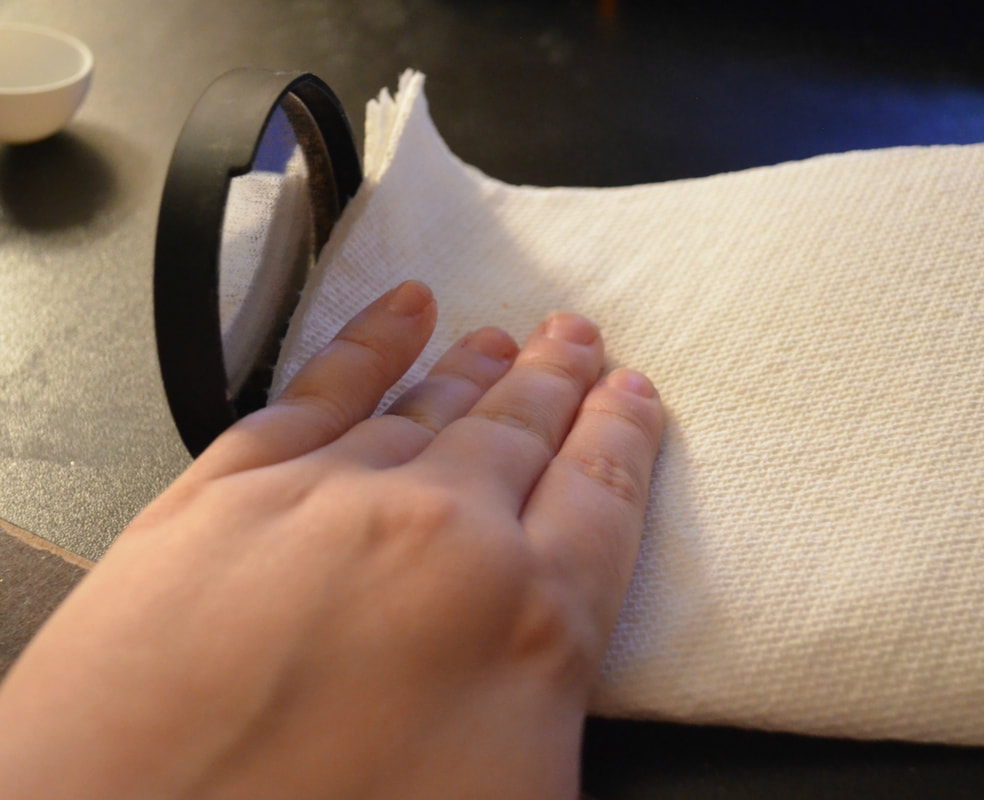 When this was done I used my finger to smooth the makeup (otherwise it had this silly paper towel print). And I used a q-tip to clean up around the edges of the compact. I left the makeup to sit out overnight just to be sure it was dry and now it's good as new. I've used it several times since fixing it and the only thing I will say is that occasionally when I open it I can smell the alcohol. BUT it's fleeting and my face doesn't smell like it after applying makeup so it's really nothing to worry about. 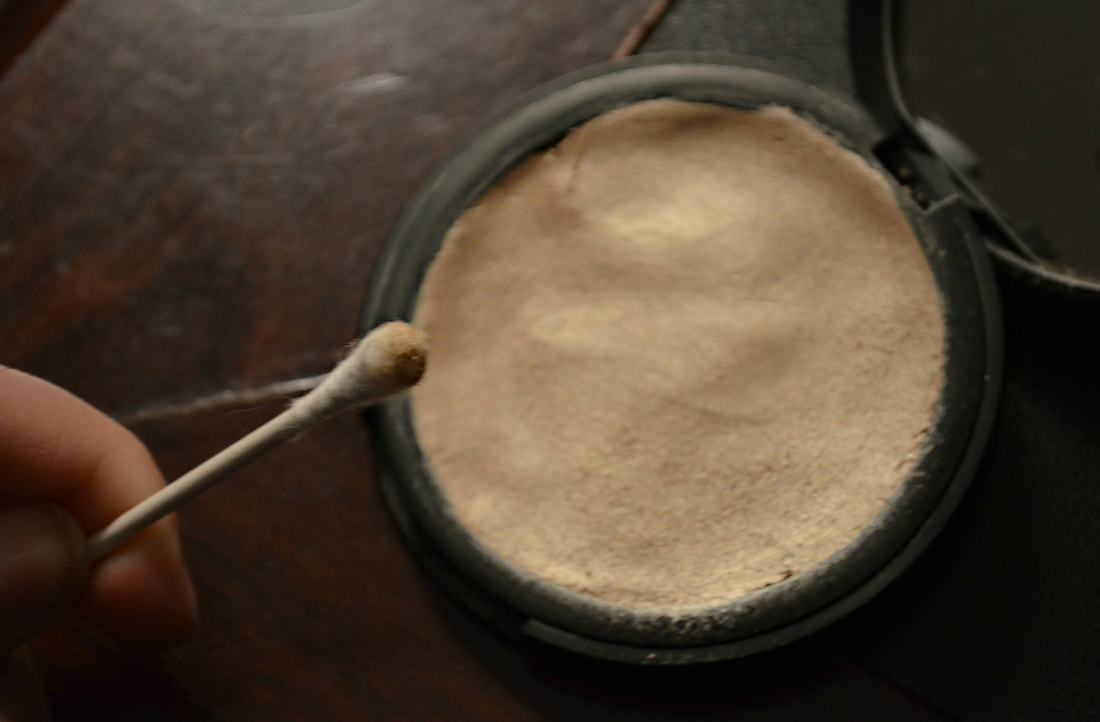 Once again I know this is out of the usual for my DIY's but I hope it is helpful to someone out there! And stay with me because the usual crafty DIY's are coming!
0 Comments
Leave a Reply. |
Crafty Things?This is a page dedicated to DIY's and miscellaneous projects. Archives
April 2018
Categories |
 RSS Feed
