|
This was a mother's day gift my little sister and I put together for our grandmother. But you could change the saying to anything you want. And you may be thinking "NOPE, felt flowers are too much work. I'll just use pre-made silk flowers." Hey, that sounds like it will be gorgeous too! I'd love to see it! But I will be giving step-by-step to the various felt flowers I made for anyone who is interested in them. YOU WILL NEED:
 I got this plaque at Michaels for $3.99, and yes this is from their website. I messed up and all my photos of it before decorating came out blurry. You're going to want to find the center of the plaque, where your words are going to go. BUT more importantly for where you're going to center your flowers around. I found that a paper bowl, which creates a 6 inch circle, was perfect. 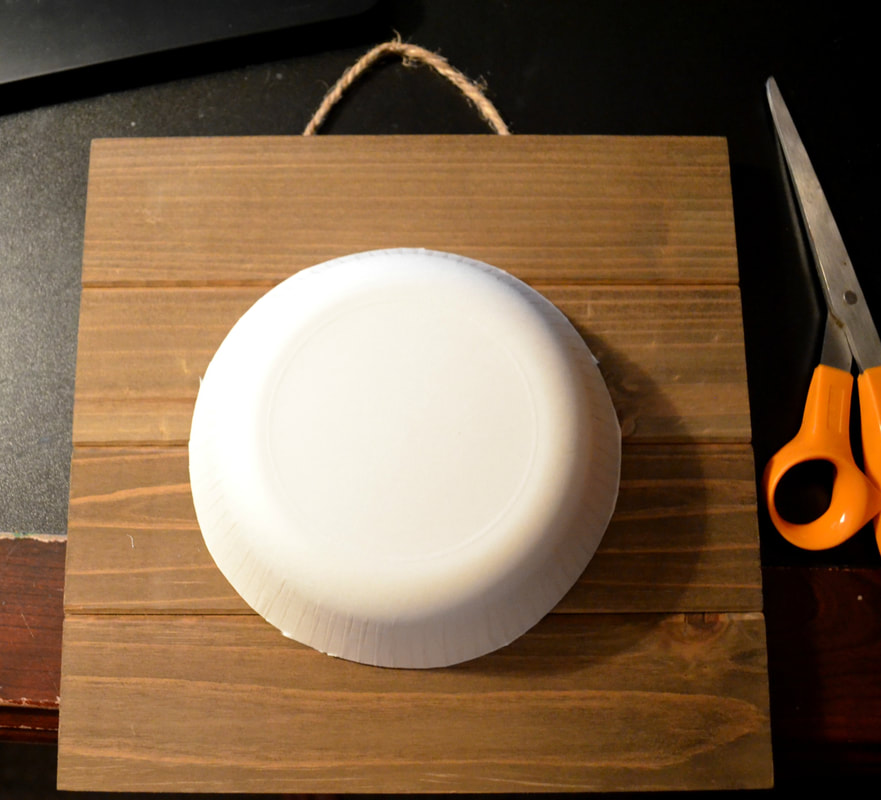 Next, I had planned on printing out a sign to help me get the wording nice and neat. Hopefully the download template works for you guys, but I've had issues in the past so just in case here is how I made that. Go to Microsoft Word and open a new file. Click, "Insert" and the circle (or whatever shape you want), click on it and select the size. In this case the size is 6"x6" and make your shapes color white or else you're going to be using colored ink for probably nothing. Then Right click on your shape and you can add your text. In mine I used Harrington font, italicized, at size 36.
 As I said my intention was to use this, take my xacto knife to make grooves to follow, and paint over it. I did end up painting but I realized on the first line that my painting was going to be too thick and busy to fit the words exactly how I had printed them. This is why I listed a paint pen in the supply list. I think if I had one of those I could have done it just like my print-out. But, alas, I had to make it work with my favorite gold paint and a paint brush. I love the craft smart metallic gold. I used it on a lot of our wedding decorations.  So here's the finished product. I think it came out gorgeous and my grandmother loves bright colorful flowers so it's a home run for her.  Now, here's how to make the felt flowers shown above. You are going to need sheets of craft felt you can get at most craft stores. They're less than a dollar a sheet.  Using green felt, I cut out leaf shapes. I think of them as tear drops that are slightly oblong. Make plenty of those because they're key to creating the wrapping affect on the plaque.  Here is how I made the roses. You're going to cut a square of your choice color felt. Then you're going to draw a spiral with bumps.   Then you're going to take your scissors and cut along the line on your felt. Also remember once you've cut your spiral to go back and round the outside where the straight edges and corners are. Then I used a toothpick to help with the next part but it is optional. I put a dot of hot glue on the tip of a toothpick and wrapped the very center of my spiral around it.  Once you've got your spiral going be sure to put a dot of hot glue every so many turns to keep it from unraveling. And remember that you're creating a rose so make sure as you're twisting it that it looks like a flower.   And to finish off the rose, if you used a toothpick to create it, simply flip it over and cut it off. I have a pair of Cutco scissors that I use for crafts where I have to cut tough things. I mean they cut through pennies, so they're pretty good for this.   Moving onto the white flower. I honestly can't say for sure what that flower is but I think my mind was inspired by lilies. Though as I write this I also see poinsettias, so I don't even know. I cut out a six pointed shape with long petals. Then six triangle like shapes in white. I also cut out three yellow ones but I forgot to photograph those.   I put hot glue in the center of these triangles and folded them in to make little pointed tubes. I then glued those to the center of the original white shape. They look pretty good considering this one was honestly a made up on the spot decision.   The purple flowers where were daisy inspired are super simple. I created a five petaled outline on a sheet of felt and cut out two of those per flower. And in hind-sight those kind of remind me of the flowers in Spongebob...   I hot glued those on top of the other like you see in the photo above. And then using the same idea as I did for the roses, I made a small smooth spiral of yellow for their center.  Just like the rose I hot glued this into a circle. But instead of spiraling it upwards like a blooming rose, I kept it relatively flat like watching a cotton candy machine spin. And then glued it to the center of the purple flower.  Now, the blue flowers are big pom poms. I originally was calling these hydrangeas but then I remembered those are totally different. But whatever they are, they're super easy to make. You're going to take a rectangle of felt, as long as you want it, and cut it out.  Then using your hot glue gun, put hot glue on one edge of the felt and then fold it over so that the ends meet. Once that's finished take your scissors and cut slits all down the folded center.   Then you're going to take your cut up strand of felt and roll it in a spiral like a cinnamon roll. Again, using hot glue as you go to keep its shape. And the little cuts will create a nice poof pom-pom look. If it's not big enough you just make another strand and glue it on.  And finally the red poppy flowers. I cut out hearts with no point on the bottom. You'll need four for each flower. Honestly, they kind of remind me of baboon cheeks but that's probably way too immature of a description.... but look at them.  Now put hot glue in the center of these buts and pinch them together to get a nice petal shape. Then gluing those petals over top of the other and gluing the center together, you create your poppy shape.   I took black sharpie and colored the center of the poppy all black and then added the little lines and dots that poppies are known for.  Finally, using hot glue I attached them to the pallet. This is also important because it gives all those spiraled flowers a final touch to be held together. Anyways I hope this gave ya'll some ideas and that you enjoyed this. As always if you do this project I'd love to see it! 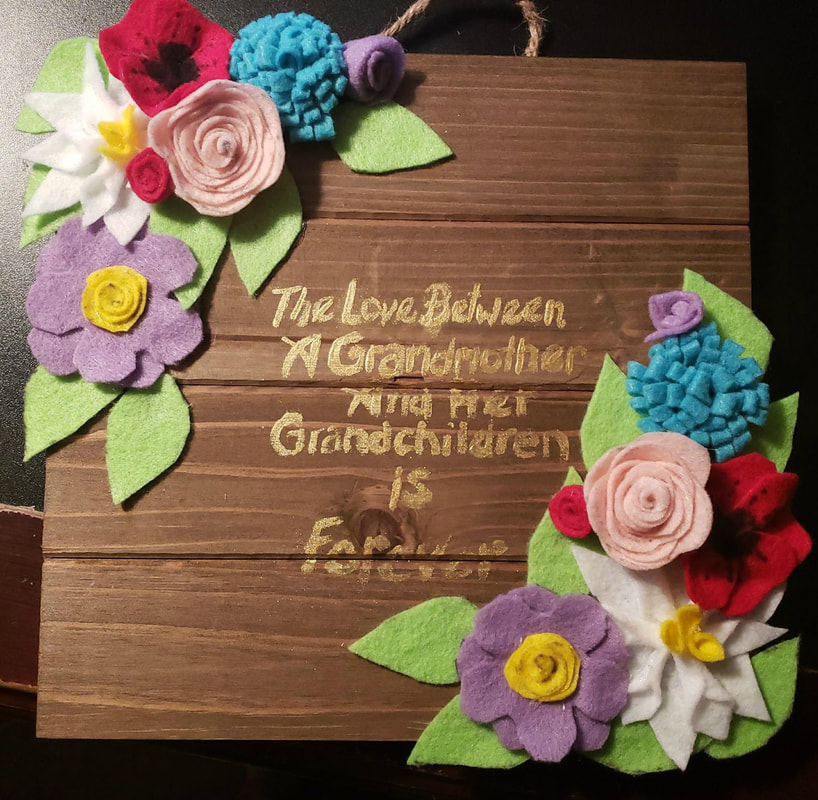
0 Comments
Leave a Reply. |
Crafty Things?This is a page dedicated to DIY's and miscellaneous projects. Archives
April 2018
Categories |
||
 RSS Feed
