|
Our mother loves cacti but between her terrible green thumb and the dangers of us touching them... (might have happened once before)... she doesn't own any. For mother's day my little sister and I put our heads together and made her foam 3D cacti. YOU WILL NEED:
 I got these at the local Dollar Tree, they were the perfect size and best of all only $1. I take the lid off of these and top off the lid. I started the cut with it upside down, but honestly it was WAY easier to turn it the other way and cut through it.  Once I got that finished I hot glued it to the paper mache container. It makes it look like the edge on a terracotta pot.  I then took toilet paper rolls and cut them in half and hot glued them in a criss-cross form to the bottom of the container.   Then I took a paper plate and cut a circle out of the top of it. Using hot glue I attached it to the inner rim of the container. This creates your pot and you can set it aside for now.   Moving onto your cactus, we made a small ball cactus first. You're going to want to cut the shapes out of your green craft foam. Ones like in the photo below. They won't be perfect unless you're using a template or something, so don't be rough on yourself. I think for tag teaming this with a seven year old, we killed it. You will need three of each shape (the one without the spikes and one with).   Fold them in half so that they have a crease, you're going to need those in order to make the project work. And then hot glue the two sides together. This will leave you with three thick cactus sides. And I apparently was more distracted then I thought, because I forgot to get a picture of this so I'm going to do my best to describe it. And I drew a sketch to hopefully give you an image. You're going to take two of your sides and fold them in half. Then leaving one flat, glue each of the folded sides to it. (left, center, and right)  Then I made a flower to put on top of it. So I'm going to show you a photo of the top of the cactus with the flower on top and then I'll explain how to make the flower. I just hope the photo shows what I was trying to explain up above.  So to make the flower on top of our ball cactus we're going to take that craft felt and cut out a 5 pronged shape. You could cut out two of them but in this case, I cut one star shaped flower and five little petal pieces.    I also cut a long stand of yellow felt and wound it up in a spiral making the center of the flower. Then I glued around it with the little pieces of red. Moving on we also made a 'normal' cactus. We cut out two of these (see photo below) and glued them back to back. I also cut out some small rectangles to help give the base of my cactus stability. 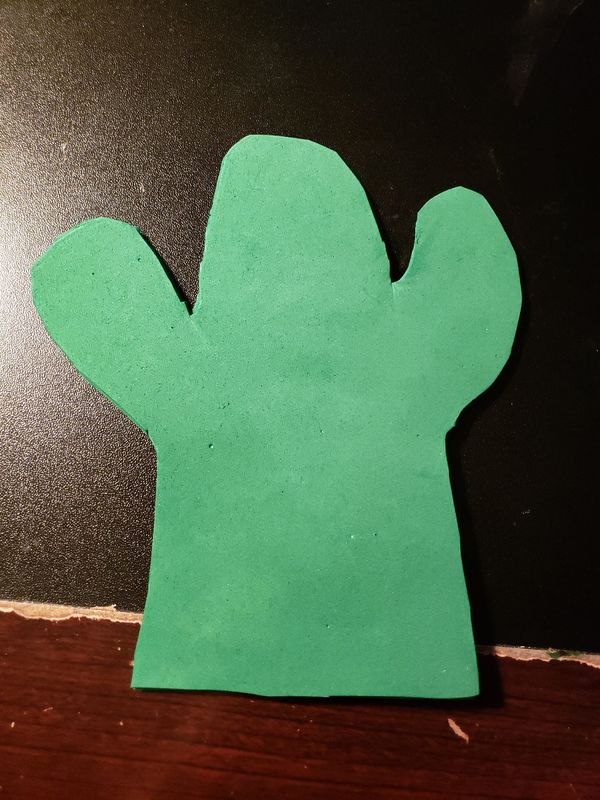  Using toothpicks and white paint we made little needle looking lines all over both cacti.  Notice the little blob that looks like ketchup up there? Yeah, we used that to paint the needles on the ball cactus. Personally I would have liked to alternate them, not paint every one, but Jenna insisted each needle be red.  We mixed three paints to create a terracotta pot color and painted our paper mache pots. Mink Tan by Americana, Camel by Folk Art, and Orange by Folk Art as well.  Once they were dry we glued the cacti down to the paper plate center we made earlier. Then using my hot glue and cotton balls I made "dirt" around the base of the cacti.  I mixed paint to make a nice dirt color and then gently and patiently painted over the cotton balls. Now, some of them may start to pull back or fall apart. I found that really making sure they were soaked in paint made them more malleable and stopped that from happening.  When you're done painting them set them aside and let them dry. They look so much like dirt and felt so solid, that no one knew they were cotton balls until we told them! I also added some flowers to the other cactus. This was literally just little weird shapes of yellow felt and small spiral of white felt in the center. 
0 Comments
Leave a Reply. |
Crafty Things?This is a page dedicated to DIY's and miscellaneous projects. Archives
April 2018
Categories |
 RSS Feed
