|
When doing summer school with a small child you try and find ways to get science and art into the everyday curriculum. This is a super fun way to do that. You Will Need:
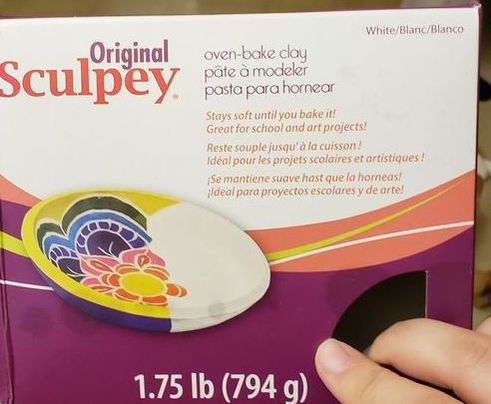 This is the clay I chose to use for this project. It's easy to break apart and mold and it comes in a large amount; at least compared to the little individual packs. Now, the next part is especially perfect for the kiddos. Taking them out to the park or your own yard, if you have plenty of plants nearby. Have them collect leaves from various plants. We used this as a time to discuss the different plants and how plants get their food, etc.  Next create shapes you would want for charms or paper weights. Or anything you can imagine creating with clay. Pick a leaf (or leaves if you're feeling creative) and place them on your clay. 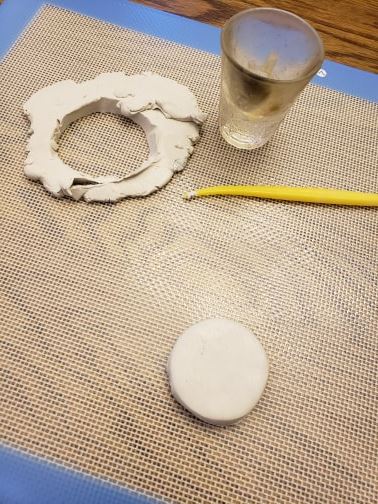 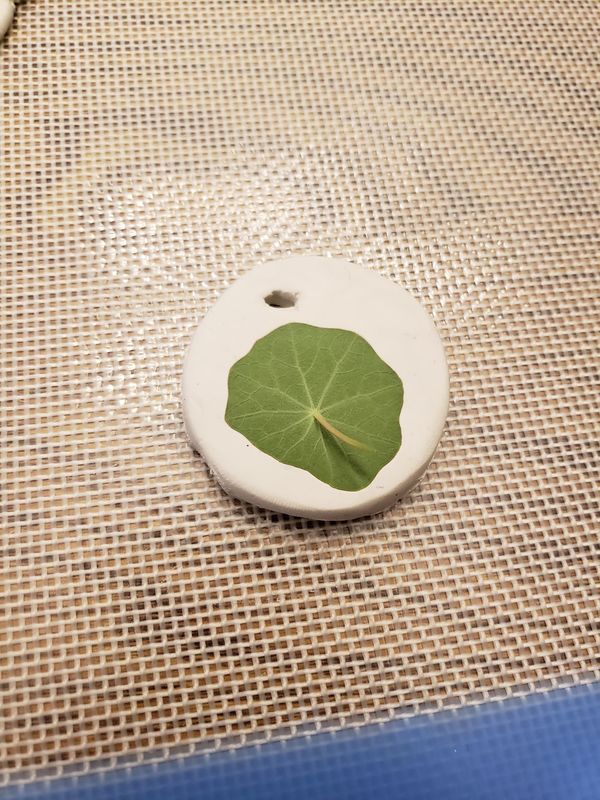 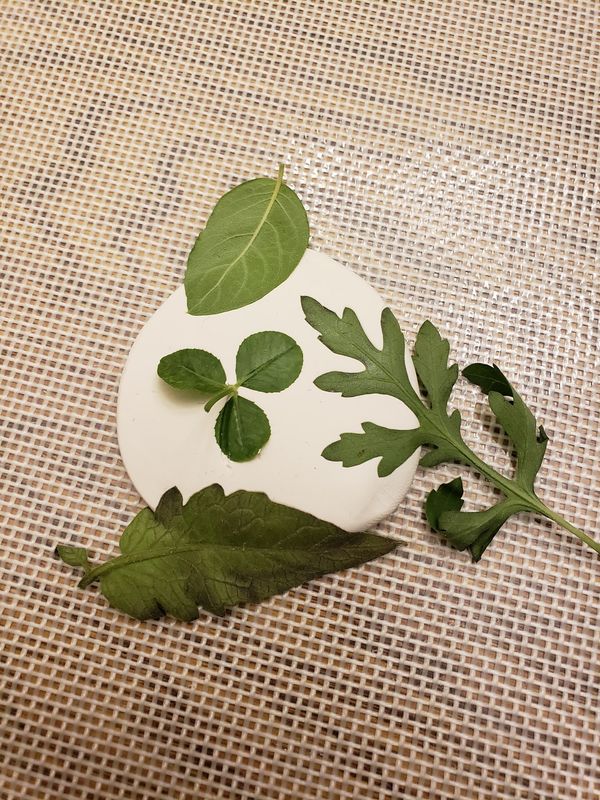 Take your rolling pin press the leaves into the clay. I also chose to follow up the rolling pin by rubbing the leaf gently with my finger. I found that it helped to really make the leaf impressions stand out. Also, be sure to poke a circle into your clay if you're choosing to make a charm or key-chain. You have to do this before it's baked. 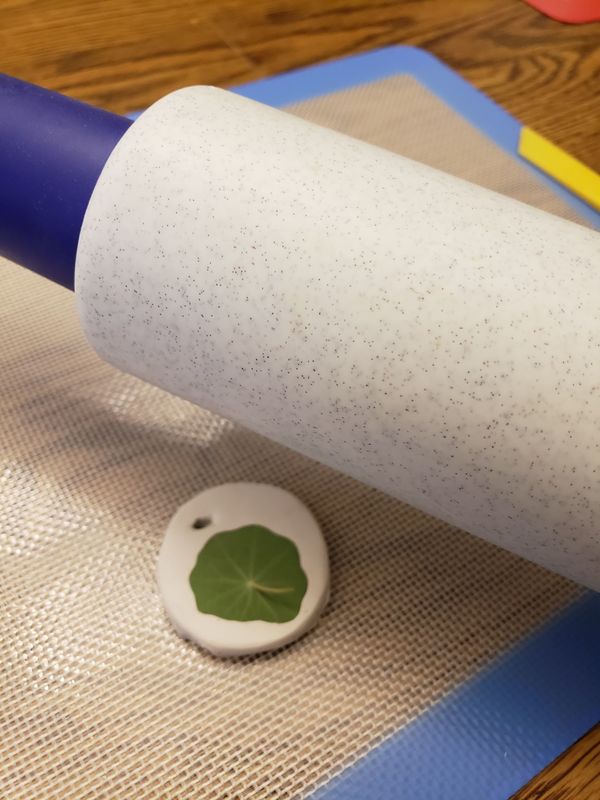  If you want to add letters to your clay, I suggest using a thing clay tool OR a toothpick. Otherwise continue to work on your shapes until you're ready to bake your clay in the oven. If you're using an air drying clay, simply set your designs aside for the 24 or so hours it takes for your clay to set. We really did get creative with our clay, making round charms as well. I'm making a mental note of them because I think I'm going to use this idea again for a future project. 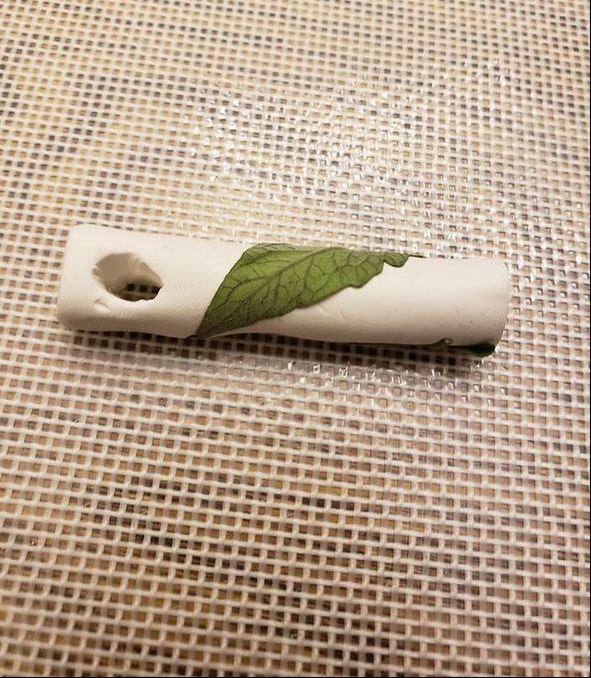 When you're ready to bake set your oven to 275 and wait for it to heat up. Once it's preheated you can bake your clay. Now, if you haven't seen my previous clay tutorials this is how I recommend doing it. Get yourself aluminum pans, bull dog clips, and parchment paper. The parchment paper keeps your clay from burning against the pans. The aluminum allows the clay to bake thoroughly. And the bulldog clips keep your pans together while they bake. 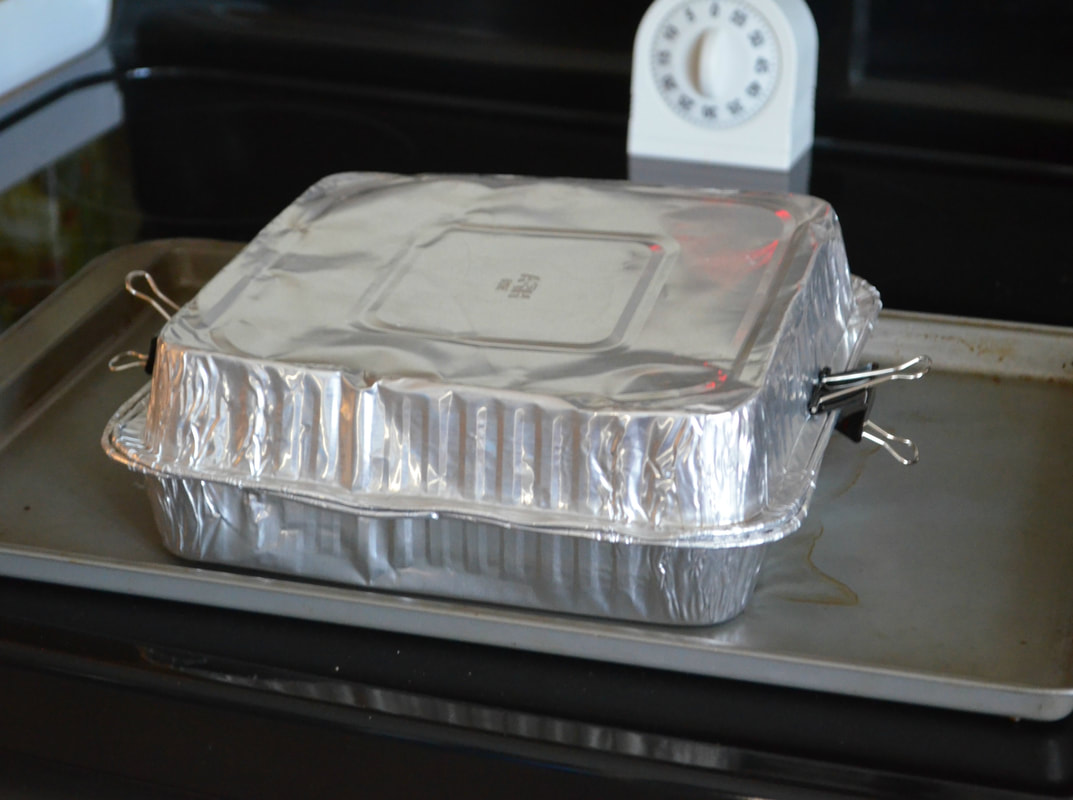 Then you bake your clay for 30 minutes for every 1/4 inch thickness of clay. Some of mine were fine to be baked for 30, others I cooked for 40 just to be thorough. When your clay comes out of the oven, set it aside until it is cool. I was baking these very late at night so I just let them cool over night and finished them the following day. Now, maybe you're a fan of your clay imprint just the way it is. If that's the case, glaze your clay and call it day! But I wanted to paint the leaves. I also revisited the toothpick to get into the words. 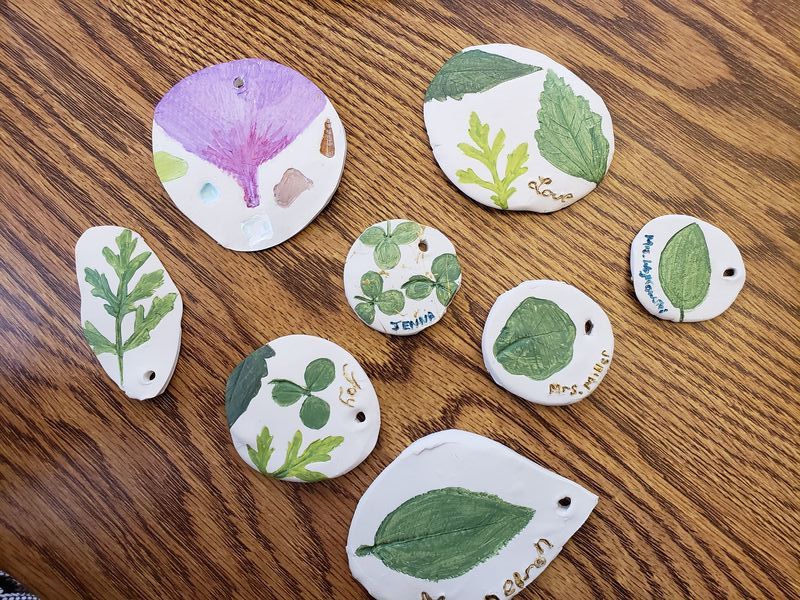 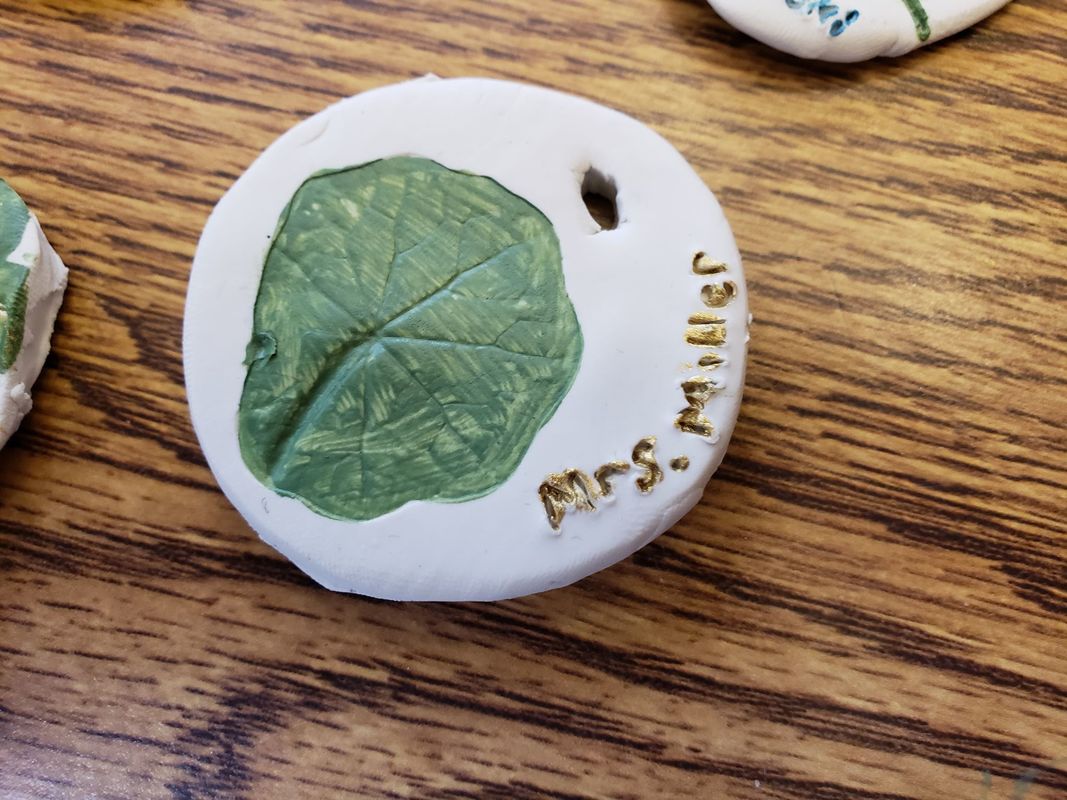 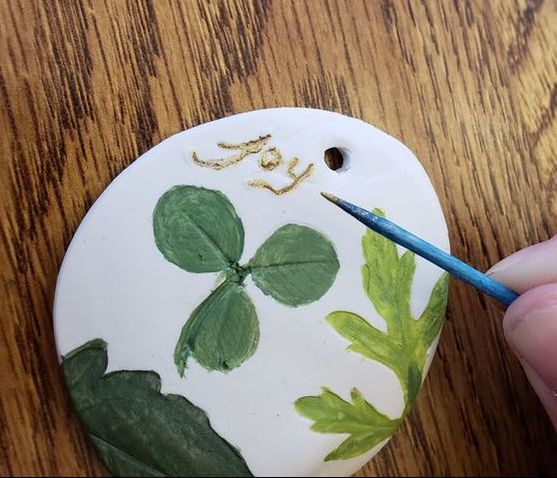 I found that very small amounts of paint worked best to fill in the leaves. The thicker the paint the harder it was to see the impressions of the leaves. Once they are dry I suggest using glaze for clay. Now, you don't have to buy the glaze. I understand that it seems so silly to spend extra money on this glaze. I will just show you an example of it with and without to show you why I chose to glaze these charms. 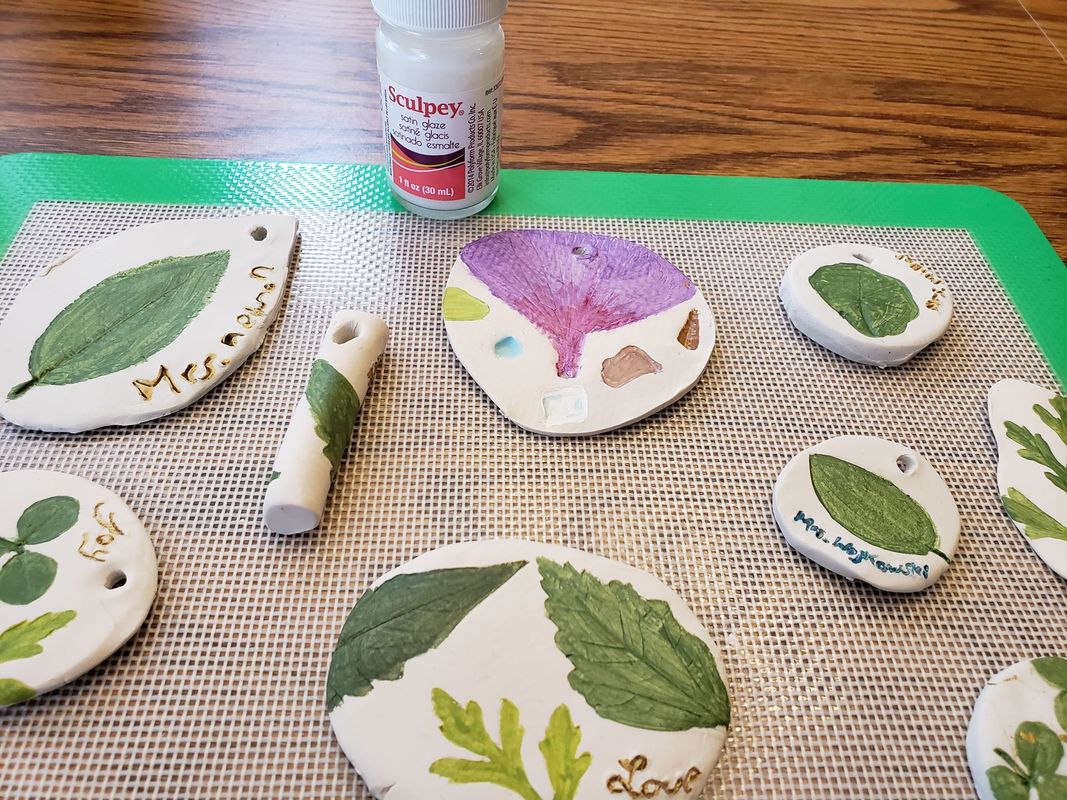 Side by side, with and without the glaze. 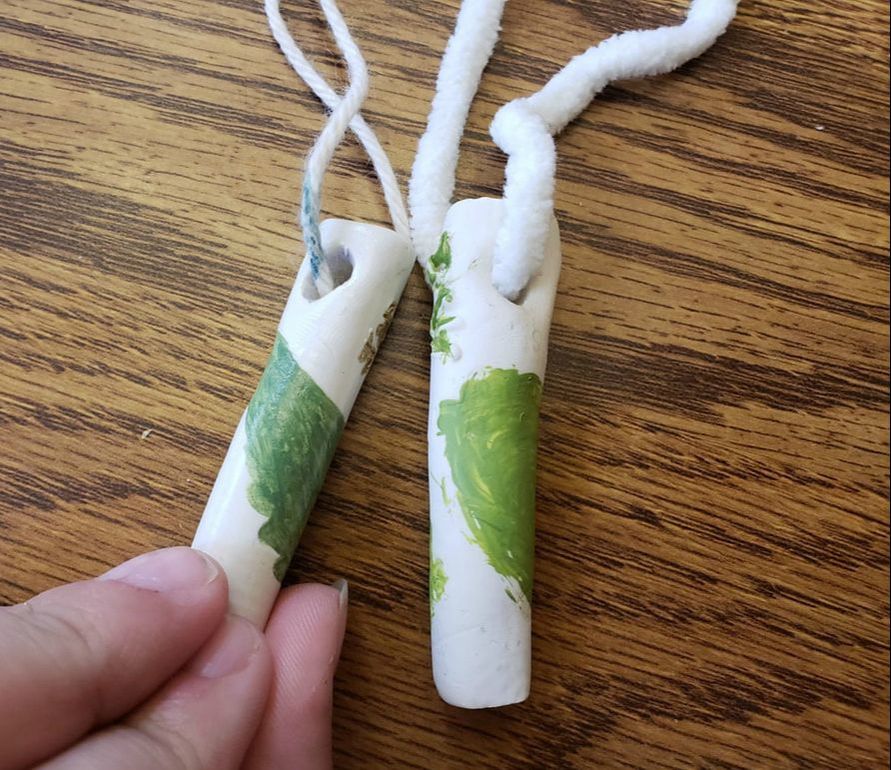 And finally you have to pick how you want to string your charms. You can use so many different types of materials. Here are some examples I did, but remember you can use all kinds of materials. If I had any metal key-chains I probably would have used those as well. Pipe Cleaners can make nice ways to attach charms to things. And hold heavier charms.  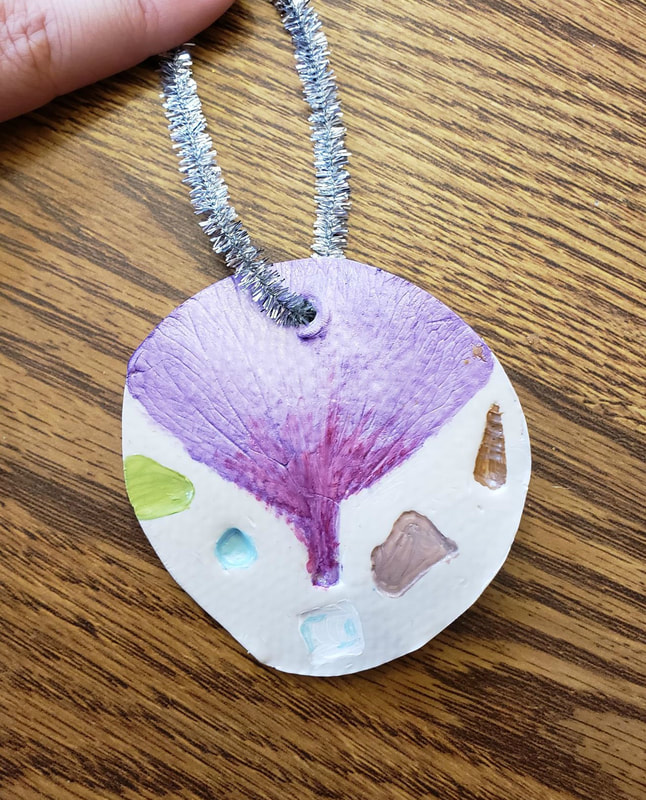 Thick Yarn like baby blanket yarn.  Twine or Sugar'n Cream Yarn 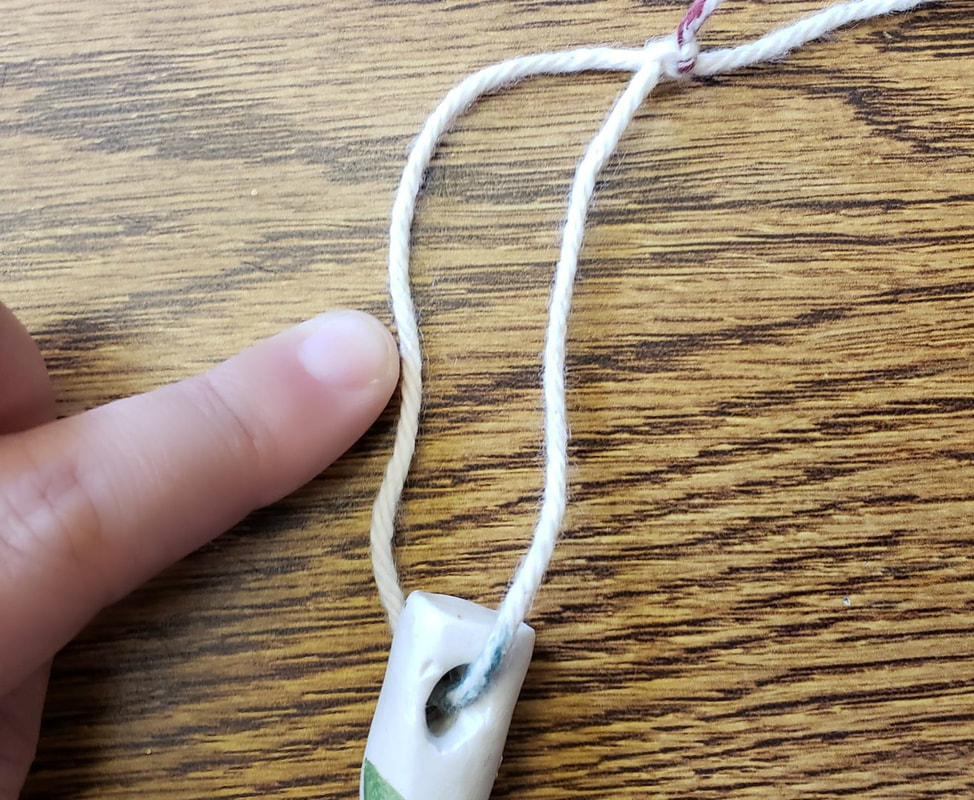 Ribbons 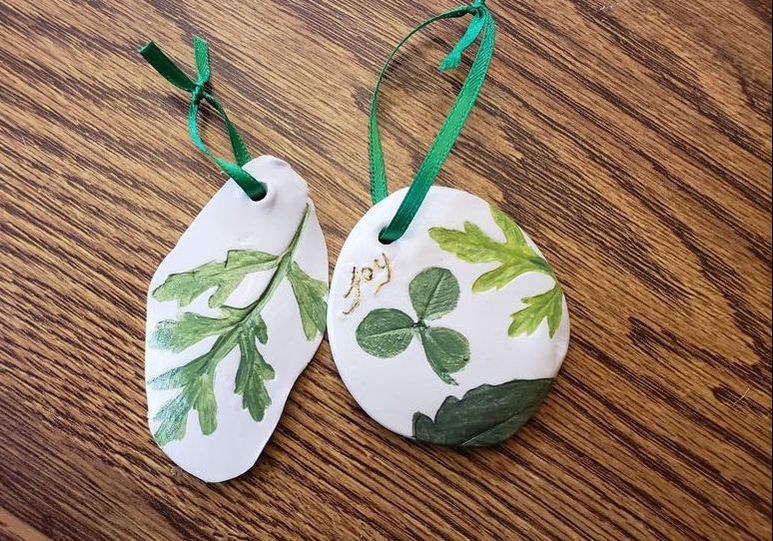 Or just regular yarn. Jenna made a bunch of these for her teachers and family friends that she adores. It was super cute! 
0 Comments
Leave a Reply. |
Crafty Things?This is a page dedicated to DIY's and miscellaneous projects. Archives
April 2018
Categories |
 RSS Feed
