|
This is an interesting project for a few reasons. First of all this is just an awesome looking project to begin with! You can use these mini treasure chests for a toy for your kids dolls, as a jewelry cases, for a pirate themed birthday party, and I'm sure you can think of plenty of others. Now, the second part of this is that the box being used to make these chests are Denture Cases. And this one is actually being made for that very purpose. And this project is also different because I'm going to start this artcile by using this as an opportunity to bring to light health problems that people of all ages can suffer from. Such as Gaten Matarazzo from Stranger things. He has Cleidocranial Dysplasi, which affects bone and teeth growth, the "teeth" he has in stranger things season two? Those are actual dentures! Many of you might remember the photo of the little boy who had to wear a cranial helmet and his parents had it painted to look like a pilots helmet. Why can't that logic apply to all kinds of health problems? Why not personalize a denture case? Give someone a reason to smile every day. And let's be honest, this isn't even just the younger generations that would love a cool denture case. My grandparents were waaay into the idea. I just wanted to give ya'll food for thought and maybe encourage you to find a way to make someone else smile. I'm a firm believer in making a good situation out of a 'bad' one. Now let's jump into it! YOU WILL NEED:
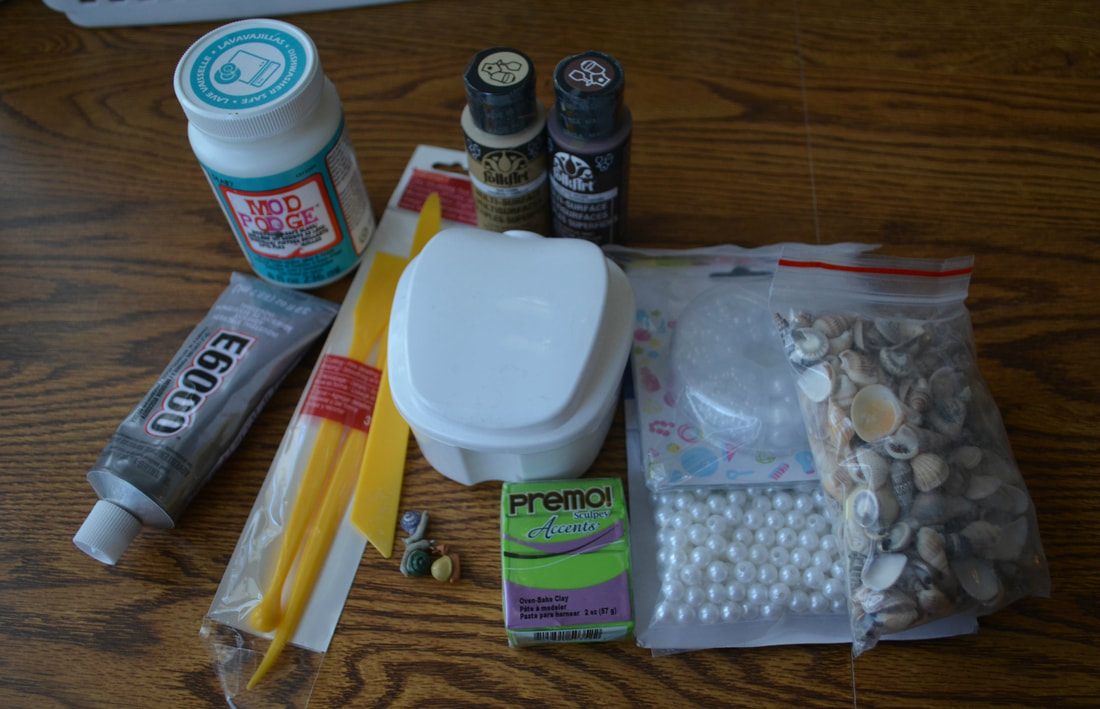 As you can see I'm well prepared. I also wanted to make seaweed to go around the chest, so I bought some Premo Polymer Clay and some clay tools. In a previous craft post I shared how I made those. I'll include the link to that here: https://agirlwhoneedstocraft.weebly.com/just-crafty-things/simple-polymer-clay-diy So we're going to start with painting the chest. I stand by enamel paint for multi-surfaces. If it can be painted on glass it should work for anything. And since I am using this as a denture case I did not paint the inside. Though I can't help but think that this would be really cool with a gold lining and little gem stones glued to the inside of it. I almost want to make another just to try it. 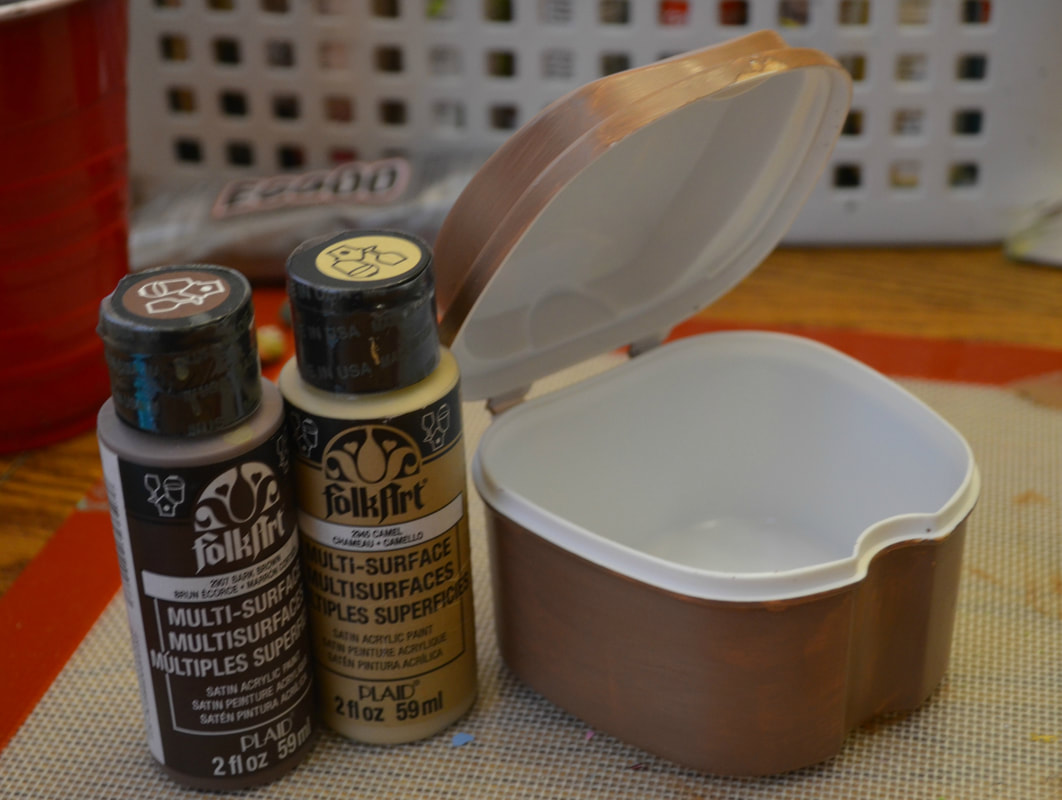 I mixed the Bark Brown and Camel Folk Art Multi-Surface paints together to get the chest color of my choosing. Enamel paints dry fairly quickly but I do find that painting on plastic is like overlapping lines on a wipe on wipe off board. If you go over a spot you've already painted, the whole thing streaks off. I had to paint it in coats and let it sit to get a good coverage. When it was finally dry I moved onto the next step of gluing the clay items onto the chest. I had already mapped out where I wanted them and so I followed the lines I could see through the paint. I used a mix of E6000 and Hot Glue. Hot Glue makes for a fast attachment, but the E6000 is supposed to make it last longer. I found that I had to use the E6000 on the main part of the clay and then Hot Glue on the bottom to help keep it put. 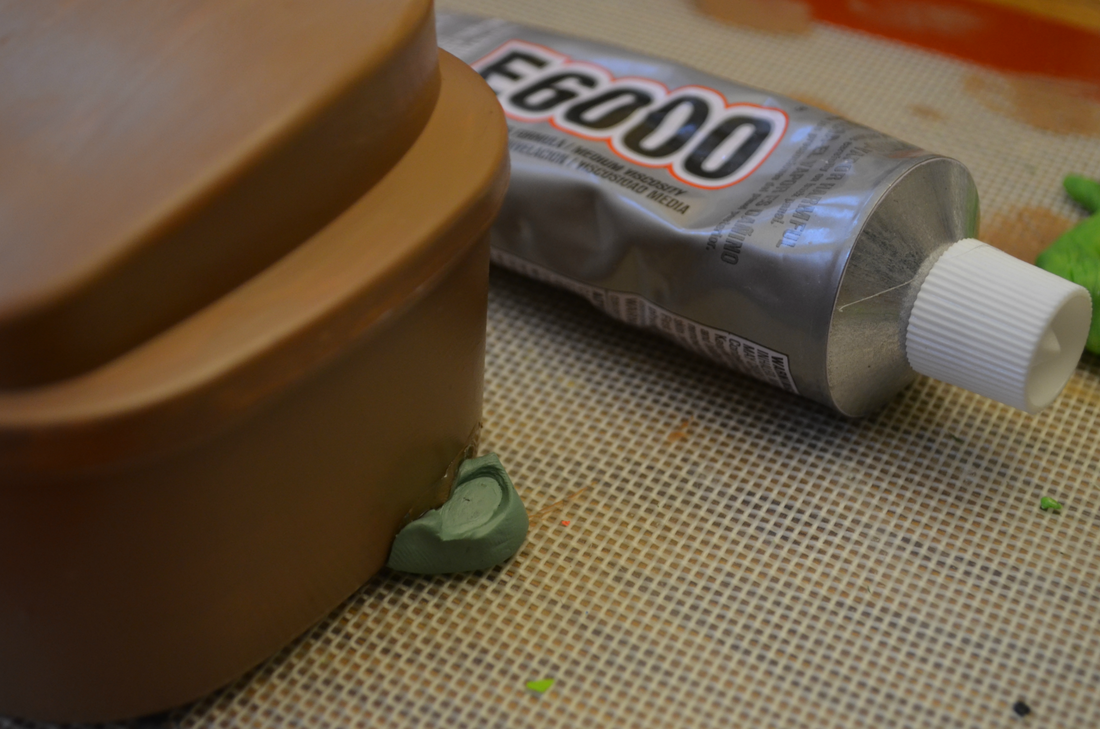 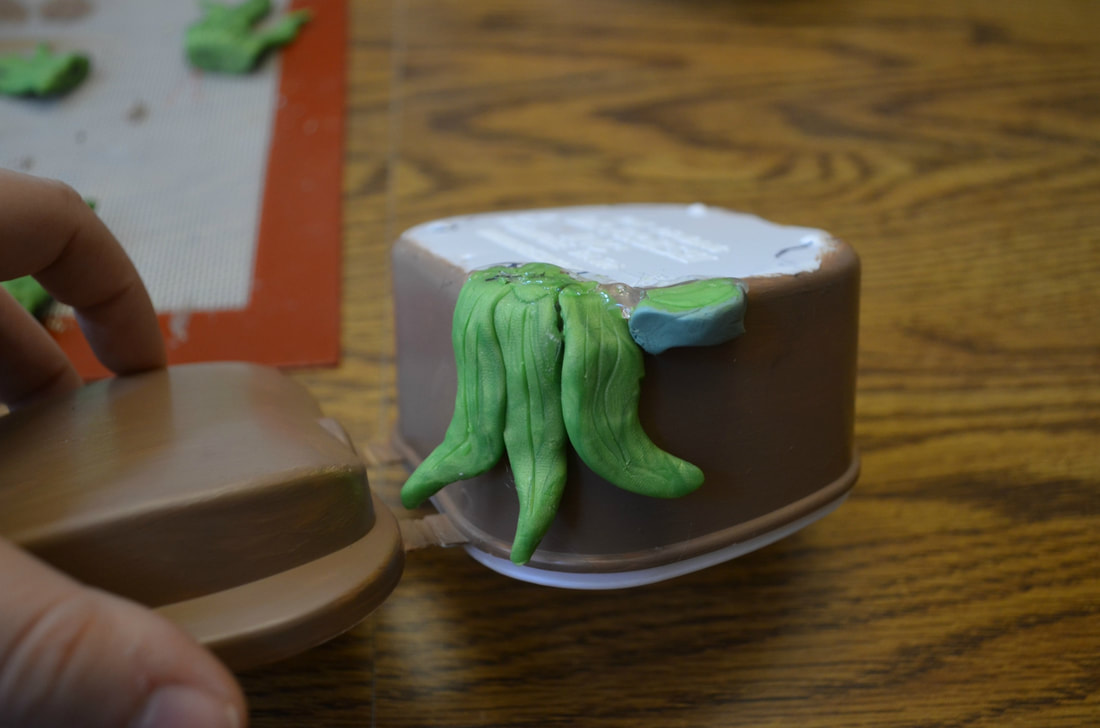 Downside to this was that when I had to adjust an item, the glue was pulling the paint off the case. This is why I say even if you're not going to be using this near water you really should put a sealant on it. Even just scratching the paint caused the white case to show. I didn't panic about this when it happened. I merely continued decorating my case. But I will show you what I was dealing with. 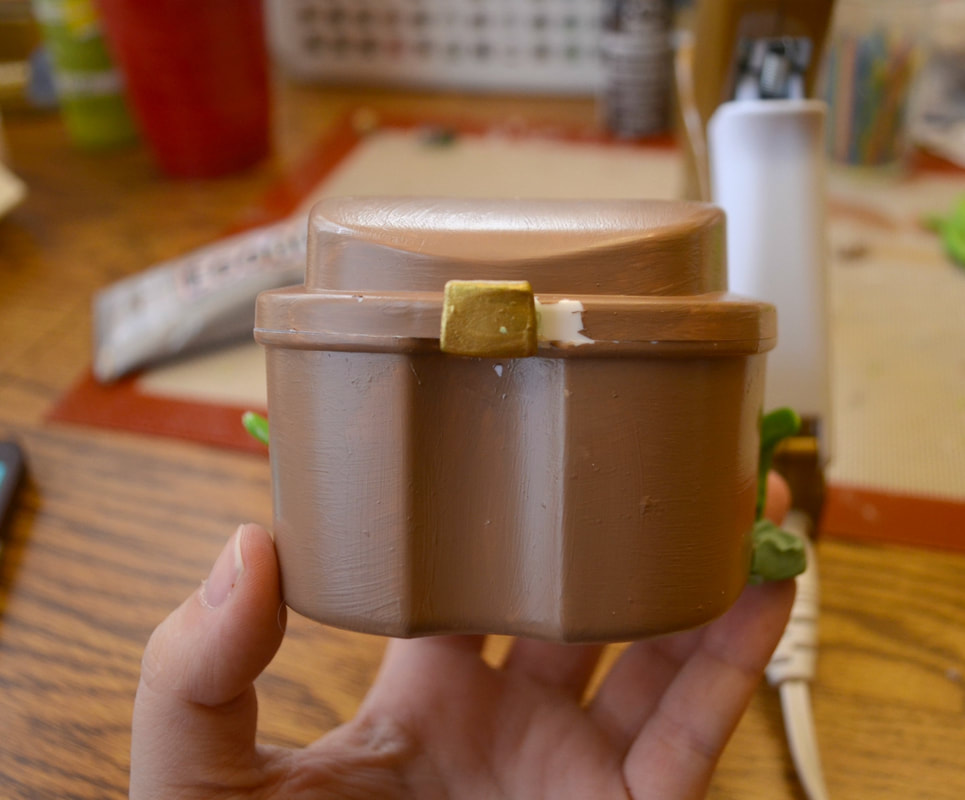 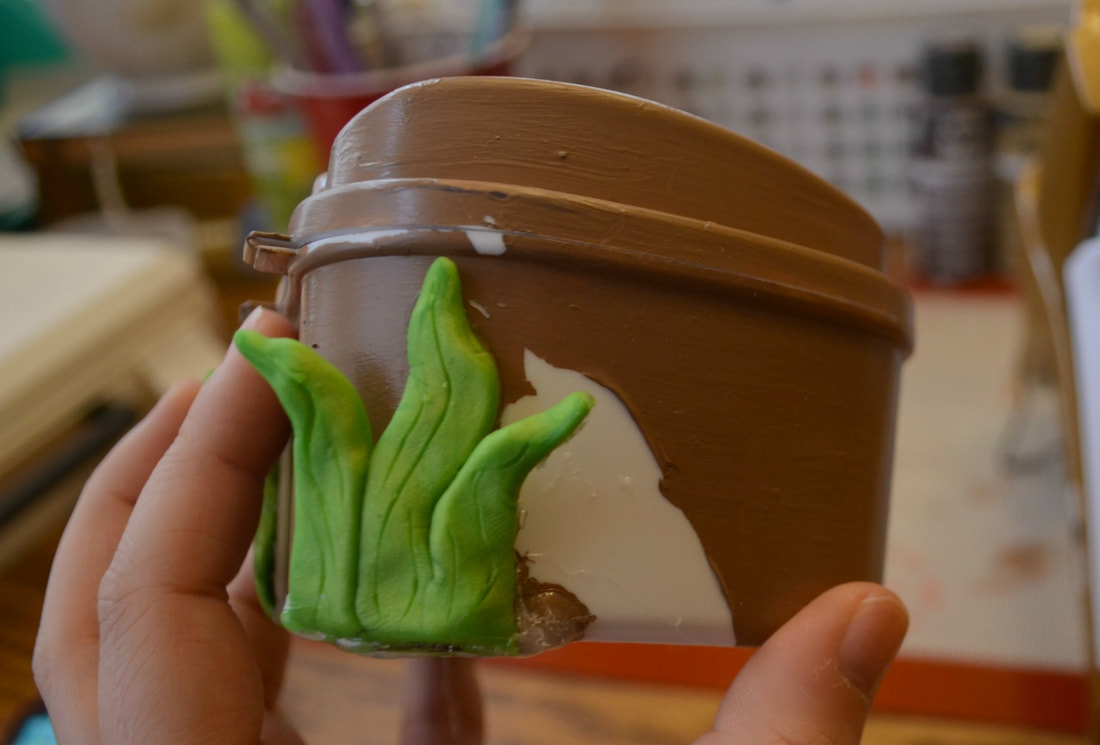 Continuing to use my trade off of E600 and Hot Glue, I attached pearls, sea shells, crushed shell parts and the two mini snails I was attaching to it. AND I KNOW they're not aquatic snails, but let me have this! 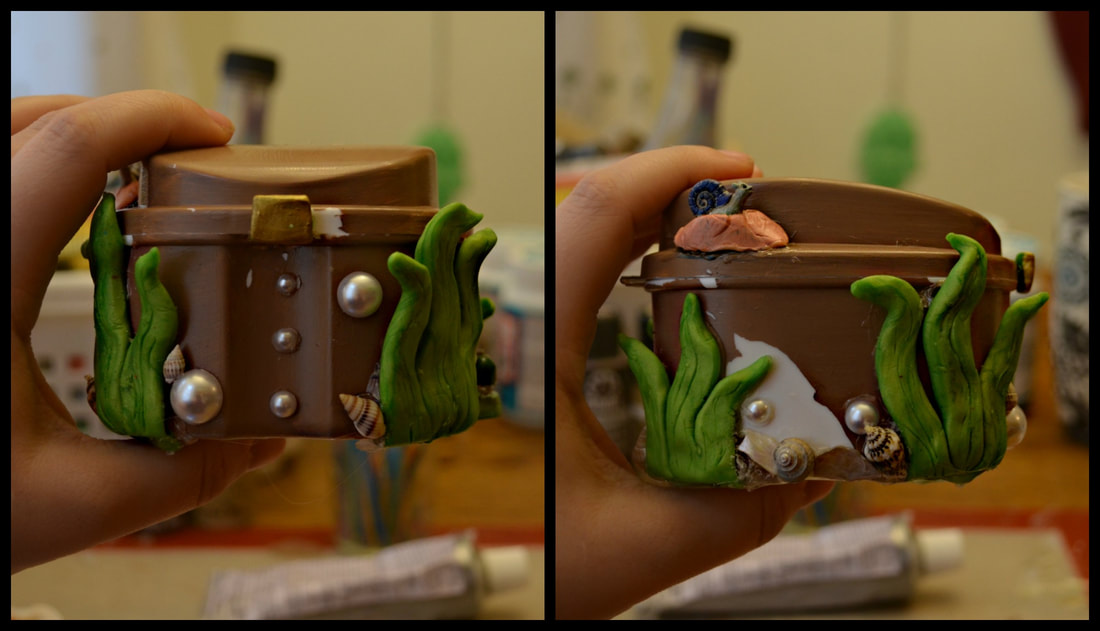 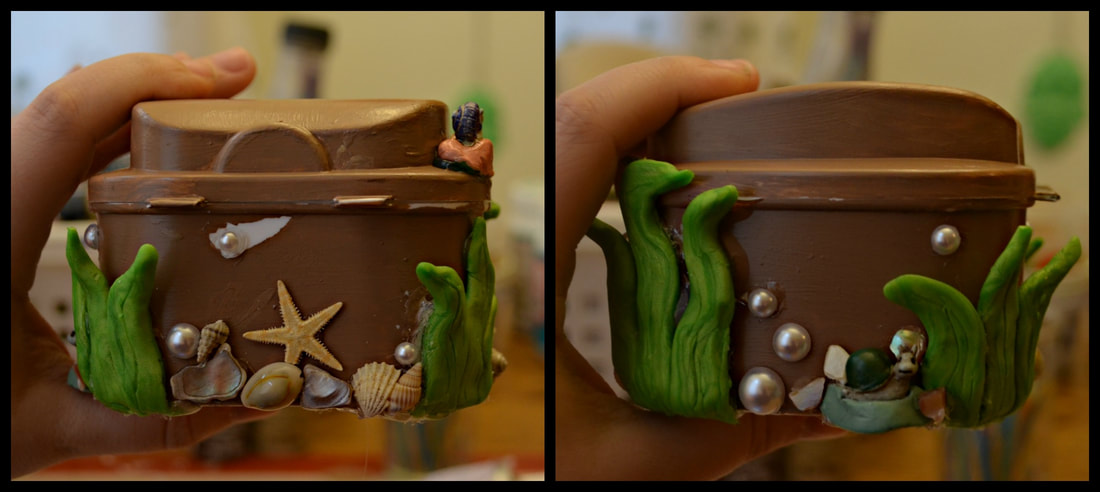 The Seaweed I had in the front of the container kept leaning forward. I used a little E6000, applied it with a toothpick behind the seaweed, and then using bulldog clips I adhered them to the side. This kind of glue takes 24 to really hold but within the first 10 seconds of application, the bonding begins. I gave it two hours to set while I worked on other projects. When I came back the seaweed was holding firm and I was able to move on to decorating the lid. 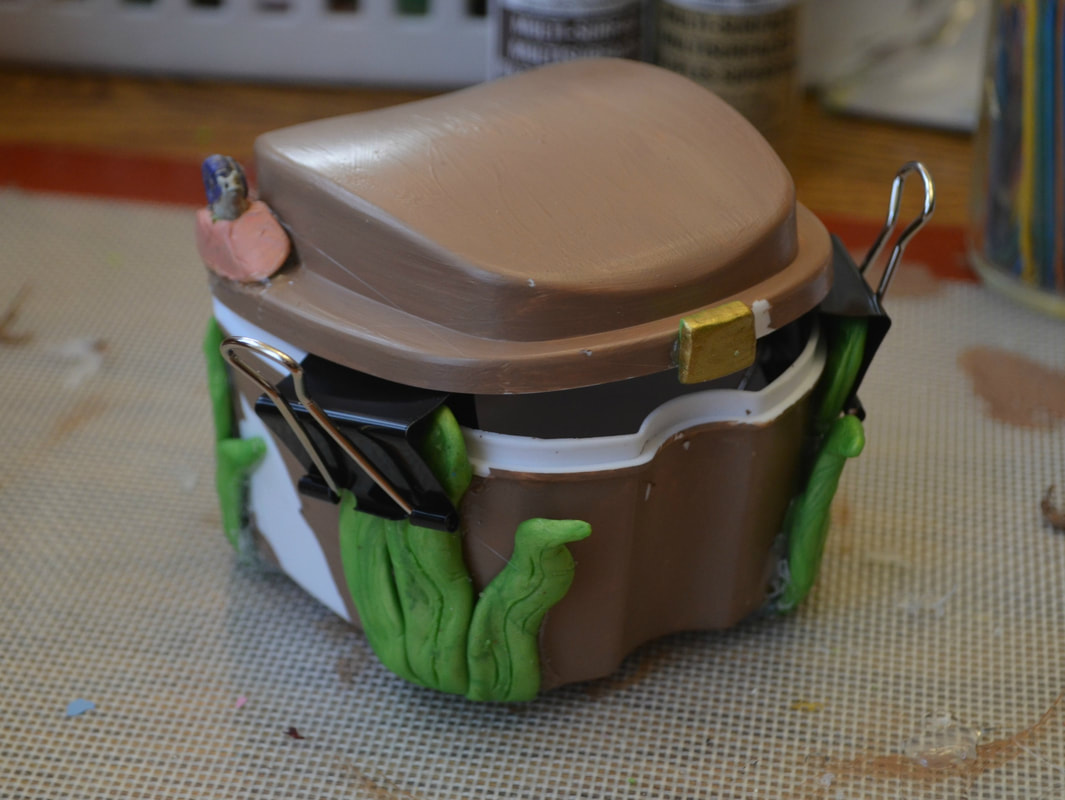 I really love a good pun! How could I resist this opportunity? 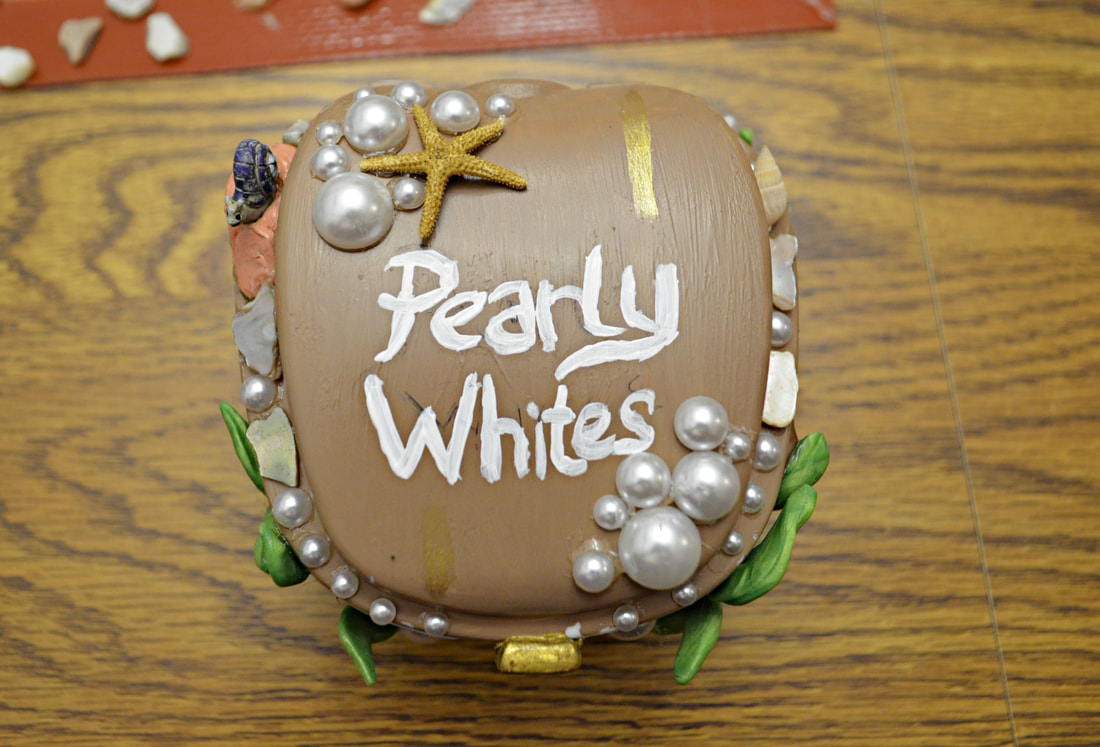 I totally forgot to mention that I did buy regular craft pearls but instead fell in love with these "half" pearls, they made this project so easy! And the shells were mostly from my personal collection but you can get bags of mini shells from Michaels or Amazon. 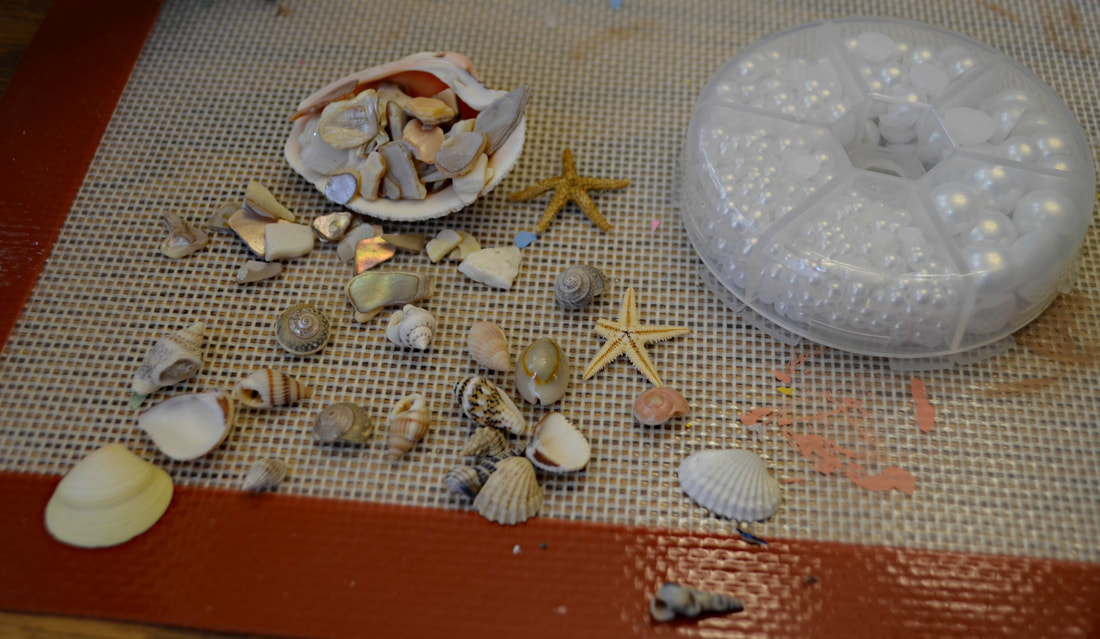 After I was happy with the lid I used my brown paint mixture to touch up all the spots where paint had peeled or been scratched. And I also painted the bottom for good measure. I set this out and let it dry over night. Like I said it takes 24 hours for E6000 to really hold and I wanted to make sure that none of the pearls or shells popped off while I was applying the sealant. 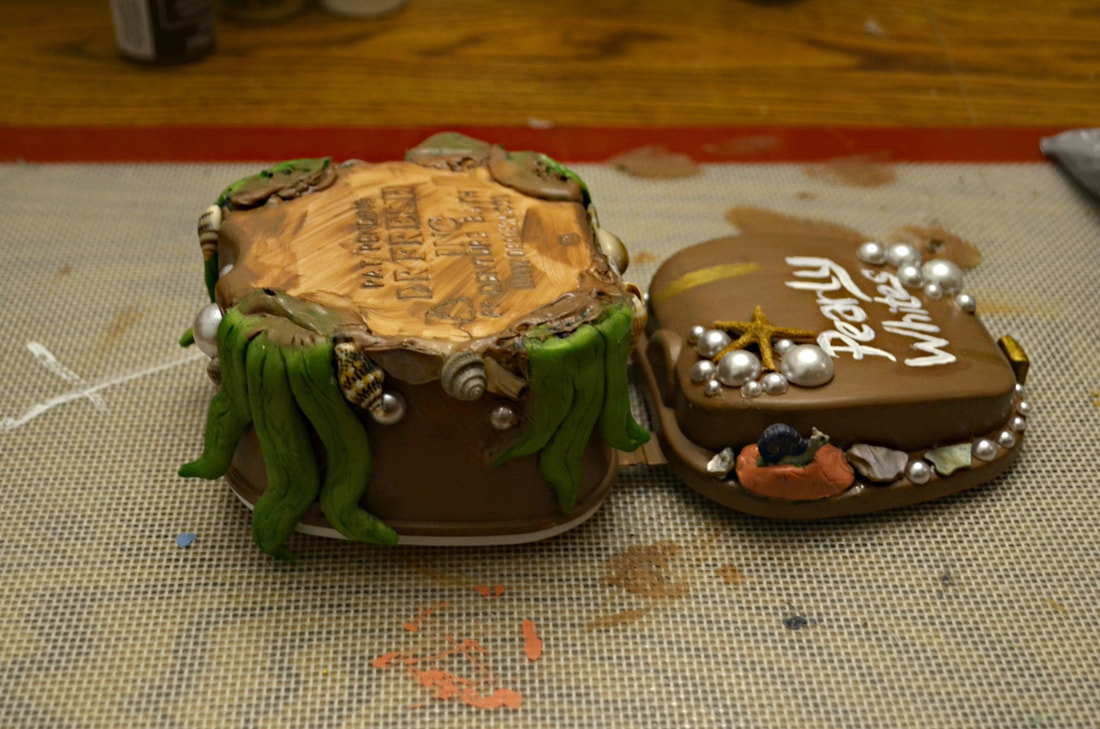 Being that this one is going to be used around water I used the Dishwasher Mod Podge, but if you just want to seal it, anything should really work. Once again I was careful about getting it inside the container. I also realized that when I took the picture my big brush was in the decoupage bowl, but I ended up using a much smaller brush that allowed me to really get in and round all the decorations. I wanted this puppy is sealed REAL well. 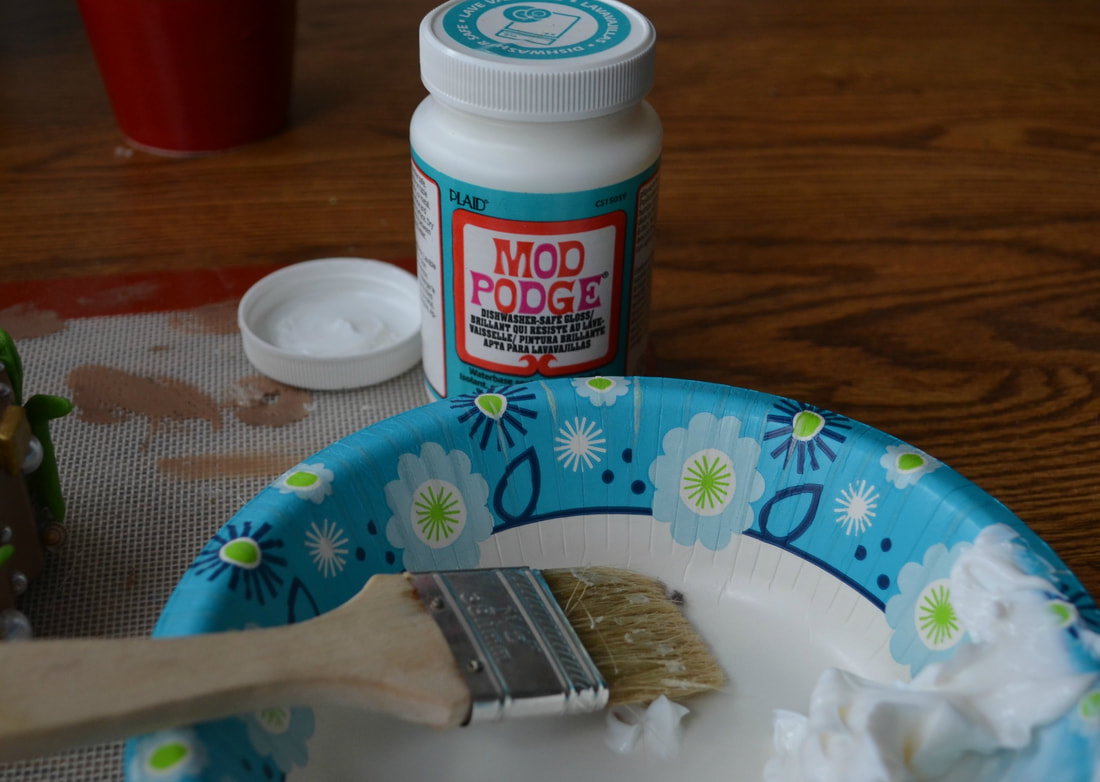 I applied a few coats of this for good measure AND I STRESS getting it around items. I even sealed the bottom. Which brings me to the final step, using hot glue to form a bottom. Sometimes Denture cases are a little off center and they tip. I learned to make little "legs" using hot glue by just putting small dots on the bottom. The other thing you can do is make a ring around the base entirely. I chose to do this just in case. It keeps it balanced and most importantly, it makes sure the chest isn't sitting on the sink in water where the mod podge and paint can slowly be worn down. And there you have it. A finished treasure chest. In this case it's going to make someone smile and their guests too. But remember this would make an adorable gift for a child with a doll set (especially those 18" ones that are all the rage) or a cute jewelry container to place your rings/necklaces in when you go to get a shower. And the top of the chest can be painting to say anything, or perhaps just covered in shells and pearls. I really do encourage ya'll to think outside the box. And think of someone else as well. The gift of joy is the sweetest gift of all. 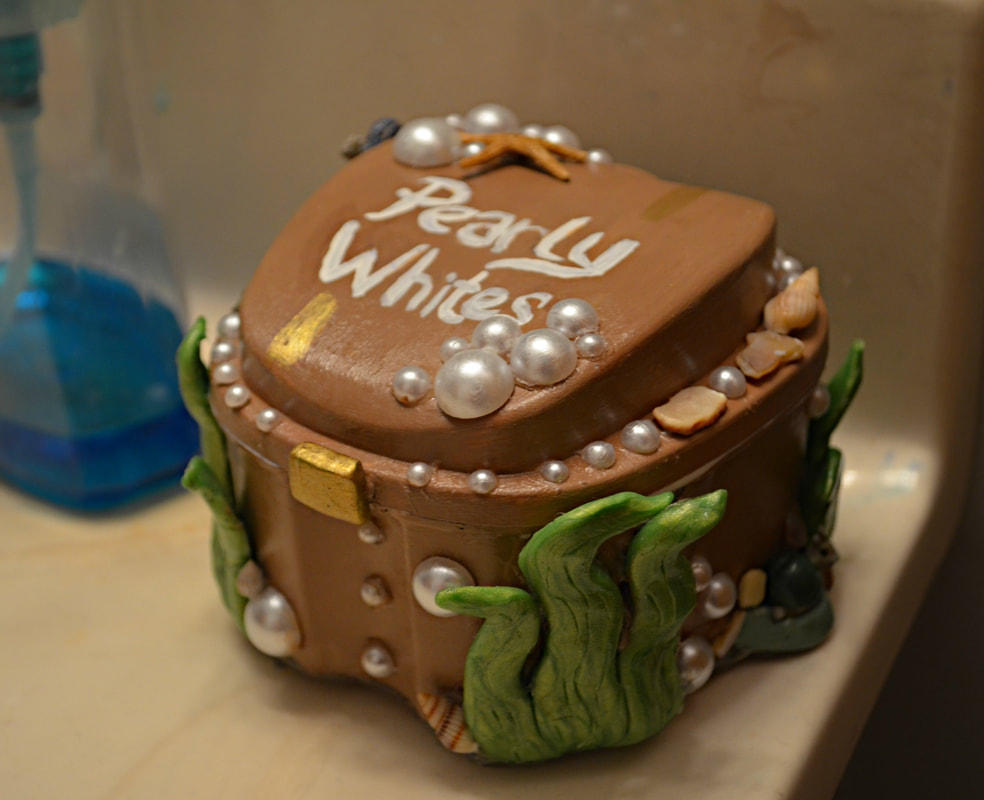
0 Comments
Leave a Reply. |
Crafty Things?This is a page dedicated to DIY's and miscellaneous projects. Archives
April 2018
Categories |
 RSS Feed
