|
If you saw my post on the Soap Cloud Science Project, then this is a follow up to it. BUT you don't have to make some crazy soap cloud to do this, this is a great way to recycle soap bar slivers. YOU WILL NEED:
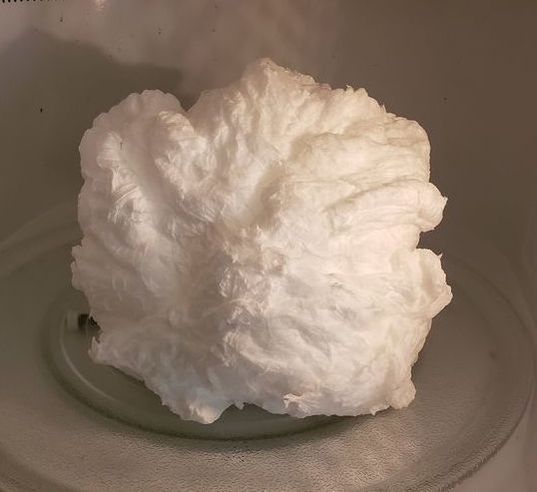 As I said, I started my soap recycling from left over soap from this science project. Now, you can check out the science project here ( ) if you're wondering what it is and what happens. It does not affect the soap in a, can it be used again, kind of way, but it does alter the state of it similar to what happens to popcorn. So since it's perfectly usable I broke it down into cups of soap. When you recycle soap slivers you need about a cup of soap to make it really work. But I had plenty of soap left over so I had six cups of soap to work with. Once you got your soap you need to soak it in water overnight to 24 hours. Stir it occasionally to make sure your soap is dissolving. 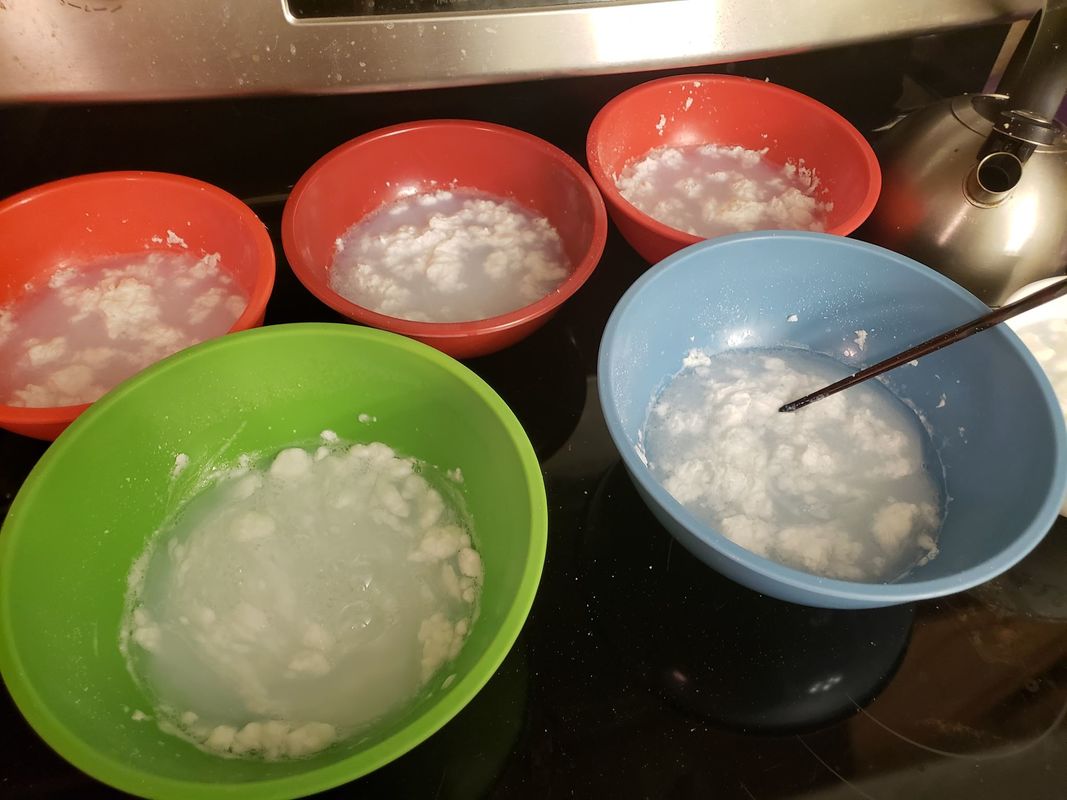 It was pretty neat, I don't know if the state of my soap played into this, but after about an hour I found that my soap had started to get this gelatin feel to it when I mixed it. The ones that were primarily water because of the flakiness I mentioned above, are the ones that never fully solidified, they stayed kind of in a gelatin soap cube. *shrugs* wasn't the worst outcome, but it's why I stress making sure you have a full cup of soap bars. OR that if you use a soap cloud you press the cup like you would in baking. 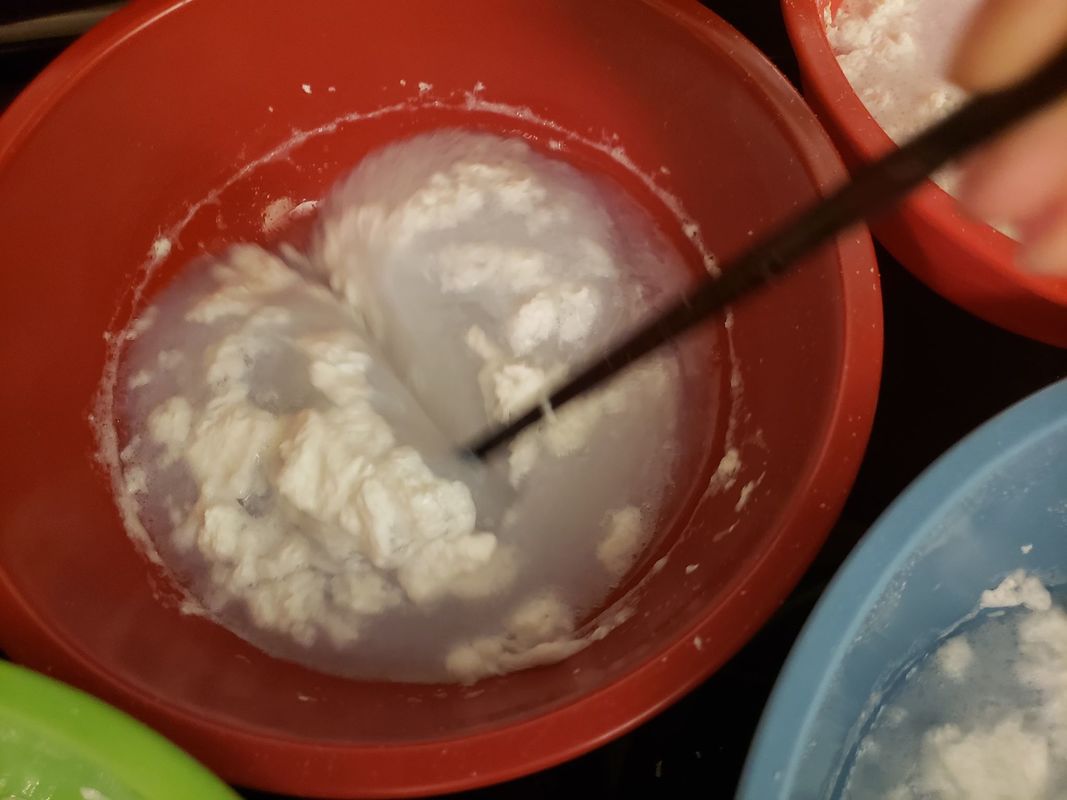 Then after they've finished soaking take your bowl and pour it into a pan. Slowly bring the heat up and watch for it to boil. I found that when it boils it bubbles silently so it's very easy for some of it to boil over. 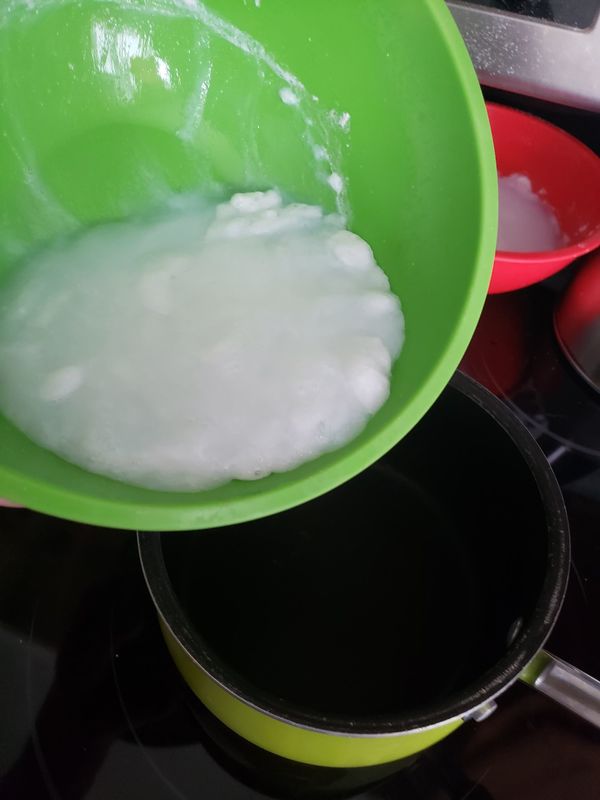 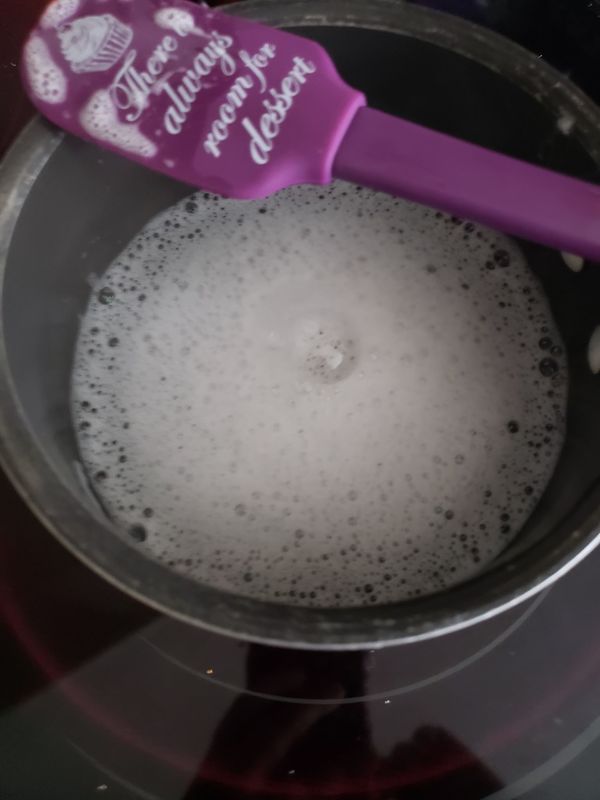 After it boils pour it from the pan into a heat safe bowl. You can see how clear it looks in the photo below. 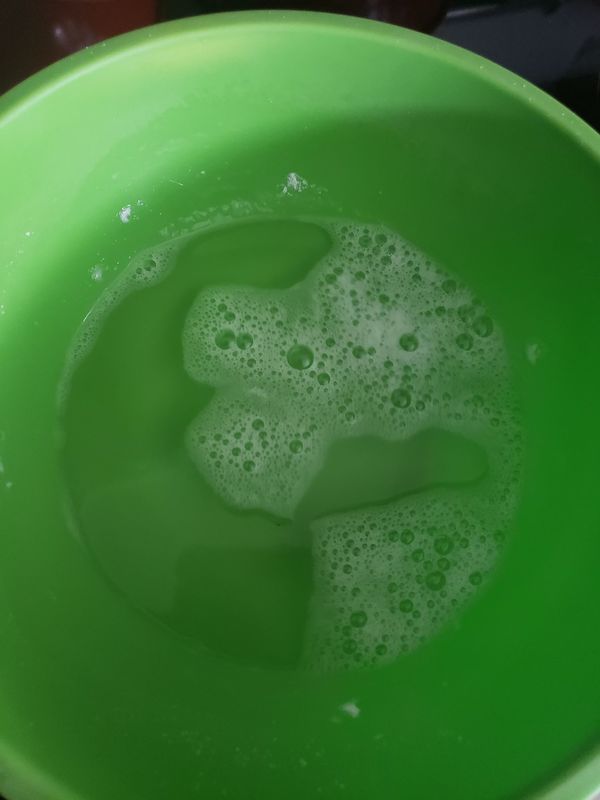 Then you are going to want to add a 1 tbsp of vegetable or olive oil. I would think you could use almond oil and other cosmetic oils, but when I was taught to make this I wasn't given any other oil options. So I am fascinated by this and will likely make some again in the future and see what happens when you try other oils. 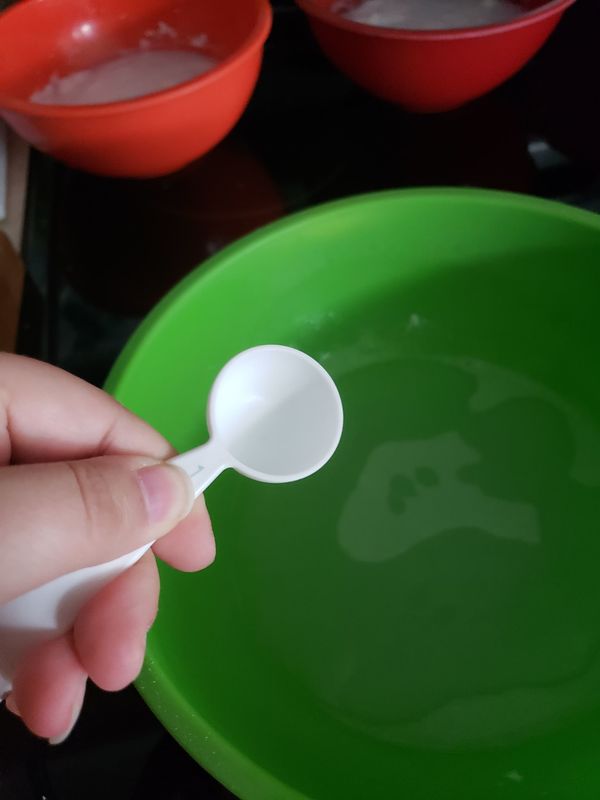 When that's finished you can add additional items to your soap. If you let it cool a little (so as not to bake the oats) You can add in oatmeal for expholiants. You can add in food coloring and you can even add additional scents using essential oils. If you chose not to add anything additional, simply pour it into your molds or soap containers and let it sit. 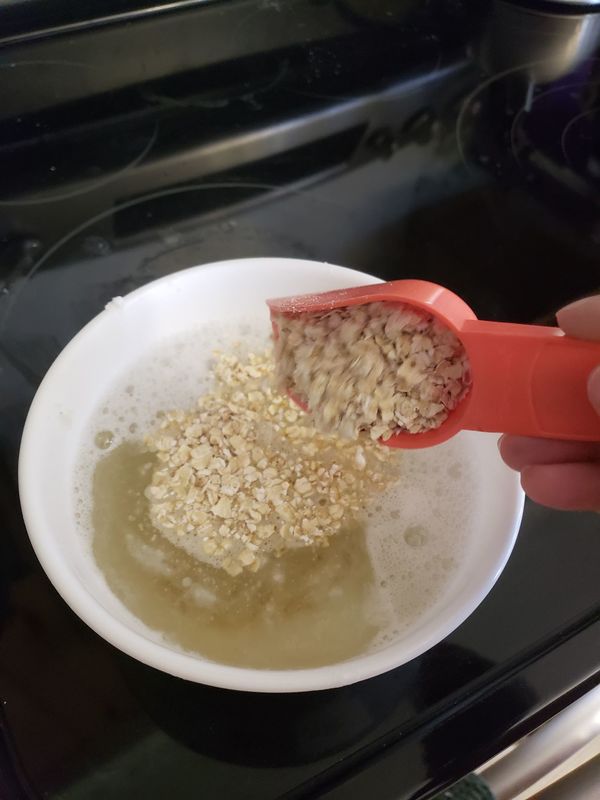 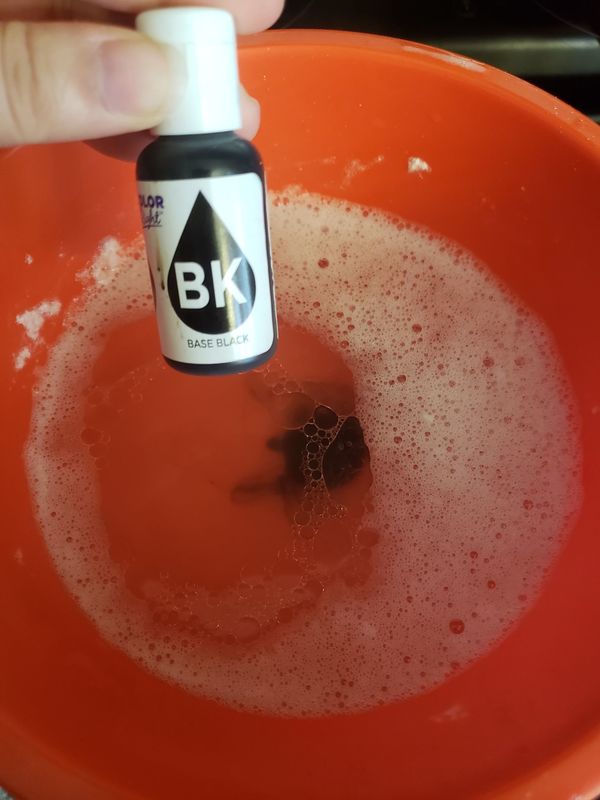 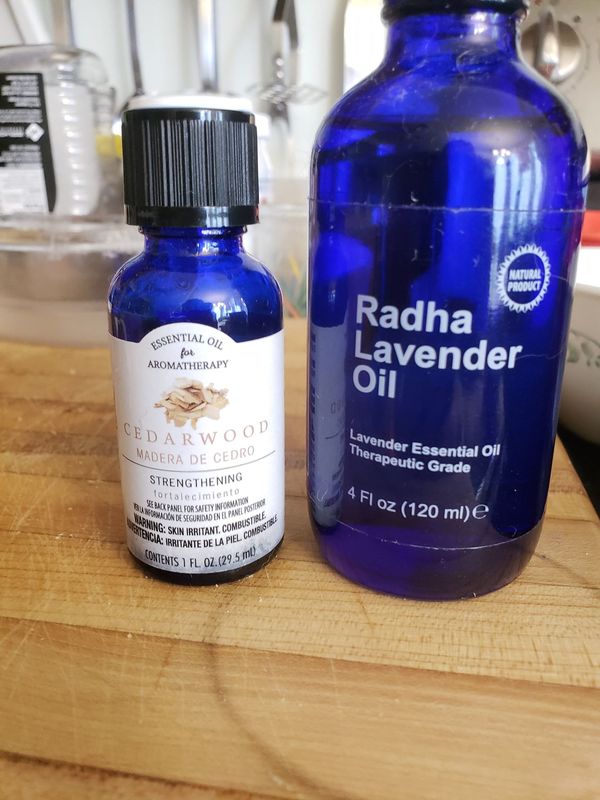 Some examples of the various types of soap I made. I am hopeful that the dark soaps are going to come out pretty cool because they would make neat Halloween goodie bag gifts! 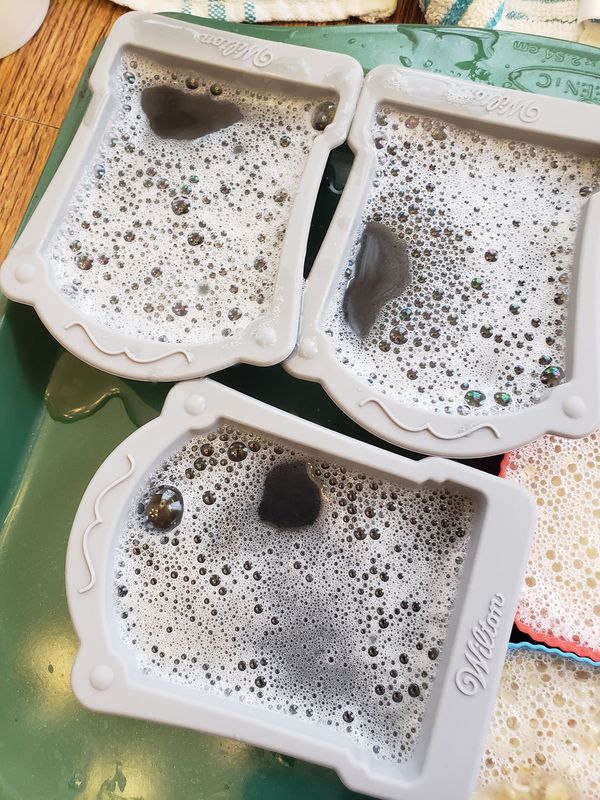  After about an hour of sitting in the molds you'll notice the soap being to turn back into a gel, you can lightly run your finger over it. 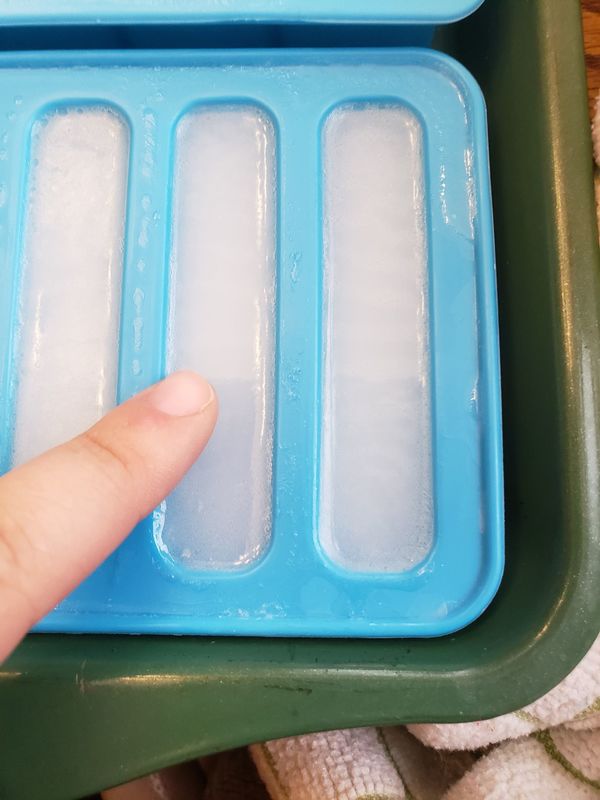 I let my soap set for 48 hours before attempting to remove them from their molds. Some of them were definitely solidified enough that they slid out no problem. THOUGH, they were soft enough that if squeezed them, they were going to mush in my hand. But check out how CUTE these tombstone soaps looked. 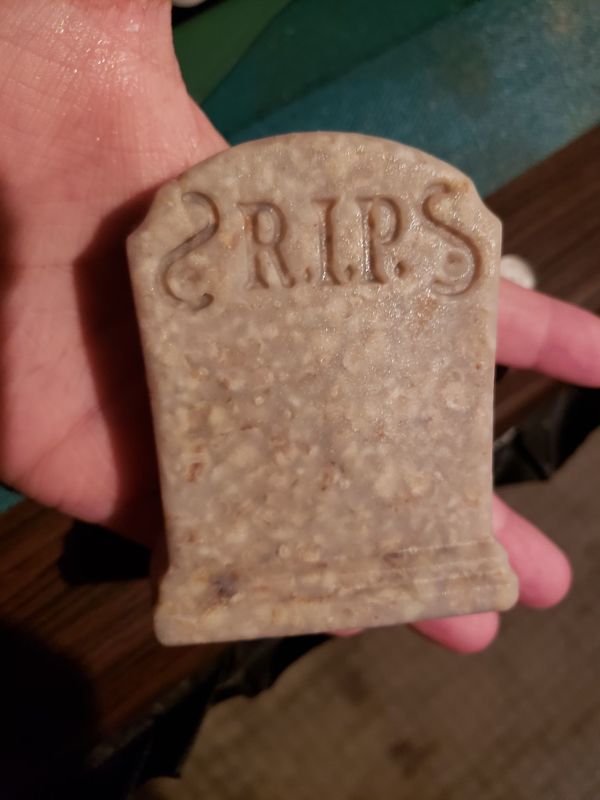 Moving my trays of soap to the basement (a cooler region of our house) I let them sit for a few weeks so they could cure and fully solidify. Which most of the them did, but a few like I said looked more like jello than bars of soap. They actually made perfect soaps for your shower though, simply crab your jello cube, load your loofah, and away you go.
0 Comments
Leave a Reply. |
Crafty Things?This is a page dedicated to DIY's and miscellaneous projects. Archives
April 2018
Categories |
 RSS Feed
