|
If you've ever gone sea-glass hunting you've probably found itty bitty chunks of green sea glass. And the bigger the piece the more impressive, but we keep them anyways. They always make me think of the movie, The Pebble and the Penguin. And thus this idea was born! YOU WILL NEED:
 I started off with the two main colors you need for a penguin; black and white. You will also need orange for the feet and beaks. And remember that you will need extra colors for any additional accessory you may choose to give your penguin. I prefer using Scupley but I've also heard good things about Premo. Just be sure to check your baking directions on whatever brand you pick. Above is a photo reference for anyone who isn't familiar with the beautiful work of animation this is based on. 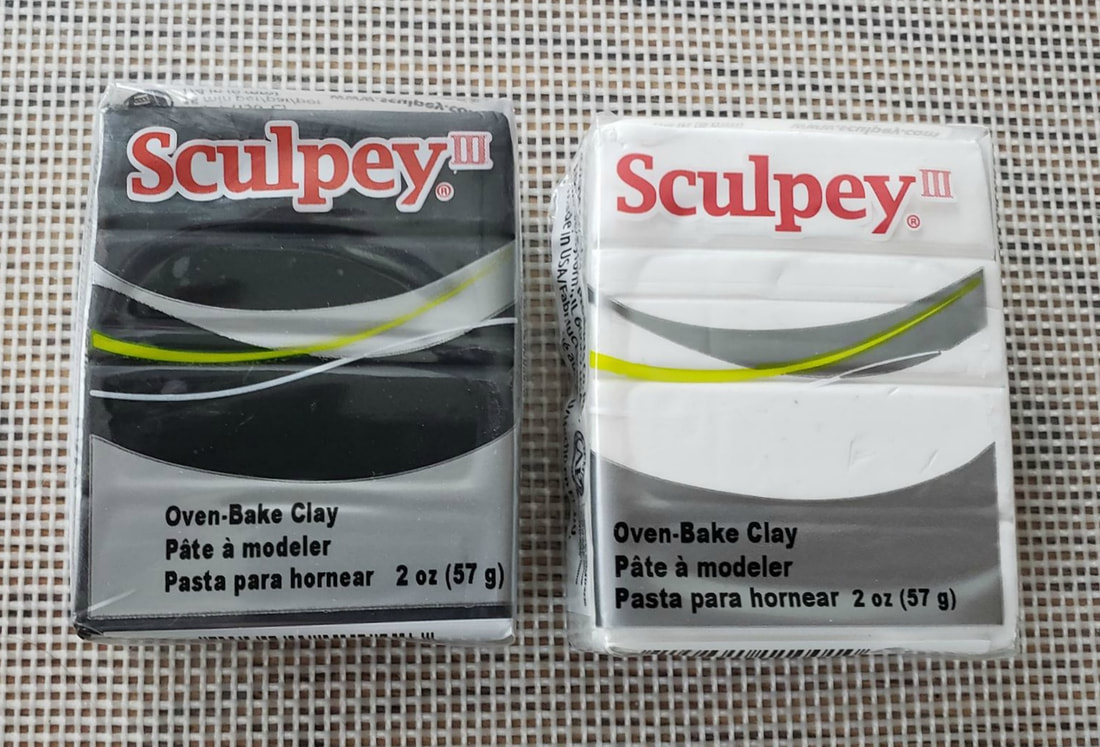 From there I made the head shape and the body of my penguins. Starting by making a round ball and then an odd oval for the body. 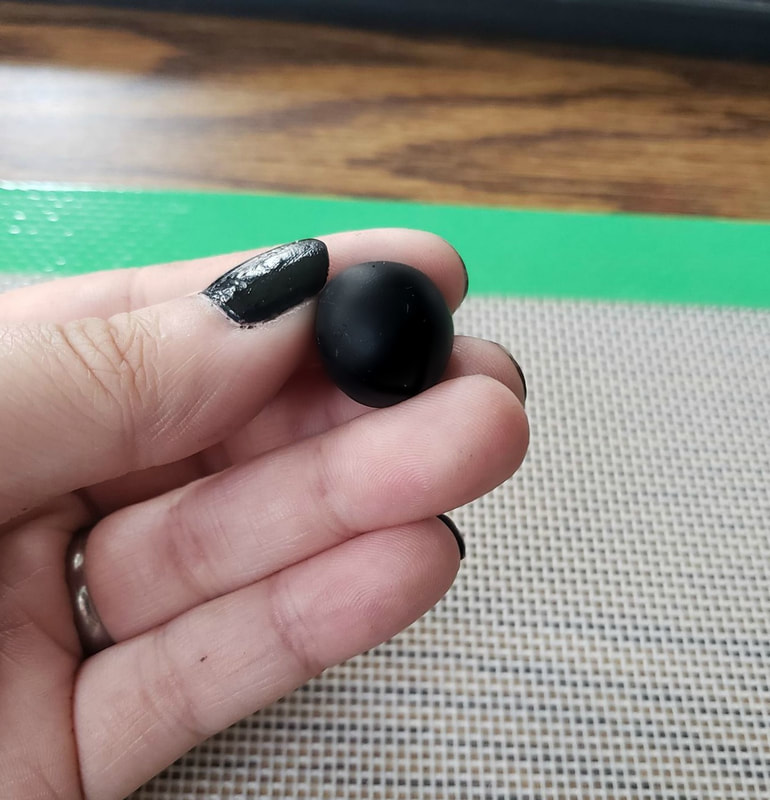 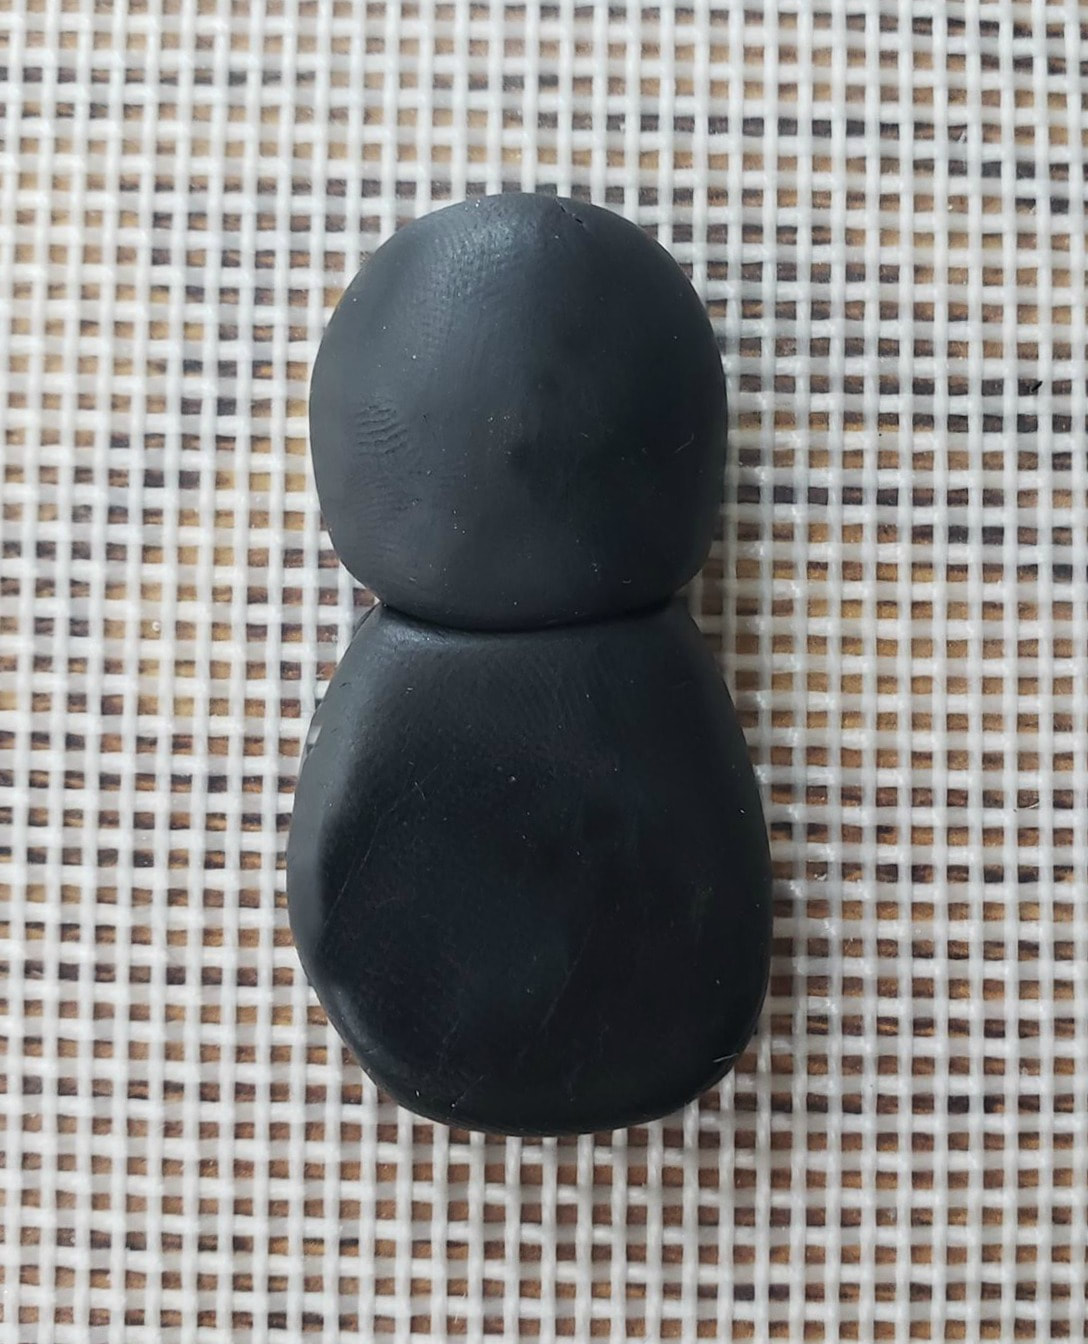 Once you're content with the shape of the body take some of your white and roll it out. I made a basic face shape and belly filler out of the white. 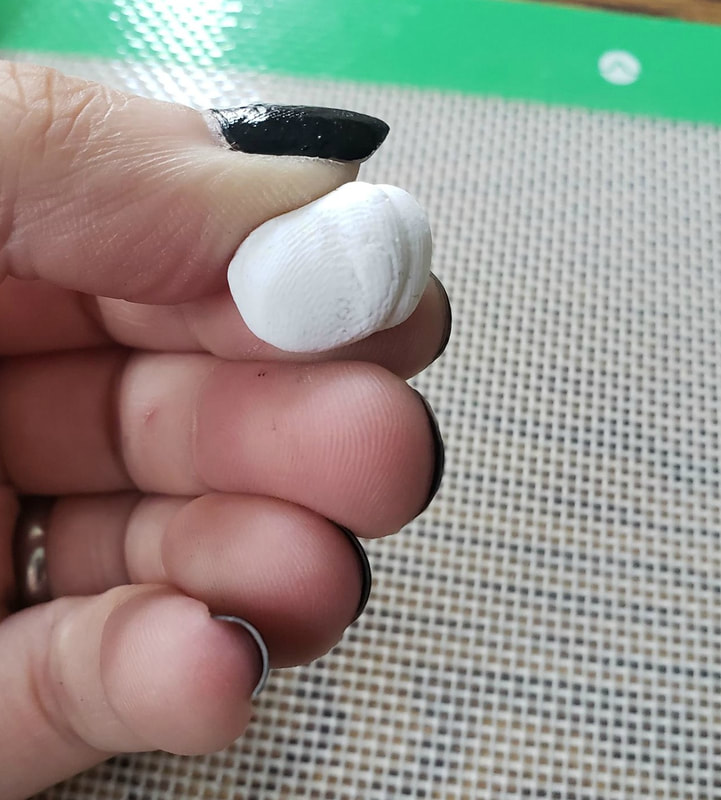 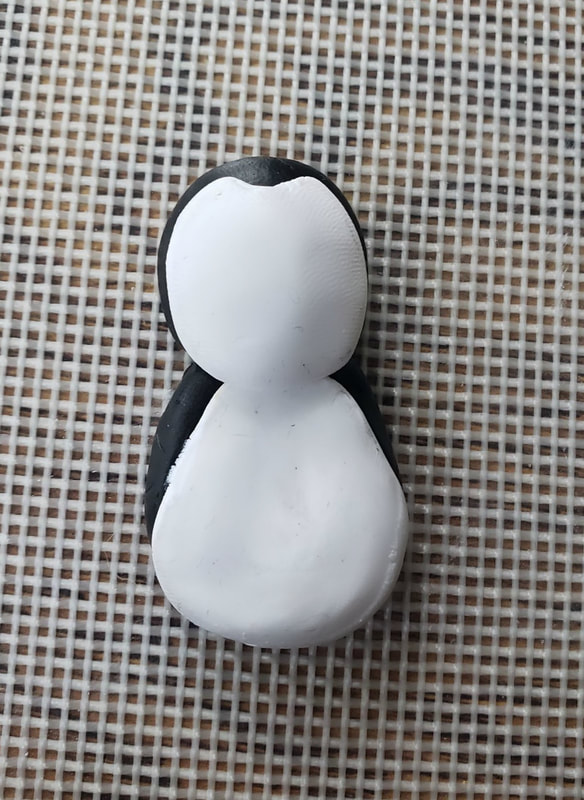 This is a good place to mention some tricks I used to make this project. Firstly I use Saran Wrap to help smooth out my clay. I find that I do a better job of shaping things with my hands than I do with tools. HOWEVER, when you use your fingers you leave finger prints. Placing the Saran Wrap between your fingers and the clay allows for a smooth surface. I also like to use makeup wipes to clean my hands and work surface after using heavily pigmented colors. Its very easy for residue to get left behind and taint the lighter colors, especially white clay. 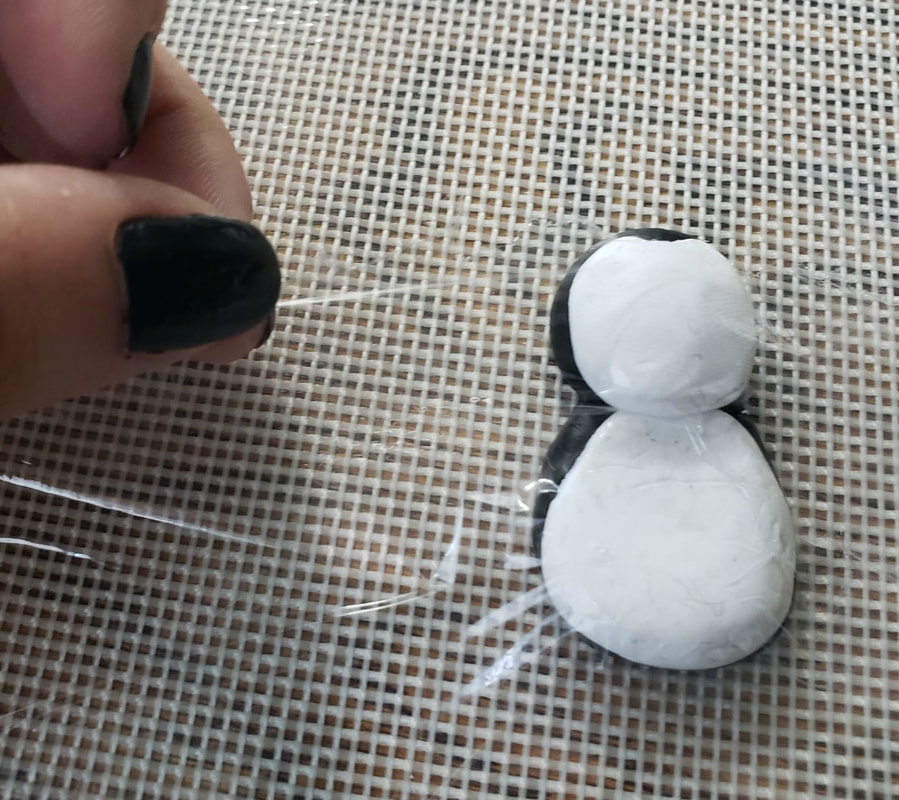 Next I moved onto creating the arms. This is very important because they will be cradling your sea glass. I made what can be described as a bike seat kind of shape. Let's see if you see it or if I'm just really weird. 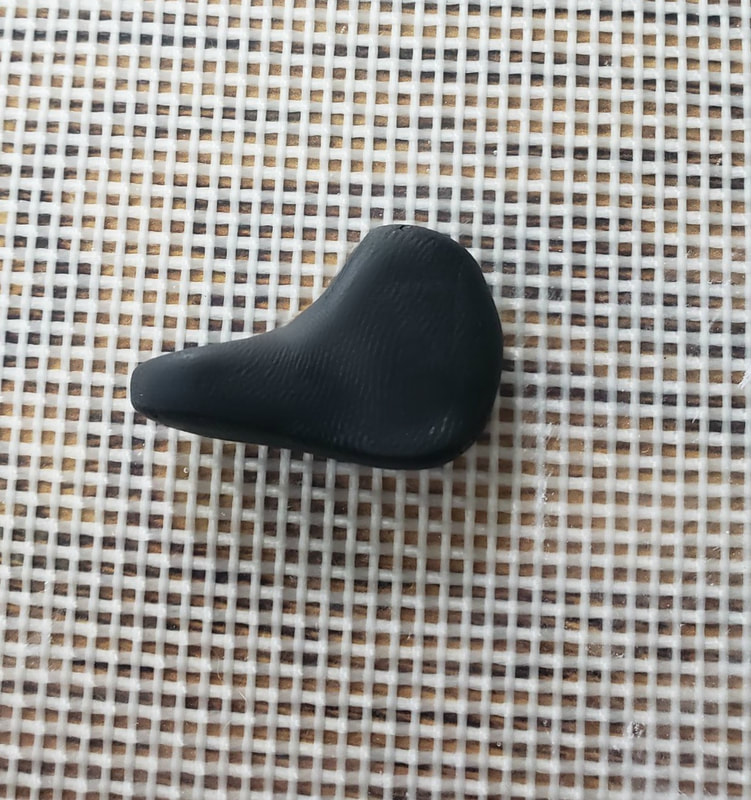 You'll need to make two of those per penguin. (Unless you're making a handi-cap penguin, I don't judge. I think that's pretty cool.) Then lay them so that they overlap a bit. Then take your piece of sea glass and firmly rest it in the crook of the two arms. I haven't needed to remove and glue down any of the sea glass I've cooked, so make sure to get it wedge into the clay. 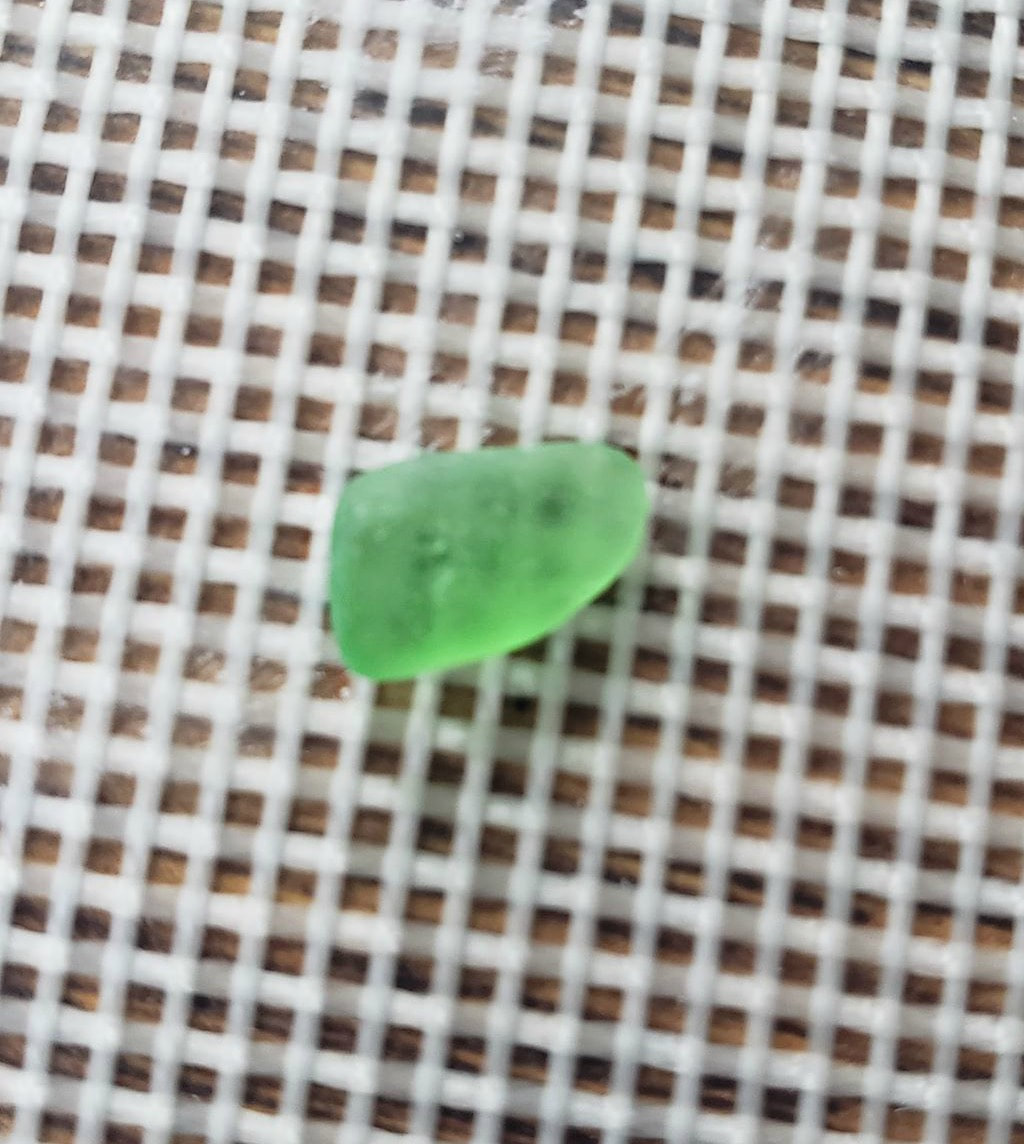 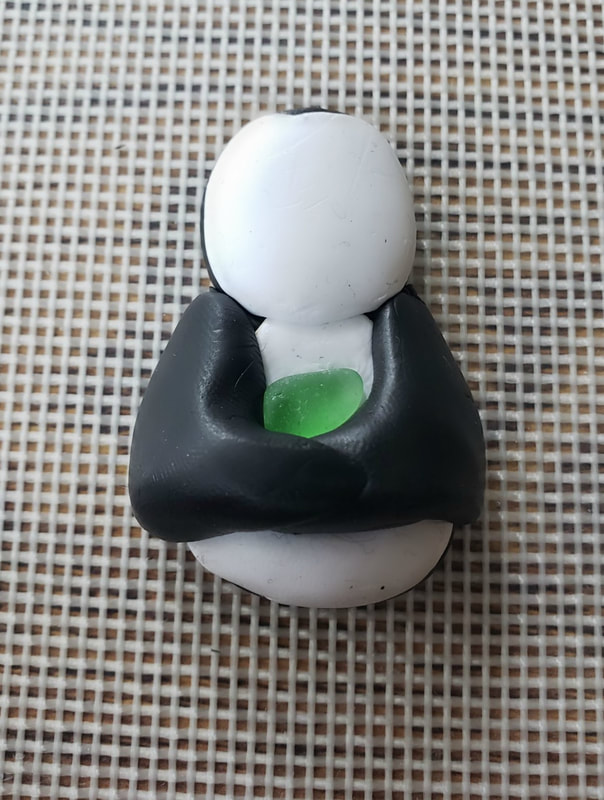 Then take your orange clay and create your beaks and feet. I made a small heart shape for the beak. And then two ball that I flattened out into feet. Using a toothpick I made the toes. 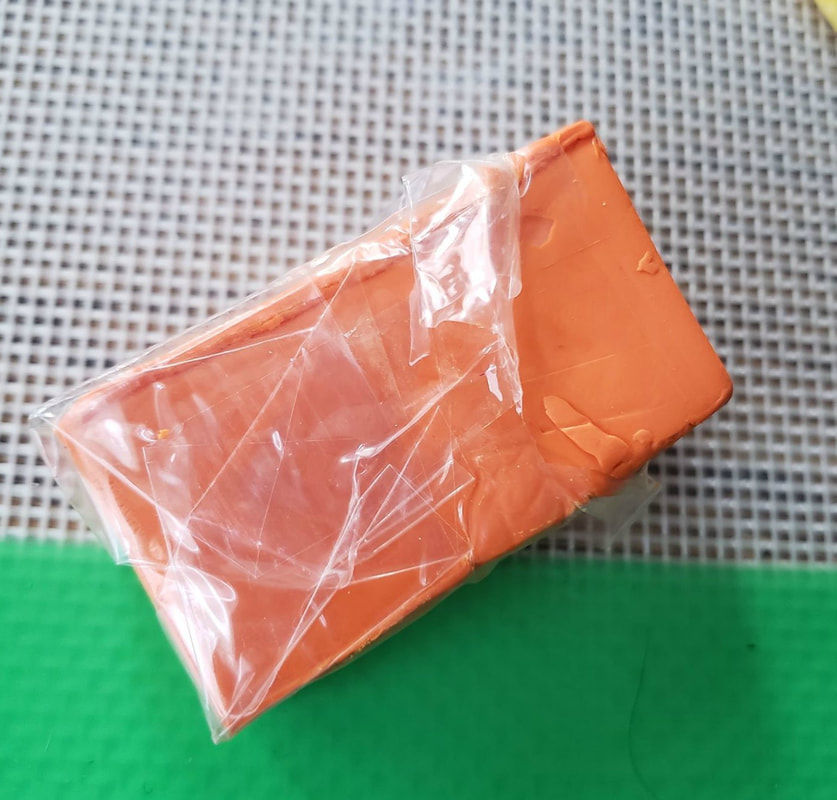 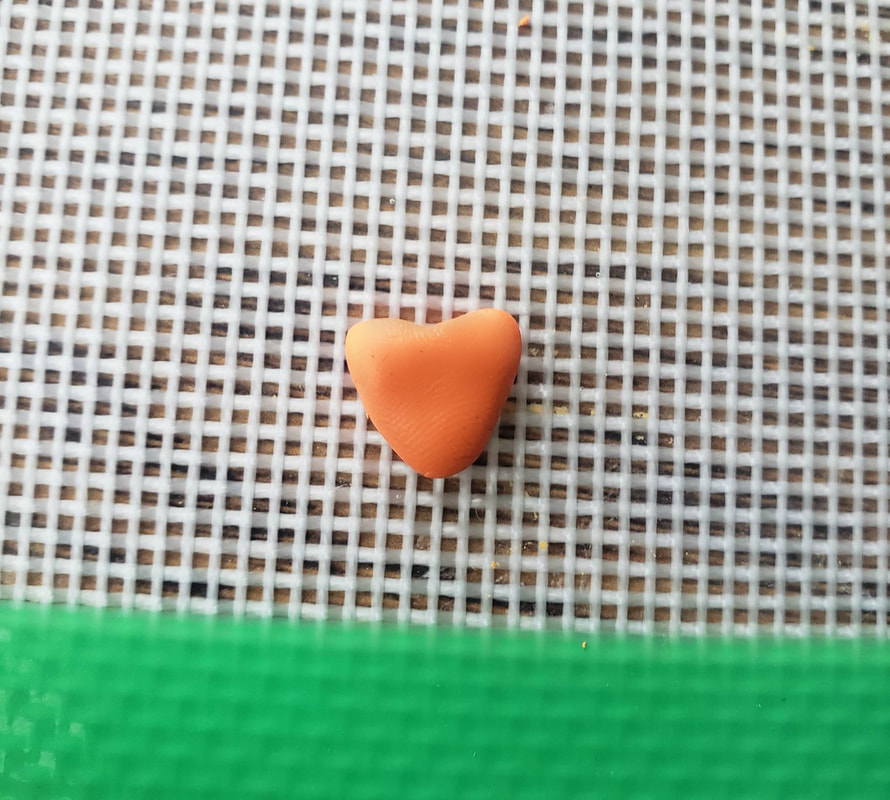 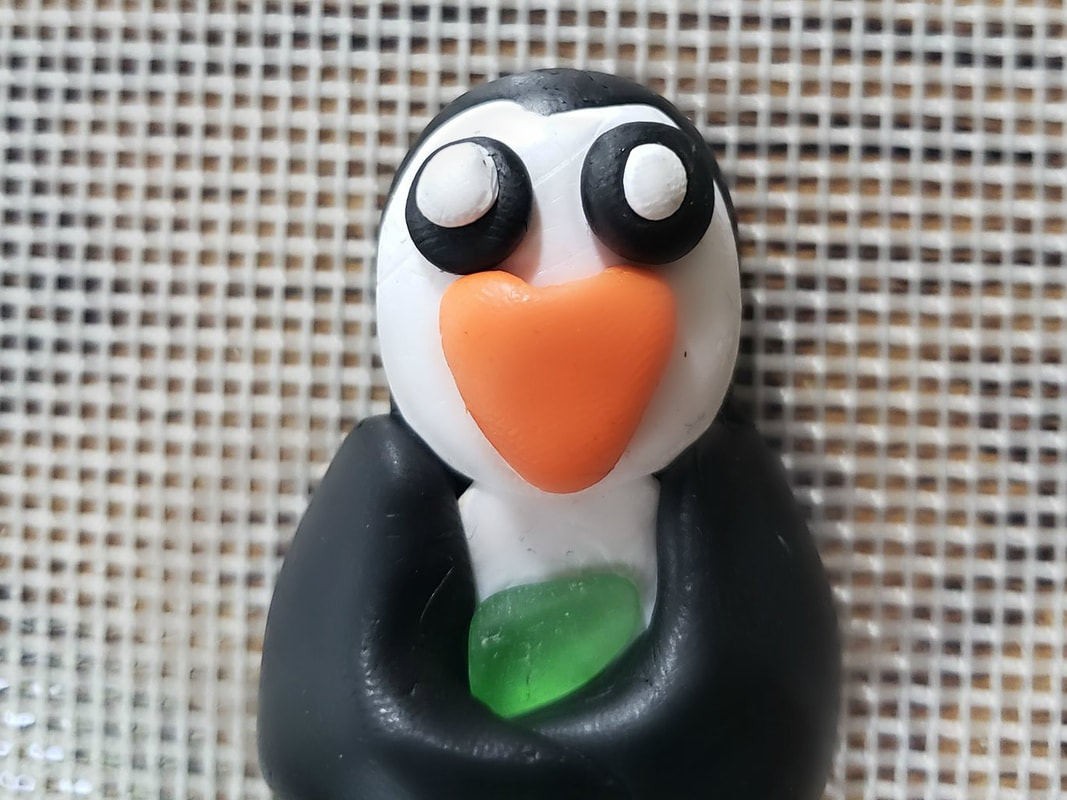 I forgot to show a picture of making it. But I made two eye balls out of black and white clay. 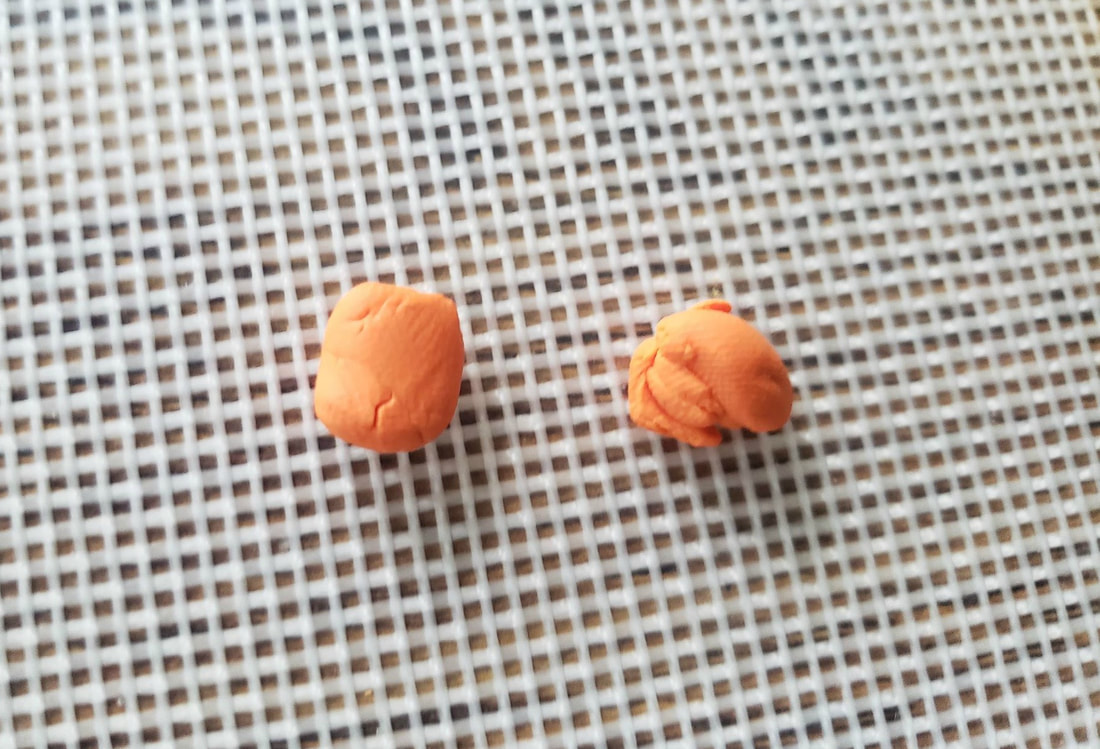 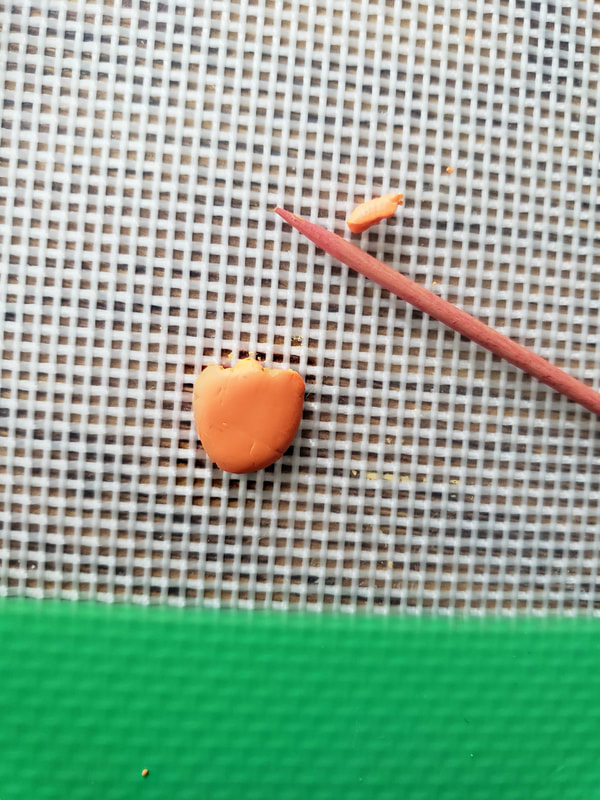 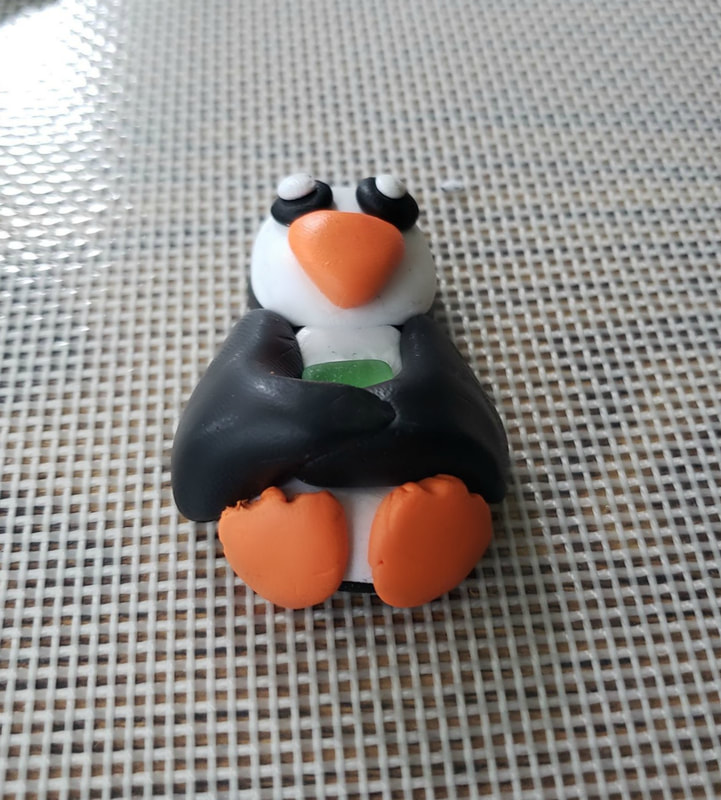 Now you can just skip to putting these in the oven, but I also made a couple penguins so I'll show you a tutorial of those, but otherwise you can just skip on down to the photo of the stove. If you're sticking around for the couple penguins make two more head shapes. You're going to make the body essentially the same, but make one side rounder and add a small pointed tall on the other side. 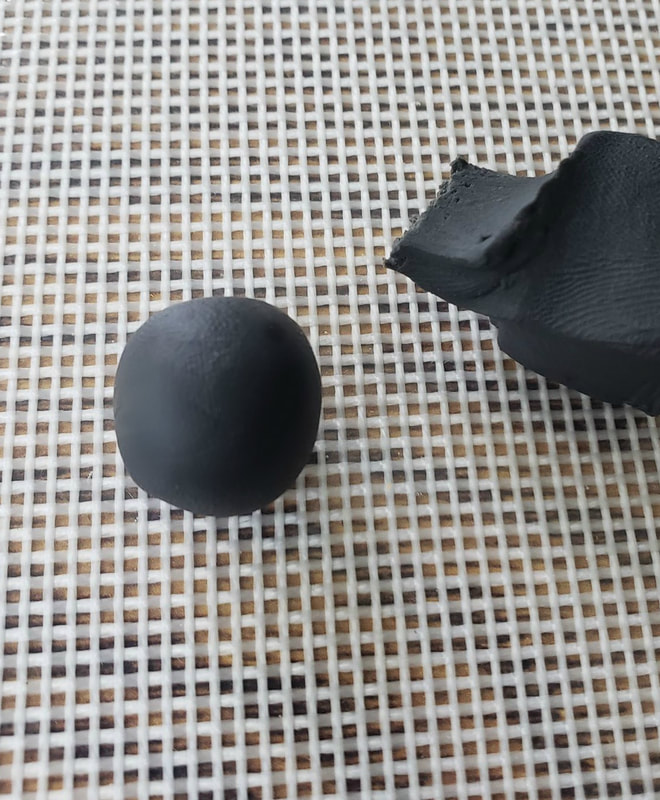 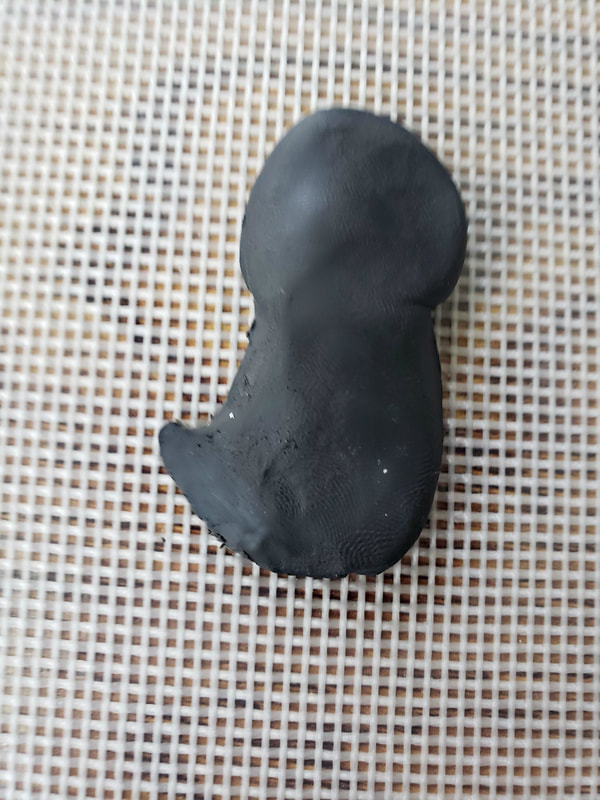 Get our your white clay and make the belly shape and the face shape. 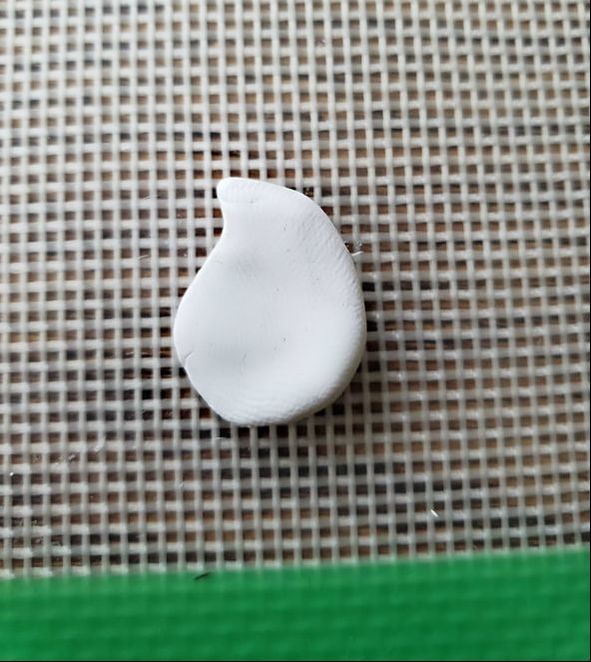 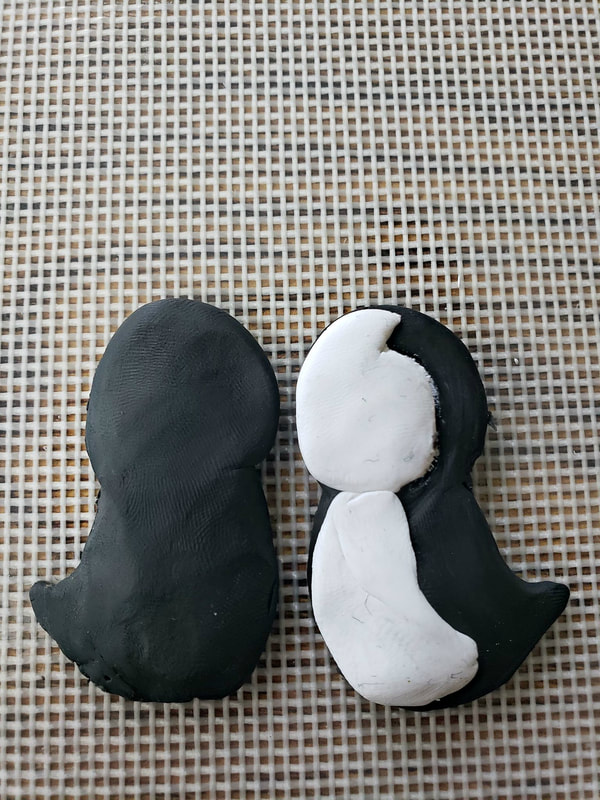 Make your bike seat arm shapes again.  And two small orange feet shapes. 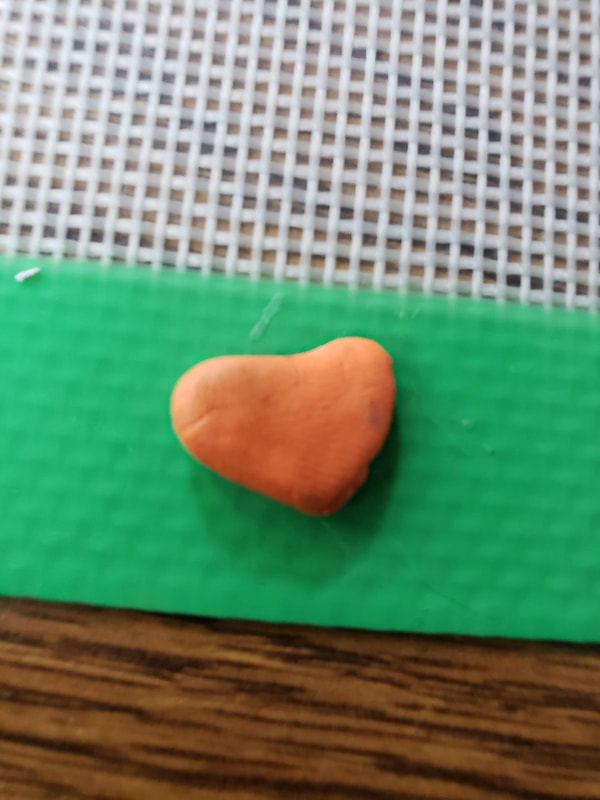 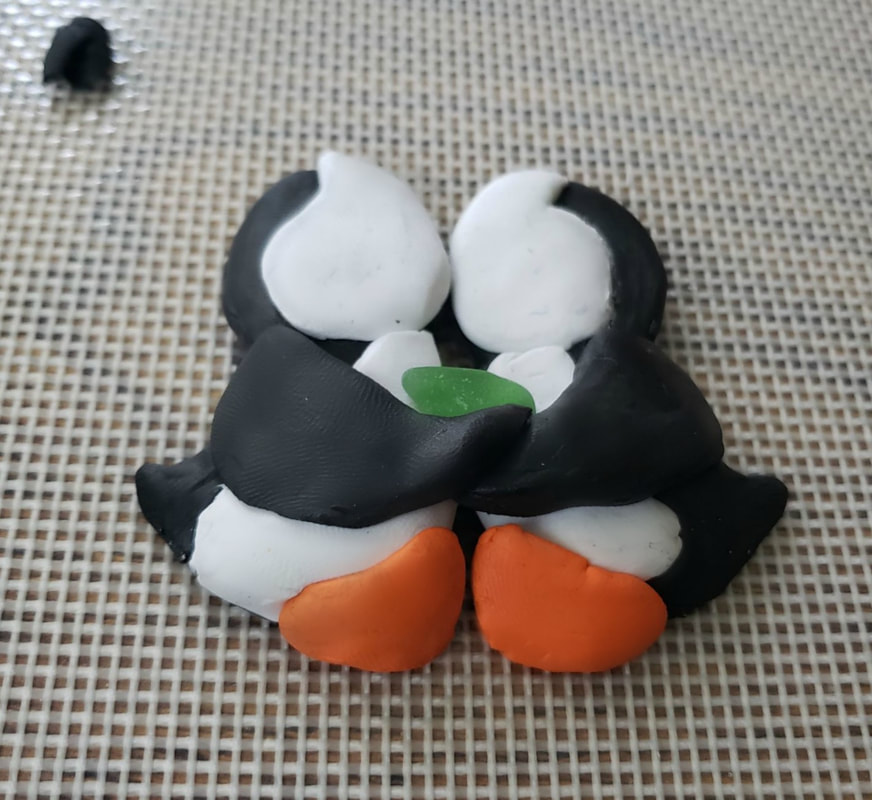 Same as before wedge your sea glass in between the arms. And make two triangles for the beaks. I also used toothpicks to give the beaks nostrils and mouth. 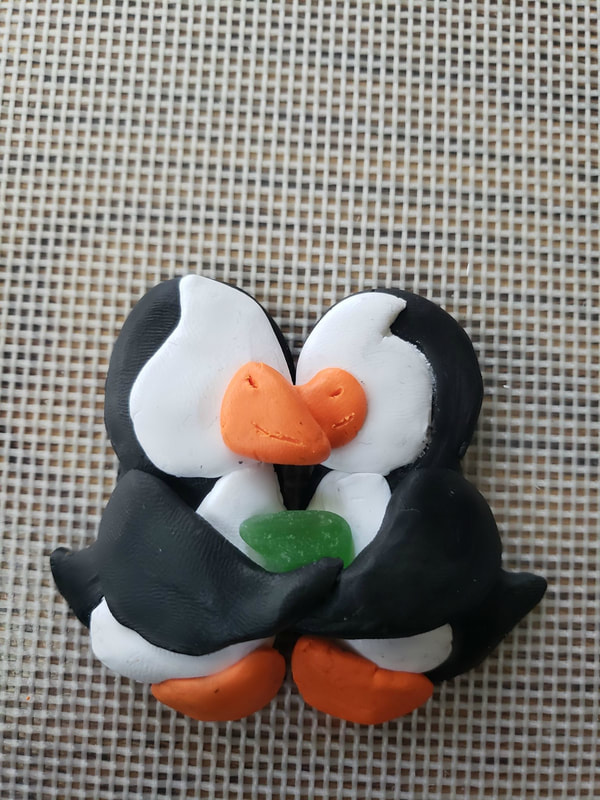 Make two black circles small enough for eyes and then two small white circles to fit inside it. 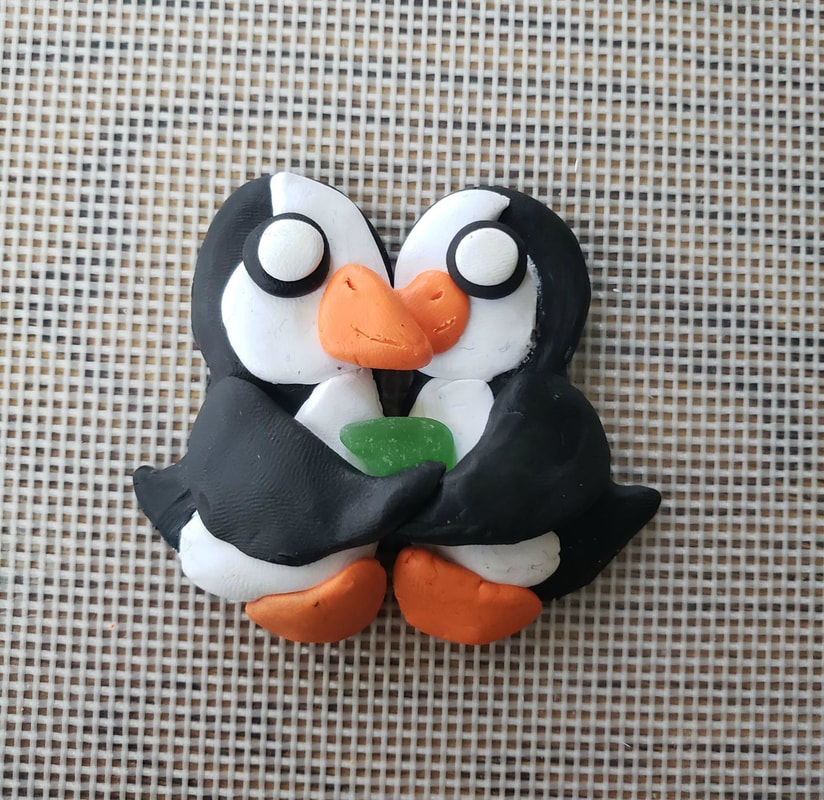 Now, I decided to take a little bit of red clay and make red heart pupils for the eyes. Annnd I also added a bit of clay to the cheeks of my girl penguin. 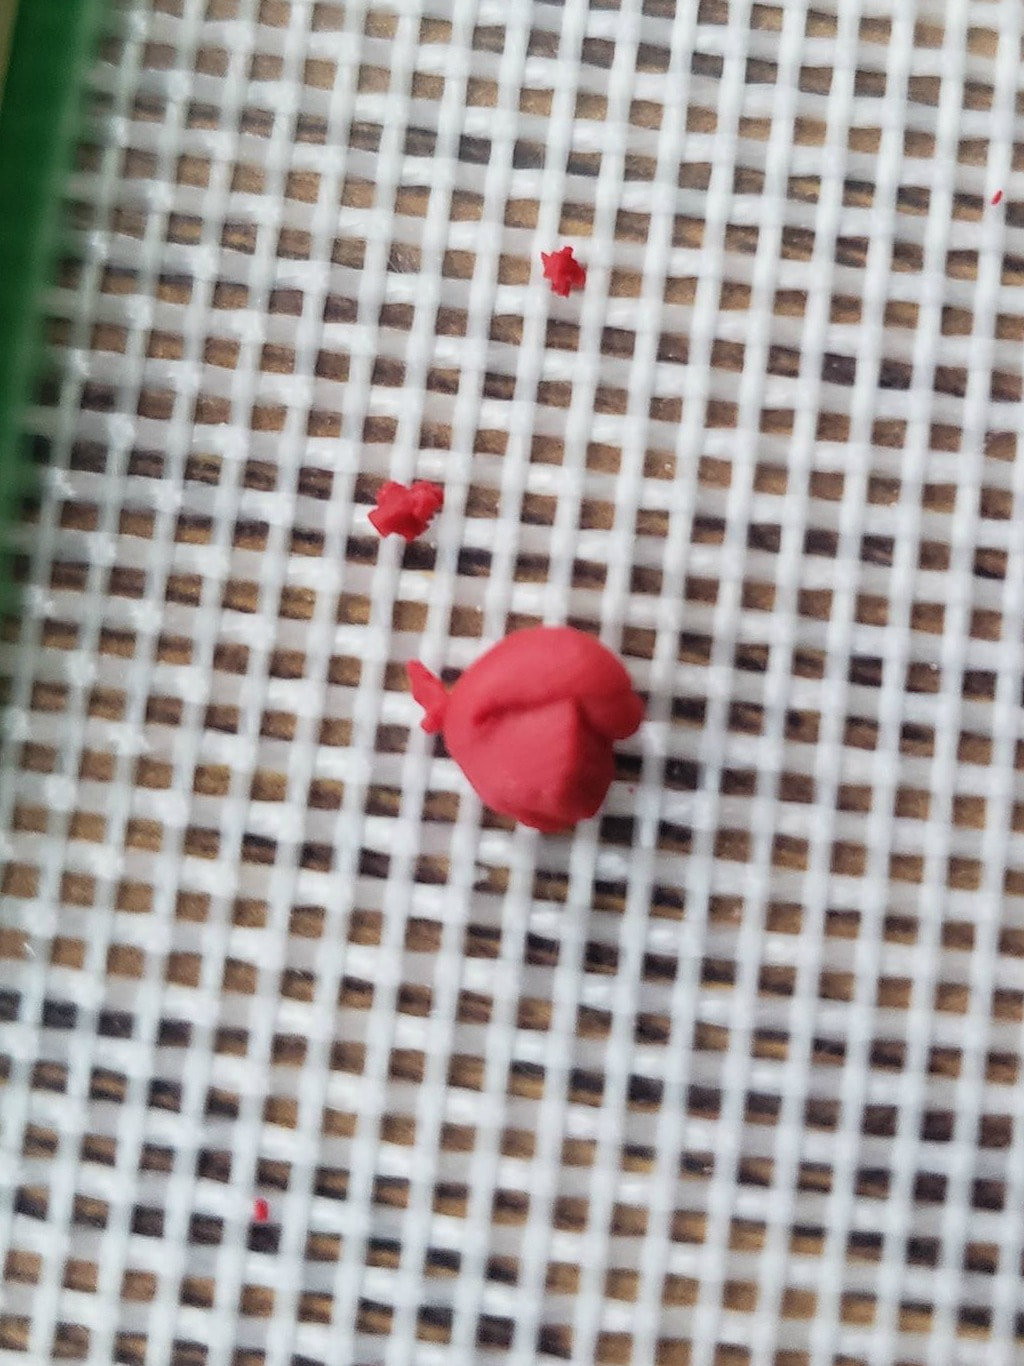 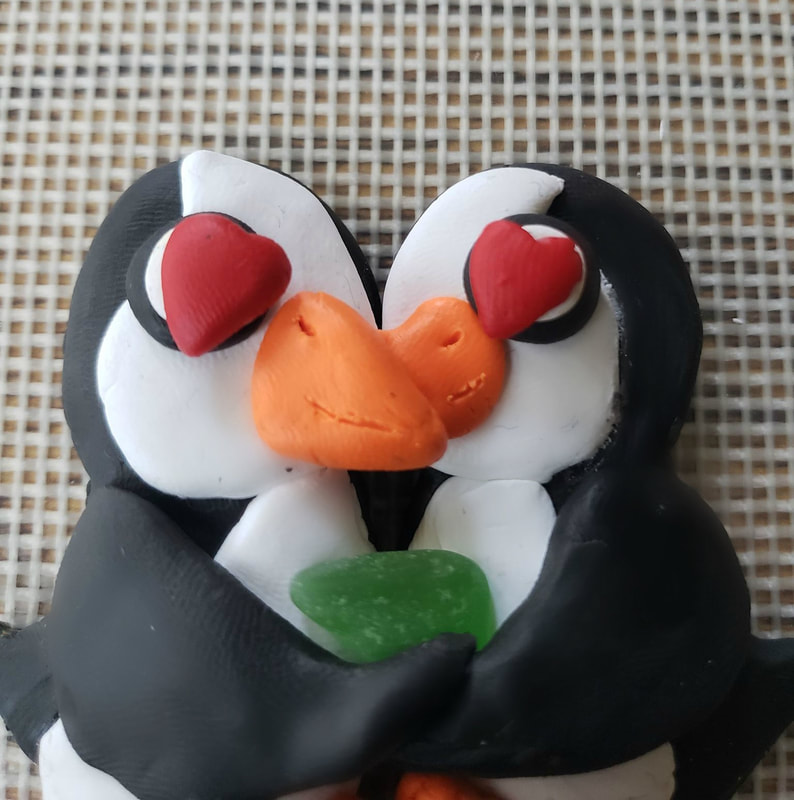 I also made a little pink bow for the top of my girl penguin. 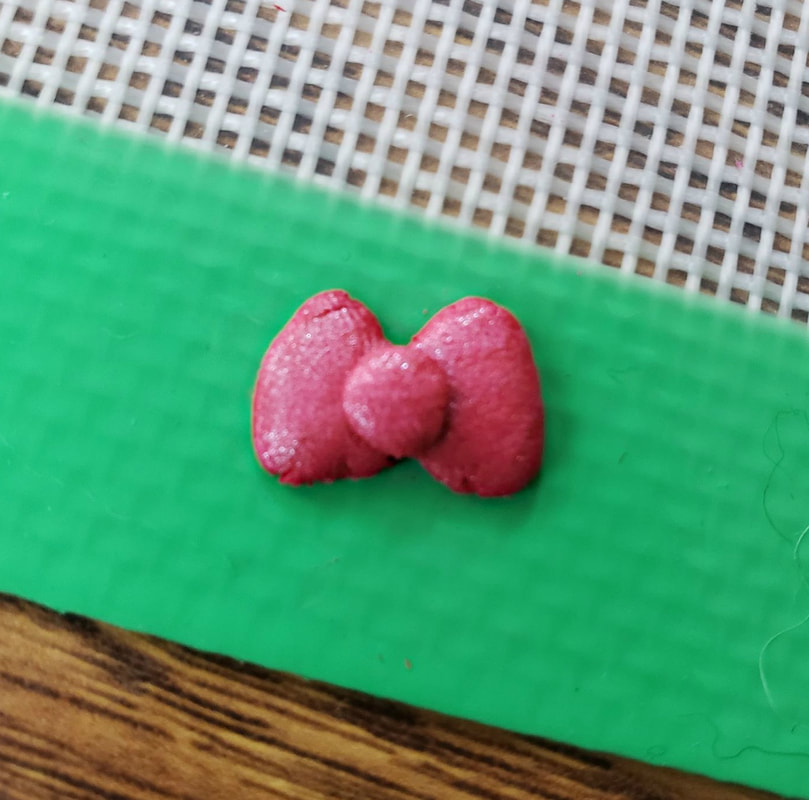 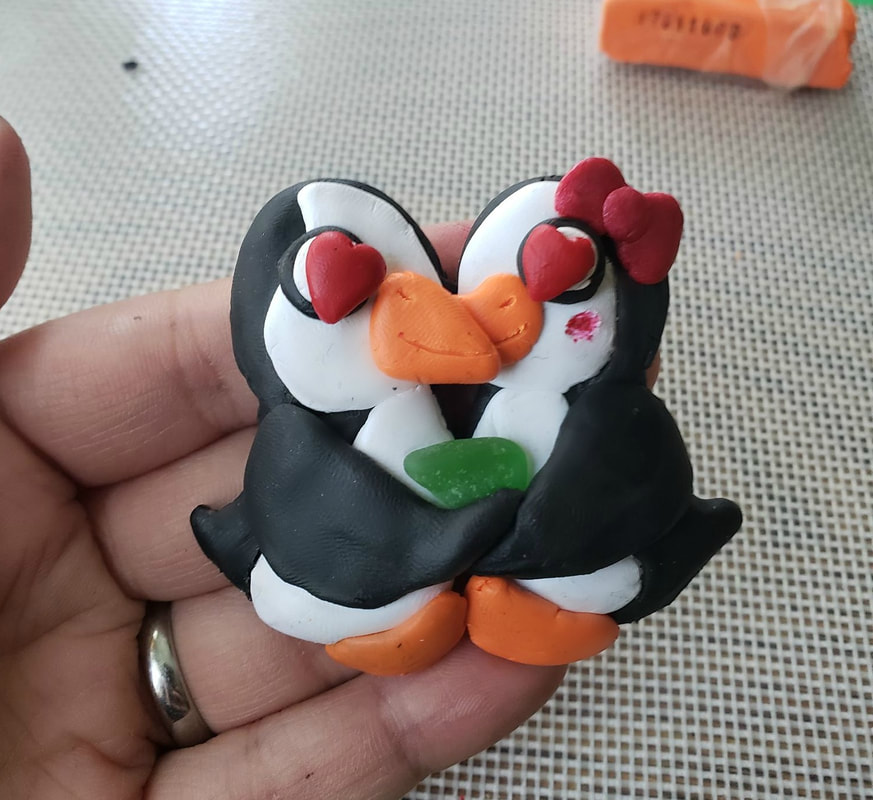 With most polymer clay you'll set the oven to 275 but be sure to check your baking instructions. You're supposed to do 30 minutes for every 1/4 inch of of clay, but since some of these penguins were thicker than other charms I've made, I set it for 40 minutes. 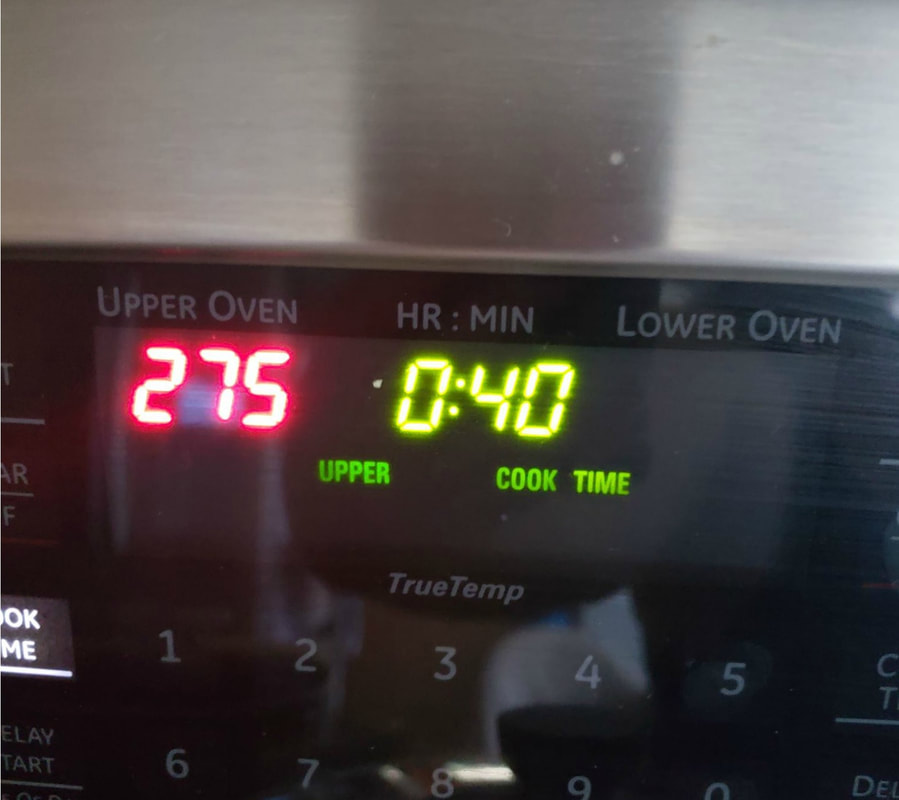 And as usual I baked my clay in an aluminum pan held together with bulldog clips. I also have the pans lined with parchment paper. This helps your clay to bake without burning. 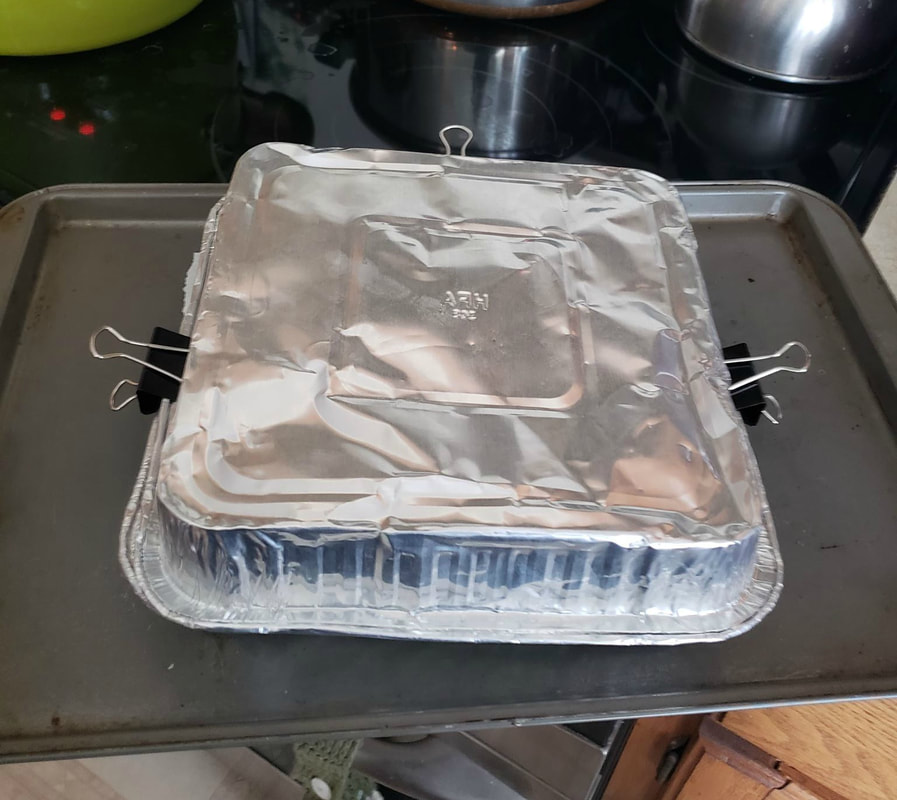 IF you are planning on making them into charms make sure you put your eye pins into the top of the their heads BEFORE you bake them. 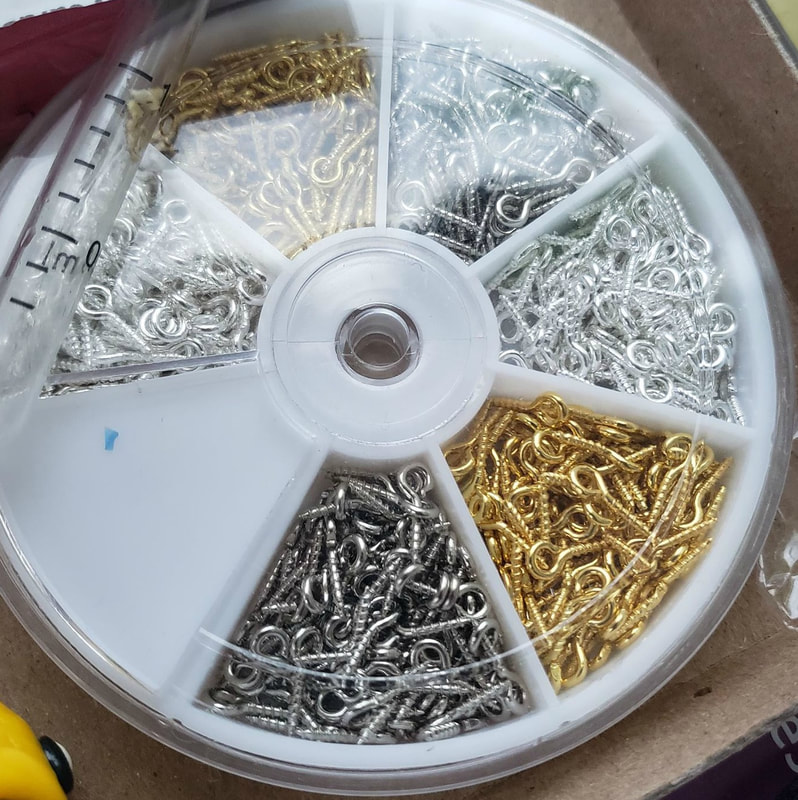 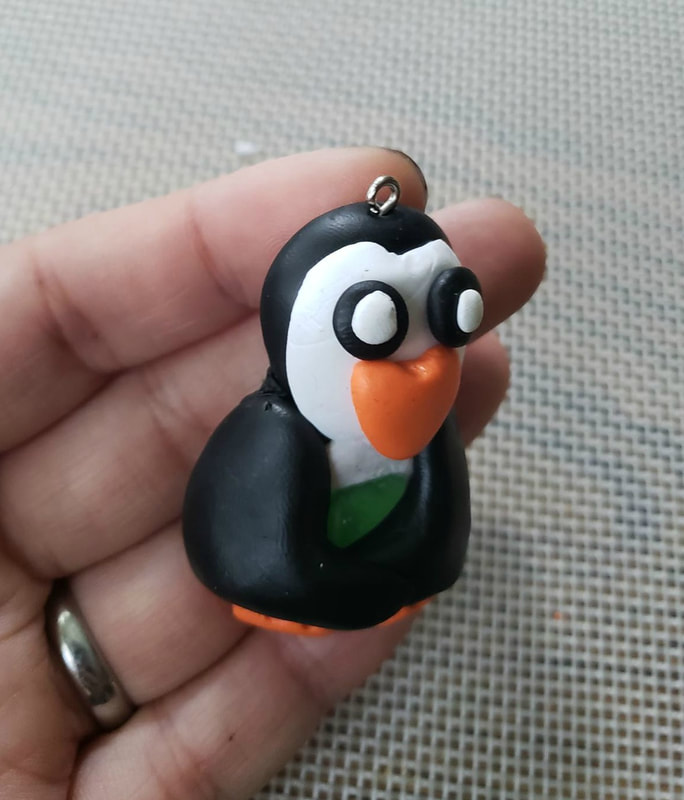 And finally once they're cool, give them a glaze. Once again it's not important, but I really like the way they look once they're glazed. AND it REALLY makes those sea glass shine. 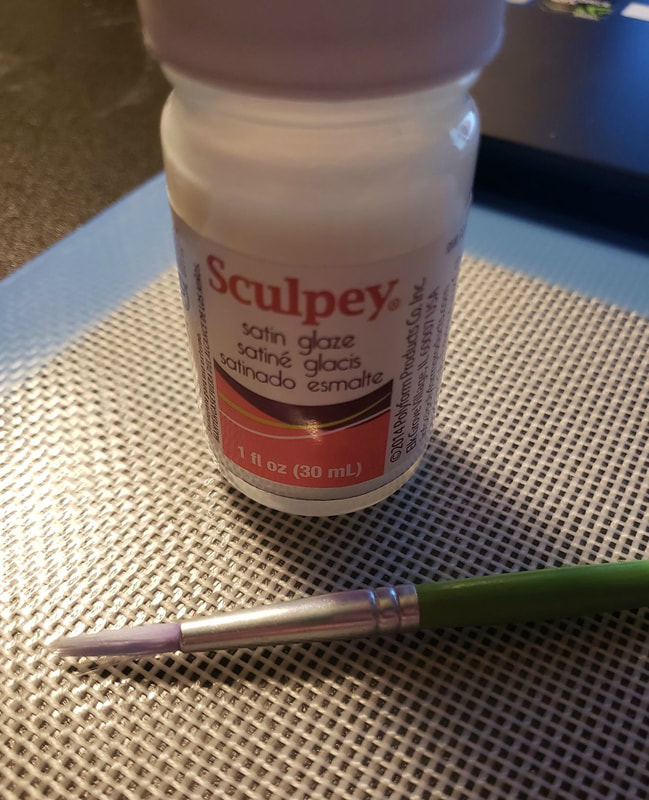 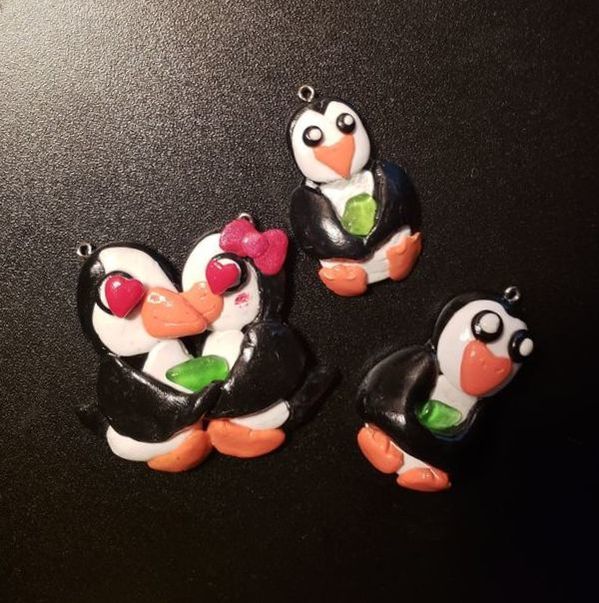
0 Comments
Leave a Reply. |
Crafty Things?This is a page dedicated to DIY's and miscellaneous projects. Archives
April 2018
Categories |
 RSS Feed
