|
Now, I am very new to using Polymer Clay. I am not an expert in any way and people with more experience with clay should absolutely feel free to let me know if they see anything they think I should do differently. I encourage conversations and sharing our techniques. How else do we learn? With that being said, let's jump into this. YOU WILL NEED:
I specifically mention the brand clay I used because each one cooks differently. I did a bunch of research before starting this project. (Even though there are instructions on the clay package, it doesn't hurt to look into it.) I preheated the oven while I started sculpting it. That is one thing I do know- make sure your oven is preheated to the proper heat before baking your clay. I broke off a wall of the clay and started twisting it and softening it so that I could easily mold it.   I broke a part off the clay and rolled it out using my hand. (ALSO should mention that I am using my trusty Silicon Sheet. The clay didn't stick to it and it kept the table clean.)  In this initial part of the project I am working on making seaweed. Once I had a roll I started sculpting it with my hand to make it looks "wavy". The way seaweed, specially animated seaweed, would look. I placed it up against the container this seaweed was going to be attached to. This way I knew how tall to make it.  Then I took the pointed end of my sculpting tool and used it to make lines in the seaweed. (Honestly, if these various tools have names I do not know them. The packaging only said clay tools.)  I made three strands of seaweed per cluster, and made a small section of clay to wrap around the base of the container they were being stuck to. Now, I know I'm going into a lot of detail for a basic clay tutorial. Well, this is also going to be part one of the next craft tutorial being published on this page. (So come back soon if you're interested in seeing that one!) To go with this project I also needed some smaller things made. A small square and two 'rocks' for some miniature snails to sit on. I'm going to discuss cooking these first. For one, I painted the small square before cooking in hopes that the gold paint would really stick to it. The 'rocks' I painted afterward they were already cooled from the oven. To bake these, like I said, the oven was already preheated to 275 degrees. I took two aluminum pans to bake the clay in. The universal thing I've seen other clay crafters say is that you have to be careful not to burn your polymer. I placed parchment paper on the inside of the pan before placing the items in it. I cooked the smaller items first for a very small amount of time. The consensus is that 6mm tick clay should be baked at 30 minutes. But these were much smaller so I actually baked them for 12 minutes. Before baking the clay in the oven I placed the second aluminum pan on top of the other and used the bulldog clips to hold them together. These are all tips I've heard to keep your clay from being over baked.    When I did bake the seaweed clusters, I wanted them to keep their "L" bend. So I took aluminum foil and rolled it up and then wrapped those in parchment paper. This way the bend in the base of the seaweed would have something to rest on and keep it's shape. I also didn't want it to bake and "fall" so I placed bunches of aluminum foil and parchment paper under the leaves.  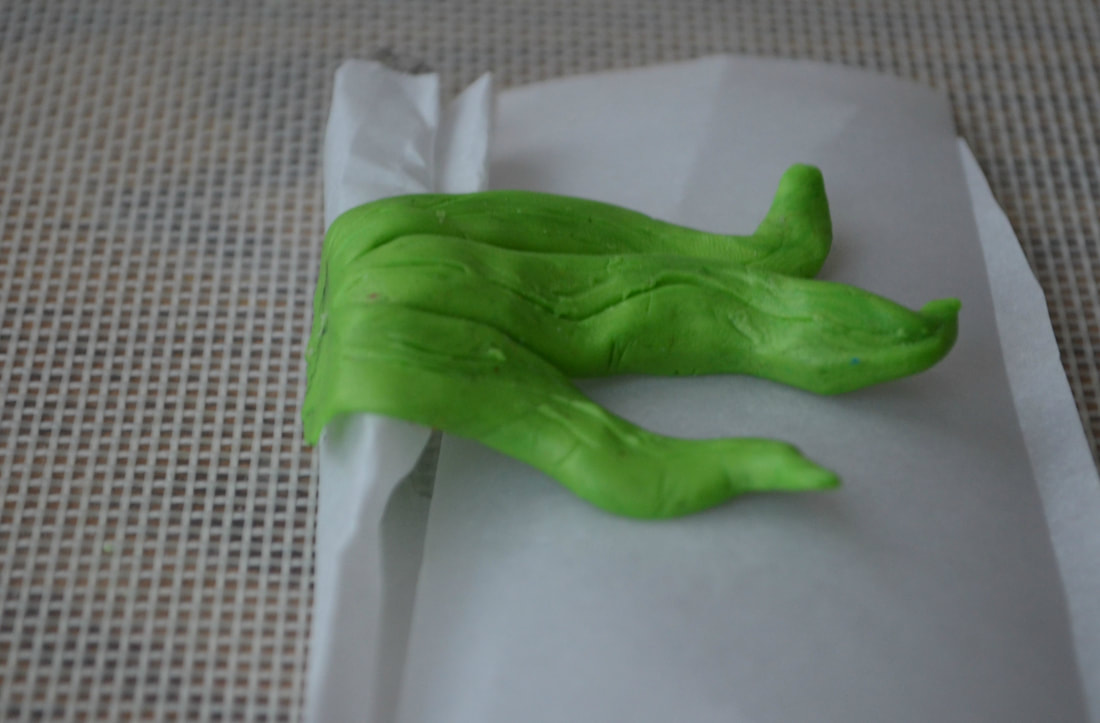 Once again these were placed in the aluminum pans with the bulldog clips, the oven set to 275, but these I did bake for the 30 minutes. 
0 Comments
Leave a Reply. |
Crafty Things?This is a page dedicated to DIY's and miscellaneous projects. Archives
April 2018
Categories |
 RSS Feed
