|
I've been having fun messing around with candle making and I thought this would be super cute. YOU WILL NEED:
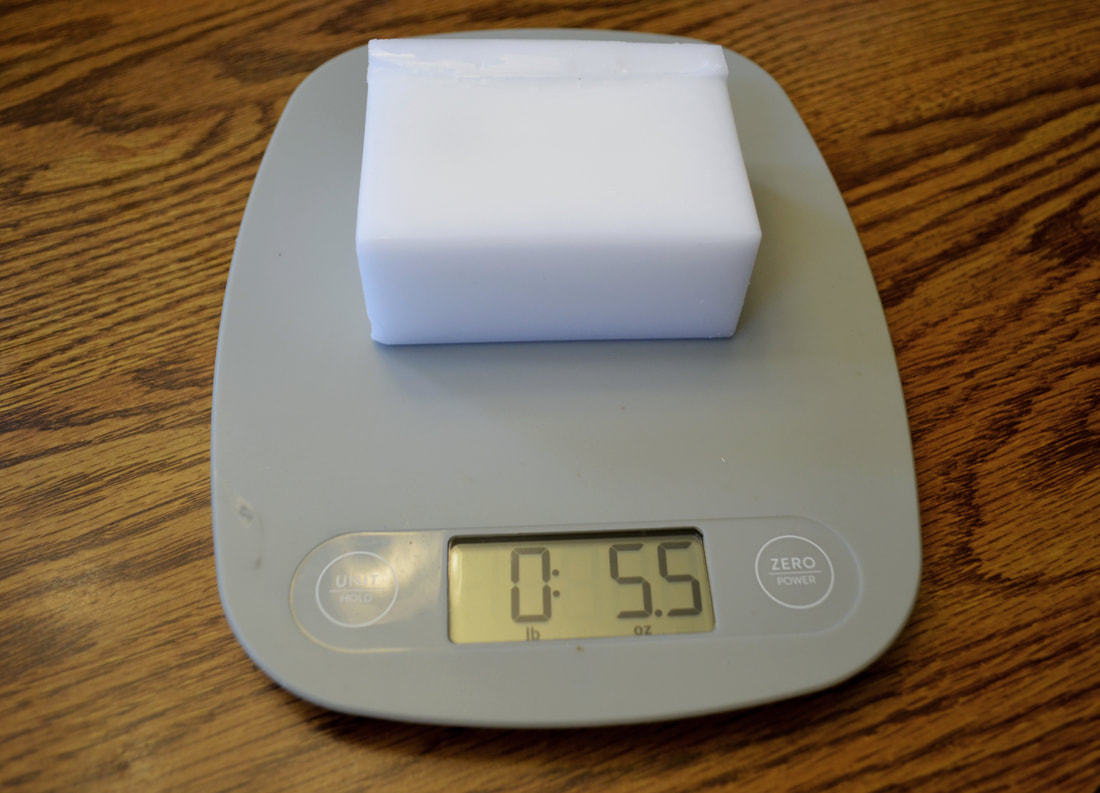 A food scale is perfect for this project because you can figure out the approximate amount of wax you need. Each block of Paraffin wax is approximately 5.5 oz as seen above. For this project I'm making the candle in a stemless wine glass. To find the approximate amount of wax needed for this candle I first weighed the wine glass. Then I filled it with water and weighed it again- subtracting the weight of the glass. I should also note that I only weighed it for as high as I wanted to fill it. 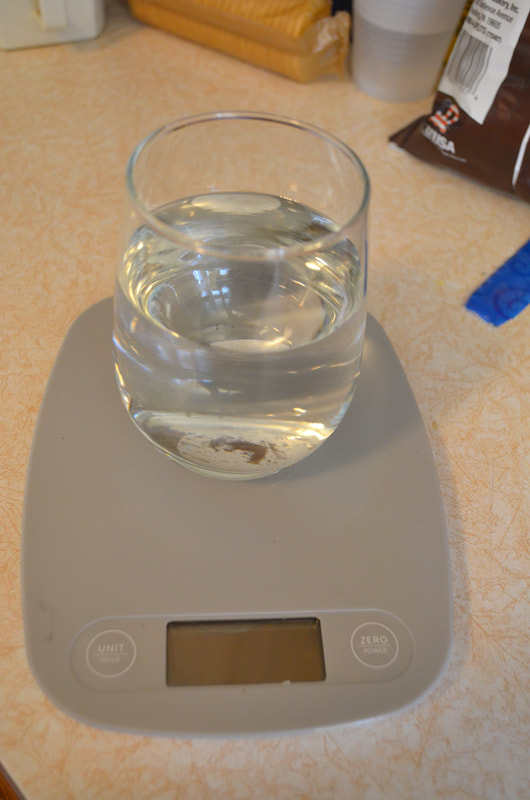 I ended up needing two blocks of Paraffin Wax for this project. Remember to cut it up before placing it in your wax pouring container. I use an Electric Skillet for these kind of projects. Simply fill it with water, set your wax pouring container inside of the water, and then fill it with the chopped up wax. 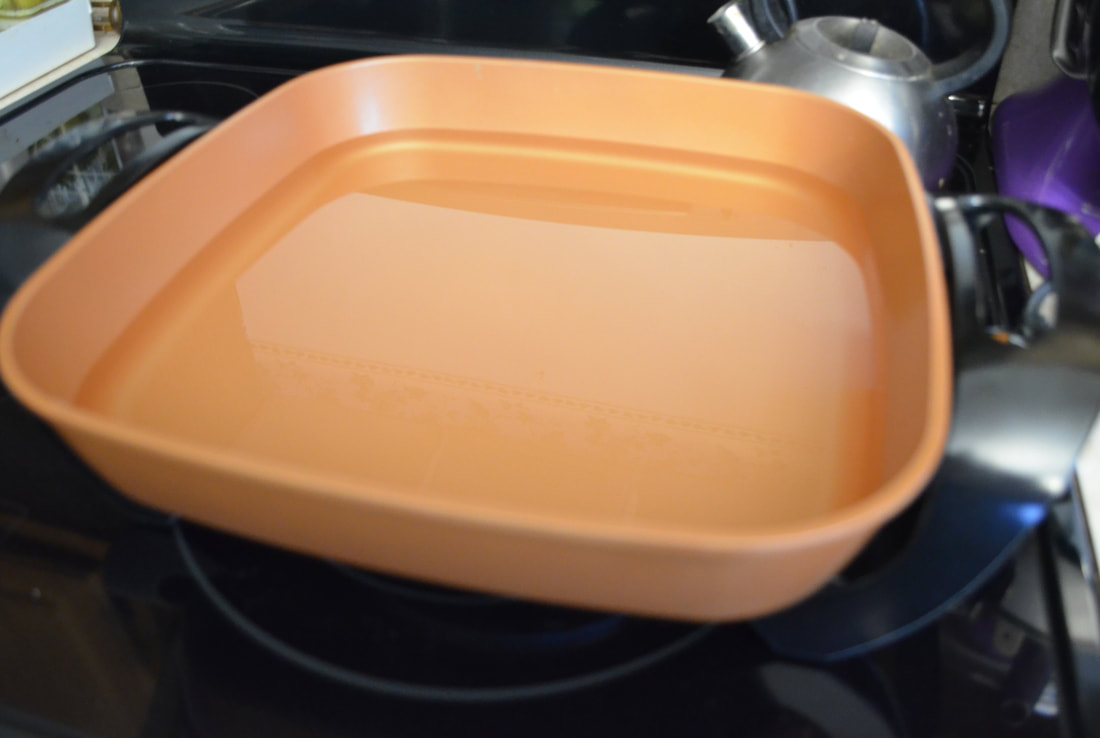 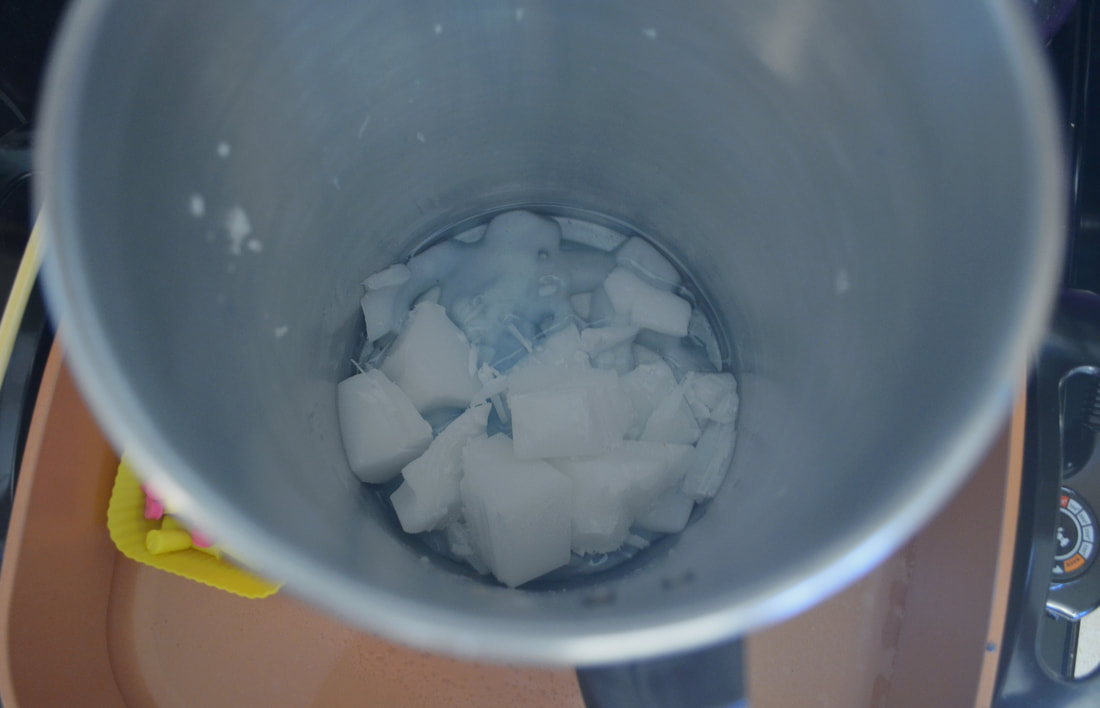 I use chop sticks to stir my wax, they're long enough that I don't really need to put my hand in the hot container, but also cheap enough that I don't have to feel bad getting them dirty/covered in wax. Let your wax melt and stay on the current heat you have it set to. In my case the skillet is set to about 210. Once it's melted you have to get ready to color your wax. I use a slightly controversial method. I use old crayons. Now, the reason this is controversial is that crayon wax is different from candle wax. It will clog the wick and therefore it isn't very practical. BUT if you have MORE candle wax than crayon wax it will do the job. They make actual candle coloring's but at the time of doing this project I just went with what I had laying around. The local craft-store only have two colors and neither one was going to be helpful to this project. So if you use crayons remember to outweigh the crayon wax with candle wax. Remove the wrappers, chop them up, and melt them. I melted quite a bit of crayon to get the right color but did not add quite this much t the candle wax. 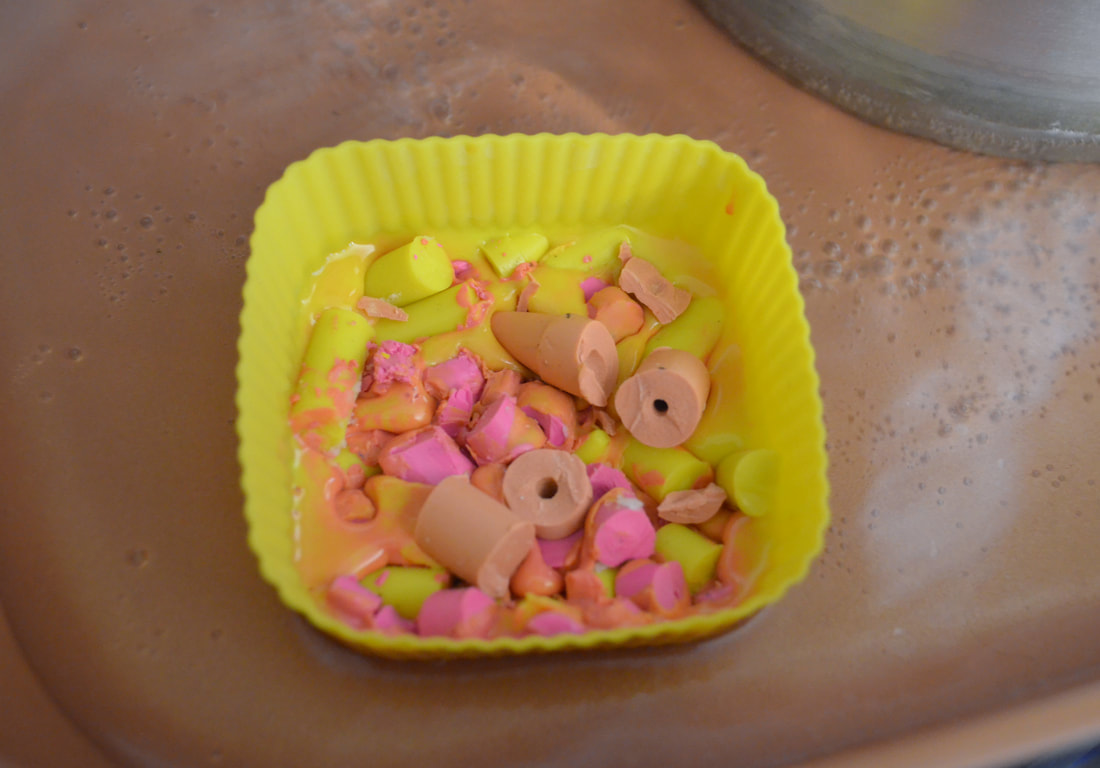 I used four or five yellow crayons, two pink, and a thick peach colored crayon to create the "drink" color for my candle. I melted them in a separate container to get a better look at the color I was creating. I was going for a tropical peach drink kind of vibe. While you're making your colors you should secure the wick to your container. I use an old candle makers trick and dip it in wax to adhere it to the jar. 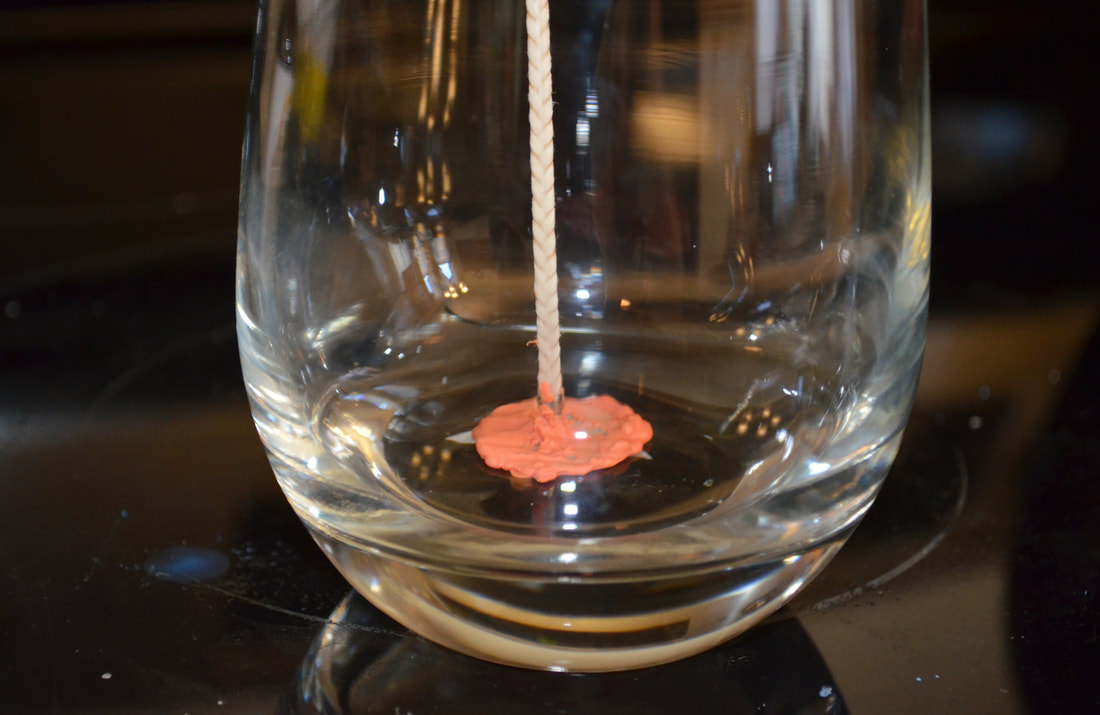 Then going back to my trusty chopsticks I used it to wrap my wick around and keep it centered on the jar. 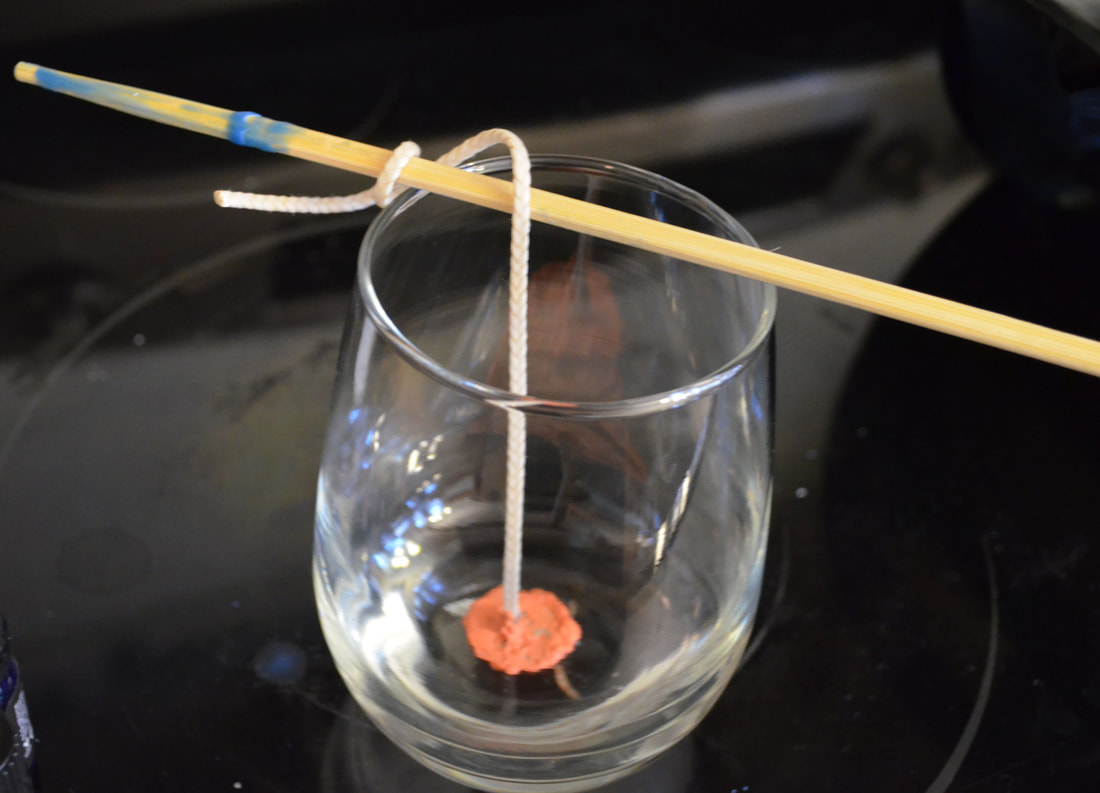 Once you're happy with your color, turn the heat down just enough that you can mix in your scents. I have some Artminds candle scents but I really love my essential oils. I used a little bit of both to create this scent. 1oz of Artminds Orange 14 drops of Pink Grapefruit 2 drops of Bergamont 2 drops of Ylang Ylang 10 drops of Lemon 10 drops of Australian Sandalwood 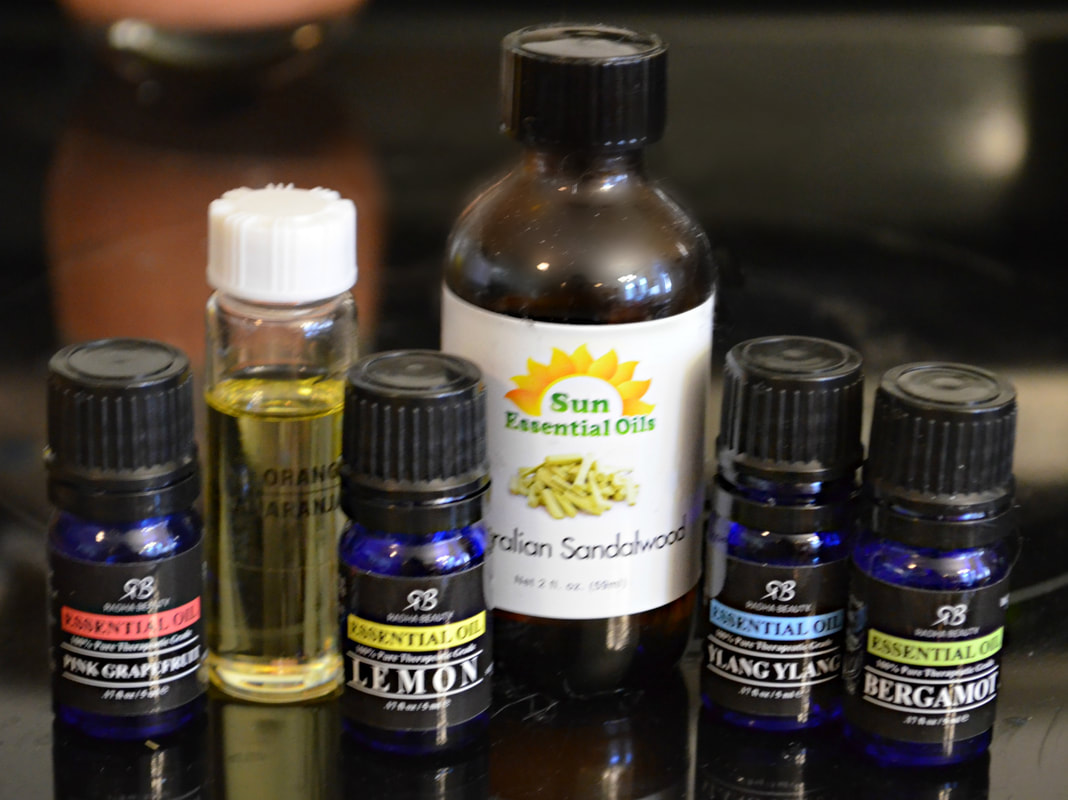 When your scent and wax is all mixed together, bring the heat back up just enough that your wax will easily pour. If it's too cold it was set along the way and you'll end up having to heat it all over again. 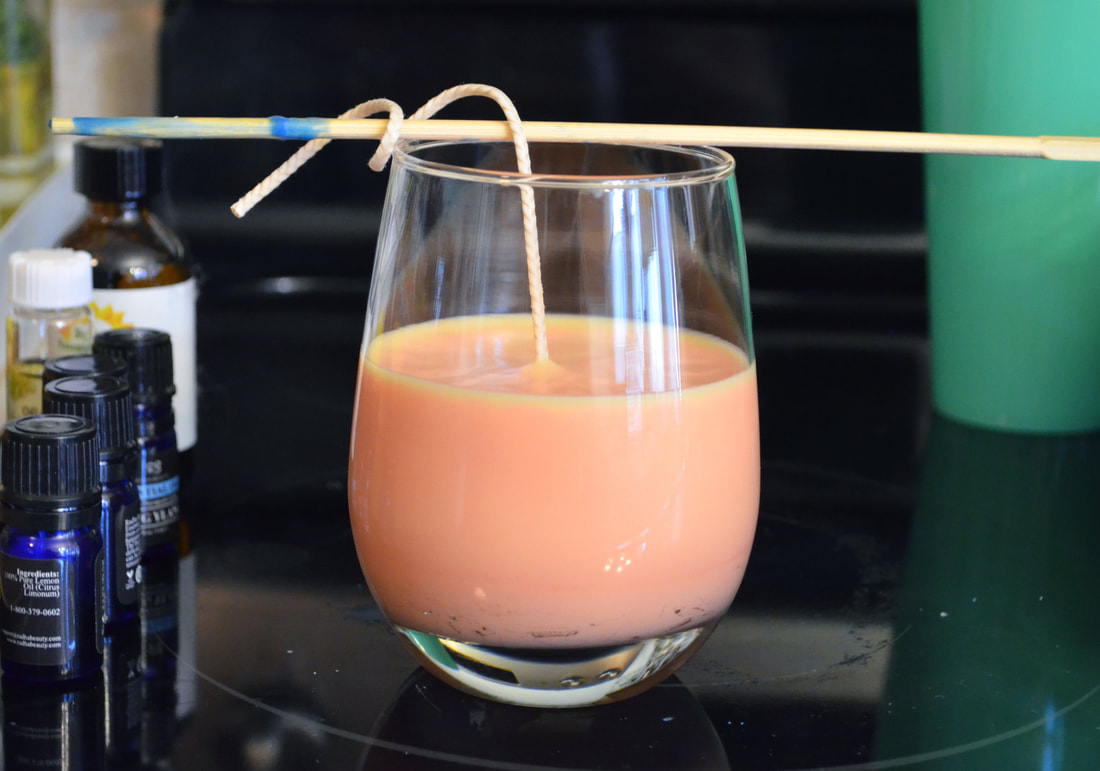 Now, I messed up and didn't photograph this step. But I used mini silicone cups to melt crayons down. NOW I CAN'T STRESS THIS ENOUGH, PLEASE REMEMBER TO ADD PARAFFIN WAX TO THE CRAYONS. This is where the mold in the supply list comes into play. 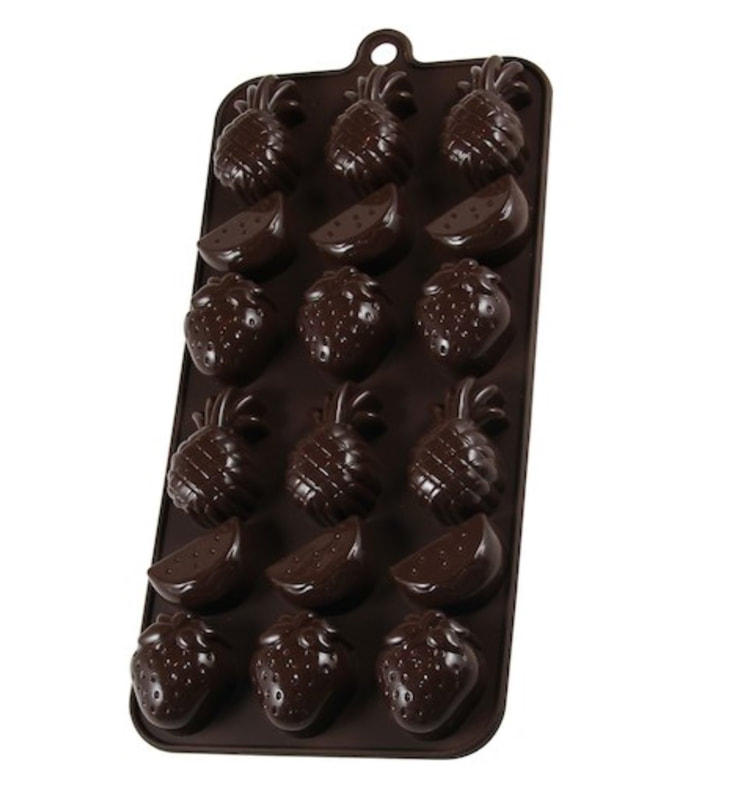 Fill your mold with the color of your choice and let it sit until the wax is solidified. 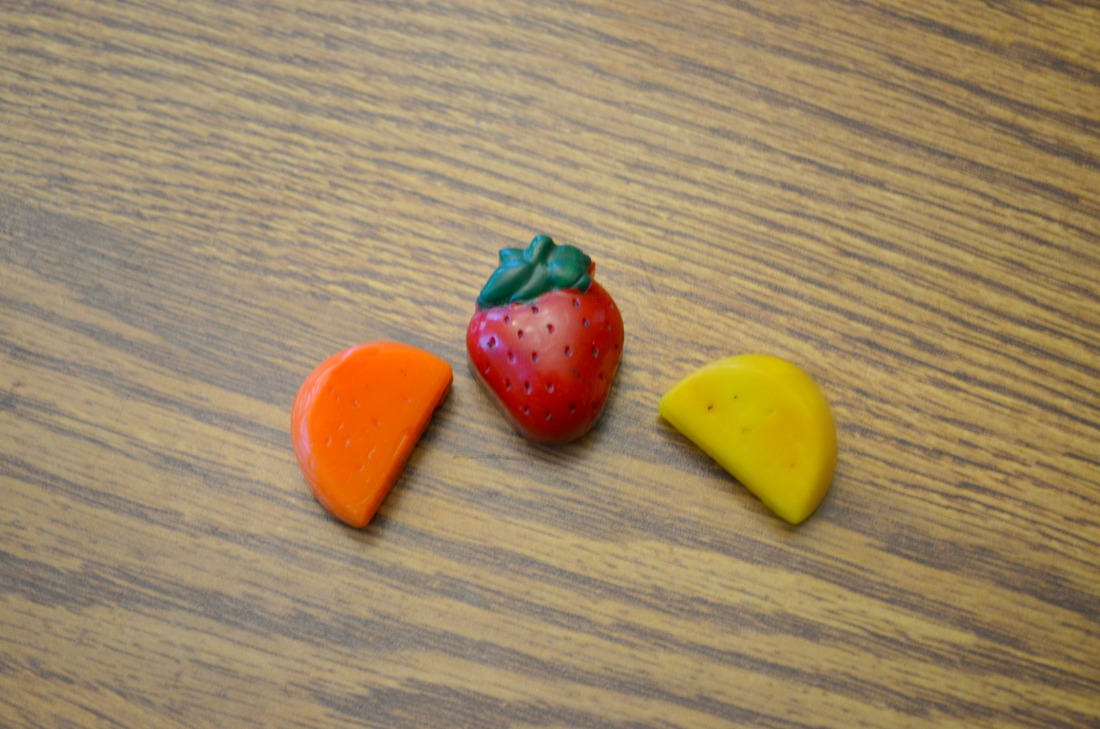 Pour a little more of your drink colored wax into the glass, then set it in the fridge for a few minutes. You want the wax solid enough that your fruit wont SINK into it, but liquid enough that you can wedge your fruit into place. 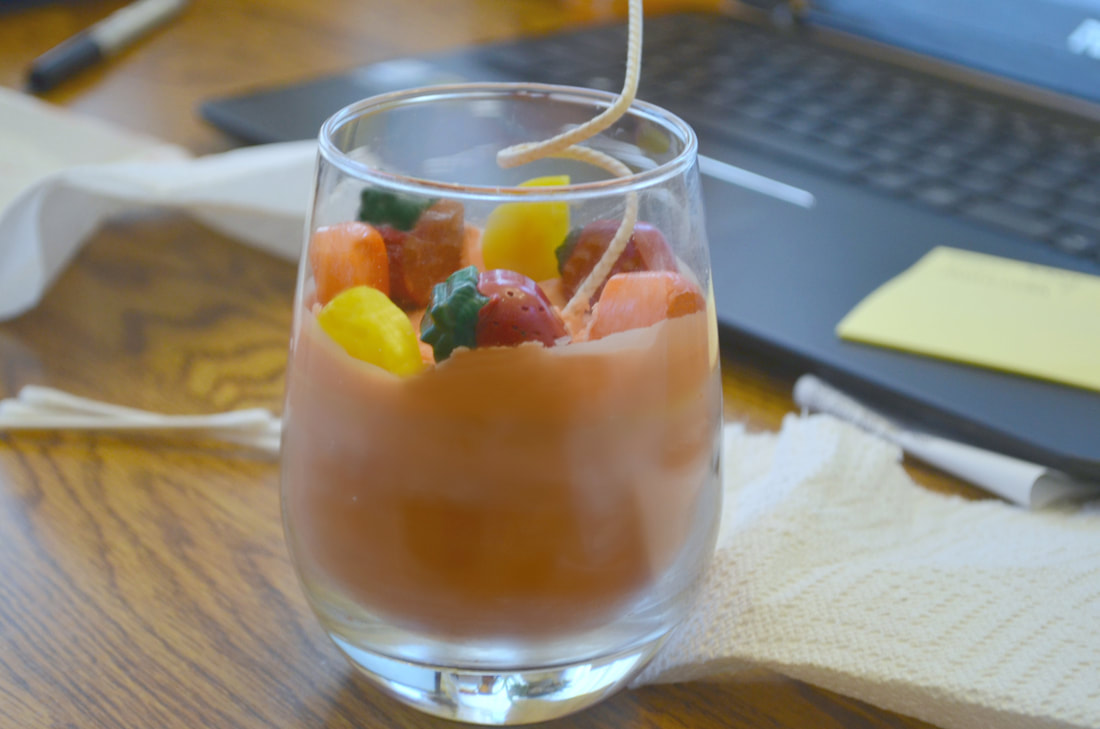 Continue pouring more wax and setting it until you're pleased with the way the drink looks. I added two fruit slices by the base of the wick as well for an additional bar beverage look. This is why I STRESS making sure you're mixing paraffin in with the crayon wax. If you don't your wick WILL get clog by the melting fruit. It will be a mess. Also remember to trim your wick when your candle is set. 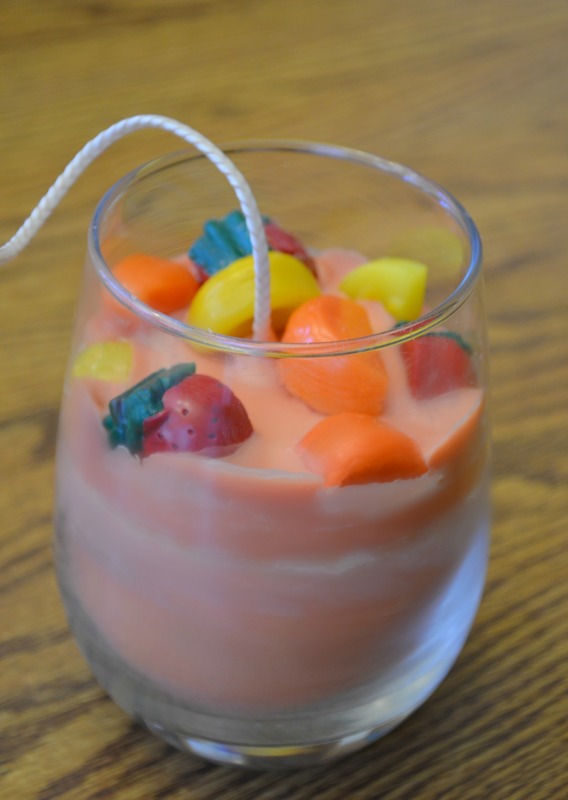 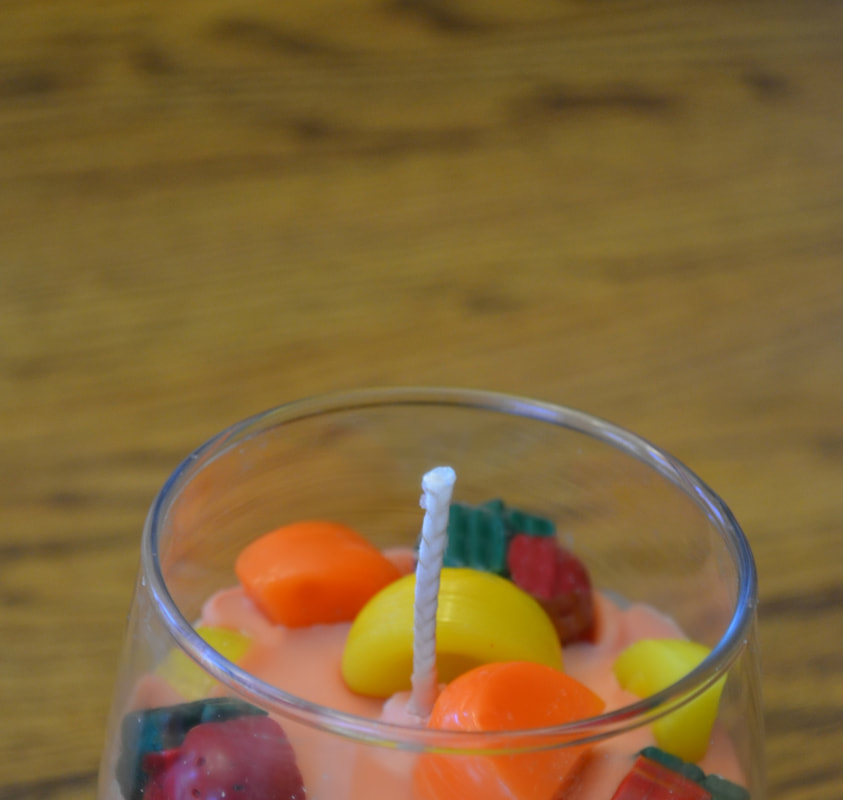
0 Comments
Leave a Reply. |
Crafty Things?This is a page dedicated to DIY's and miscellaneous projects. Archives
April 2018
Categories |
 RSS Feed
