|
If you thought we were going to get through a Beauty and the Beast wedding without the Enchanted Rose Jar as centerpieces- YOU WERE WRONG. Of course I had Enchanted Roses! That was one of the most magical and romantic parts of the movie. And now I'm going to share with you how we did it! YOU WILL NEED: *Bell Jars *1/8" Acrylic Rods *Silk Roses with Wire Stems *Wire Cutters *A Drill *10" Styrofoam circles *Green Spray Paint *Hot Glue *Battery Pack String Lights *Prong Pins *Velcro *Floral Tape *Soft Craft Foam *Greenery Bushes *Gorilla Glue *Something to cut the Styrofoam with *A Saw So you don't necessarily have to start with this step but it would be smart get it done and set aside. Take your 10" Styrofoam circles and cut out square holes on the bottom where the battery pack from your string lights will fit. You can see my, now, husband diligently cutting away at the Styrofoam.... because I am a big baby and turn inside out at the sound of Styrofoam, lol. And you may have noticed I said "something to cut the Styrofoam with", well, this is why. He's over here using an ice cream scoop to make these holes. 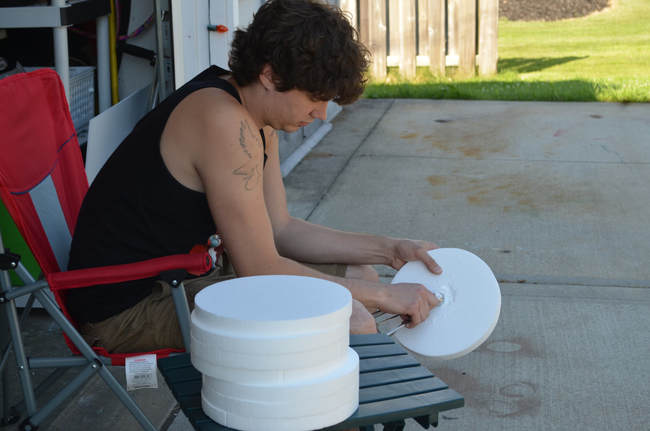 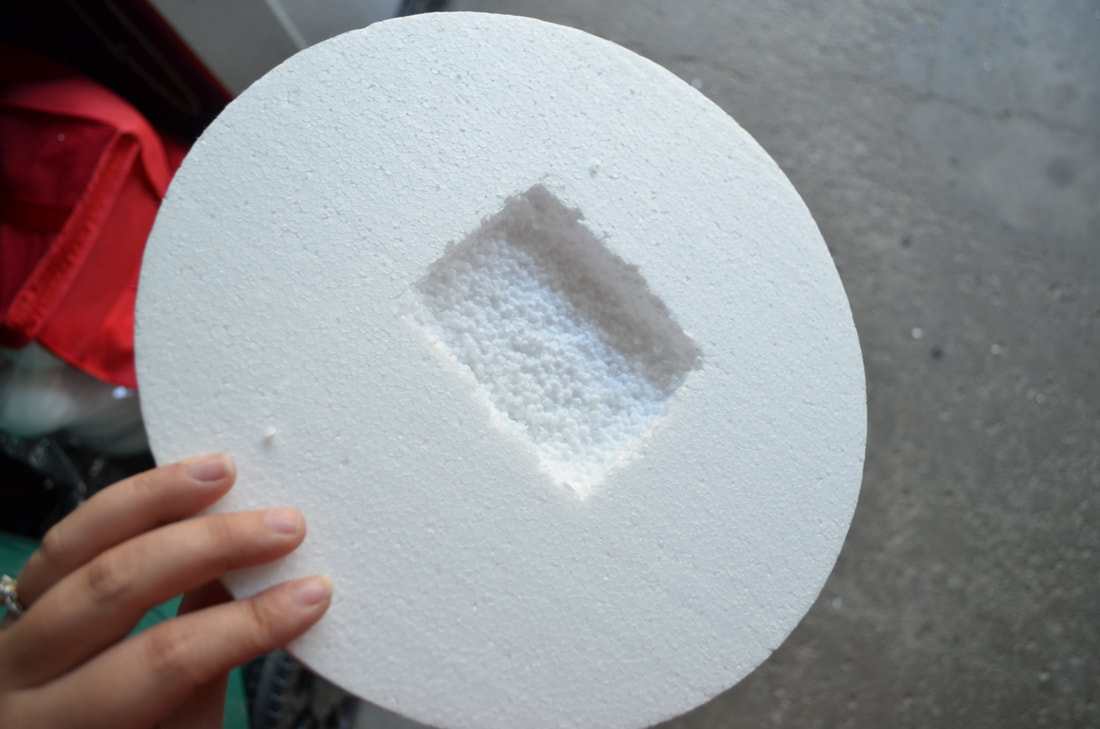 When you're done cutting your holes in the Styrofoam, use your green spray paint on the other side and around the edges. This way when you start turning that into your greenery base, any open spots between the leaves will look normal. Bright white patches are hard to hide. 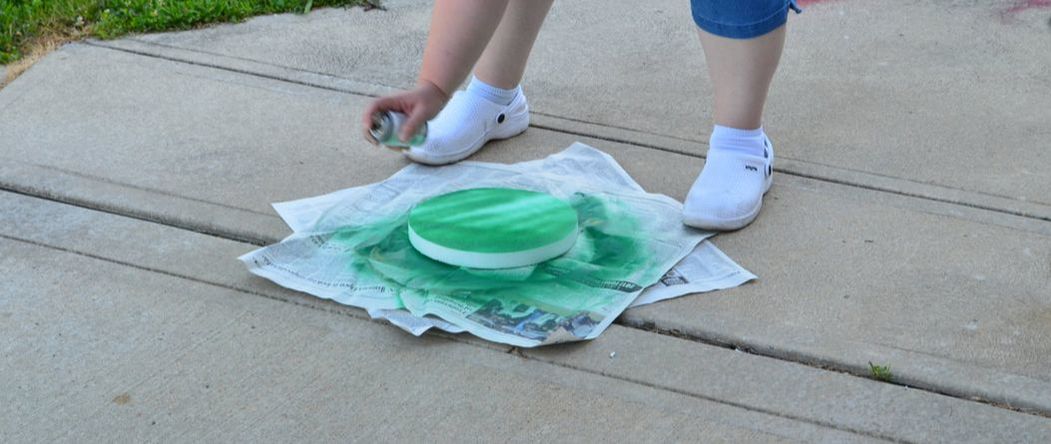 Now, the bell jars that we bought were at Michaels during their Fairy Garden Summer theme. They have a wooden base and will need to be drilled in the next step. BUT I want you guys to know that I searched for others like these and they were fairly easy to find. Try searching Conch Jars if Bell Jars don't come up and look for bamboo wooden base. I found a couple on Amazon for decent prices. Anyways, the next step is to drill a hole in the center of the wooden base. Don't go all the way through but deep enough that it will hold the rose securely. 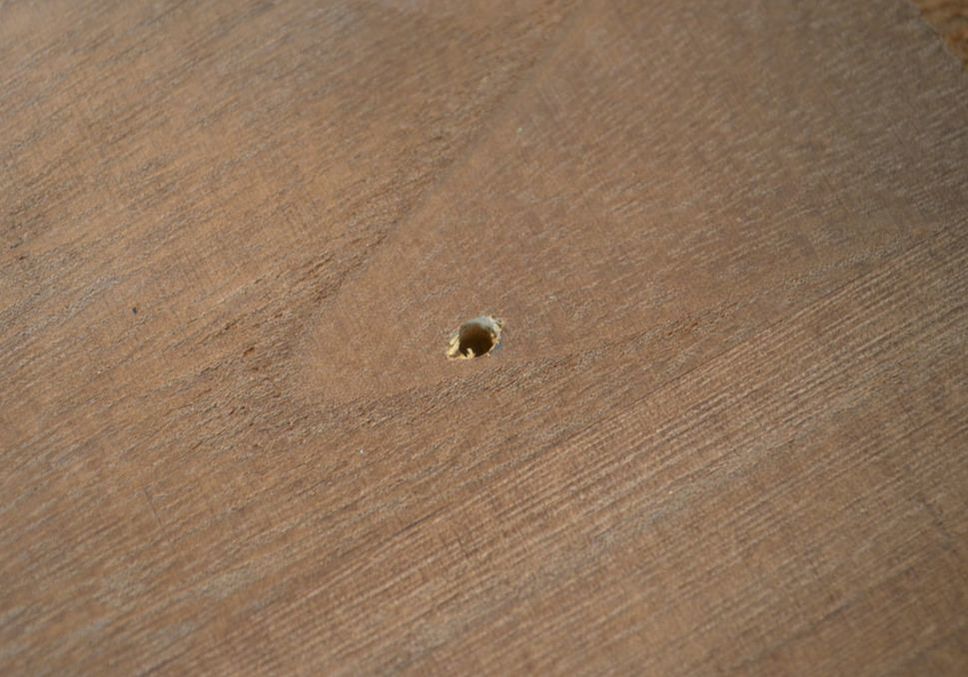 You may find that you have to drill a little deeper depending on how the next step goes. You'll need those 1/8" acrylic rods and a saw. You'll need to cut about an inch long section for each rose jar you're doing. 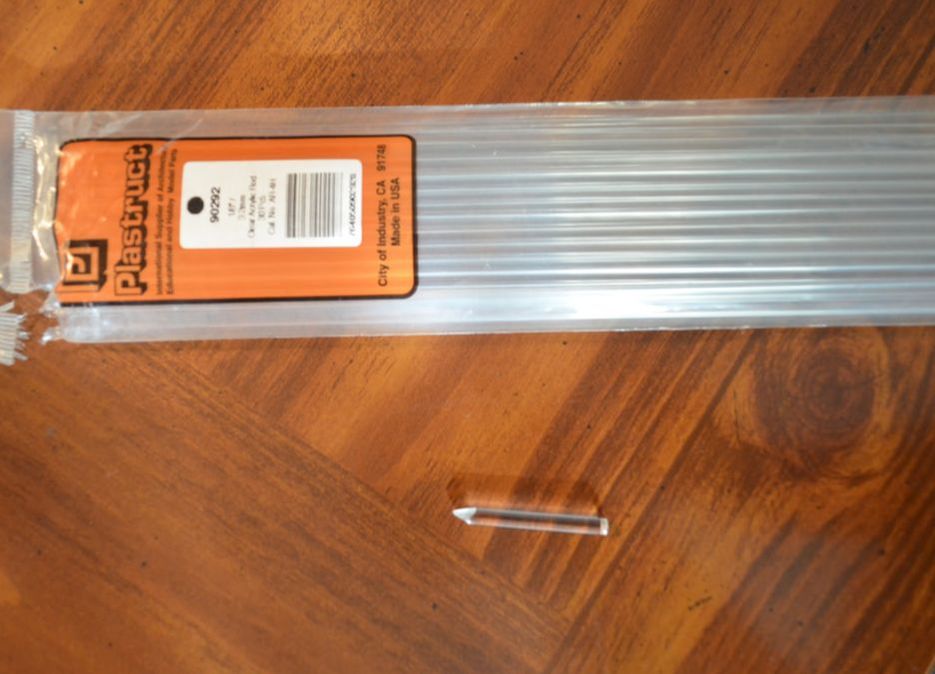 Put the small acrylic rod you cut into the hole of the wooden base. If it sticks too far out you may need to drill a little deeper. But for now we're going to ignore the acrylic rod and focus on the roses. Your silk roses will probably have leaves attached to them. Remove the rubber end of the leaf stem, you're going to need it. 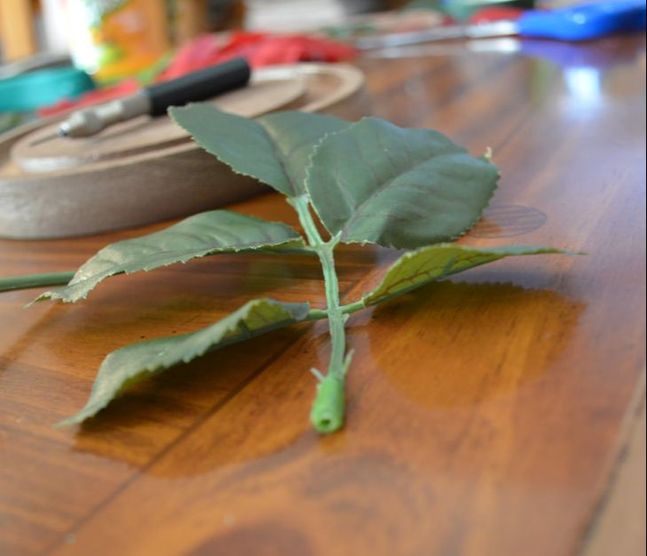 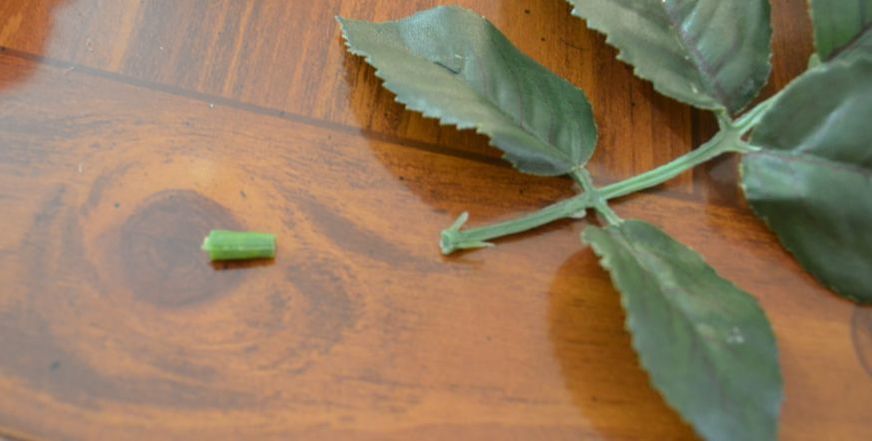 Now using your wire cutters you're going to need to cut down the stem of your roses. And in the movie the rose stem is not a perfect line, it's bent and a little crooked. So you can also see in the photo below that I used the wire stem to help me shape the rose. 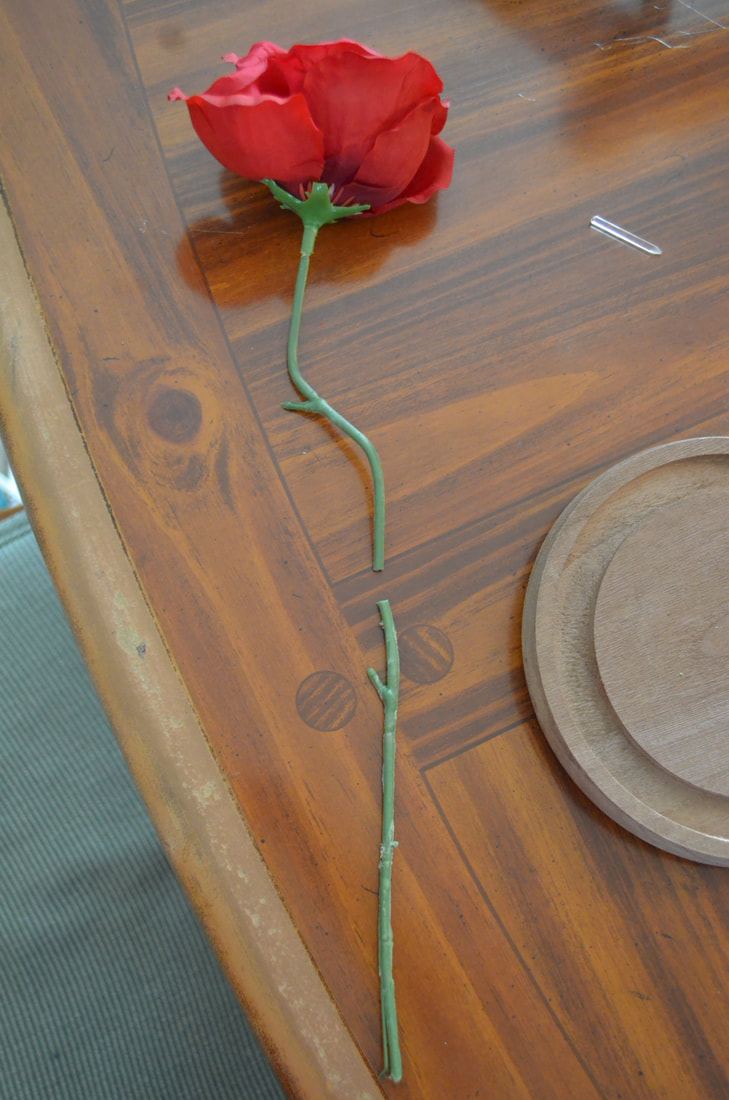 Use your wire cutters to strip the plastic off the stem at the very bottom. You want a small piece of wire sticking out. Attach the rubber leaf bottom onto the acrylic rod and then slide the wire in between the two. 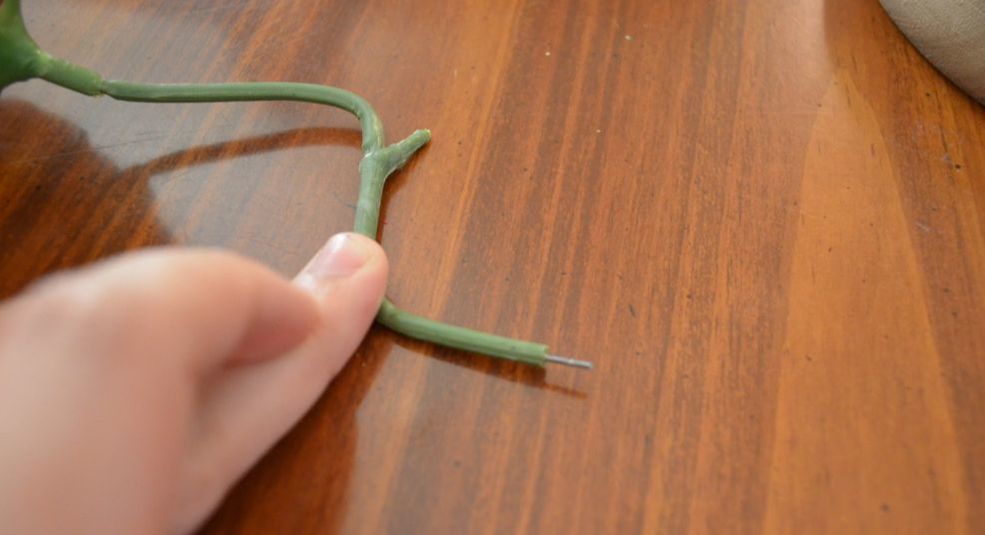 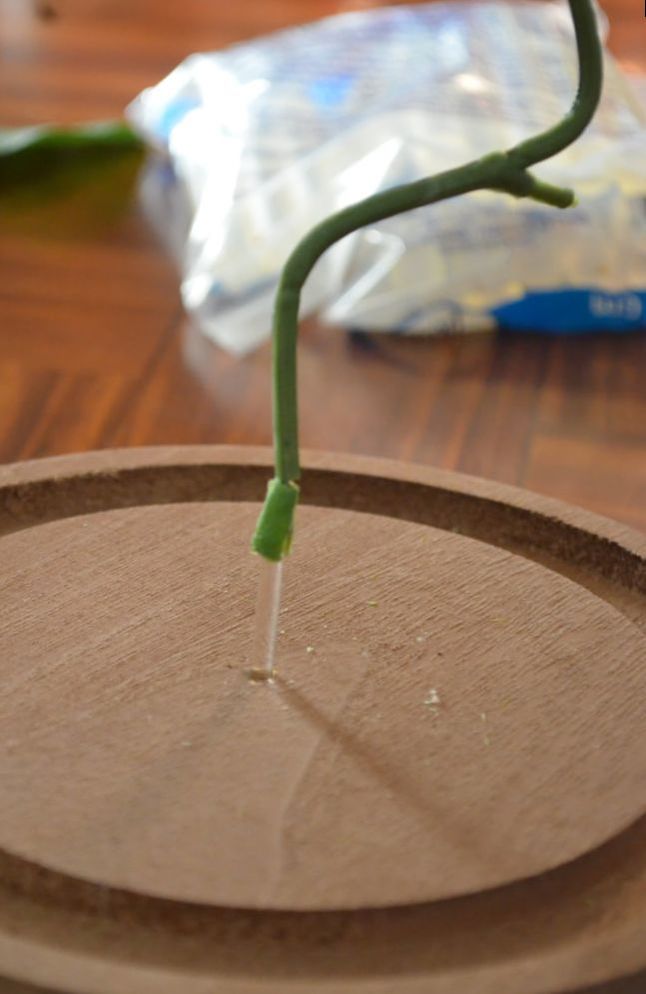 This is where your floral tape comes into play. Take the floral tape and wrap around the base and work your way up the stem. 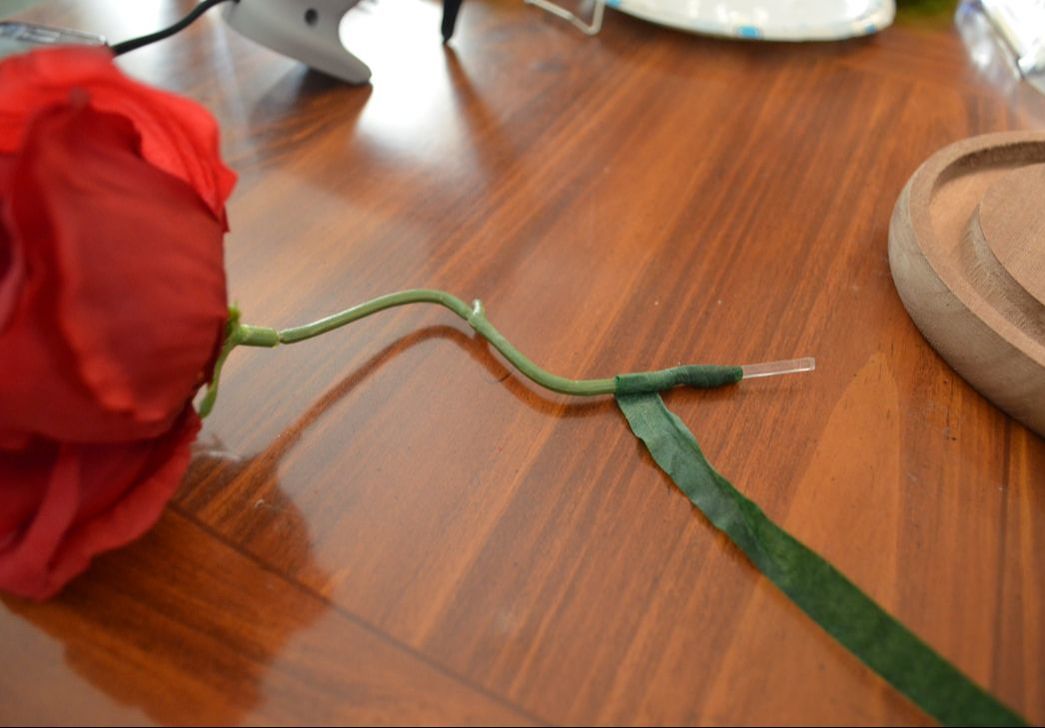 Continue wrapping up the stem and use it to attach the leaves. Take the leaves with the long stems, they're easier to attach. 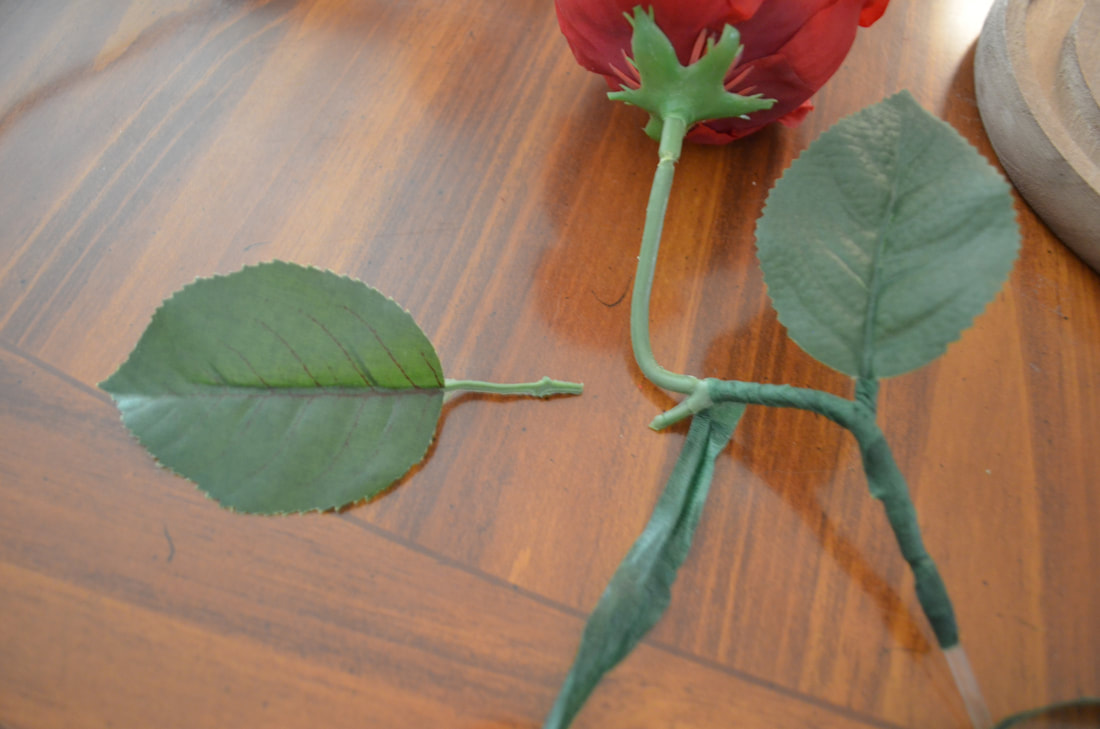 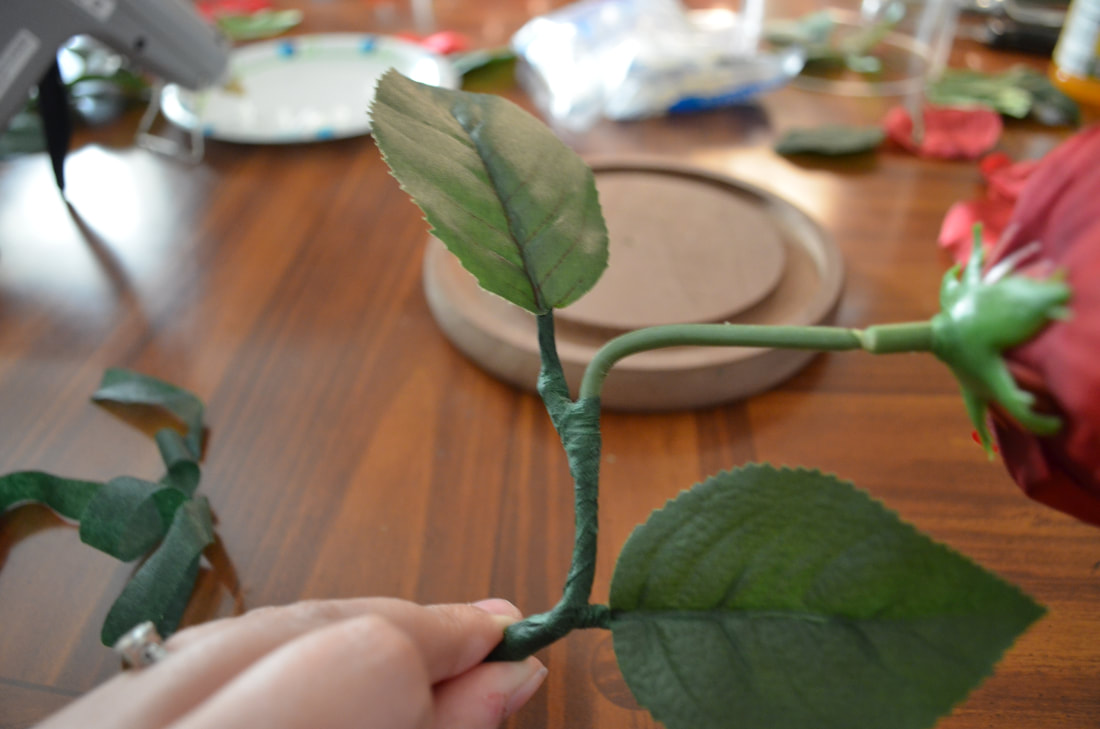 Once your whole stem is wrapped and bent into the proper position. You can add a dab of glue to the bottom of the acrylic rod and place it back into the hole. The next step is to take some silk flower petals, whether you have some from the other projects or you take them from the roses you're using in this project, and glue them to the base. Try and make them look like they've fallen. I did my best to take animated movie petal position into consideration. 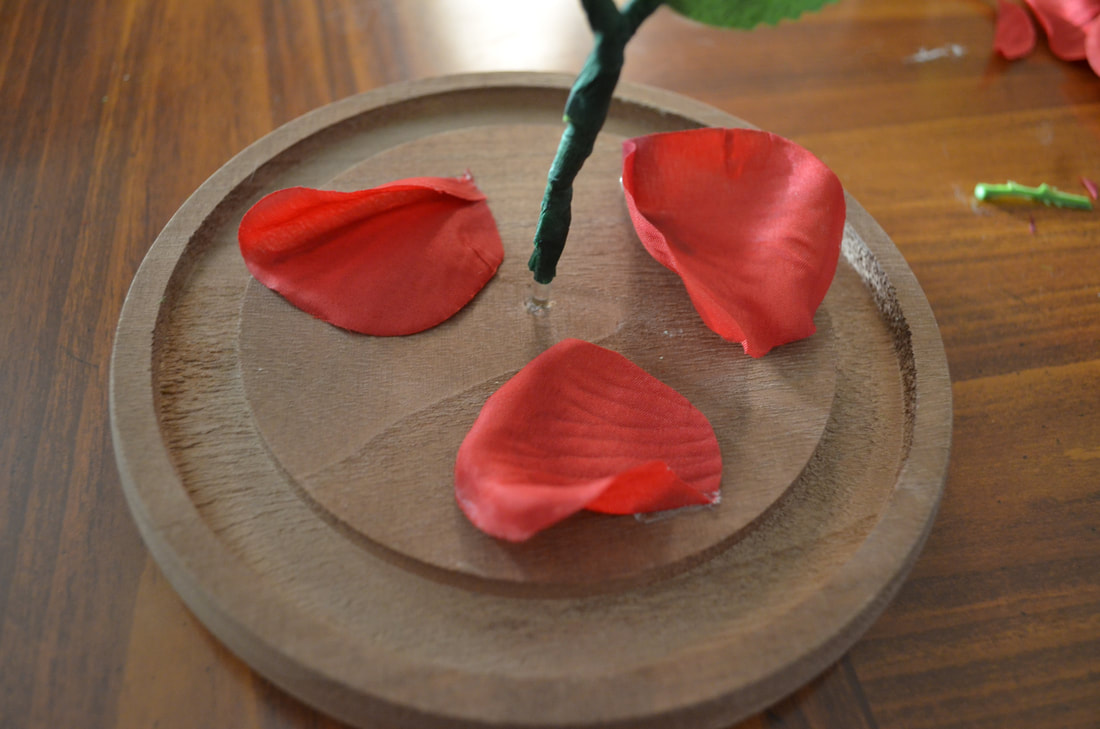 If you've made it this far, congrats! You can set your jar aside and go back to focusing on your Styrofoam circles. Take your soft craft foam and your Velcro. You're going to make a cover to help keep the battery pack from falling out. 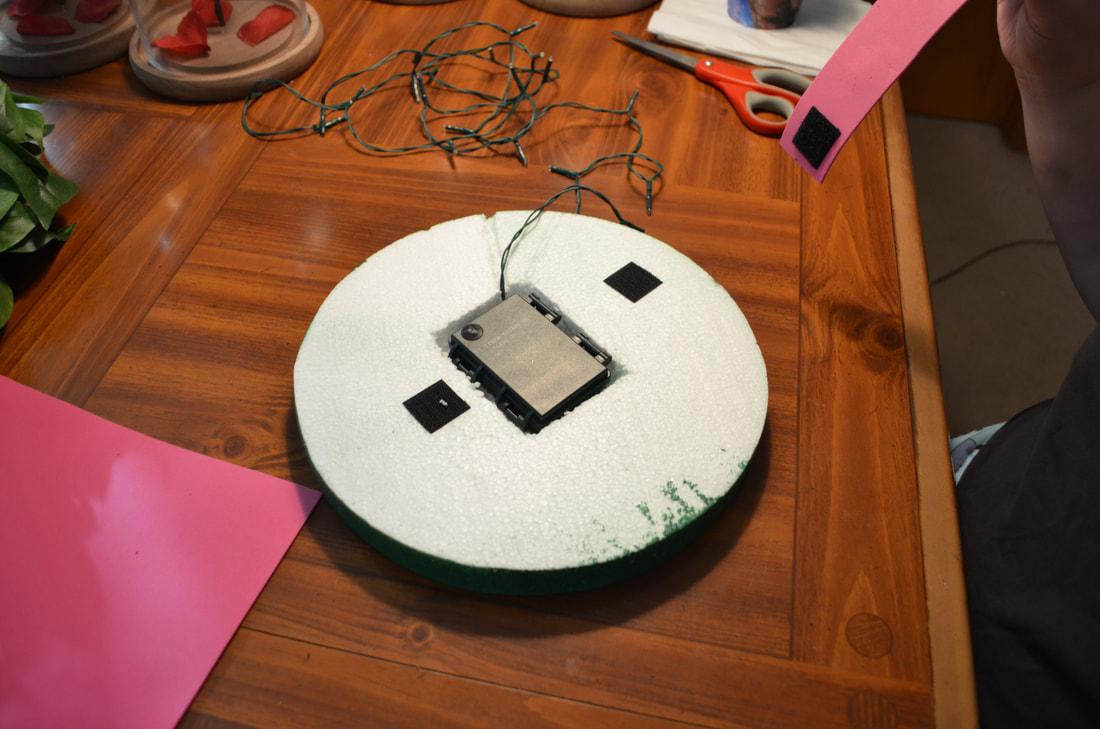 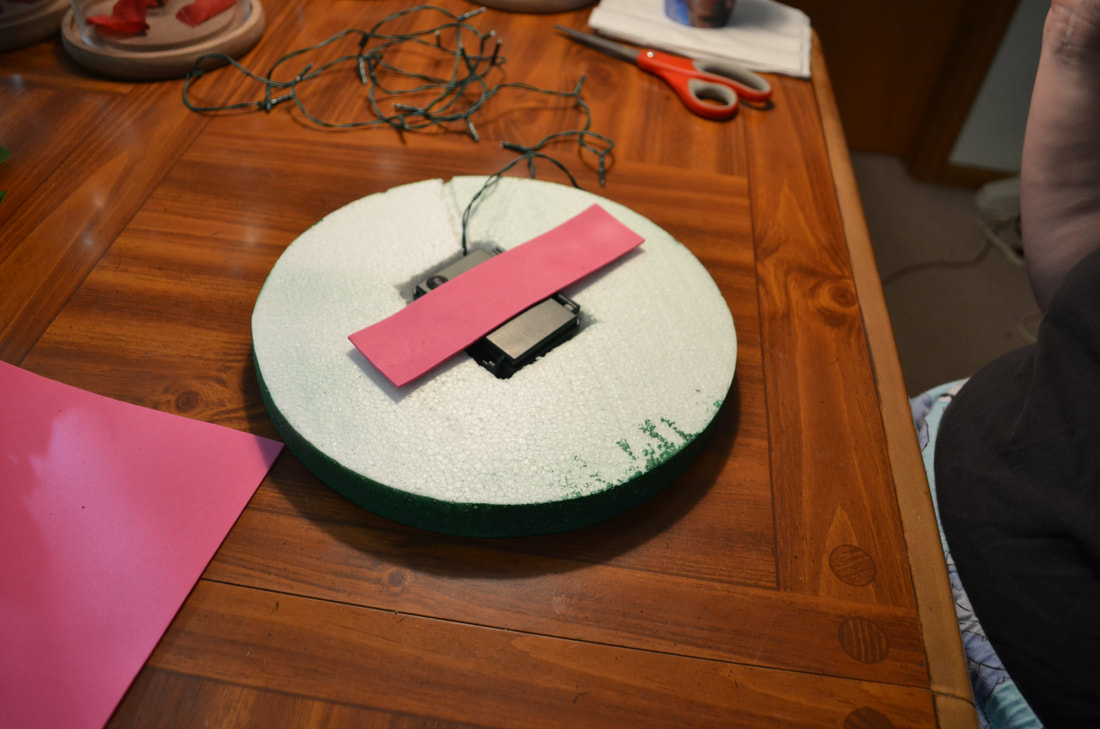 Flip the circle over and use your prong pins to attach the lights. You'll want to go around the center of the circle. 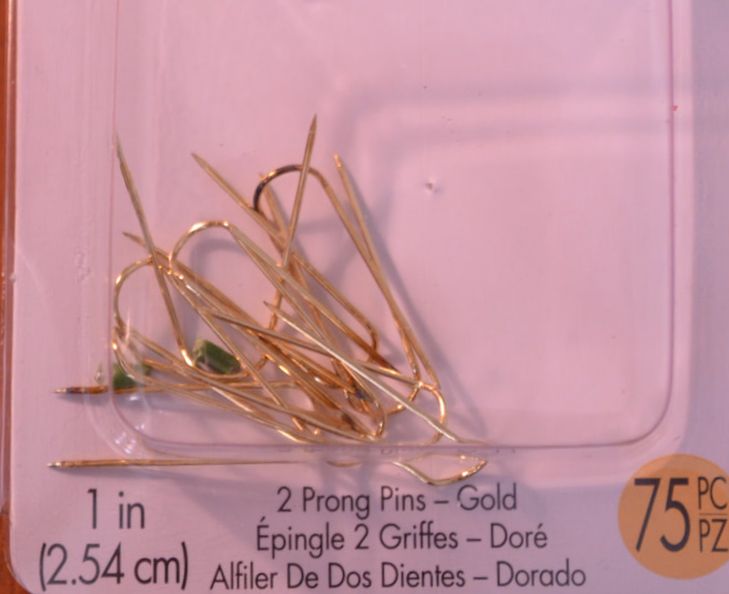 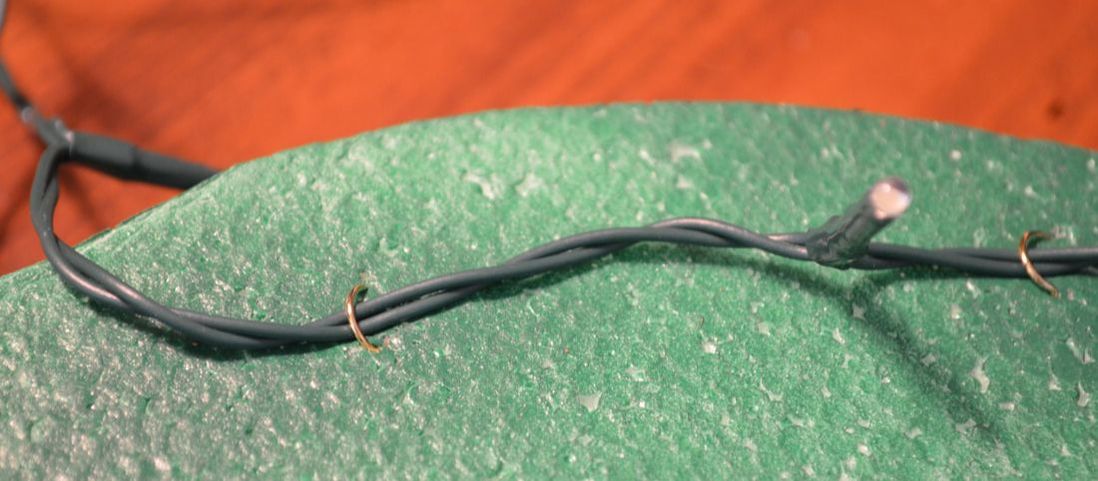 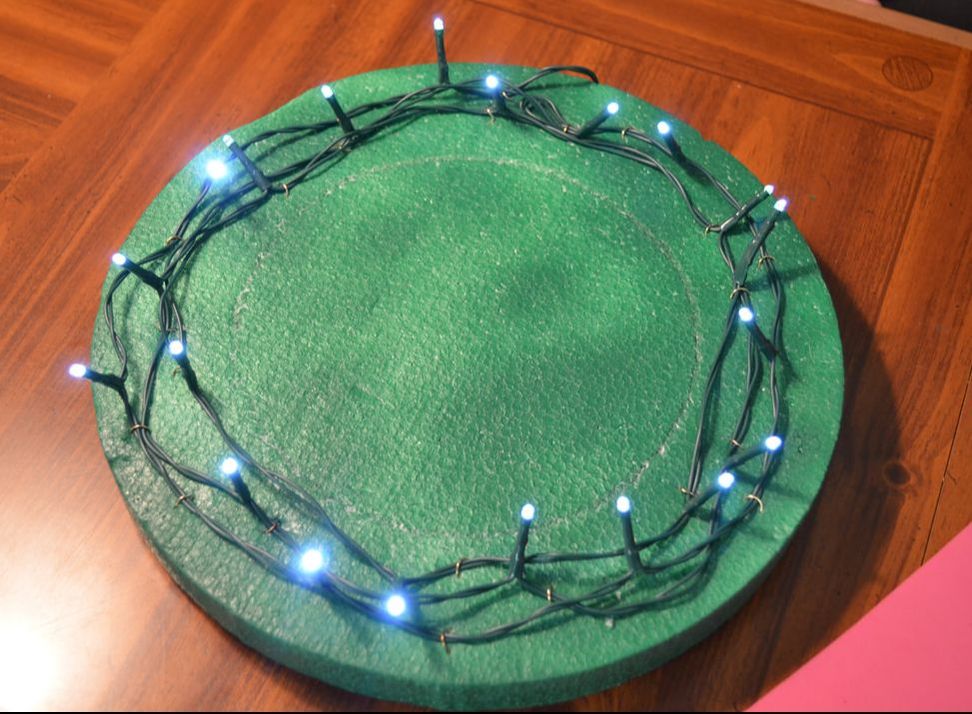 Alright, now that you've got your lights attached go on and grab your leaf bushes. You're going to take the branches and spread them out. Then slide up the stems to push the leaves together at the top of the stem. You'll need to use your wire cutters to cut the stems down. 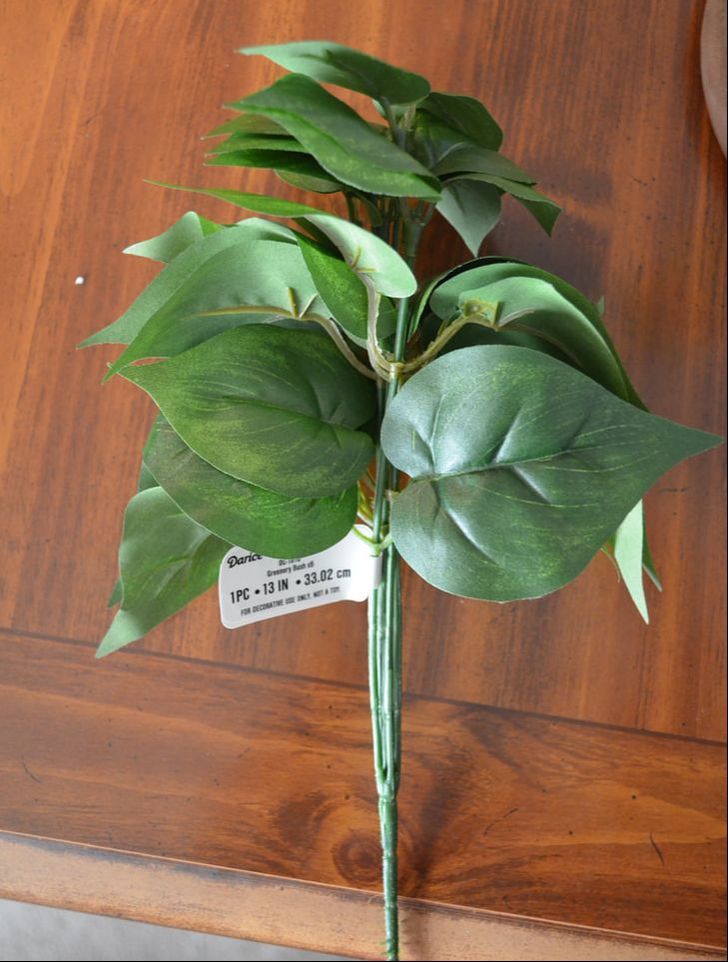 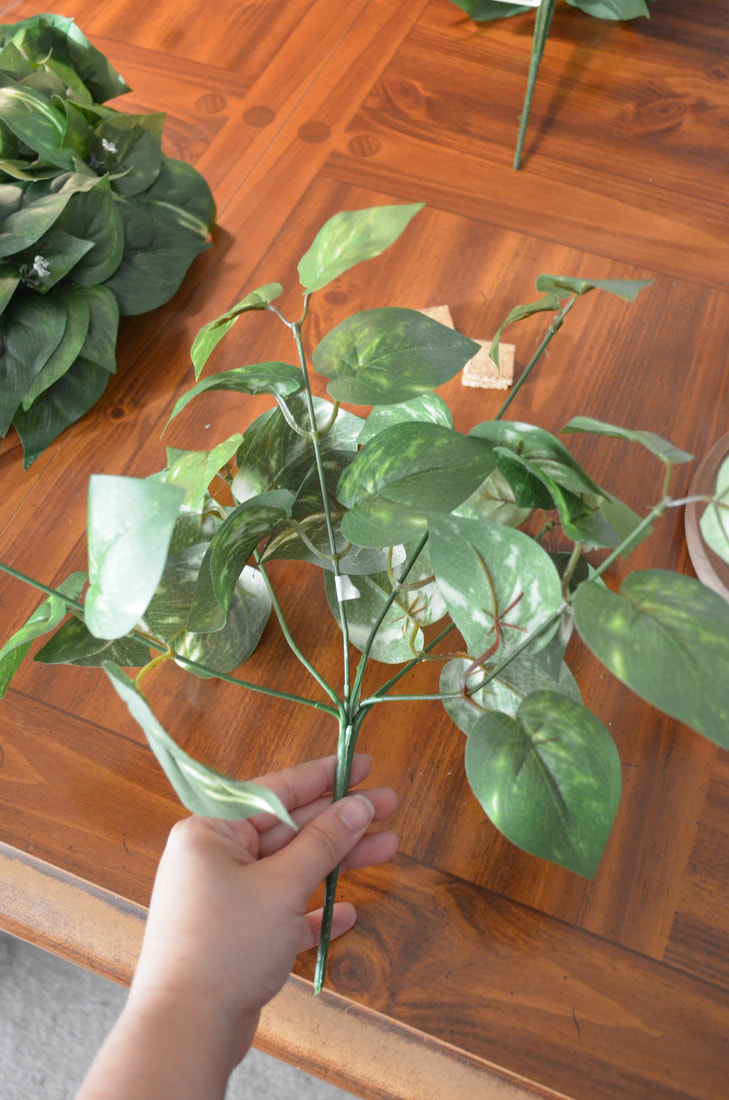 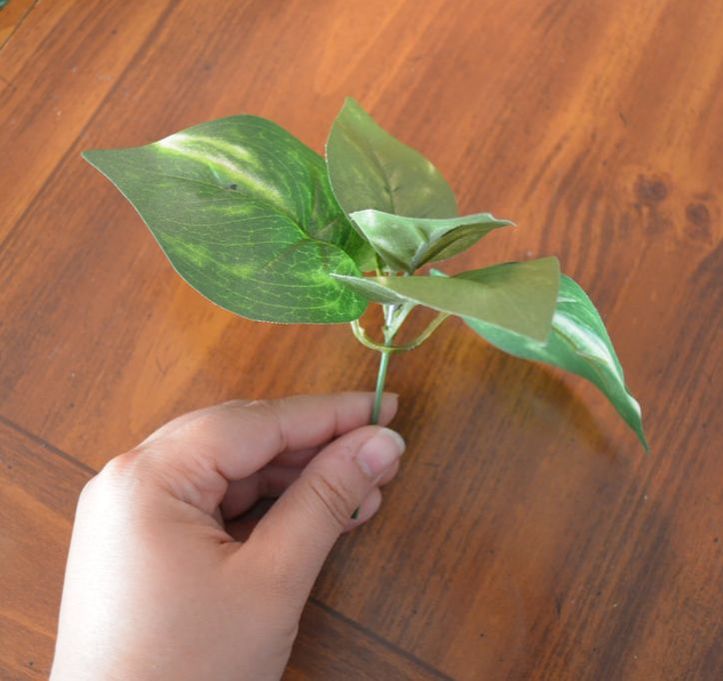 And now, you're going to take the small stems and start sticking them into your Styrofoam circle. You want to do this around the lights towards the outside. The idea is to hide the base as best you can. 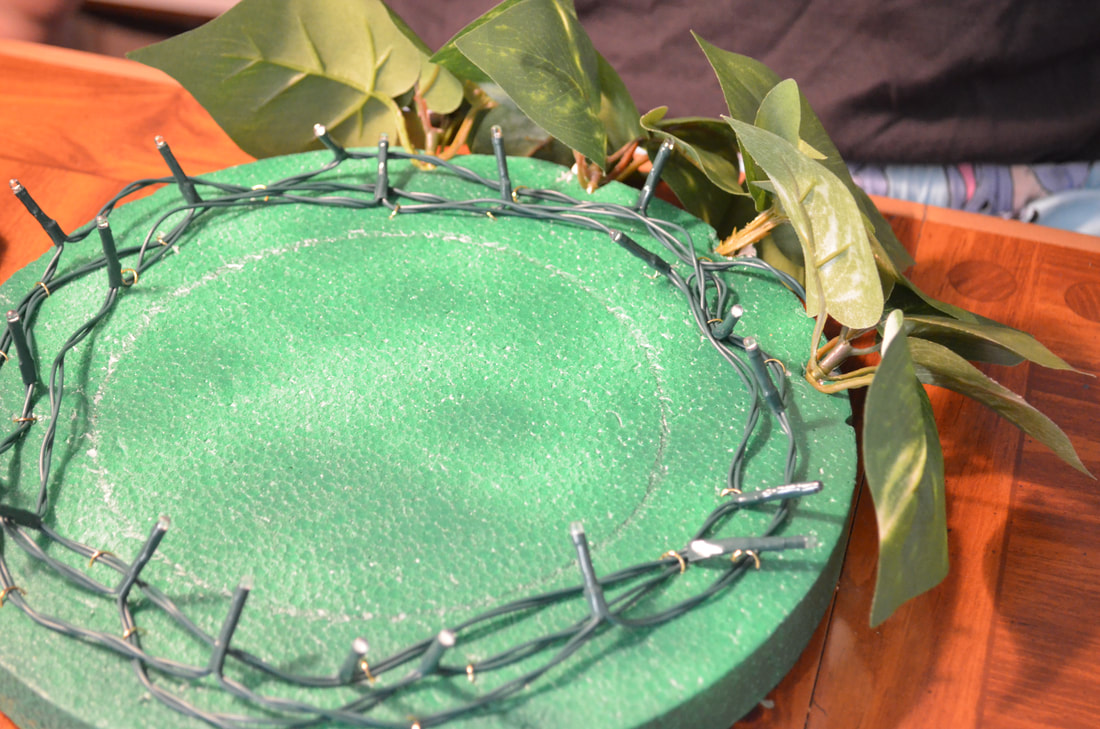 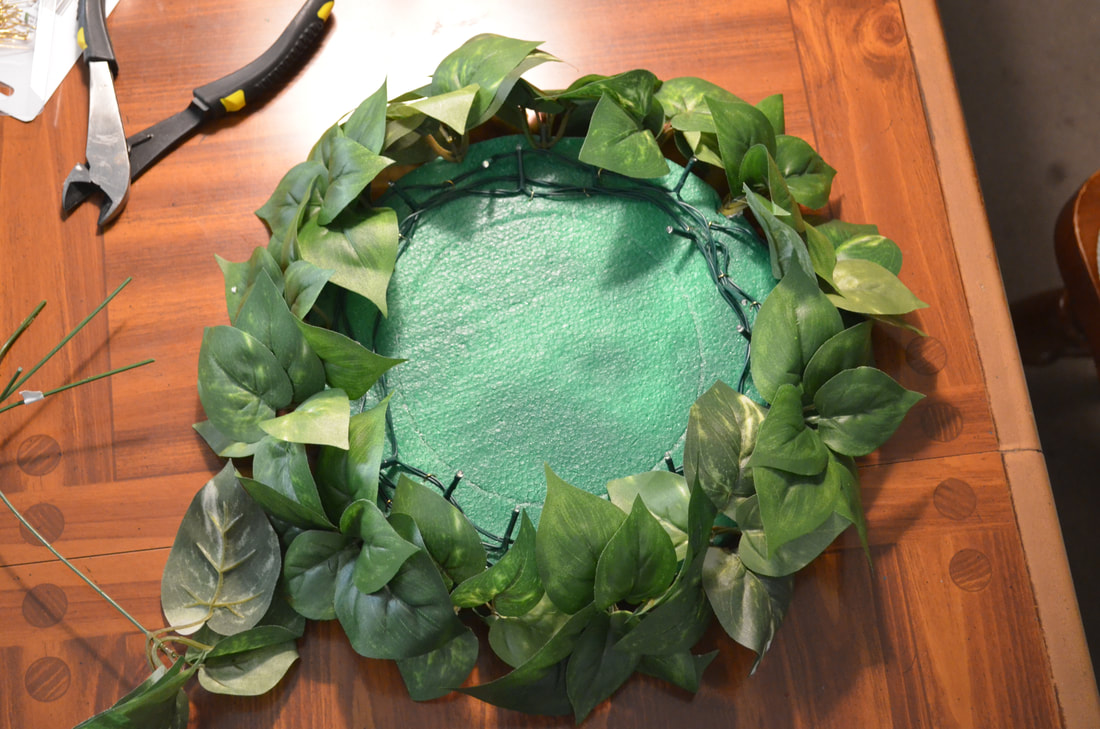 Remember to fluff the leaves so that it looks really full. Once you're happy with your leaves, you're going to gorilla glue the bottom of your bell jar (the wooden base) to the center of your Styrofoam circle. Once you're satisfied with this, take your gorilla glue and glue within in the groove of the wooden base. DO NOT glue the bottom of the glass dome and set it down. You are going to want to set the glass dome down INTO the glue, otherwise you will get glue on the roses and make a huge mess. 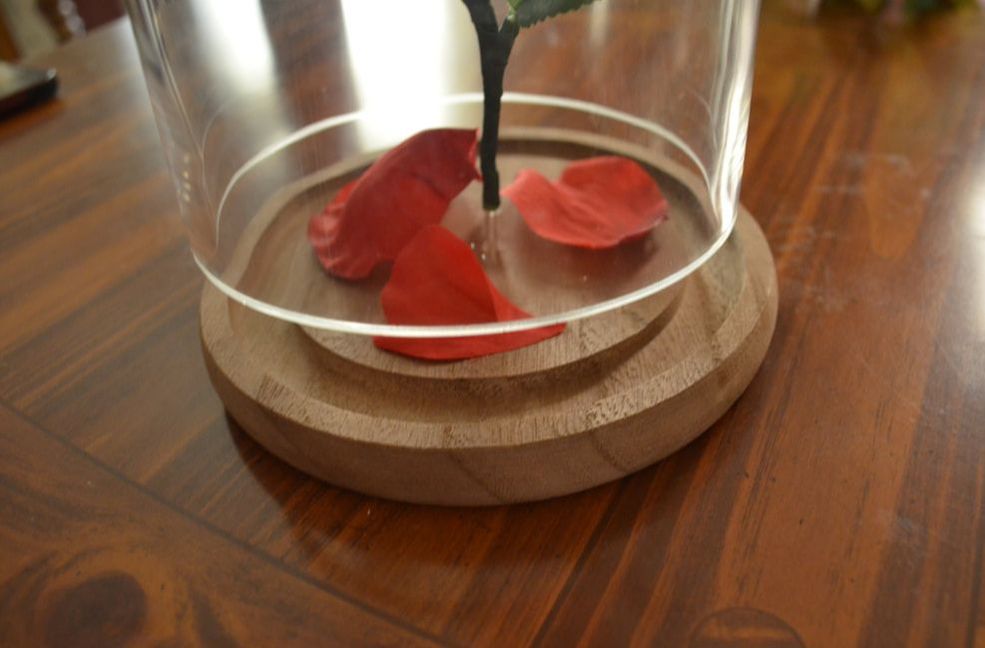 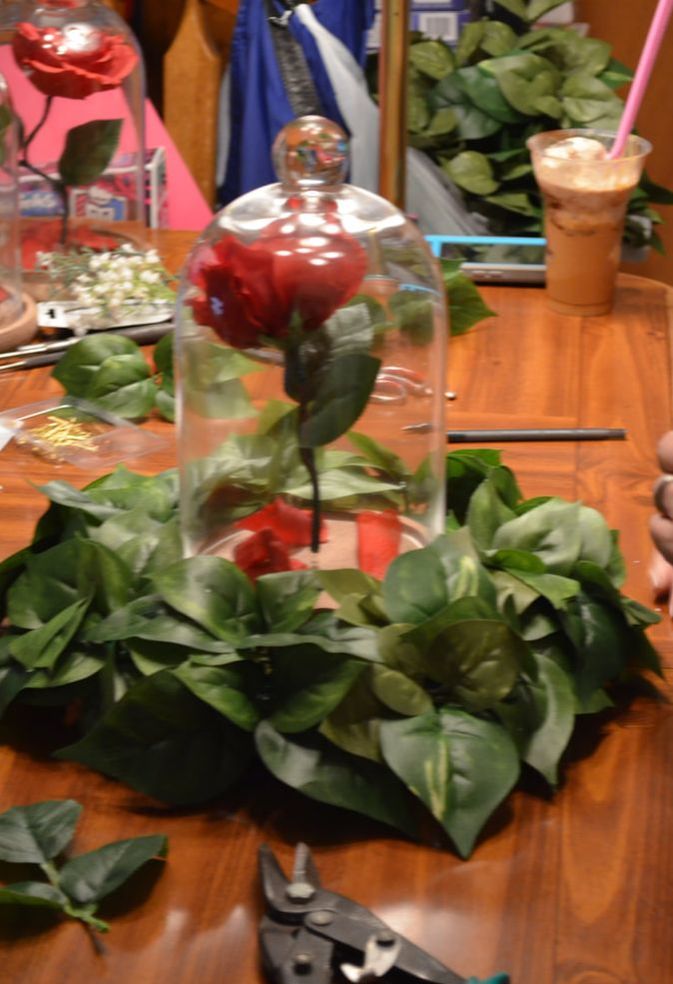 These are OPTIONAL steps. You can Windex your domes to make sure they're nice and shiny and have NO finger prints on the inside of the dome. AND if you want, take a can of air and spray the flowers, it helps fluff them, remove any excess hangers from glue and fabric shreds. 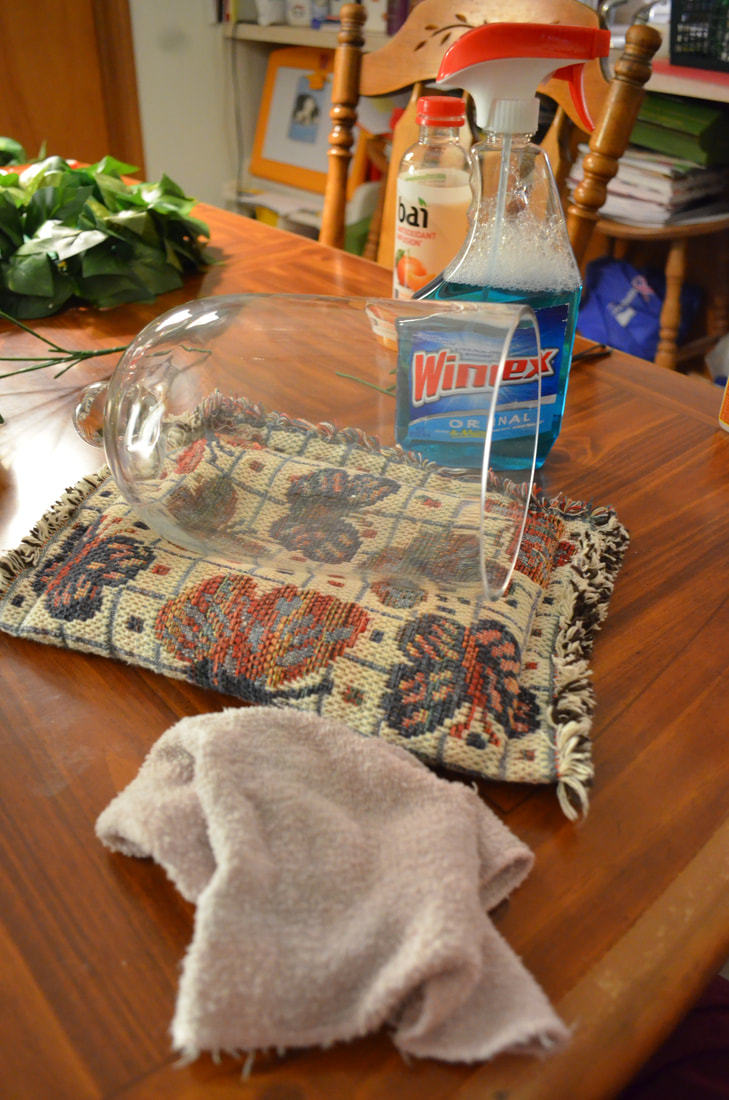 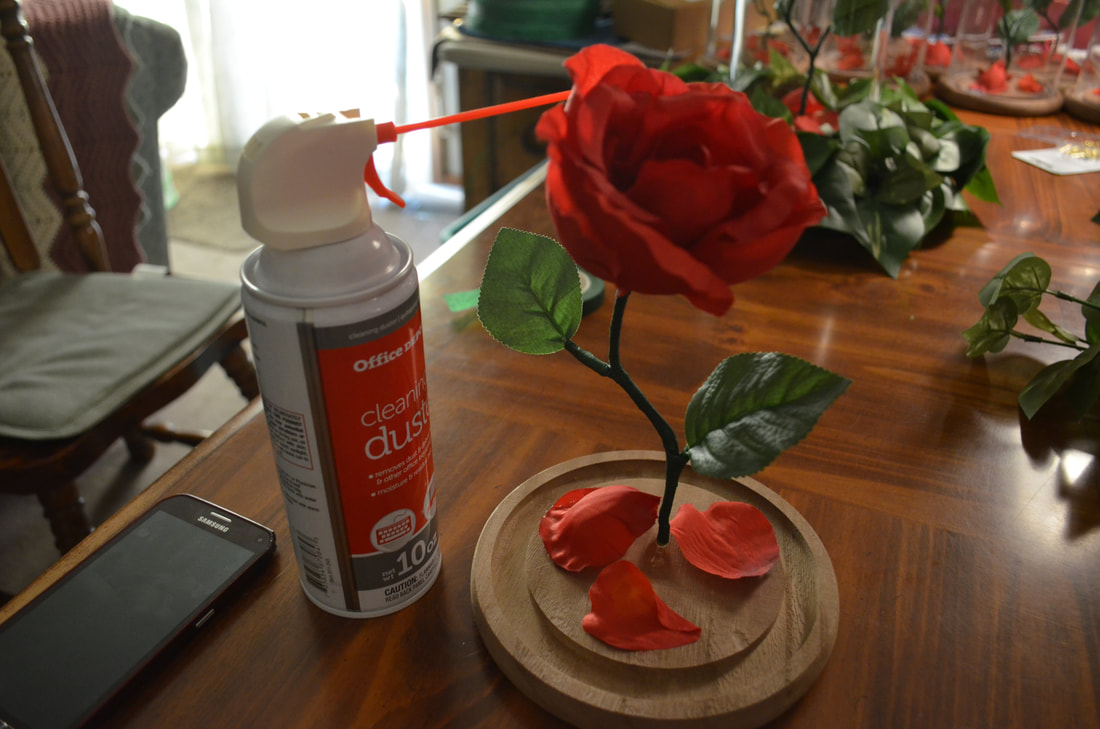
1 Comment
12/10/2017 11:21:52 pm
Leave a Reply. |
AuthorNow that the weddings over I'm a far less stressed woman and here to share the journey. Archives
February 2018
Categories |
 RSS Feed
