|
Continuing with bringing books into our theme, we had bookmarks for our escort cards. Now this was definitely a craft of love. It took so long and I do not recommend hand painting these, unless you are extremely motivated. My hands hated me for making hand-painted bookmarks. BUT the bookmarks themselves were really fun and I'm here to show you how I did them. YOU WILL NEED:
To start with I bought chipboard bookmarks from an awesome Etsy store. You may be able to find these at craft stores, but chipboard has come and gone in waves at most of the local stores near me. I do highly recommend this store: https://www.etsy.com/shop/PrairieDogPaperCo?ref=l2-shopheader-name . Once you have your bookmarks you'll need card-stock in your color of choice. THIS is where I suggest getting a patterned card-stock instead of attempting to decorate them by hand. At least if you're going to be making a large quantity of them. Before I applied the card-stock, I used a hole-punch to create the place for the bookmark tassels. 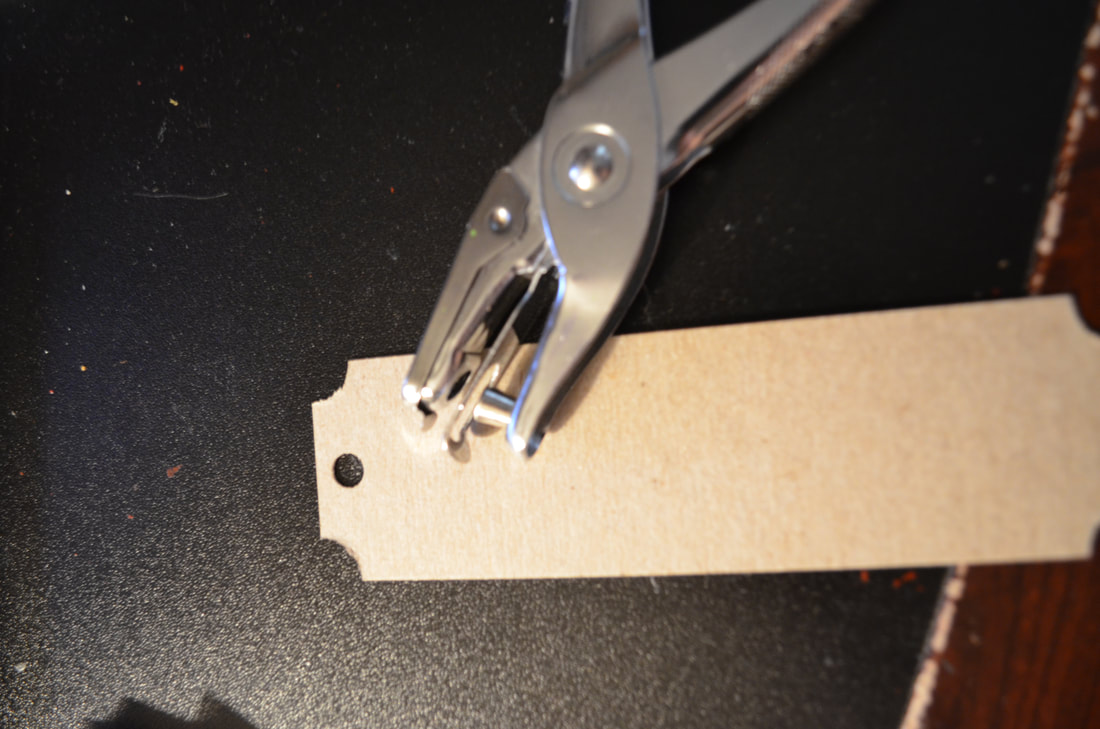 I laid my bookmarks out and traced them to see how many I could get out of a single sheet of card-stock. I was able to get 9 bookmarks per page. 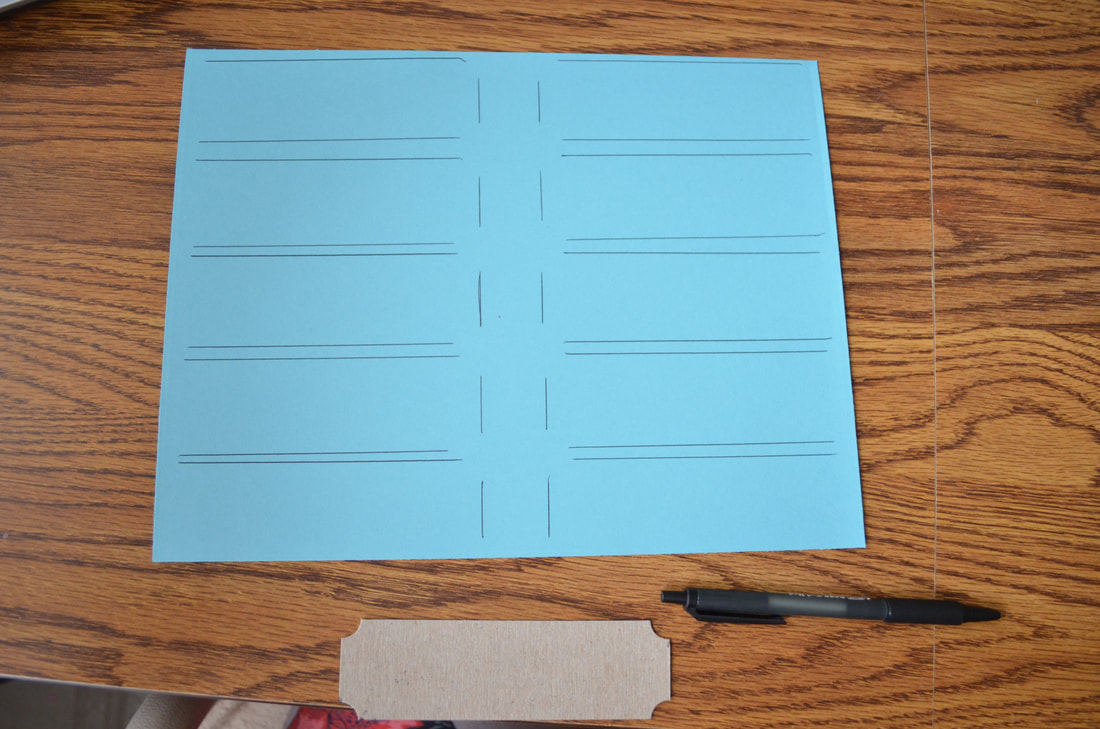 Cut out your bookmarks. Then use your paint brush and decoupage to cover the chipboard bookmark and fit the paper over top. 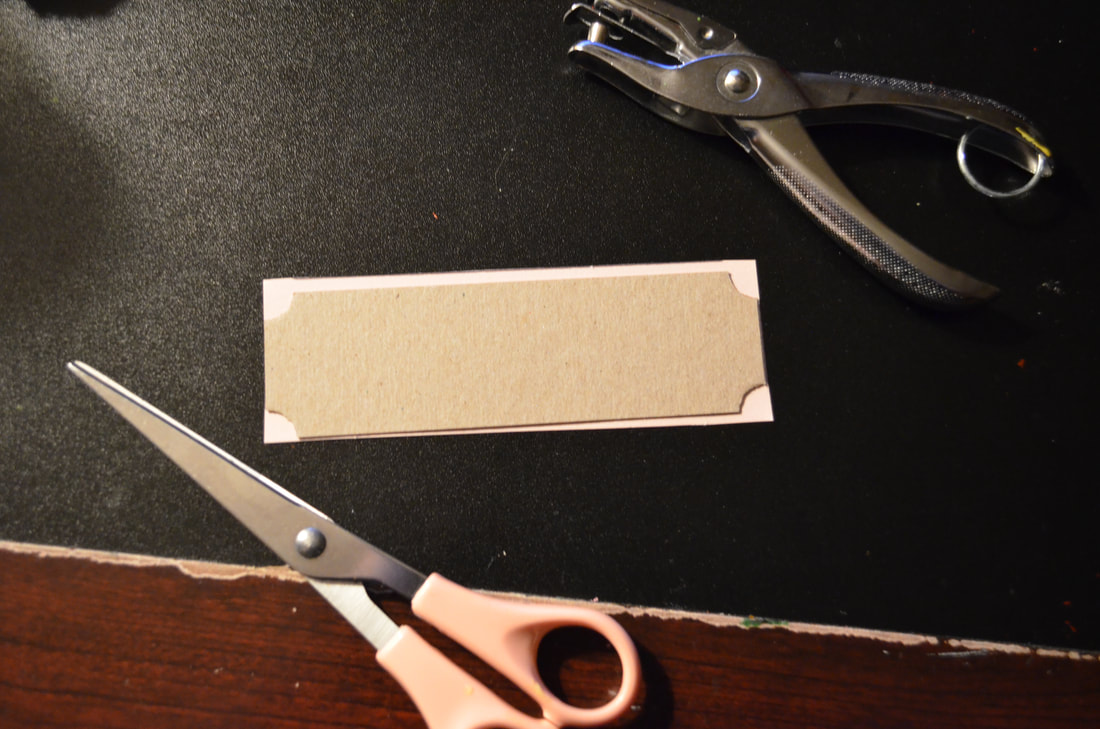 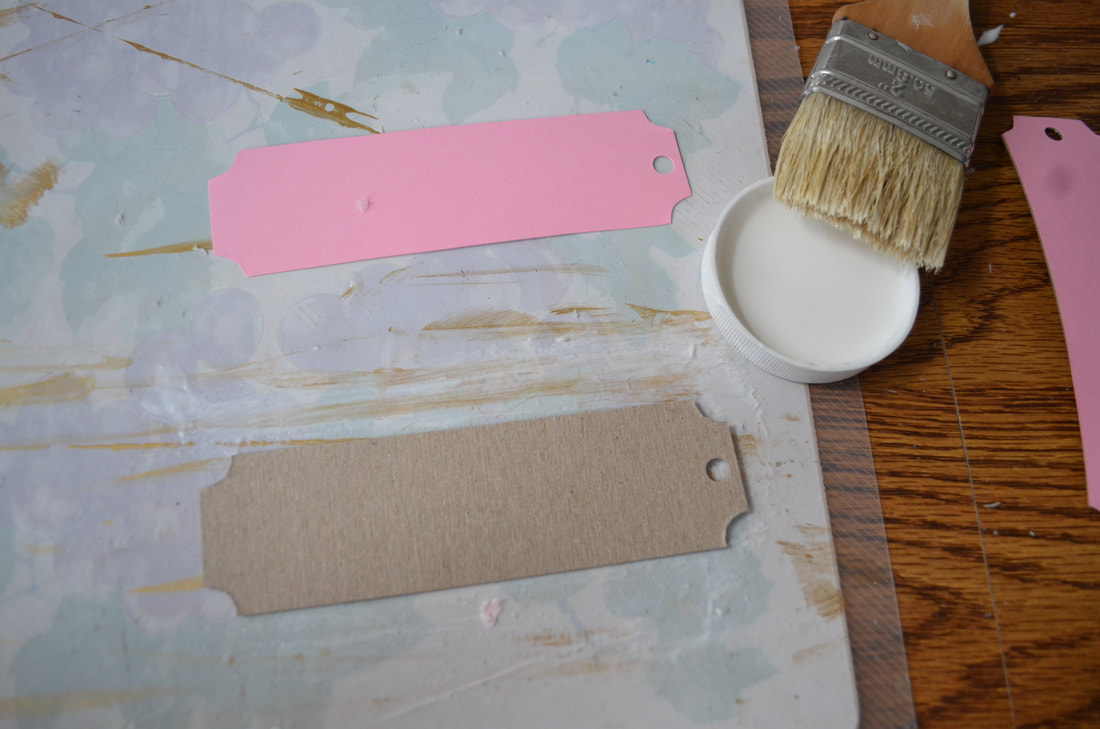 Once I had the paper and the bookmarks together it didn't take long for them to dry. This is where I started the long task of hand painting each one. We knew what we wanted for designs, and while I didn't come up with them I did purchase the designs from here: https://www.pazzles.net/wordpress/2017/03/27/beauty-and-the-beast-stained-glass-bookmarks. I finished painting the designs. There isn't really a tutorial I can give you for this. For the first so many I traced the designs onto bookmarks with pencil and painted over the grooves. This got REALLY old so I just started trusting my eye. I have a gift for painting and I'm rather confident in that. I let them dry and then added the floss tassels. I bought those on Etsy as well. They were in great condition and really soft! I had two out of the over 100 I bought that fell apart. I bought those from here: https://www.etsy.com/shop/ButtonsbyDoug?ref=l2-shop-info-name§ion_id=7499214.  As you can see in the above photo, I divided the bookmarks so that the top section has the person's name and their table number. These were sitting at a table sticking out of books so it made it easy for people to find themselves. Obviously, these could be kept, and were encouraged to be kept, so that our guests could use them later. But in order to incorporate them into our caterer's needs, they needed to be laying more traditionally at the table. We went on Amazon and ordered some packs of Spiel Pro Plastic Card Stands. We also picked up some self adhesive gem stones to place in the corner to distinguish who ordered the Salmon. 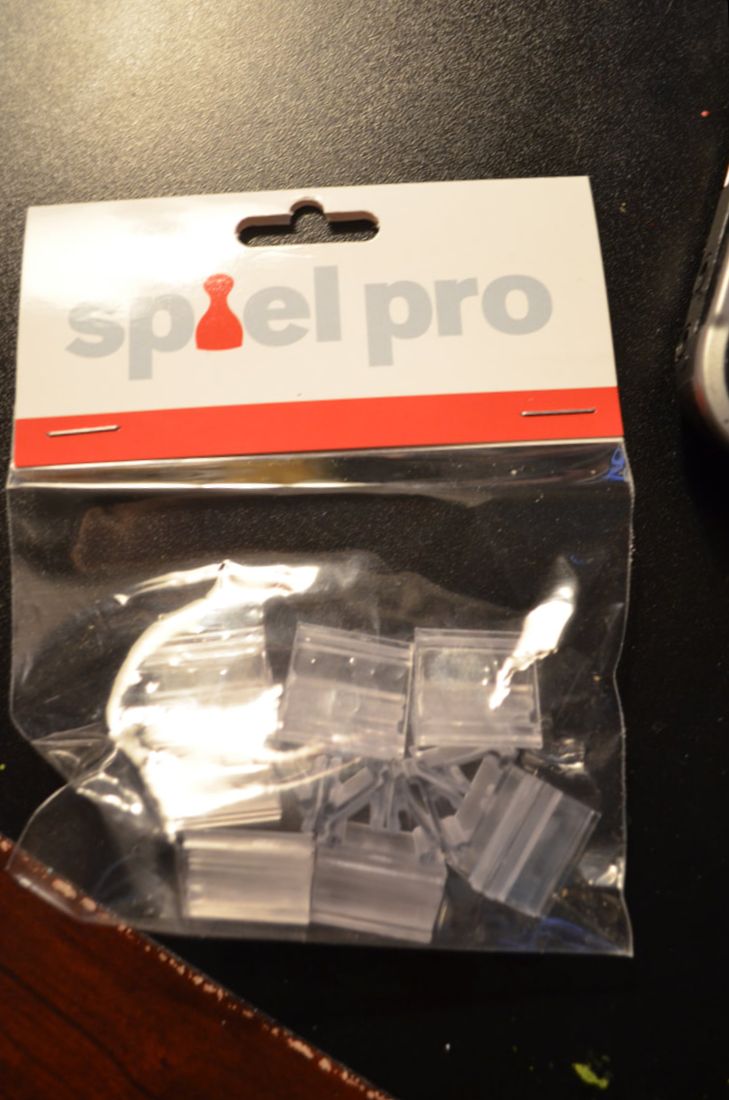 In order to make sure people knew HOW to place them at their seats, we also provided an example bookmark at the escort table. 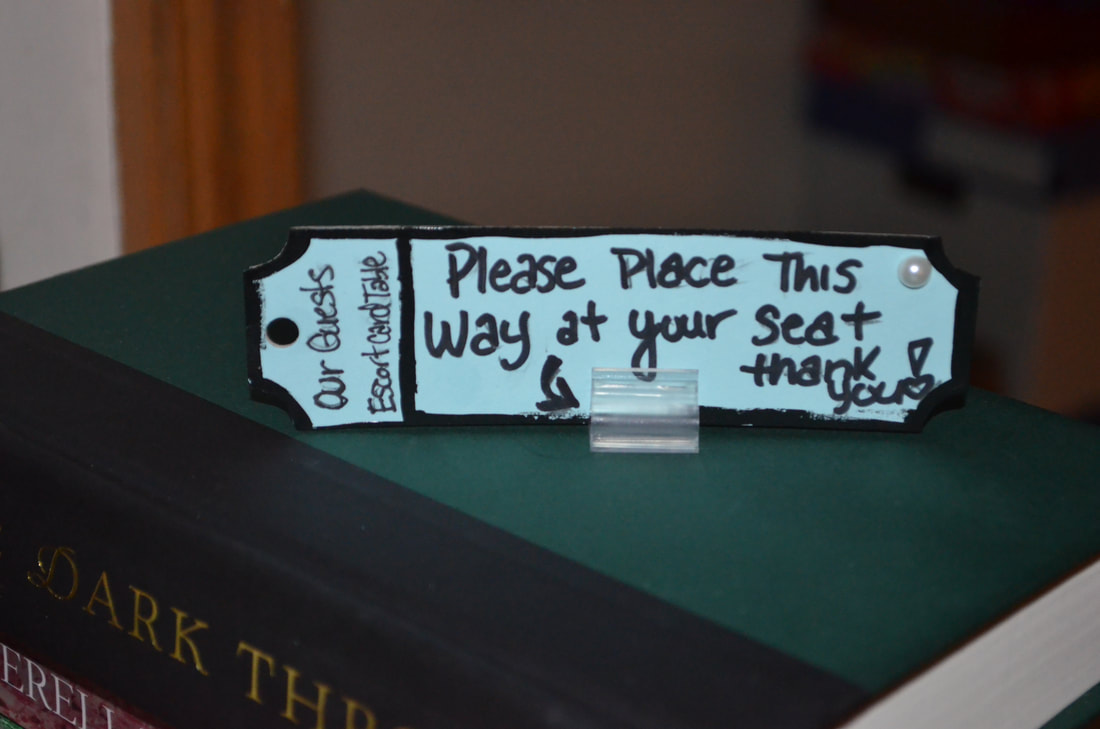 I took books from my personal library (if you didn't know, I also run a book review website). I used butter cream printer paper to cut out some ornate shapes and sharpie marker to write numbers on them. Each number represents the table the guests are seated at. Using NON-permanent glue dots I attached them to the front of the books. Placing the appropriate bookmarks in the novels I then used fishing wire to tie the books so that they would stay closed. Be sure not to tie them too tight or the books will not stand up. This is our escort table showing the finished project. 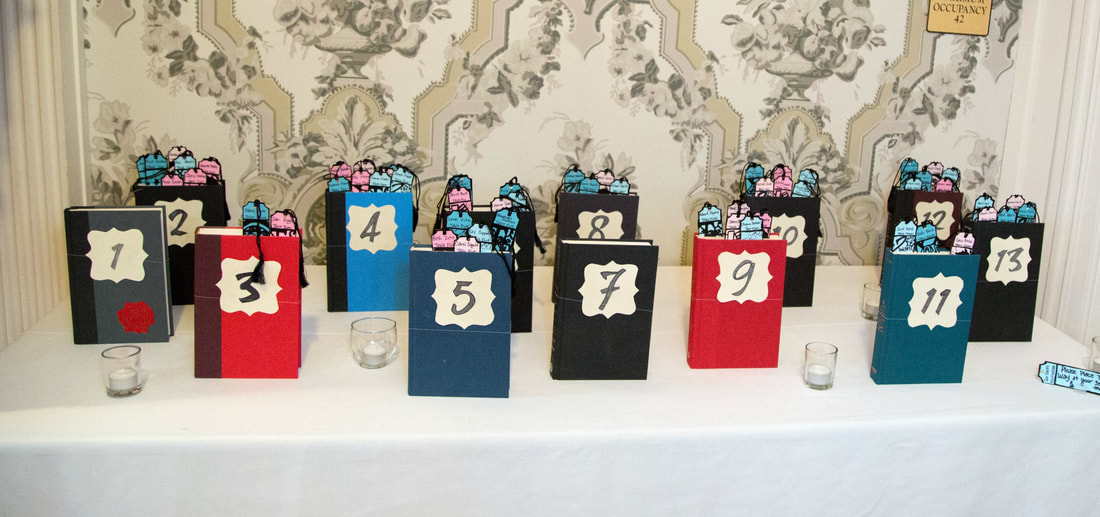 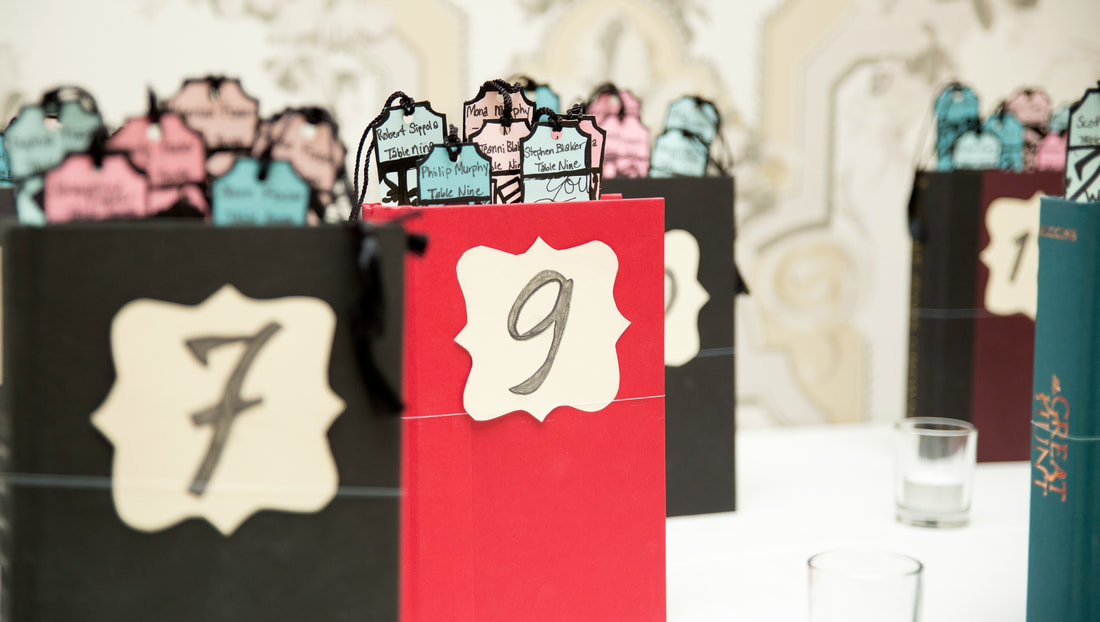
0 Comments
Leave a Reply. |
AuthorNow that the weddings over I'm a far less stressed woman and here to share the journey. Archives
February 2018
Categories |
 RSS Feed
