|
If you're a Beauty and the Beast fan you know how amazing the Bell Jar with the Enchanted Rose is. AND if you've ever thrown a party you know how frustrating it is to have favors left behind. So, I really wanted to do something amazing with our wedding favors! I wanted it to be a favor that people would love to take home, share pictures of online, and hopefully keep for a long time. What better favor then the bell jar? And NOW I'm going to show you how I did it! YOU WILL NEED:
*warning* This is a craft of love. It does take a lot of patience. I got the mini bell jars from Michaels. They are the Tim Holtz, Idea-ology Decorative Domes. Sometimes they are hard to find. Sometimes they didn't come in on trucks for weeks at a time. Other times I could walk in there on a truck day and clear them out of their entire shipment of these. I needed a lot. In fact, I needed SO many that when they weren't getting them in at ANY of our local stores, I went through clearance Christmas sections to find the off-brand ones you see set off to the side in the photo below. They're basically the same thing but those ones didn't work as nicely as the Tim Holtz brand. 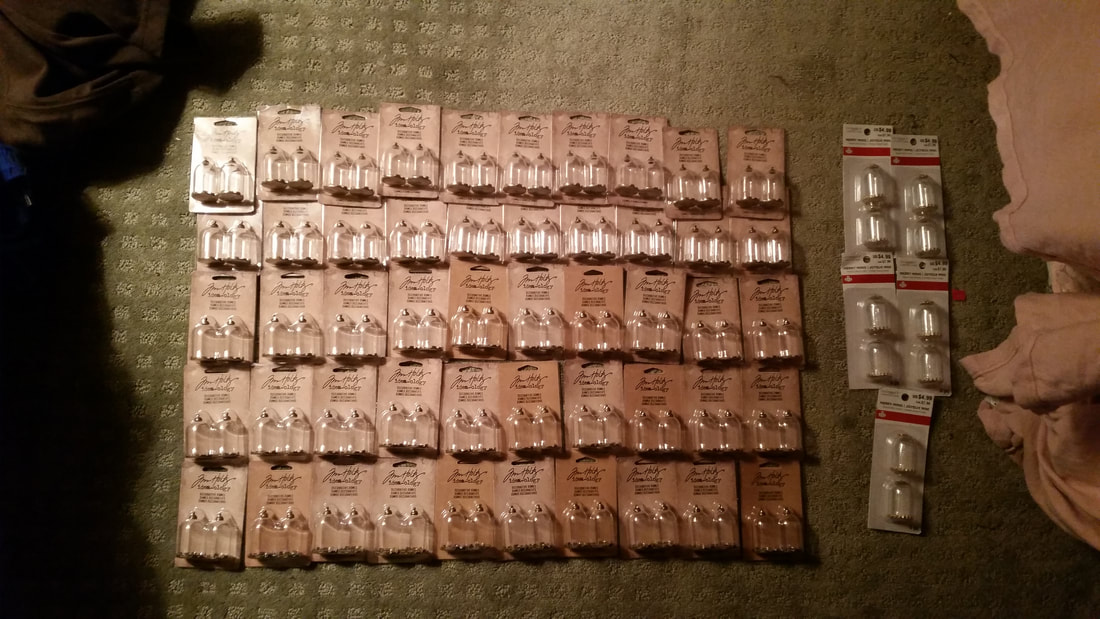 ALSO from Michaels are the mini roses. The original ones I bought were from the brand Celebrate It, and they can be found in the wedding section as rose picks. HOWEVER, I ran out of those and couldn't find them anymore. I searched everywhere and ended up buying the "Victoria Lynn Ribbon Rose Picks" which were almost exactly the same as the Celebrate It. I will note that I couldn't find them in store and had to order online. But my local Michaels is the smallest in the district, so I try to take that into account. Let's get started! You will want to take your roses and cut down the stem. Otherwise they are too tall and will not fit in the jar. In the picture below I show, what I found to be, the perfect cutting location. 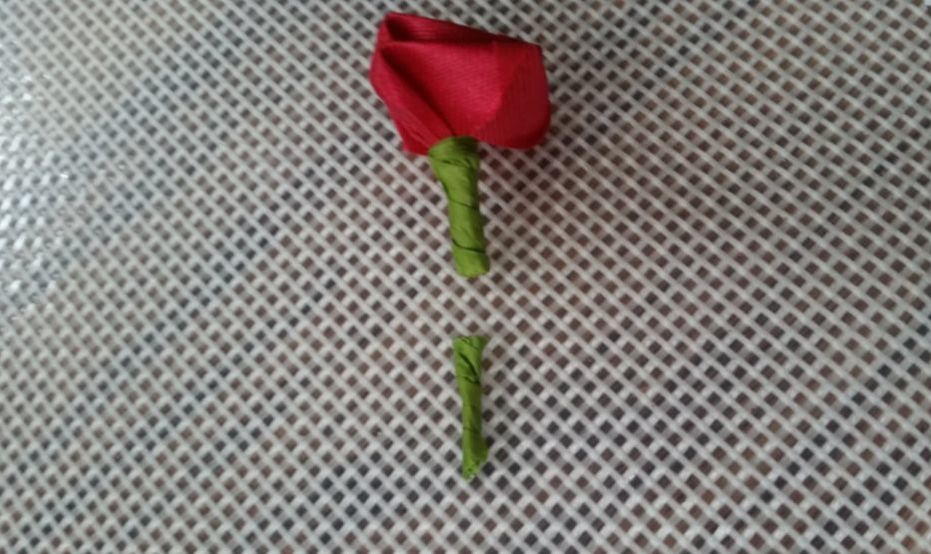 Now taking your hot glue gun you're going to want to make a little glob of glue on the bottom of your stem and then stick it down to the metal base. I tried to do this with the E6000, in hopes of making the glue harder to see, BUT it kept falling over and breaking off. The hot glue did the trick and I was able to pop these out as quickly as possible. 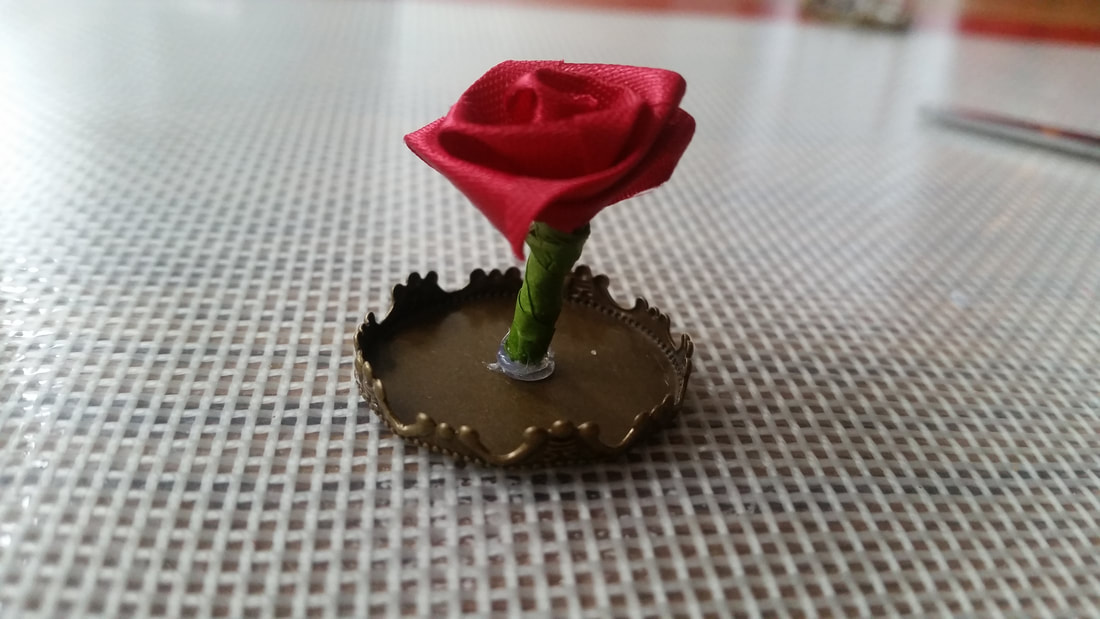 I took a few of the silk flower petals we had for our flower girls to toss, and cut MINI flower petals out of them. I then used tweezers to dab them against the hot glue gun and place them on the metal base. You don't need the tweezers but it helped me get them precisely where I wanted them. And I was able to use the tweezers to grab the excess strings of hot glue that inevitably appeared. 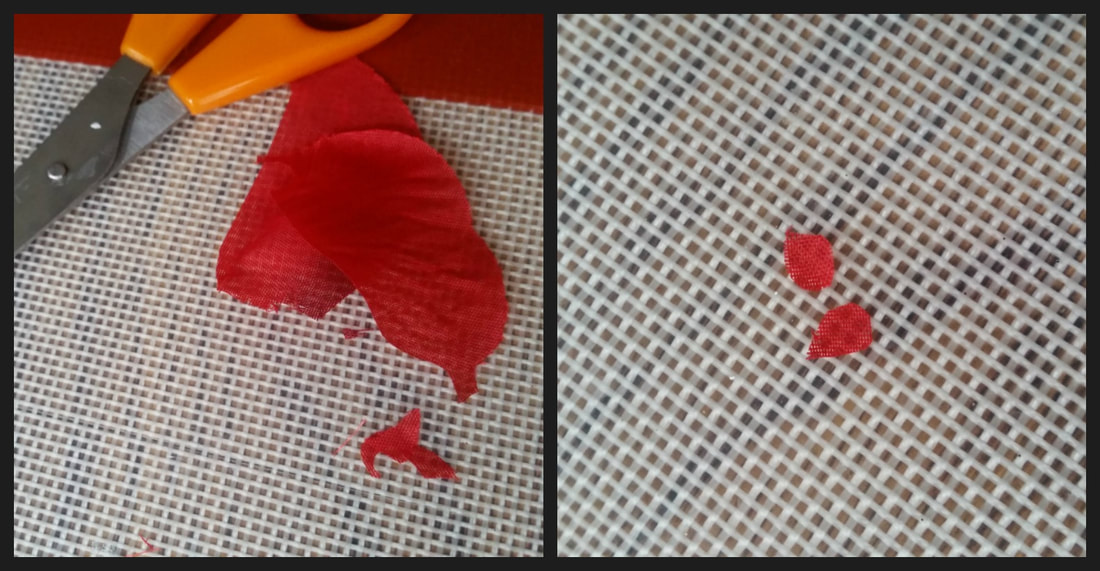 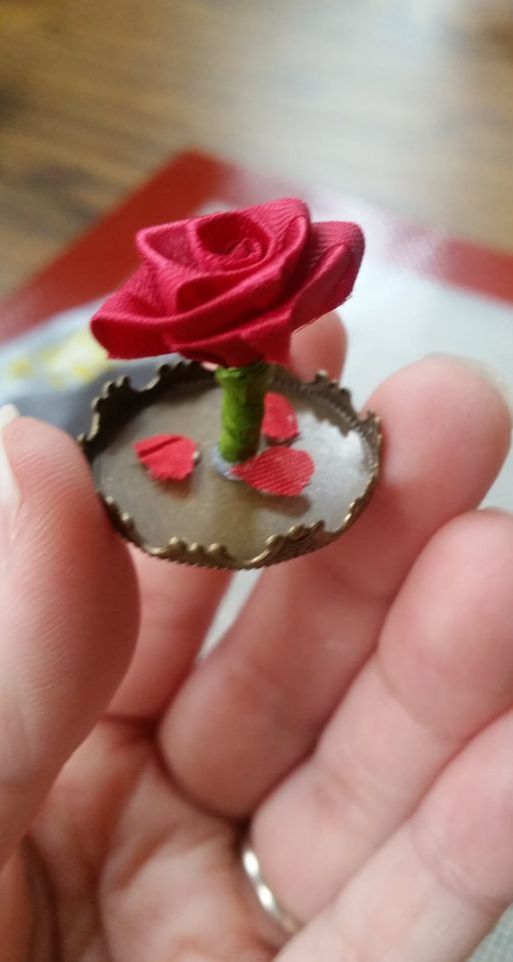 Once you have your rose and your fallen petals glued into place and everything seems to be sitting securely, take your E6000 and glue around the inner edge of the metal bottom. Setting the dome lid OVER the rose and onto the glue. If you put the glue on the glass dome itself, when you go to set it over the rose you are going to find yourself getting glue all over things which will look horrible once it dries. QUICK NOTE: the E6000 comes out of it's container quickly. It also dries quickly, but when it does it cloggs the applicator tip. I recommend gluing as many of the roses to their bases as you can before trying to glue the dome onto the base. It will just save you aggravation in the long run. 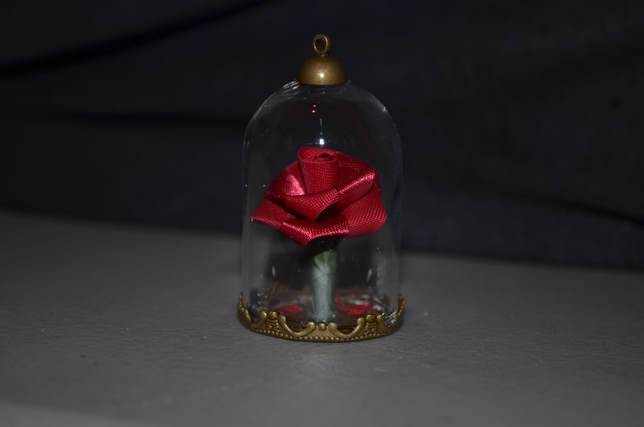 IF you have any that fall over, there's a simple way to fix it. Soak the base of the rose jars in nail polish remover. It will loosen the E6000 so that you can open it up and fix the roses. I had to do this with five out of the over 100 I did of these! Not too bad if I do say so. 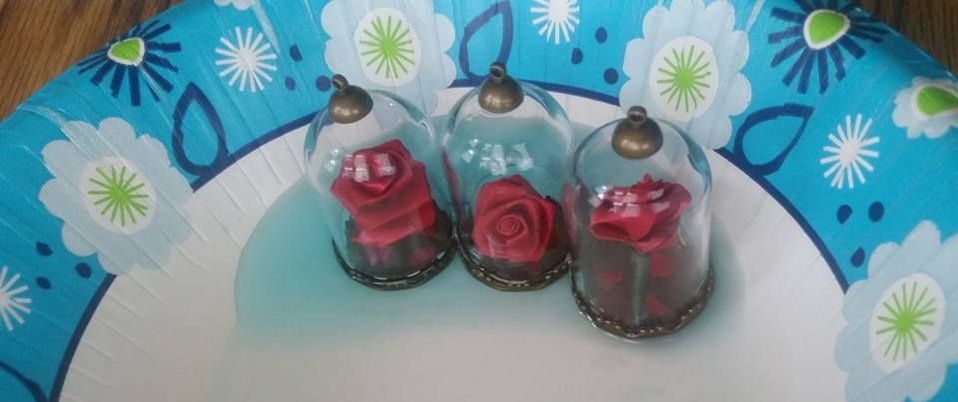 
0 Comments
Leave a Reply. |
AuthorNow that the weddings over I'm a far less stressed woman and here to share the journey. Archives
February 2018
Categories |
 RSS Feed
