|
Everyone wants those wedding invitations that will leave your guests in awe. But to get them, it can be pretty pricey! My fiance and I had fallen for some Beauty and the Beast gate-fold invites we found online. The only problem is those would cost over $500 to have made. And that didn't include shipping, filling them out once they got to us, and then the price to mail them... What can you do instead? Jazz up some simple invites. And I'm going to show you how I did it! You will need:
Alright, so for the pre-printed invites I went onto Zazzle and ordered some that were Beauty and the Beast themed. They print at $2.20 an invite and I needed 62 of them. It should have cost $117.80, BUT Zazzle is always doing some sort of a sale or special coupon and I ended up getting them for $70.68. 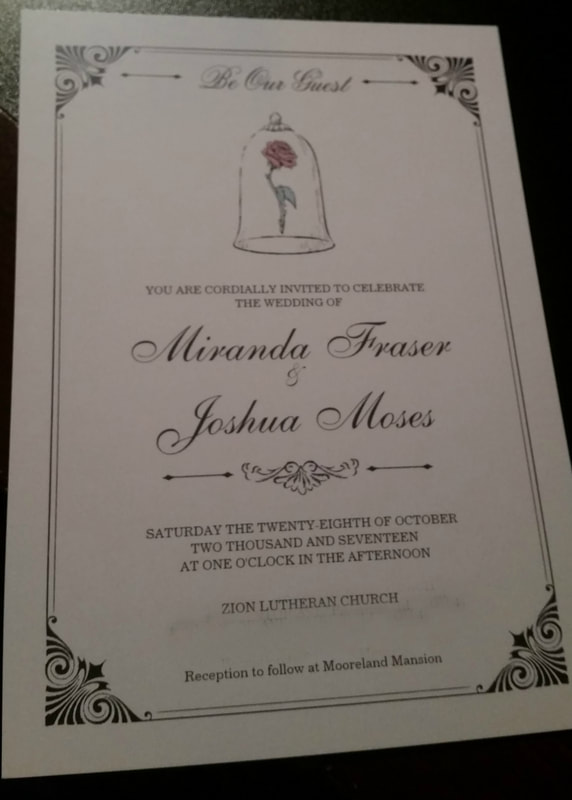 Our colors were burgundy and gold and we wanted to incorporate that into our invites so I went to Party City and picked up several packs of 10 inch Gold Paper Doilies. (Those sell for $2.49 a pack.) Once you got your doilies you're going to lay your invites in the center of the doily. Make sure you've found the center. 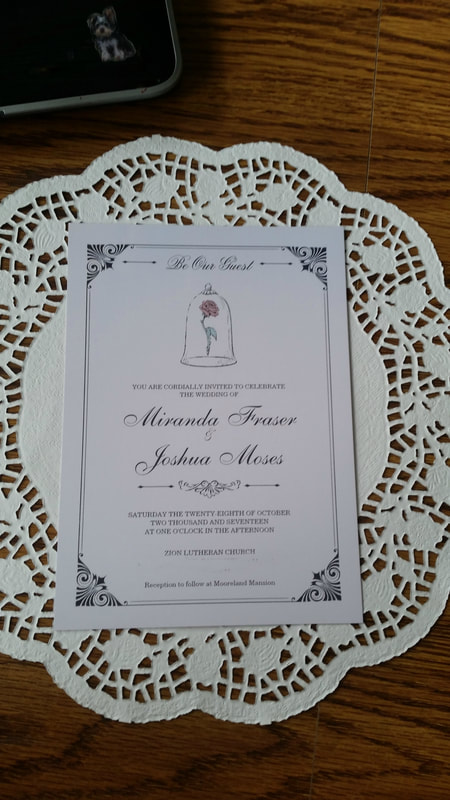 If you've found the center and you're pleased with how the sides are going to fold in, take your tape runner and add three lines of tape to the inside of the doily. 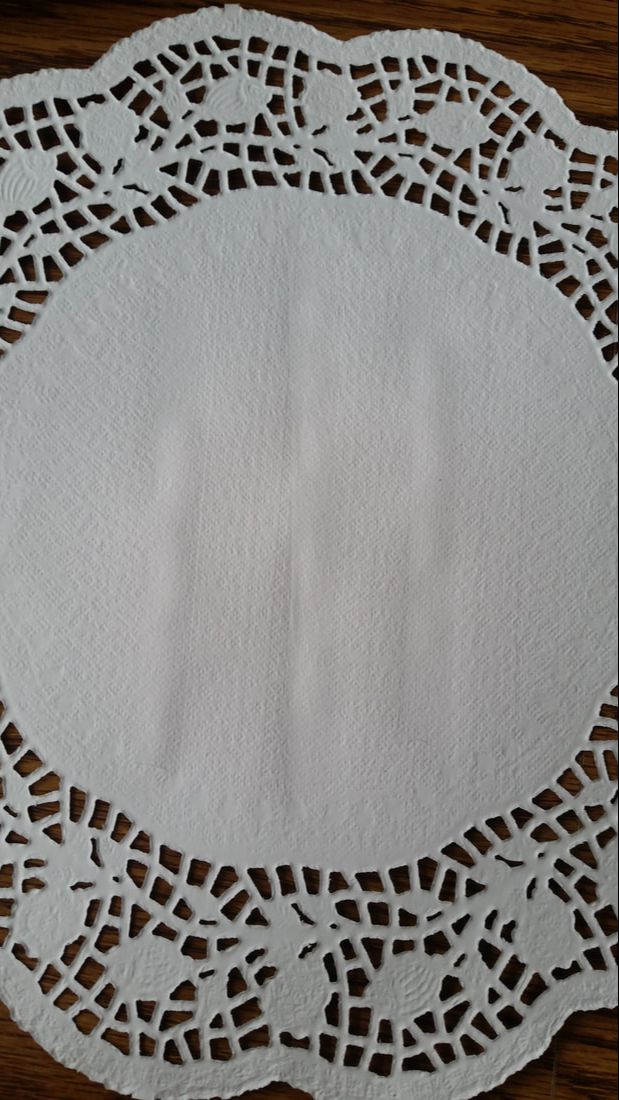 Okay, place your invite in the center again and then fold the sides of your paper doily over to create your gate-fold like in the photo below. 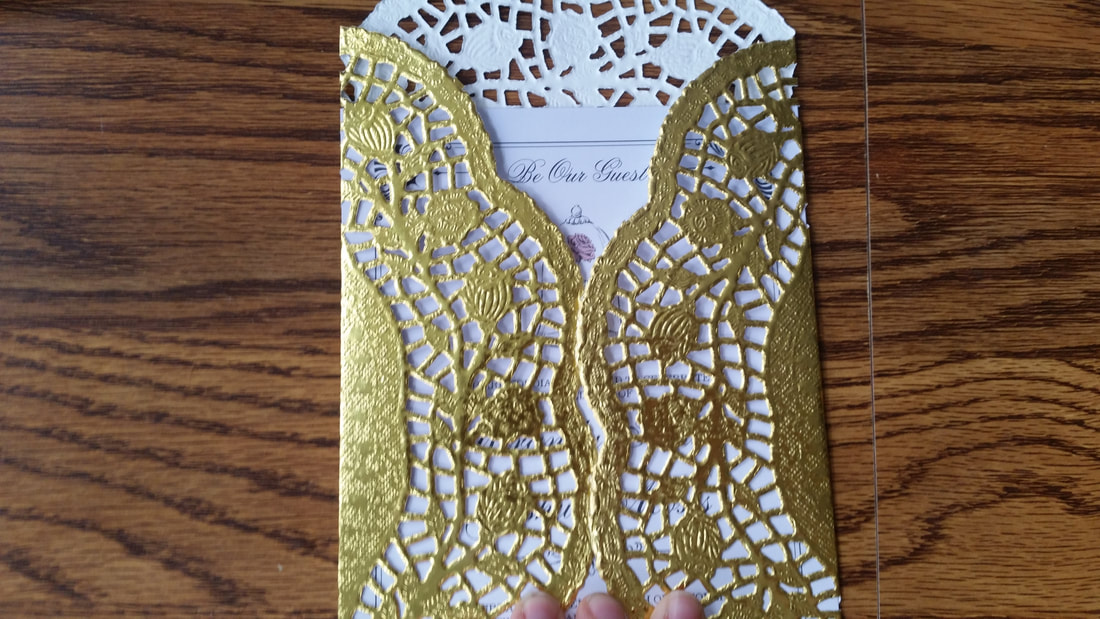 Once you have your gate-fold shape, you can see that there is extra doily showing over the top and bottom of the invites. You're going to want to cut straight across and remove that extra paper. 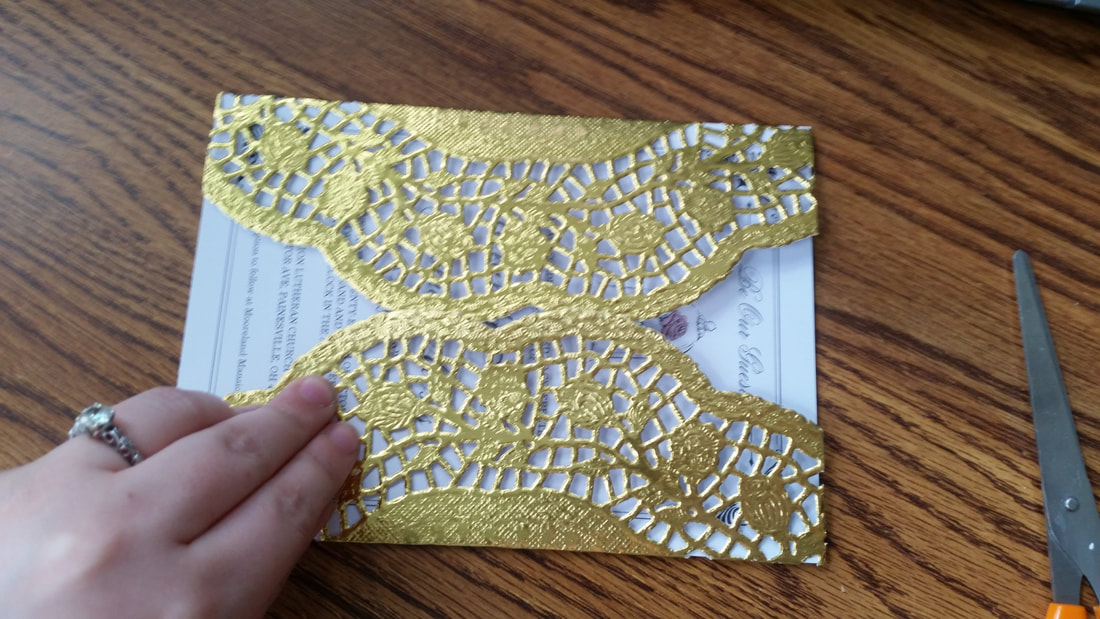 Believe it or not this gets old fast, and if you have a lot to do you're going to get tired of it. So, I just did all the gold gate-folds and then stopped for a day. You'll see that in pictures below. There is no shame in breaking it down a day or two. TRUST ME. So, it's the next day, the sun is shining, there's a fresh pot of coffee, and a bride with her war-paint on ready to get back to her invites! The next step is to make your ribbon sash. But this is where I goofed... I never actually measured to see how long I needed the strand of ribbon to make the sash. So, on your first invite follow these steps and then measure the ribbon to save yourself some grief. You need a piece of ribbon long enough to go across the back of the invite, following the gate folds to the front, and then making a little fold like the bottom of a ribbon on a present. Using your tape roller attach your ribbon to the back of the invite as close to the center as possible. 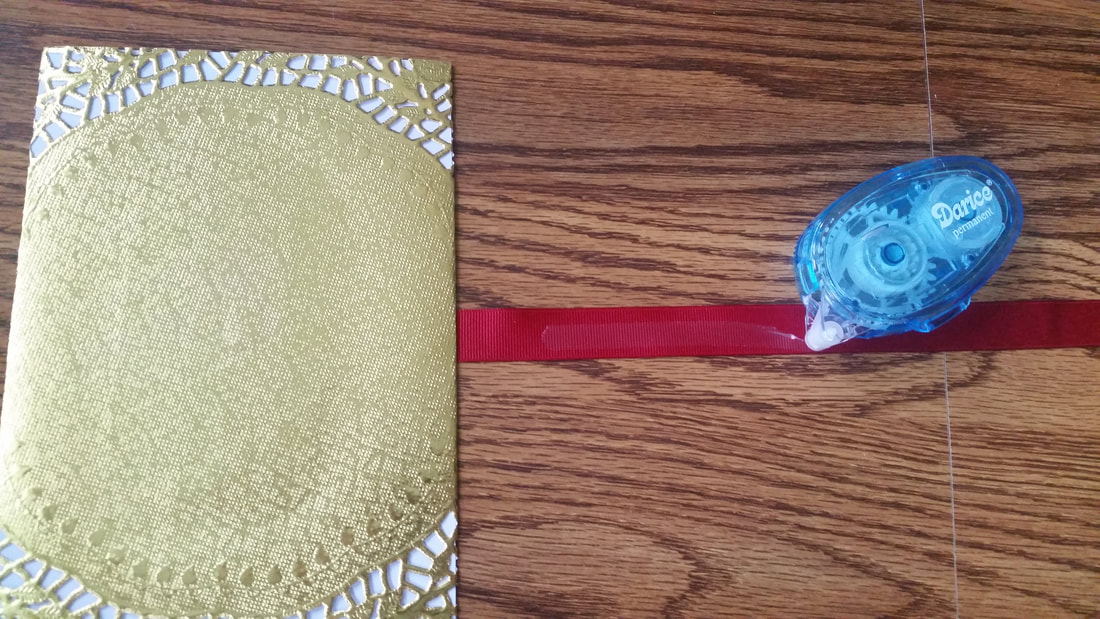 Once you've got it across the back, fold it over to the front of the doily. 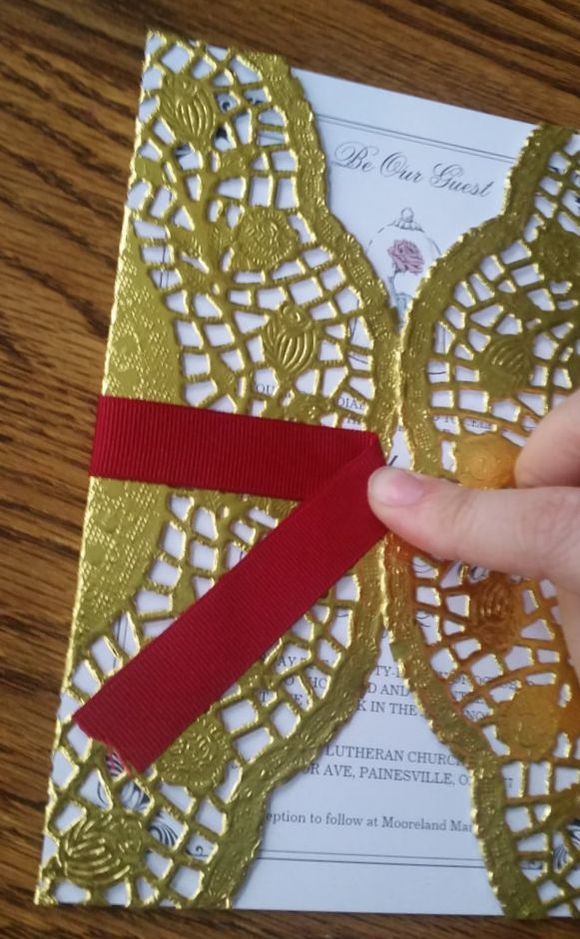 Where my finger is, unfold the ribbon, and use your tape runner to stick it in place. Ultimately you want the front of your card to look like this. 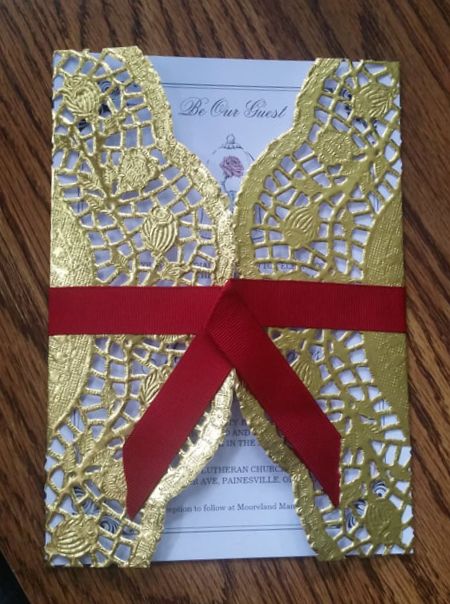 IF YOU CAN FIND MINI BOWS THAT MATCH YOUR RIBBON- DO IT. If not, here's how I finished my invites. I made mini bows out of the same ribbon I made my sash with. THIS ONE I did measure, lol. 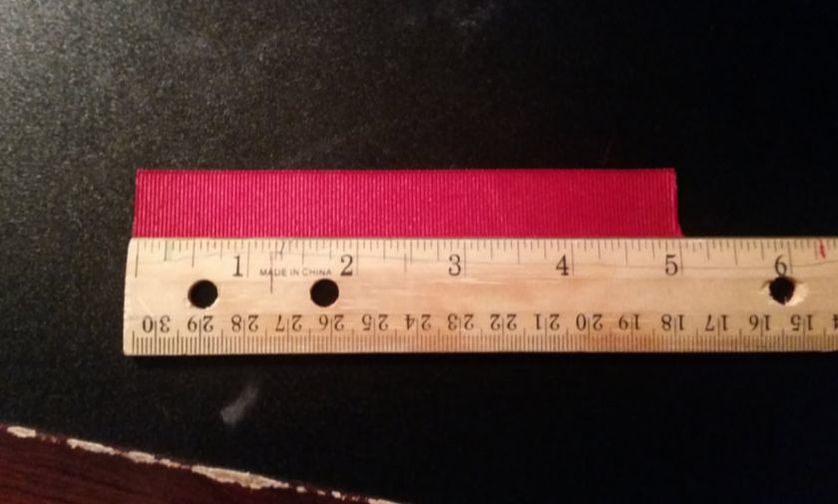 Take your five inch strip of ribbon and create a bow shape by gluing the ends into the center. See picture below. 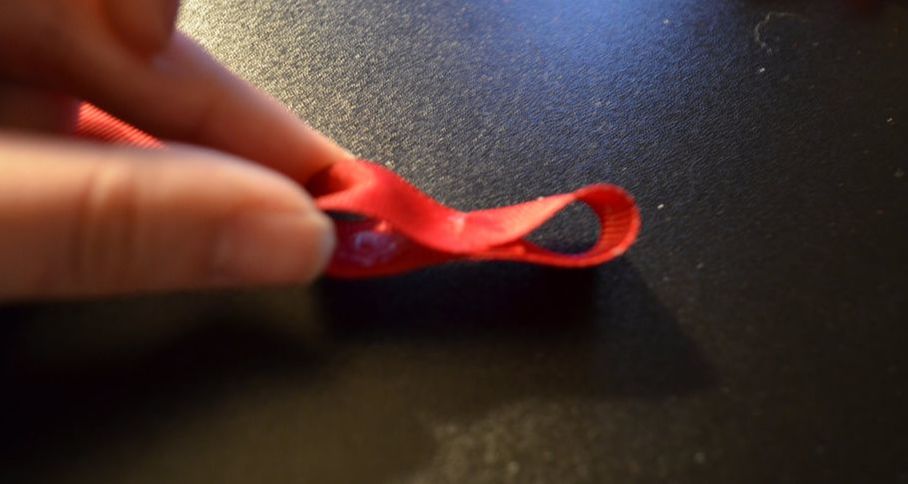 Now, I found that cutting little notches into the ribbon, from the top and the bottom, helped give it a better bow shape when you add the middle section of the ribbon. 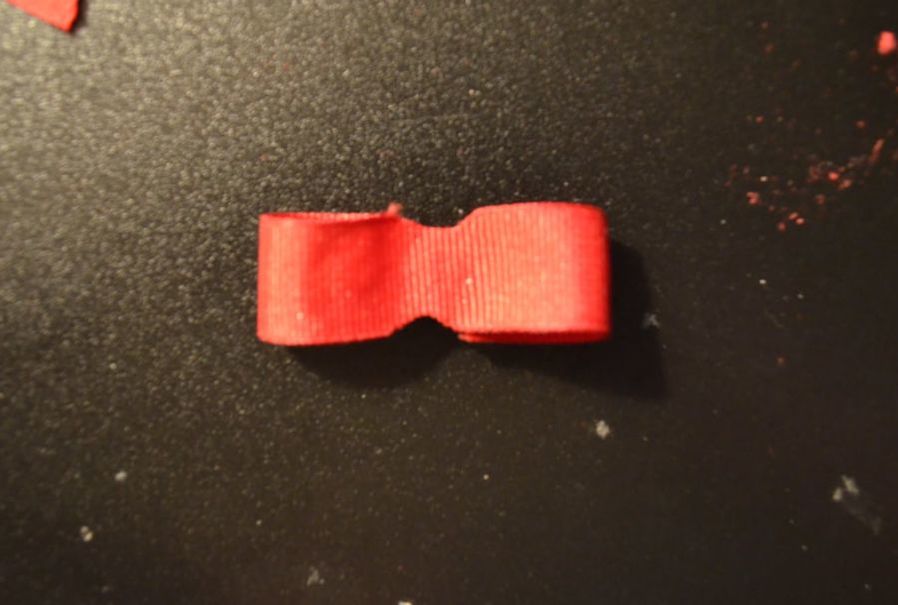 You're going to take another strip of ribbon and fold it like a taco. You're going to use hot glue to fill the center of this fold to create one long thin section of ribbon. As seen in the photo below. 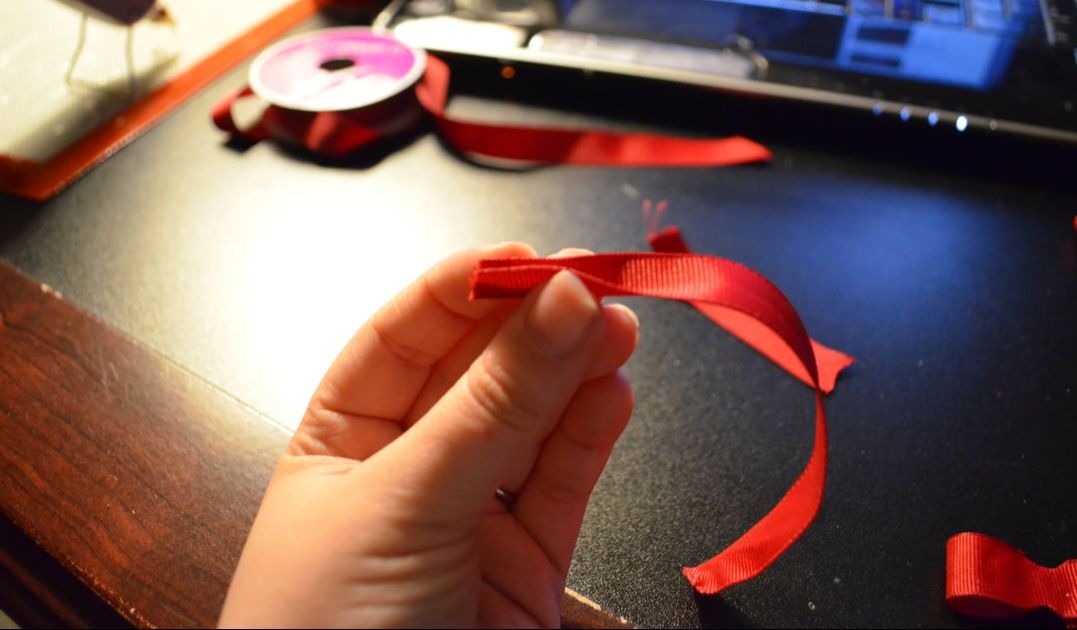 When you have this ribbon you're going to take it and wrap it around the center of the bow shape you started making earlier. You'll use the hot glue to attach them together. And then simply cut off the excess. 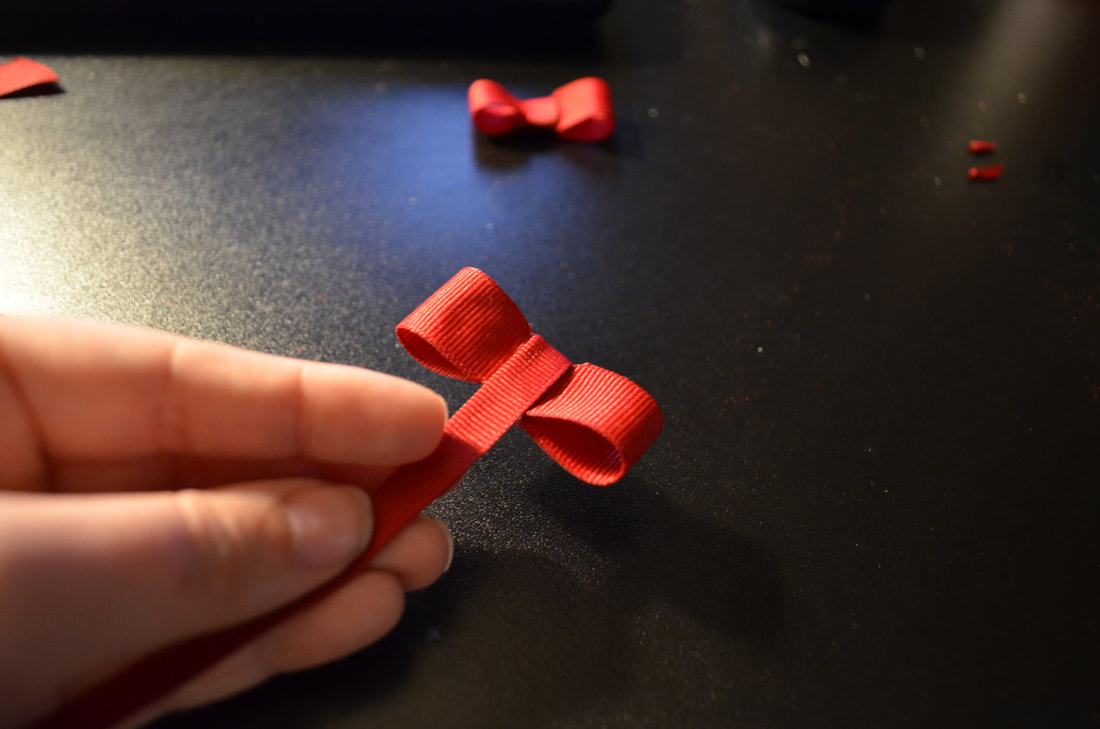 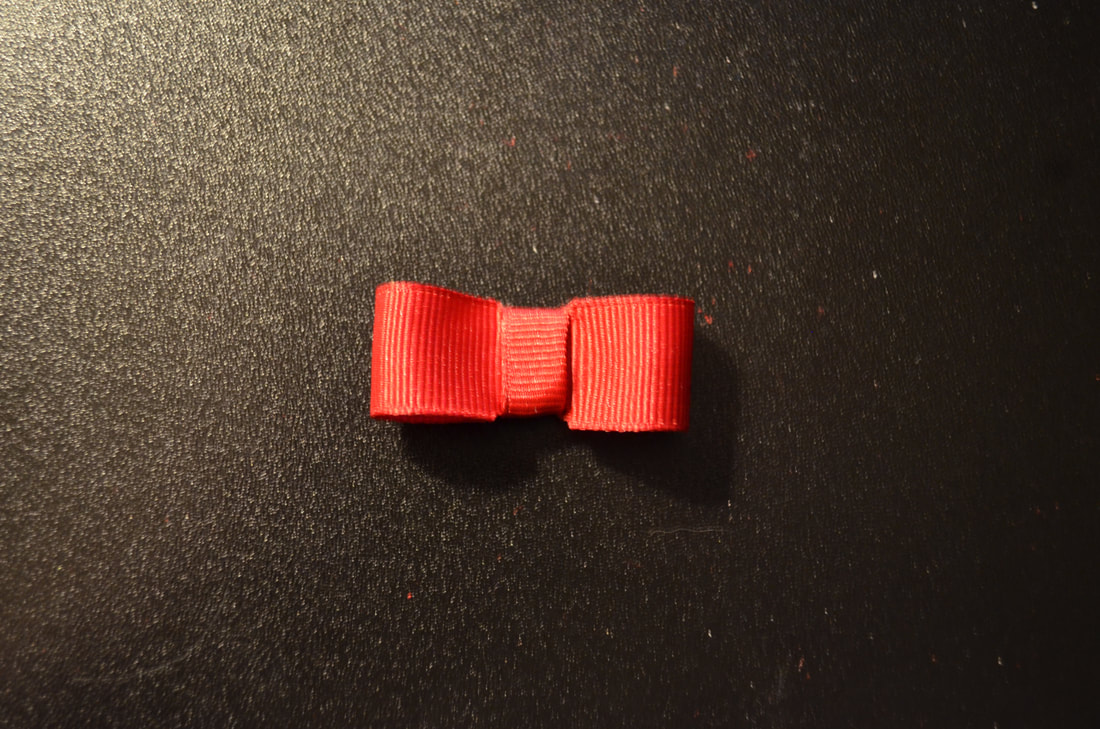 You're going to take these little bows and glue them to your ribbon sash on ONE SIDE ONLY. You want the other side to be loose so they can lift it and open the gate-fold. That's where the cheap glue dots come into play. You want a glue dot that will hold the ribbon for presentation but not a permanent one where you cant open it without destroying the gate-fold. 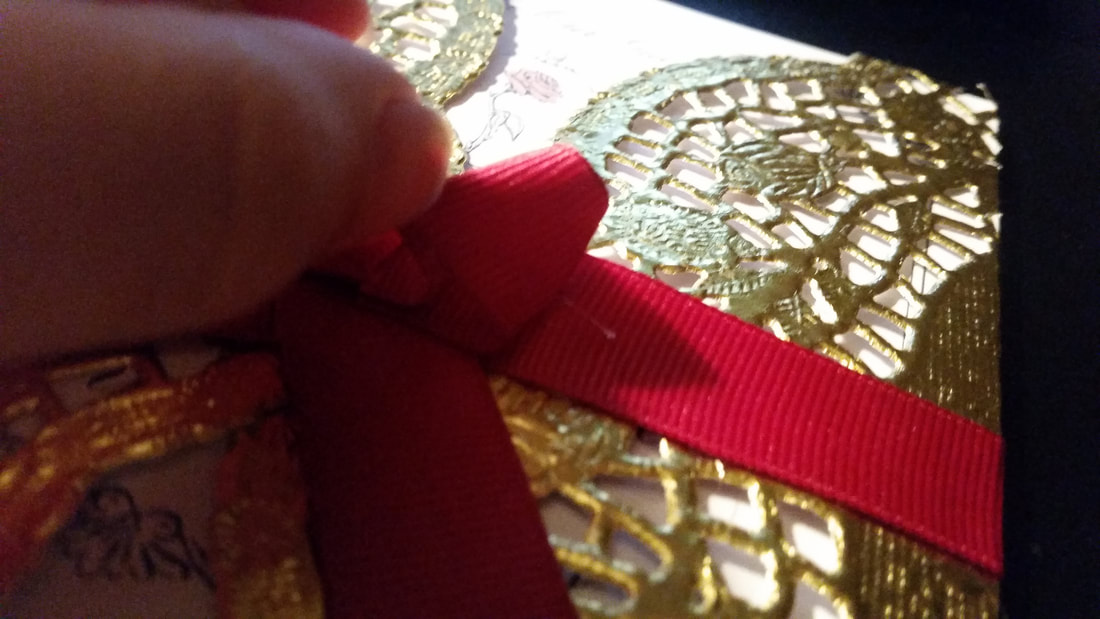 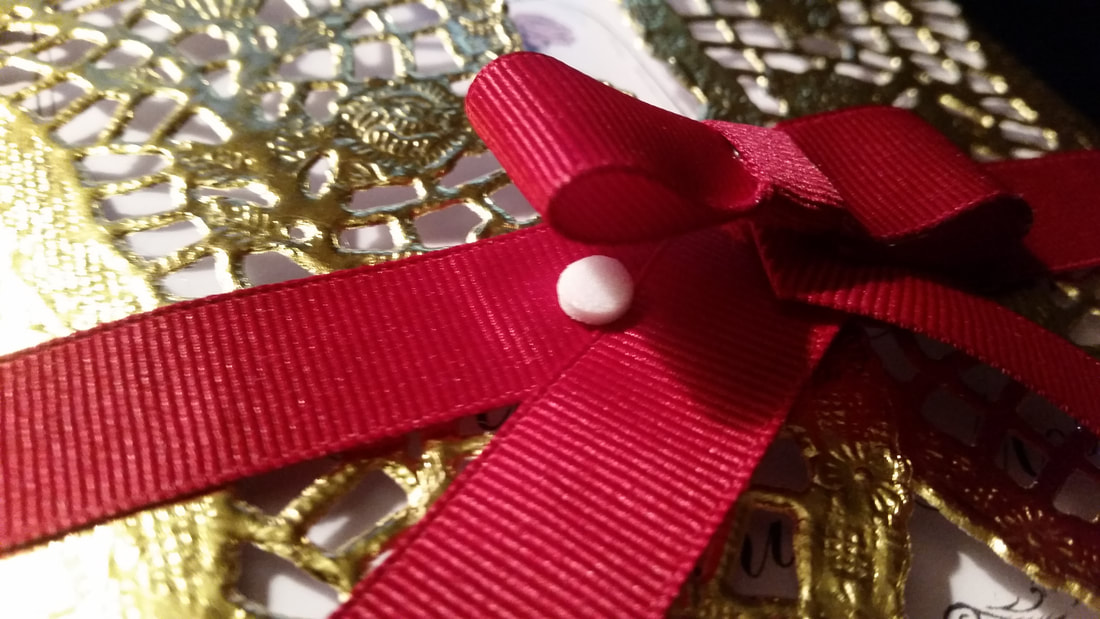 Your finished product is going to look like the picture below. We also had separate cards printed with the details of the reception and our wedding website. We then slid those into the gate-fold so when people opened their invites they were neatly packaged together. 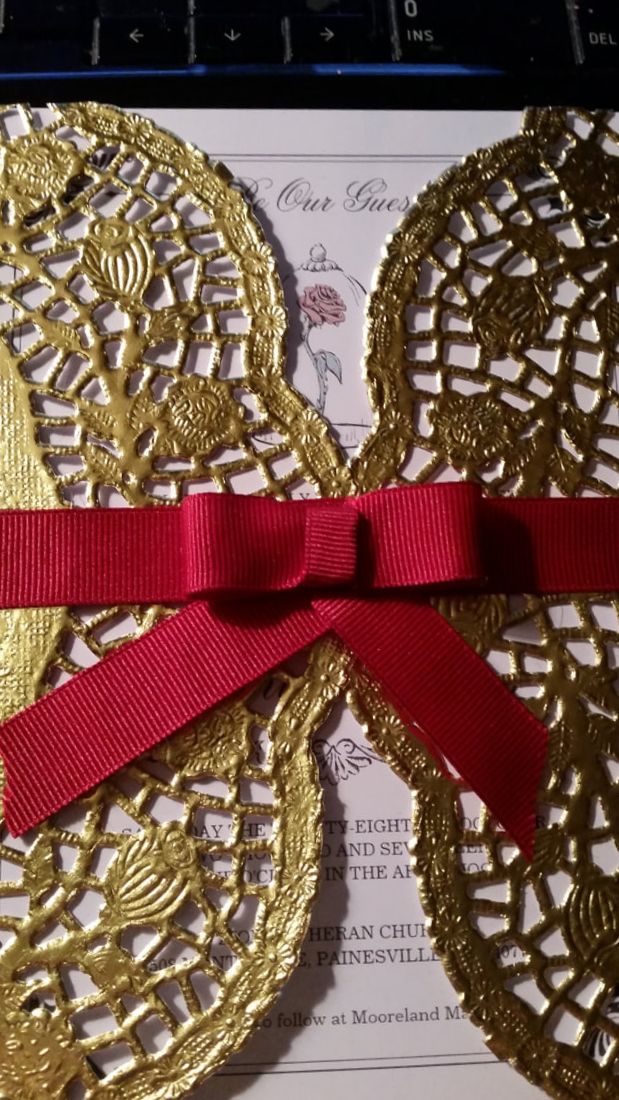
0 Comments
Leave a Reply. |
AuthorNow that the weddings over I'm a far less stressed woman and here to share the journey. Archives
February 2018
Categories |
 RSS Feed
